
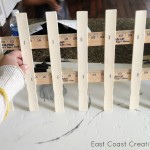
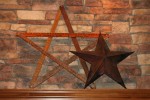
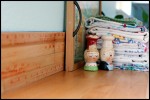
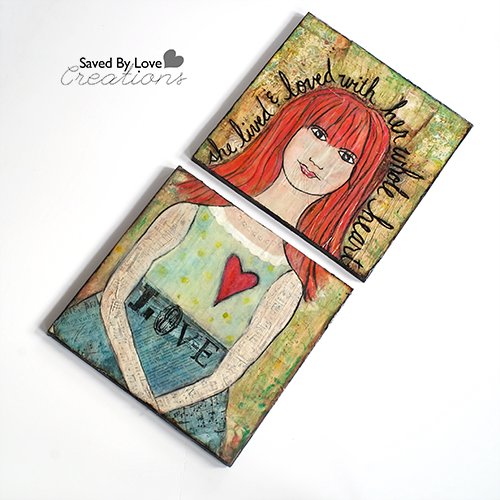
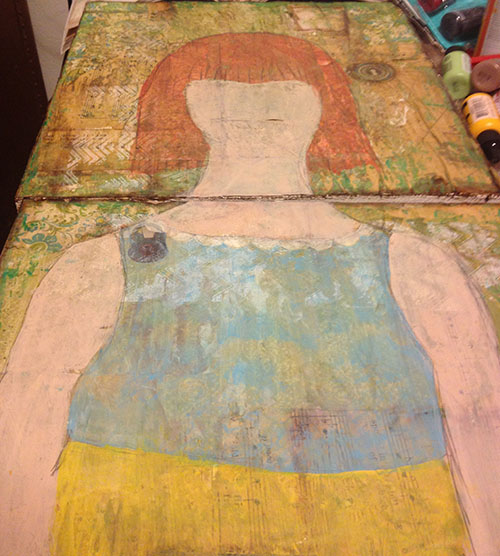
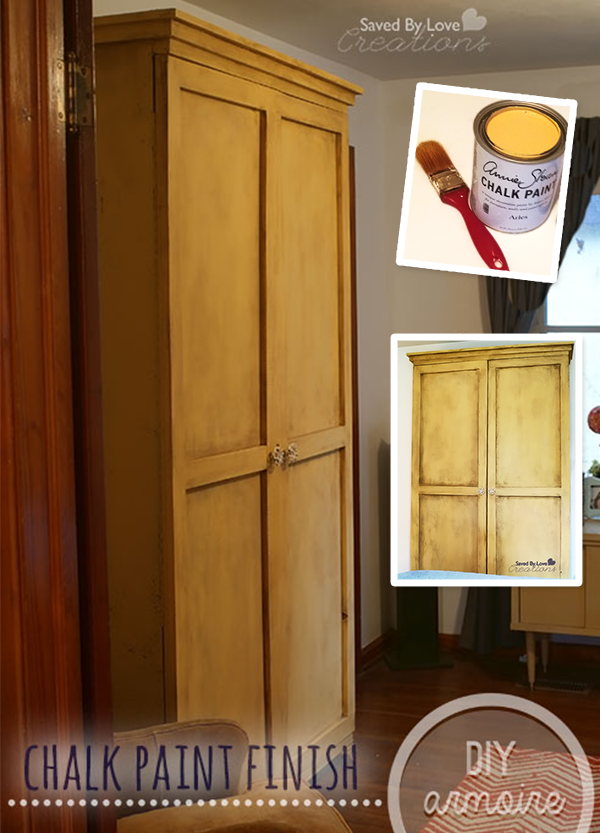
[pinit]
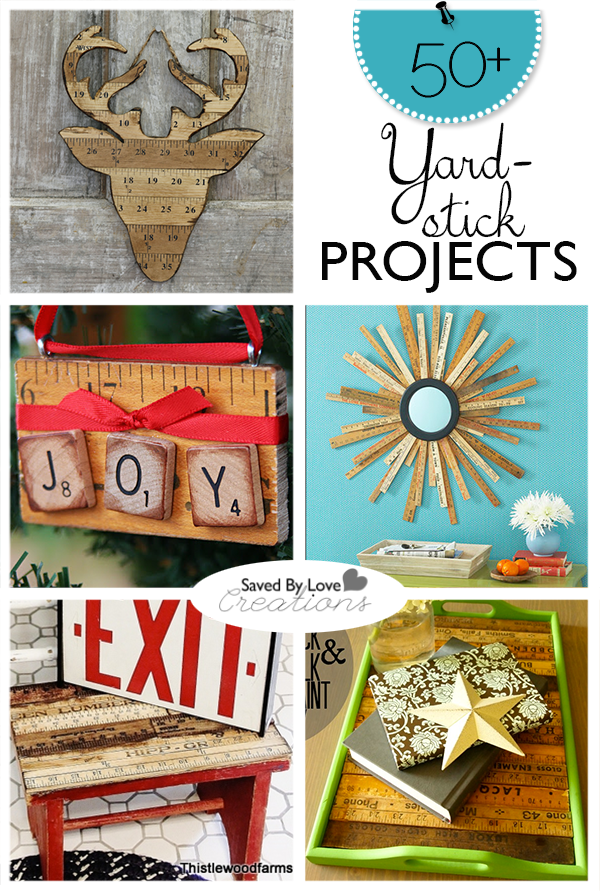
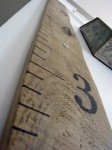
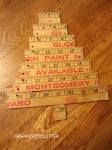
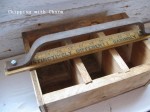
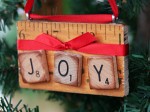
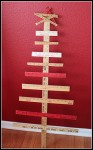
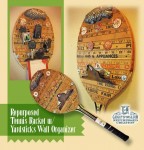
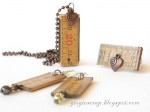
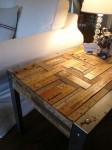
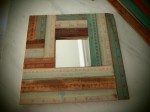
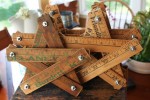
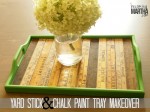
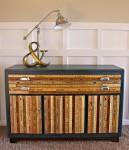
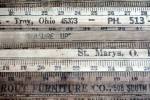
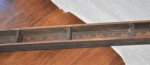
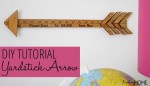
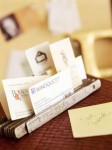
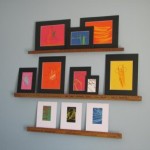
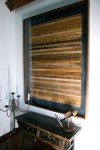
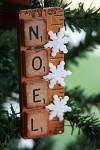
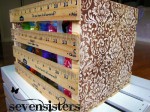
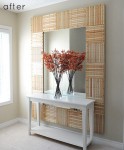
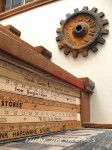
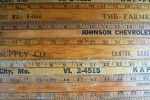
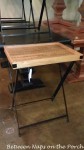
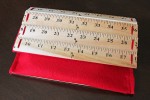
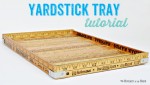
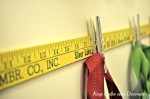
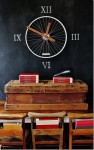
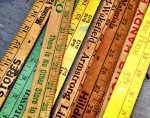
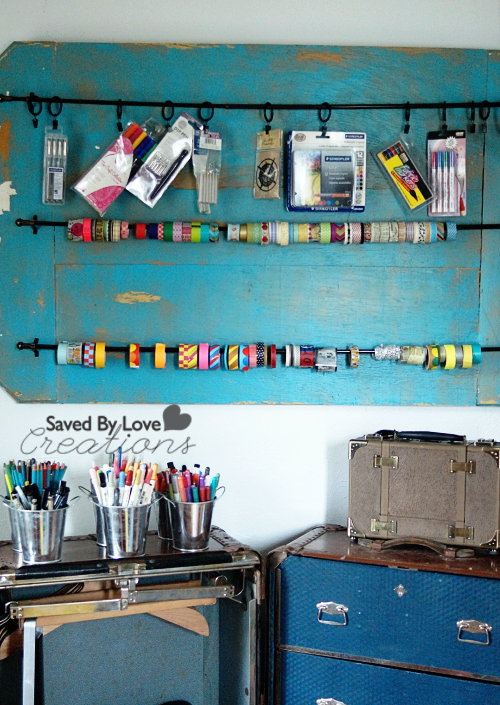
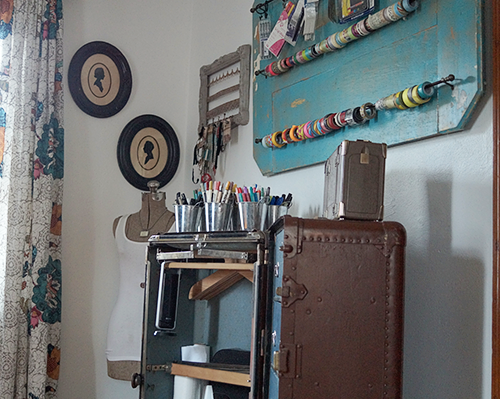
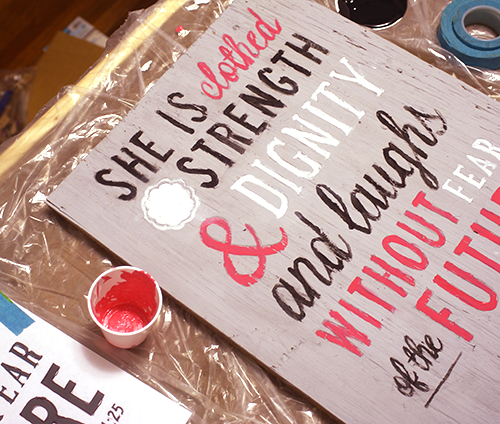
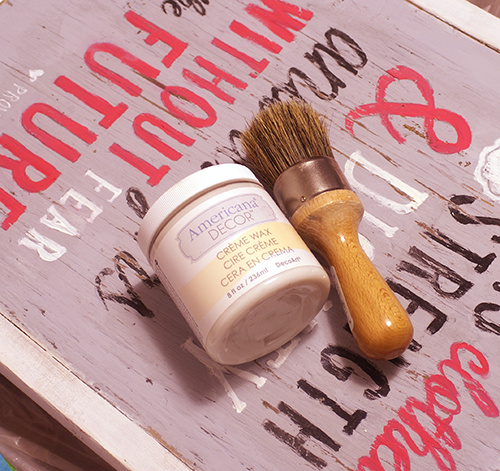
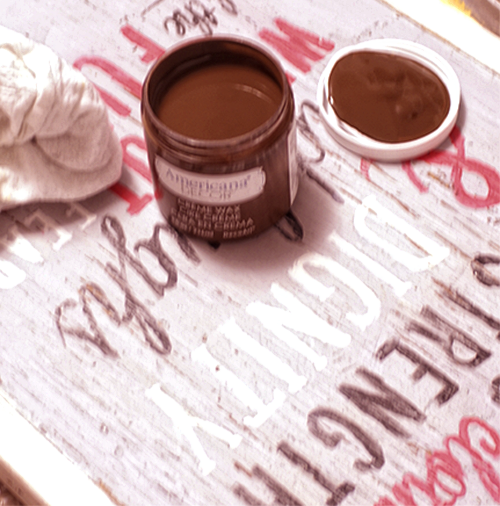
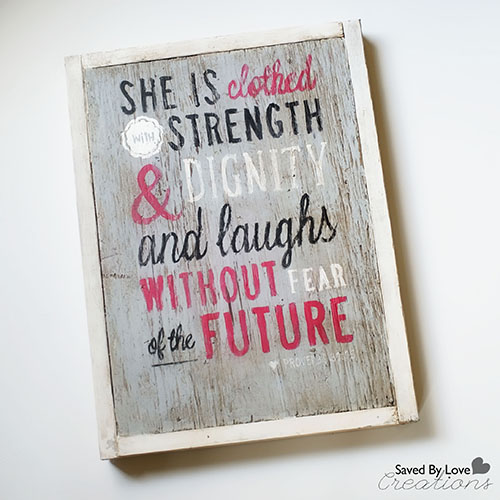
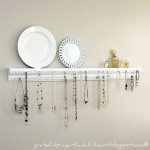
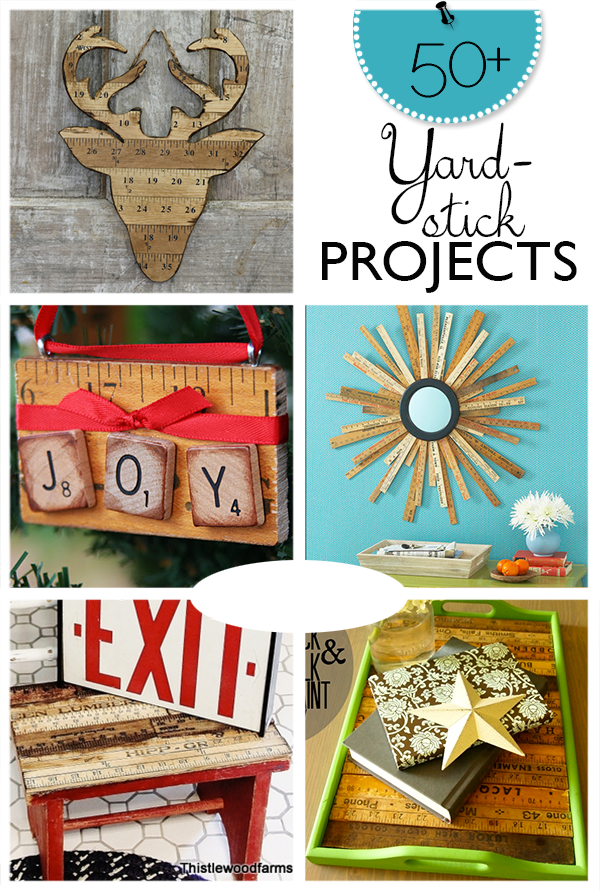
Yardsticks aren’t just for measuring anymore. You can repurpose cool vintage yardsticks into some unique upcycled decor, jewelry and accessories. Here are 50 of our favorite repurposed yardstick projects from around the web. If we missed yours, send us a link so you can be included!


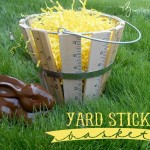
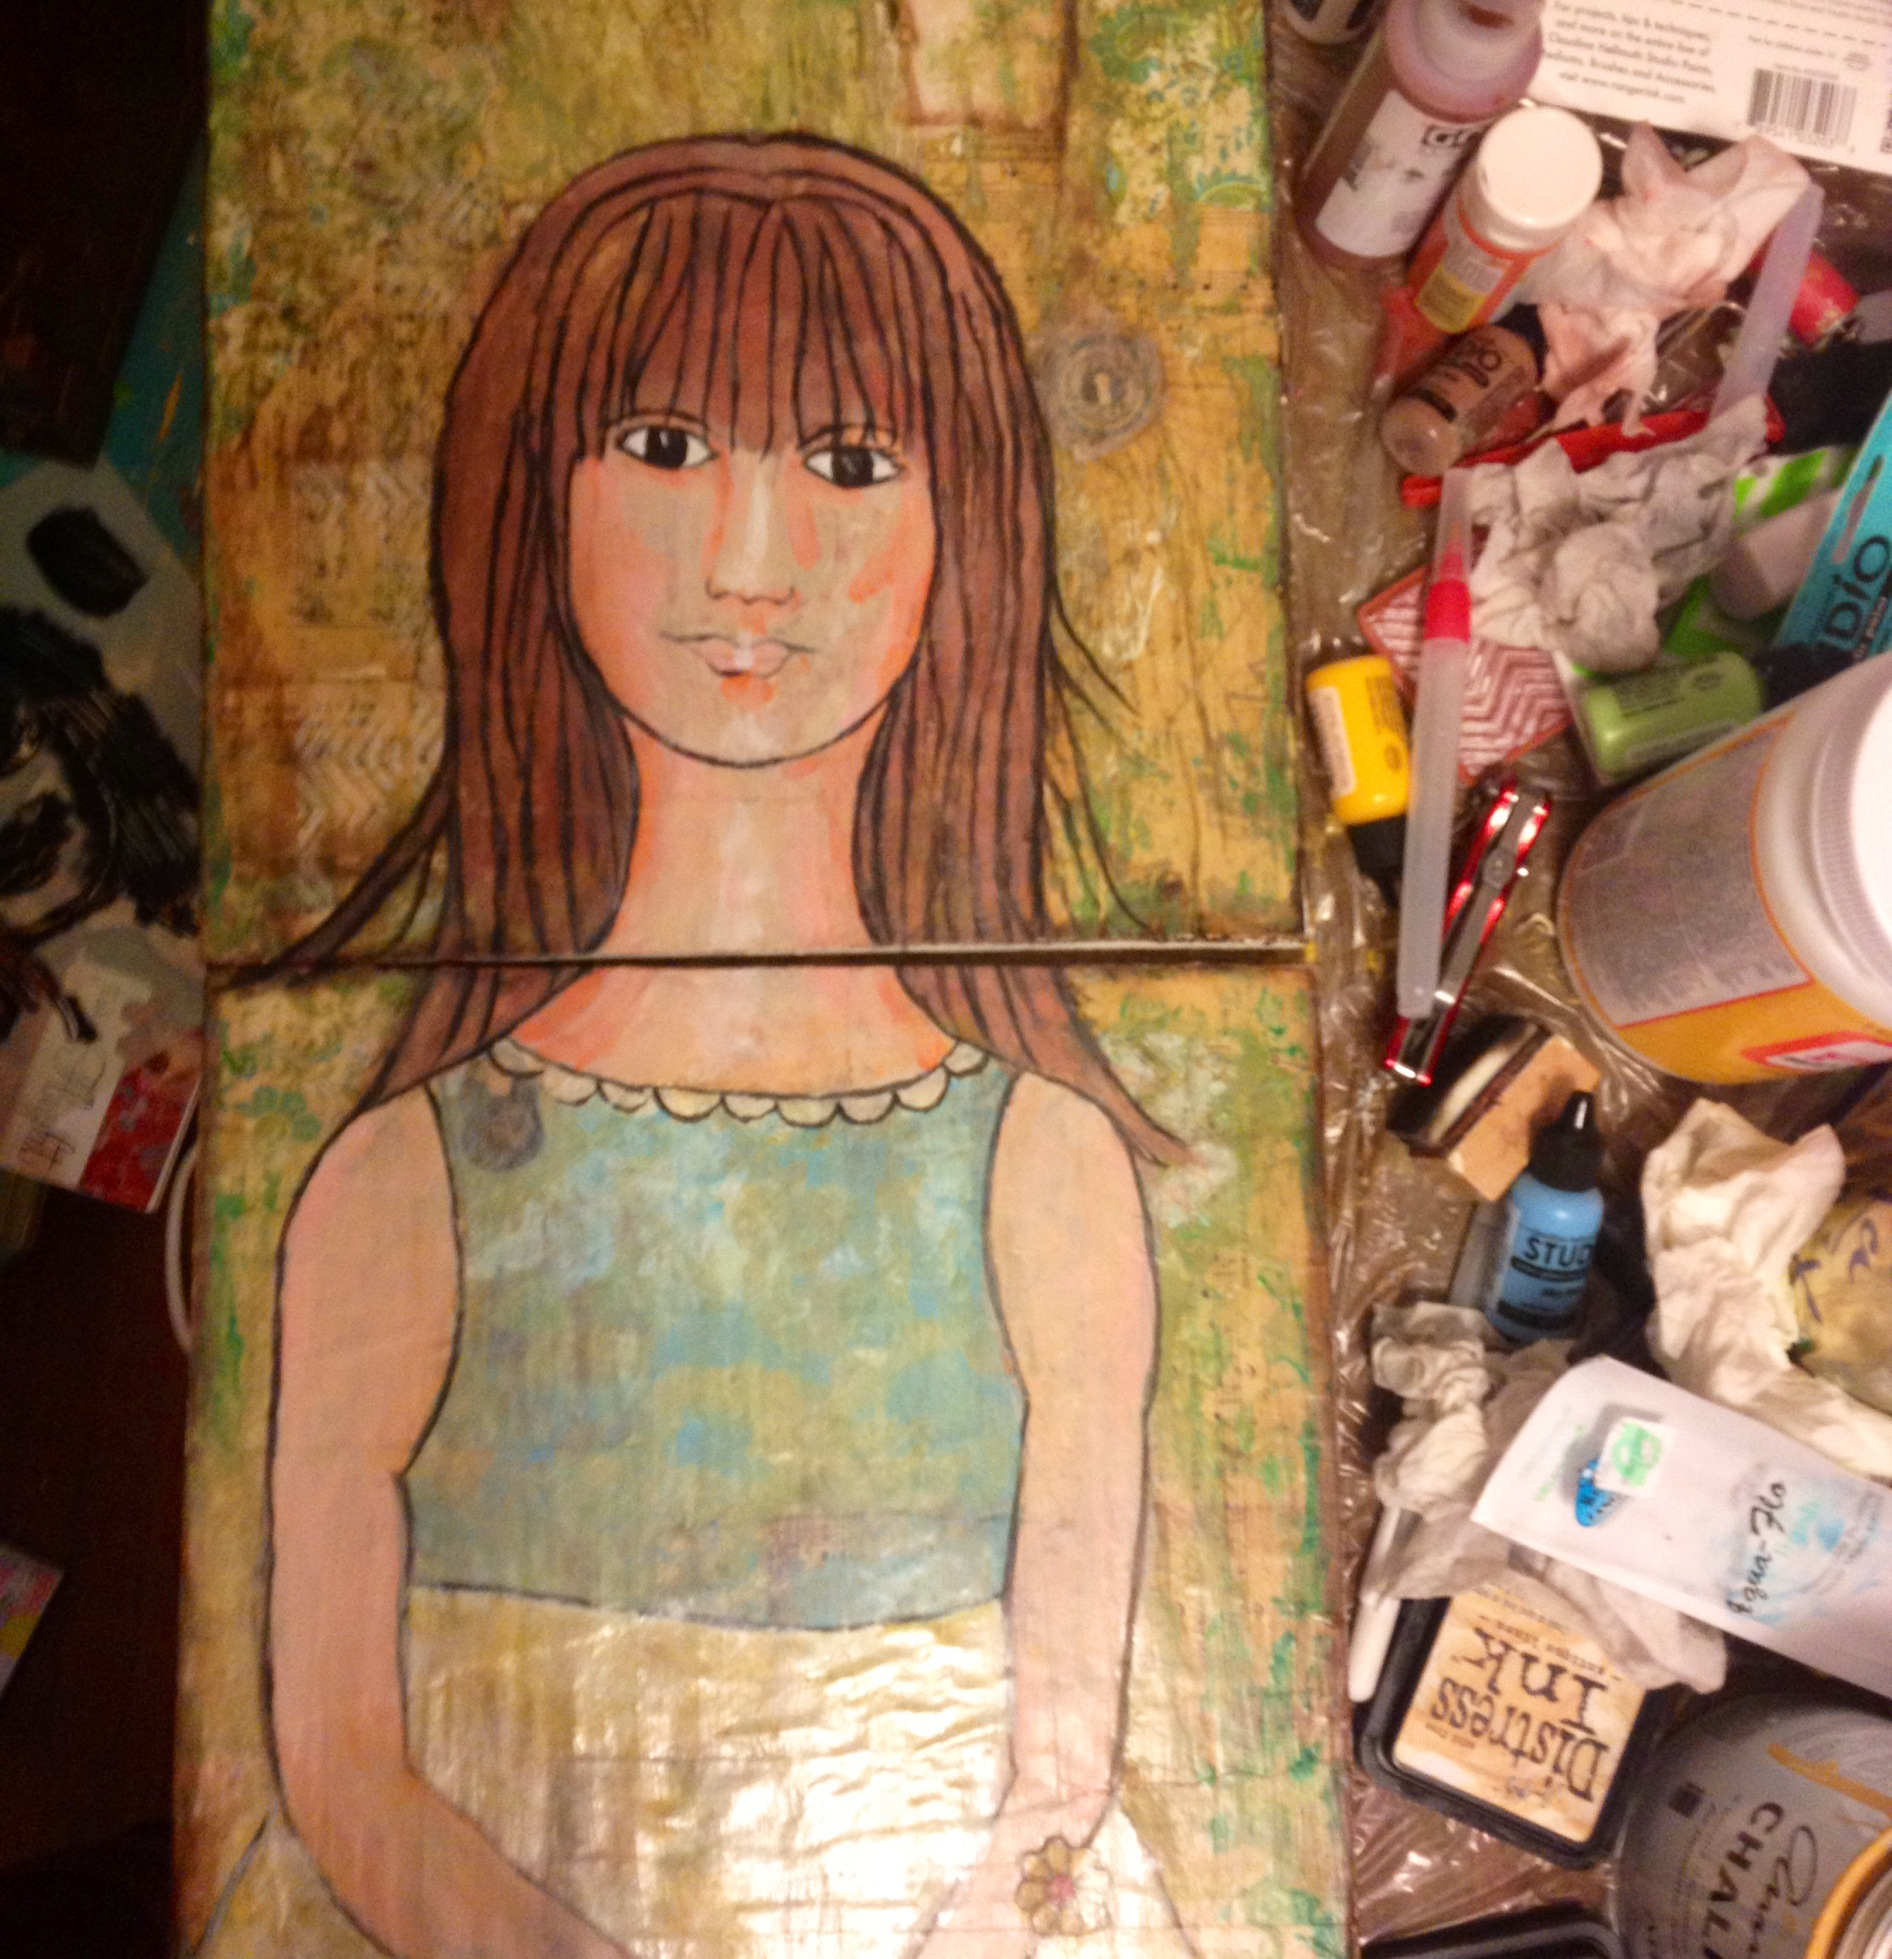
 [pinit]
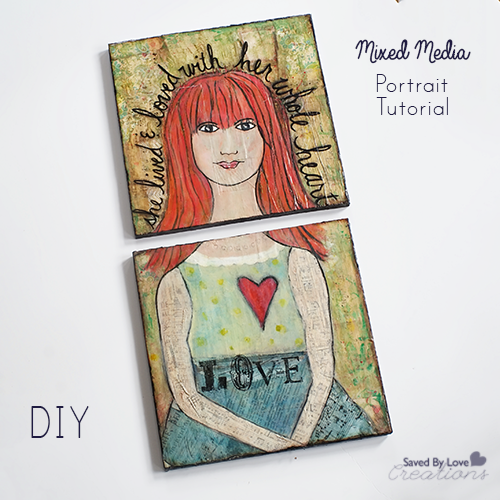


