
[pinit] [pinit]
Today’s project is a DIY reclaimed wood sign, perfect for the front porch or entryway! I was looking at my pile of scraps and before I knew it, I had this sign. It works up quickly and gives the look of chalkboard, using Chalky Finish Paint from DecoArt.

I won’t bore you with the details of how to make one of these signs, since I have covered that thoroughly in this DIY Rustic Reclaimed Wood Sign.

I used the font “Always in my Heart”. You can click the thumbnail for the full resolution version and print it for transferring the image to wood like in the tutorial linked above, or use it to make a stencil on your Cricut or other die cut machine. I used Cricut and SCAL software.
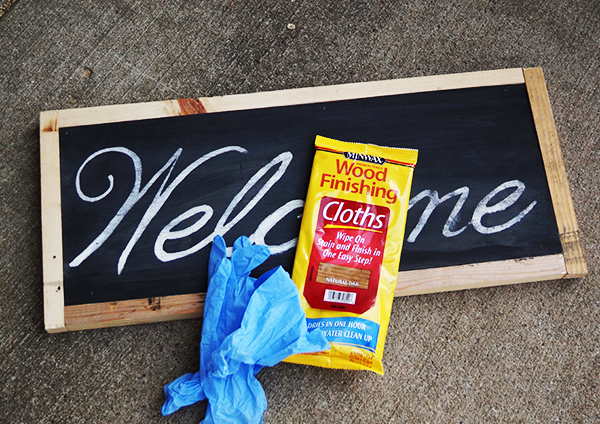
To finish the frame, I went with Natural Oak Wood Finishing Cloths from Minwax. These things are so awesome. One step finishes and seals. Yay!
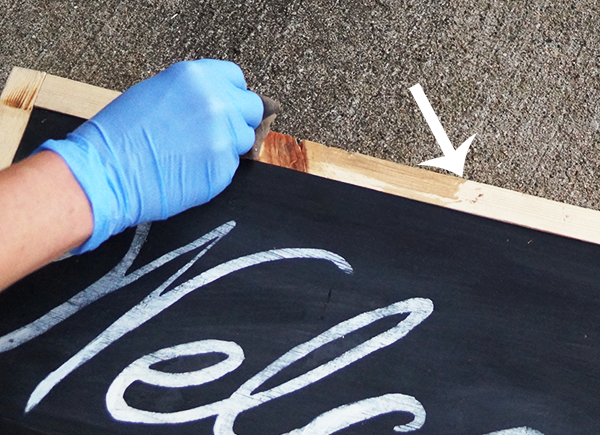
This color is subtle and natural. I generally run from the word oak when it comes to stain color, but I like this one.
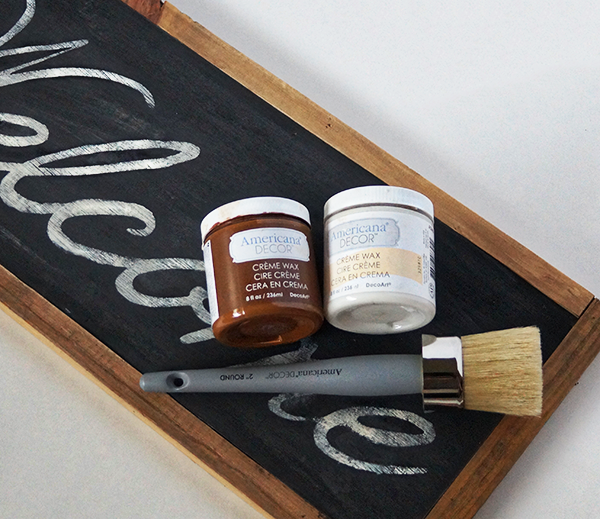
When the stain dried, I sealed with Clear Creme Wax from DecoArt. You see the darker wax in this picture, but I ended up not using it because I was satisfied with the look after applying the clear wax. The sign looked aged enough on its own!

Not bad for scraps I had on hand and under 2 hours of my time! What do you think? Have you created anything from reclaimed wood lately?
