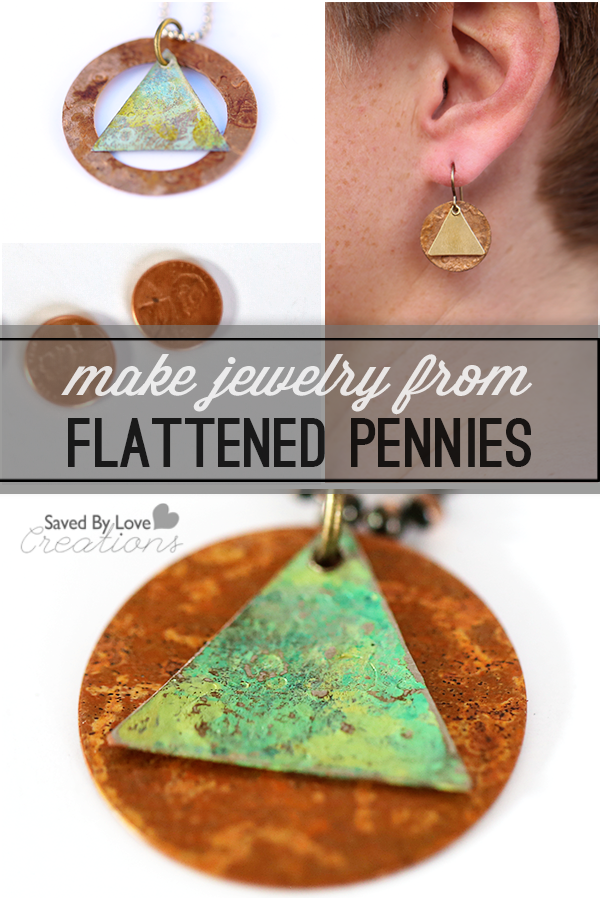
How to Make Jewelry From Flattened Pennies

pin-how-to-make-upcycled-jewelry-from-pennies

This post has been a long time coming. At this point, I can’t even recall what inspired me to smash pennies and turn them into jewelry, but something did and here we are. I will walk you through the interesting, not entirely legal process I used. Please note that in no way am I encouraging anyone to break the law, or to go anywhere near railroad tracks. The Midnight Rider controversy is no joke. While cute, this jewelry is not worth dying for, so be smart.
how-to-make-aa-jewelry

SUPPLIES:

Pennies or other coins

Clear masking tape

Jump rings

Jewelry Hole punch

jewelry rivets

Vintaj metal paints

Lisa Pavelka Resin Magic Glos

Magic Glos UV Resin, by Lisa Pavelka

Sizzix machine

Butterfly rings Sizzix Die

Media Mixage Triangle Dies

Media Mixage Circle Dies

Vintaj Vogue Stamping Blanks, Triangle 14mm

Your favorite embossing folders

eyelet setter

ear wire

Jewelry pliers (2 pair)

Paint brush or sponge dauber
1/4 cup white vinegar
1 teaspoon salt
Non-metal bowl
Paper towels
 

wm-aa-jewelry

TUTORIAL:

tape-pennies-to-track

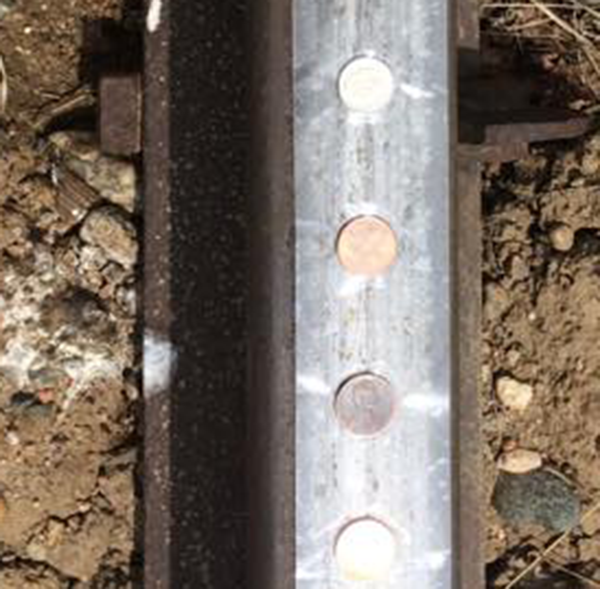
This is the sketchy part. SBLC assumes no responsibility for any injuries that may occur. That said, this is also the super fun part. Tape the coins to the railroad track as shown in the photo. Not taping them just means searching needlessly after the train has passed, since they get thrown from their original location during the process. The tape keeps them in place.
pennies-after-flattening

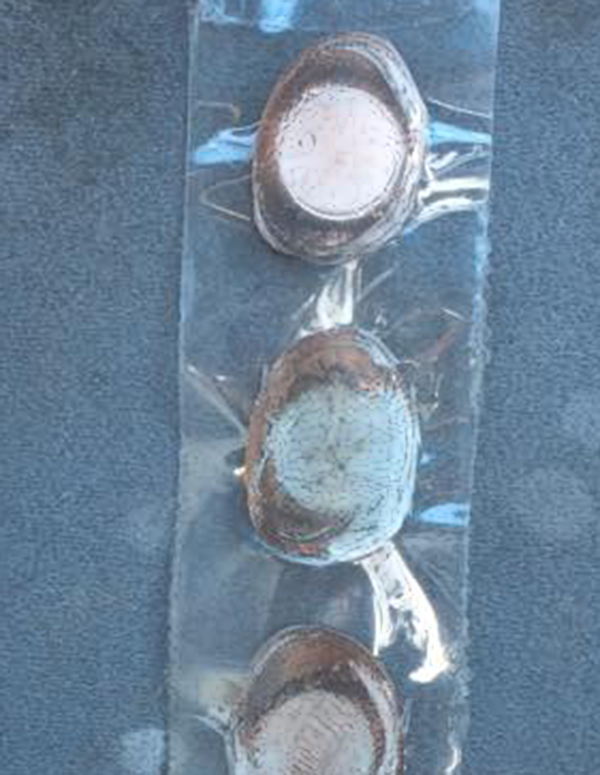
This is what y0u will have when you retrieve your now flattened pennies. Flat, but yucky, right? No problem. To clean the little guys, pour the vinegar into the bowl and stir in salt. Put about 5 pennies into the solution and let them soak for about 10 seconds. Use a toothbrush and running water to remove debris and rinse clean.
how-to-flatten-pennies-for-free

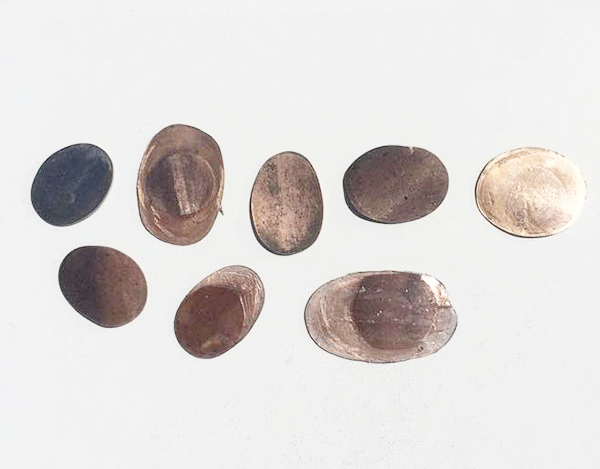
They don’t have to be perfect.

how-to-flatten-pennies

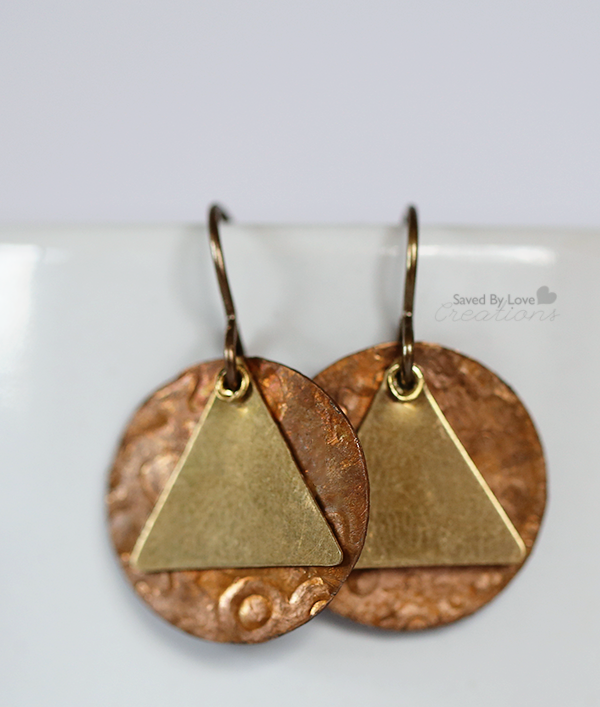
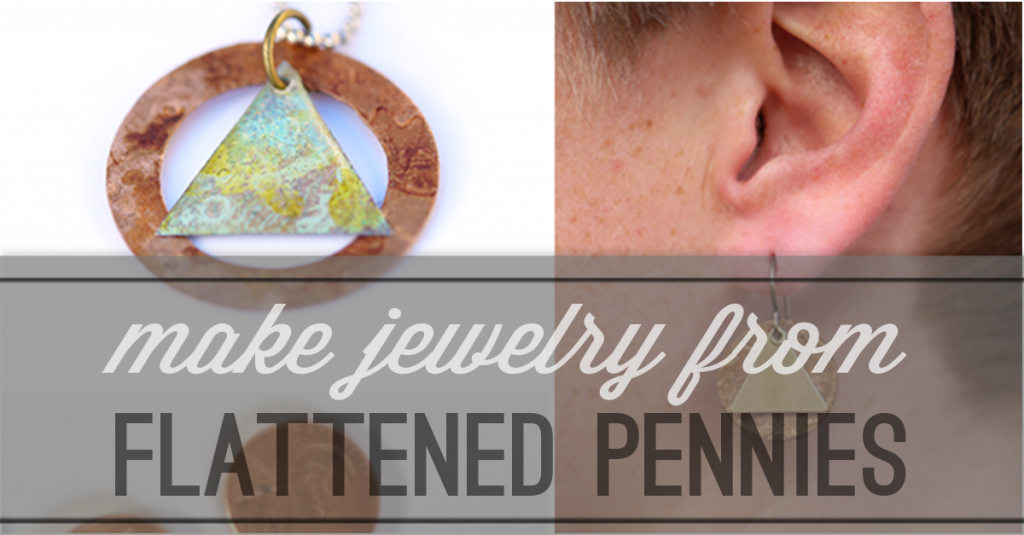
Emboss your pennies and die cut into jewelry shapes. Here i cut the flattened and embossed pennies into circles and attached Vintaj Vogue Stamping Blanks Triangle 14mm using a rivet. Just hole punch the penny circles, insert rivet through triangle and circle, set with eyelet setter and attach jump ring and ear wires. Done!
aa-necklace-circle-triangle

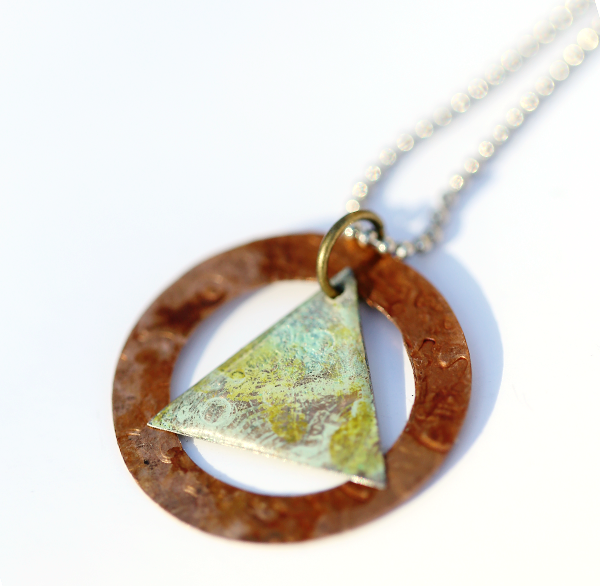
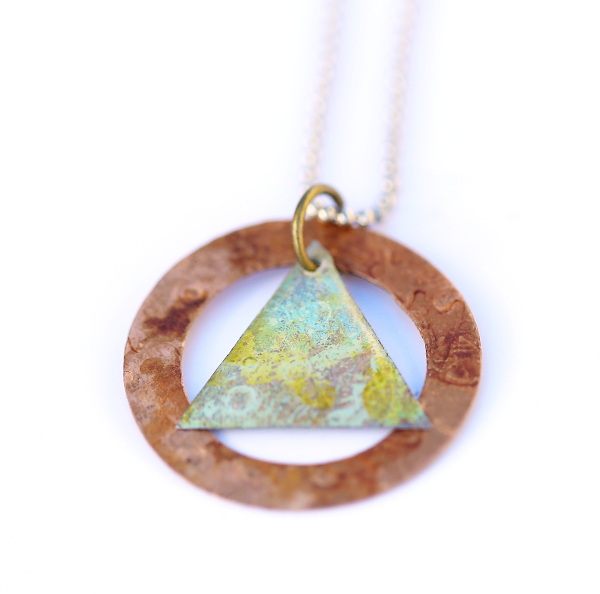
For this pendant, I die cut a ring with the Sizzix butterfly rings die – a favorite die of mine. I cut a triangle with another embossed flattened penny and painted it using vintaj patina paints for metal. Once the paint was dry, I applied Magic Glos UV Resin, by Lisa Pavelka. I love the domed resin look. You can put this in direct sunlight to cure, or cure it in 10 minutes using Lisa Pavelka’s UV light. I went the 10 minute route! It’s been awhile since I used that stuff, and I forgot how fun it is.
upcycled-coin-pendant-jewelry-tutorial

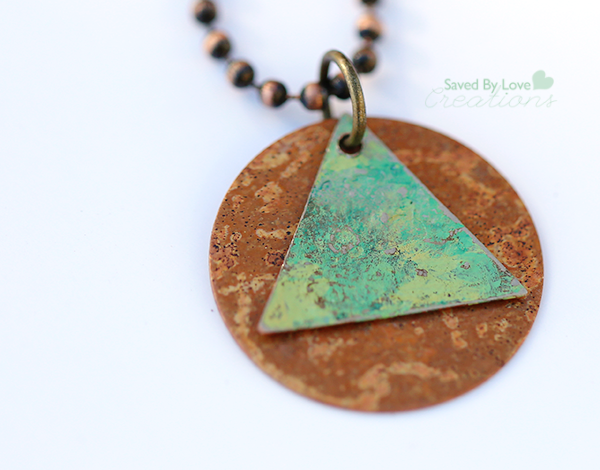
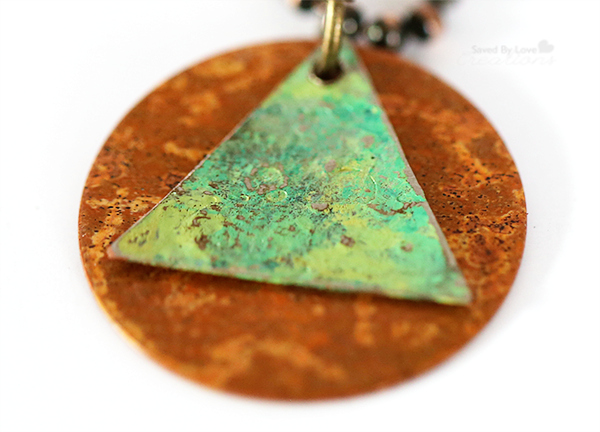
This piece is comprised of a Vintaj metal blank (the background circle) and a flattened penny triangle that I painted with Vintaj Patina. I didn’t seal it. I enjoy the simplicity of the circle/triangle, and love the colors together. After applying the paint, go over the triangle lightly with medium grit sand paper to reveal the raised areas created by embossing previously.

Visit here for more RESIN JEWELRY TUTORIALS
fb-how-to-make-upcycled-jewelry-from-pennies

What do you think? Do you have a less illegal method for flattening pennies? Can your rope your husband into doing it for you, like I did?

You can use any coin, by the way. I just like copper.

I’d love to see what you can do with flattened coins. If you don’t have a die cut machine, you can cut shapes with metal shears or tin snips for your own custom creations! Happy crafting!

Make Easy Earrings From Upcycled Fabric

How to make earrings

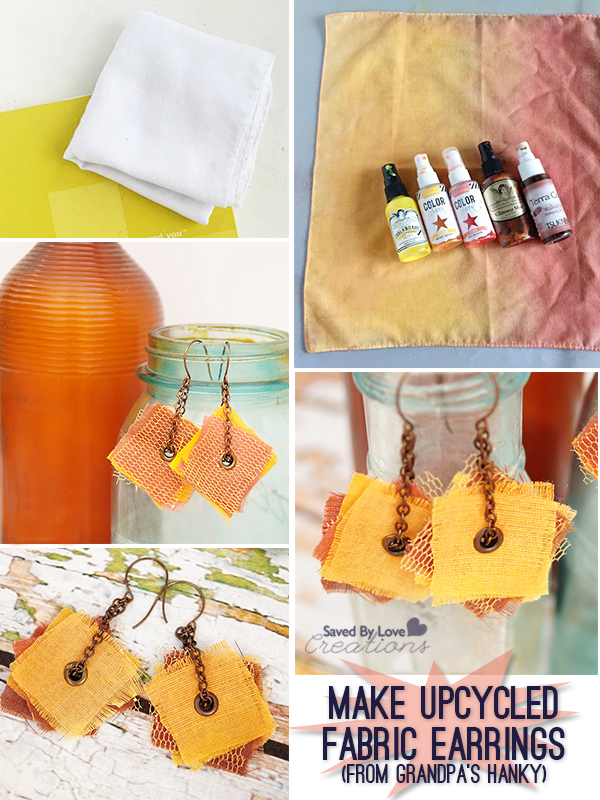
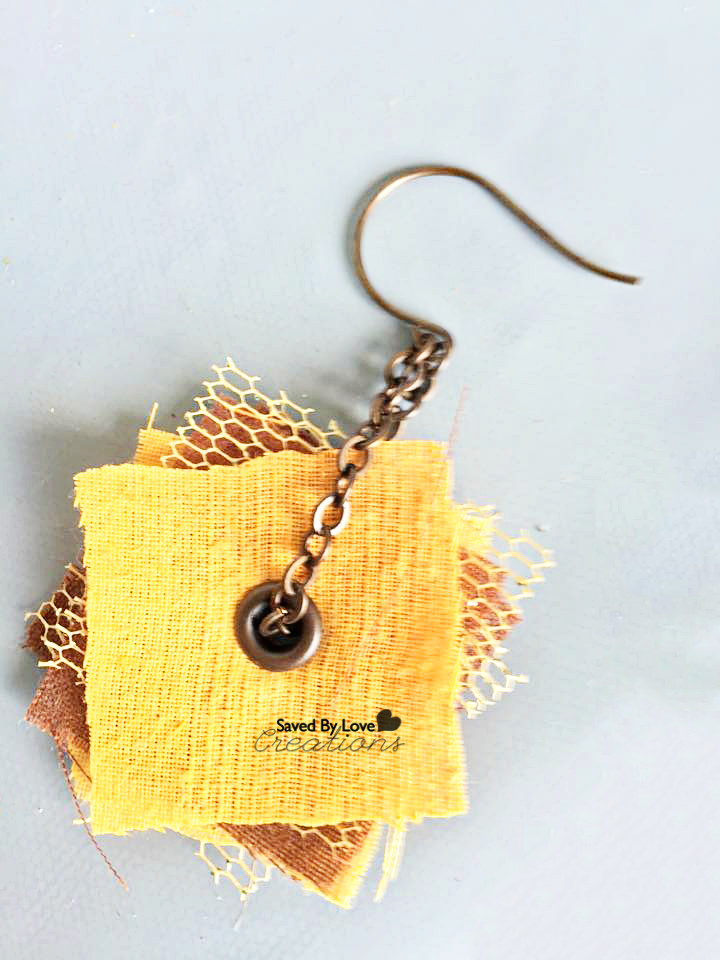
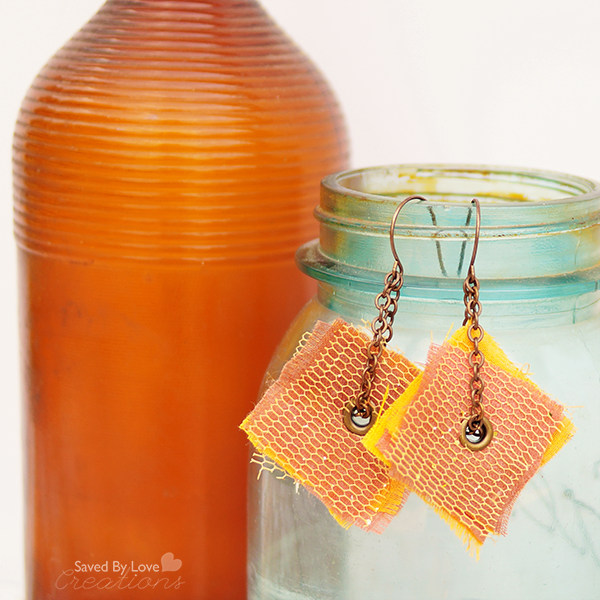
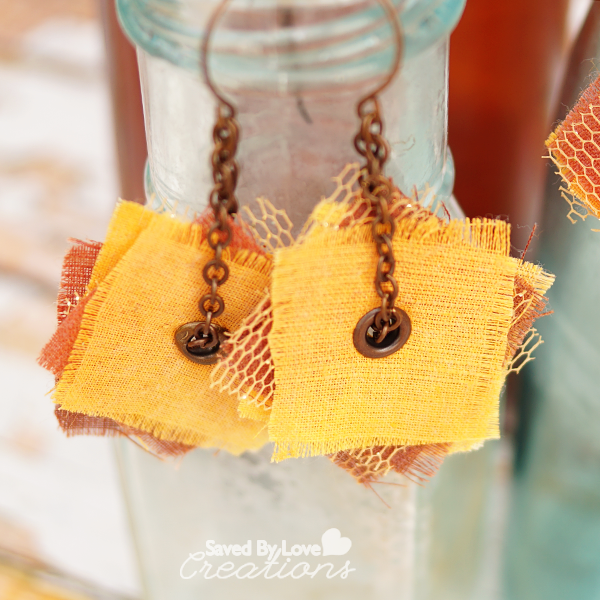
Not only are these earrings easy to make and cute, they are upcycled from some super meaningful fabric.  I created them from one of my beloved grandpa’s many handkerchiefs, soon after his passing. Whipping the cloth out of his pocket, he gently wiped away the tears from his loved ones eyes, and eliminated runny noses with joy. A single hanky is big enough to fashion several pairs, so the women in our family all have a wearable reminder of the best man to ever live (yes, I am biased, but also, he was the best)! Today I am going to show you how to make your own version in just a few simple steps. They would be cute fashioned from old jeans, your favorite shirt, your grandpa’s hanky, or just about any fabric you want. Let’s do this!!
How to Make Easy Upcycled Hanky Earrings @savedbyloves

SUPPLIES:

How to Make Memory Earrings

White handkerchief or fabric of your choice

Organza or Tulle

Metal Eyelets

Crop-a-Dile

Metal chain small enough to fit through eyelet

Metal washer from hardware store that eyelet will fit in and not slide through when set

Ear Wire from Vintaj

Tonic Scissors

Jewelry pliers (2 pairs)

-side note: I gave my grandpa the book Between Me and You GRANDPA, he filled it out completely, and it is a blessing beyond words. My most valued possession, for sure.

INSTRUCTIONS:

Use Spray Inks to Color Hanky

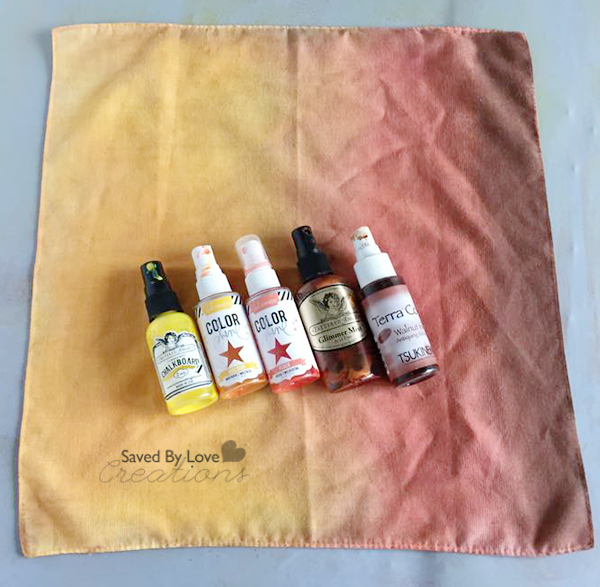
Spray fabric if desired. I went with a fall color palate using the spray inks shown. Let air dry for a couple of hours, then set by drying in machine on high heat for 5 minutes.

Make a Square Template From Cardstock

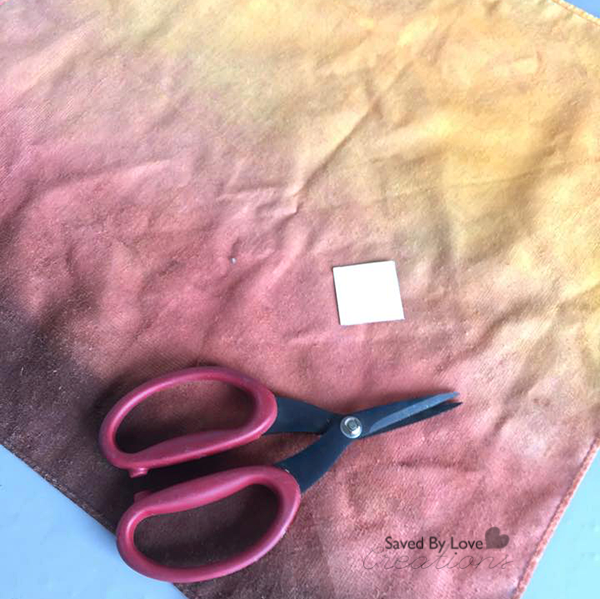
Make a square template from card stock about 1.5 inches wide and long (yeah, a square).

Cut Squares from fabric and organza

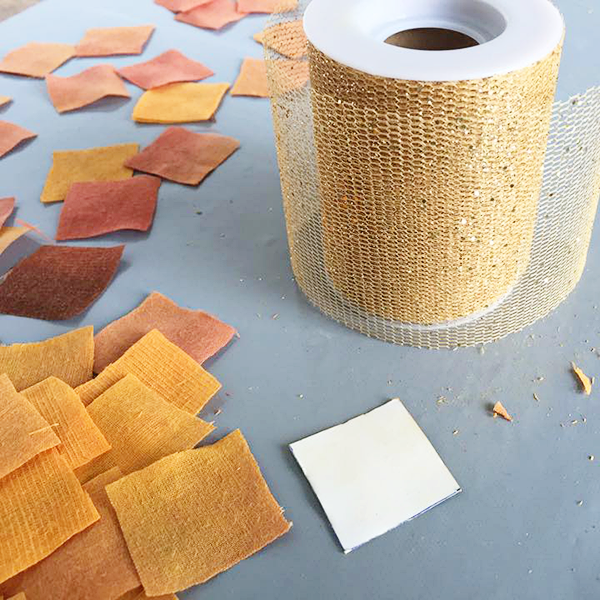
Cut several squares from your fabric of choice using the template as a guide. I cut some from tulle in addition to the hanky.

Hole Punch Center of Template

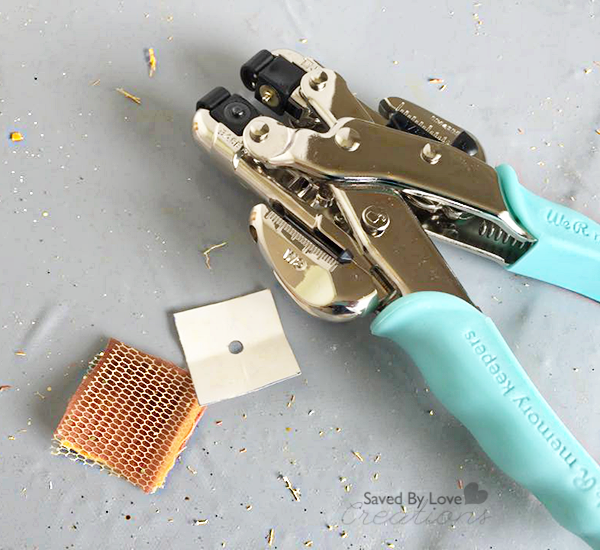
Hole punch center of template with Crop-a-Dile

Hole Punch Center of Fabric

Hole punch center of fabric using template as a guide. You can hole punch several squares at the same time, depending on the thickness of your fabric.
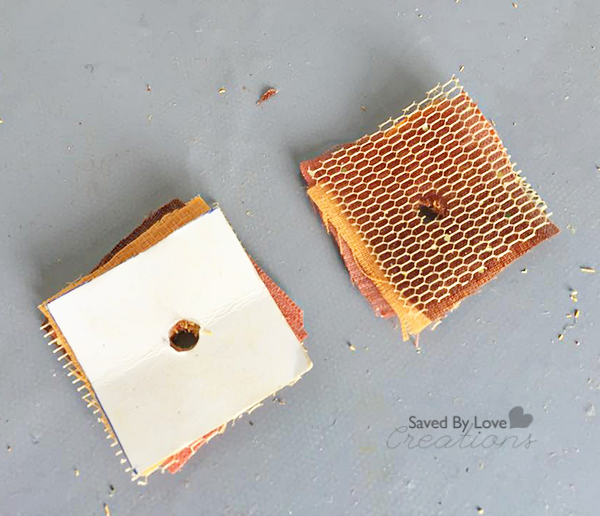
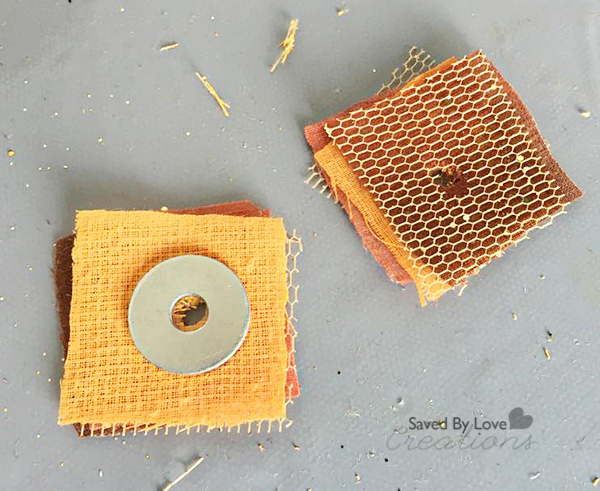
Make a Sandwich from Fabric Squares with Washer in the MiddleMake a sandwich from fabric squares with washer in the middle. I used 3-4 squares on each side of the washer. The purpose of the washer is stability and weight.
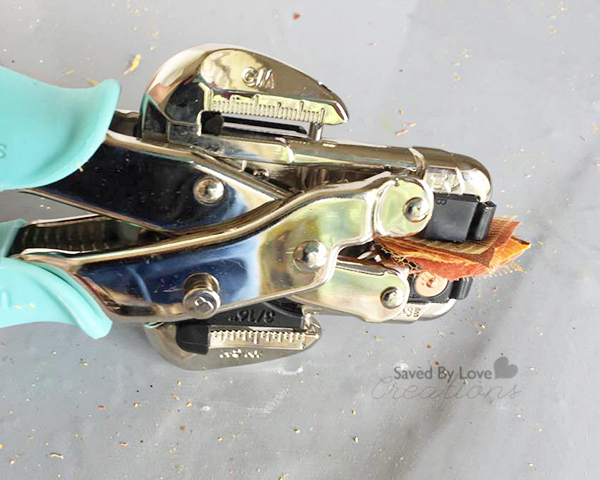
Use Crop a Dile to Set EyeletUse Crop-a-Dile to set eyelet.

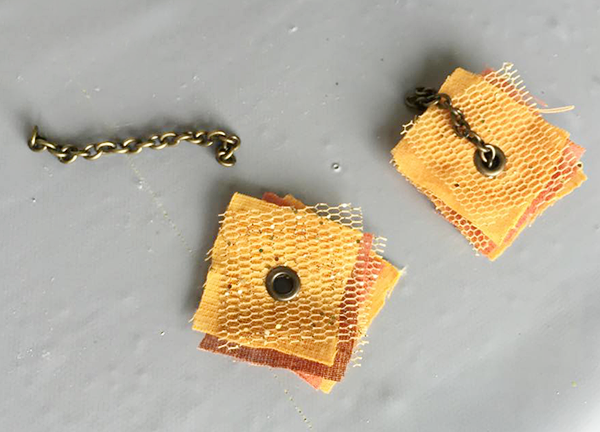
https://savedbylovecreations.com/wp-content/uploads/2015/07/Insert-Metal-Chain-Through-Eyelet.png

Insert chain about 3 inches long through eyelet.

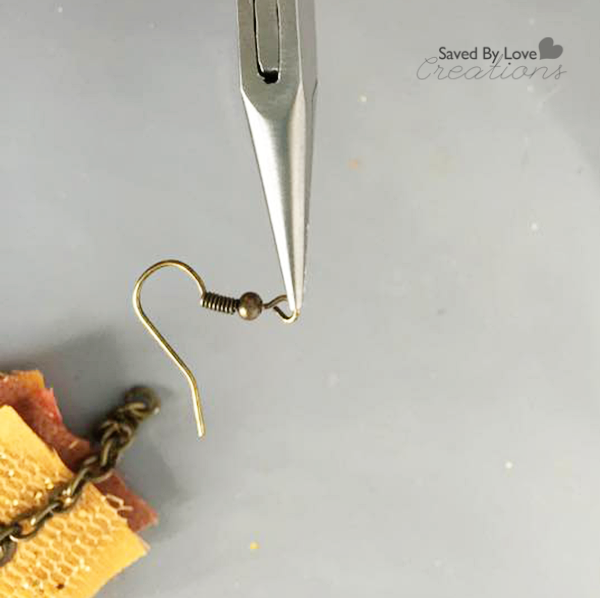
Use Jewelry Pliers to Add Ear Wire

Make a loop from the chain, using ear wire to join both the chain loops on each end. You are finished!

DIY Upcycled Fabric Earrings

DIY Upcycled Fabric Earrings from Hanky @savedbyloves

I love having something so reminiscient of my grandfather to wear, not that I need it to remember him. He is everywhere and I am blessed! I love you, Pa. And now the flood gates are open.

Here is to grandfathers everywhere! May you cherish every moment with yours.


Easily Make Gorgeous Epoxy Clay Crystal Jewelry

How to Make Gorgeous Epoxy Clay Crystal Jewelry Square @savedbyloves

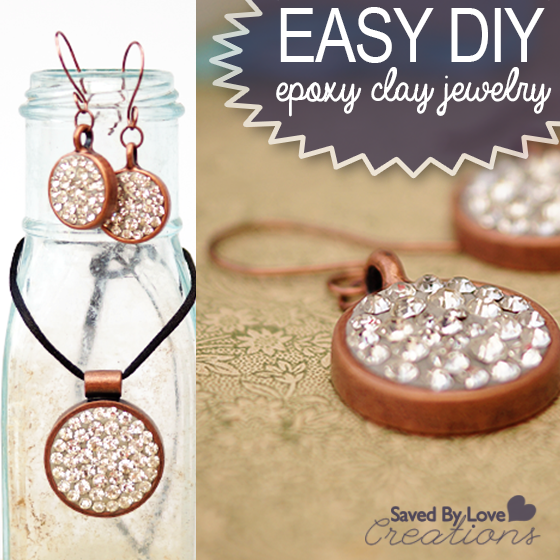
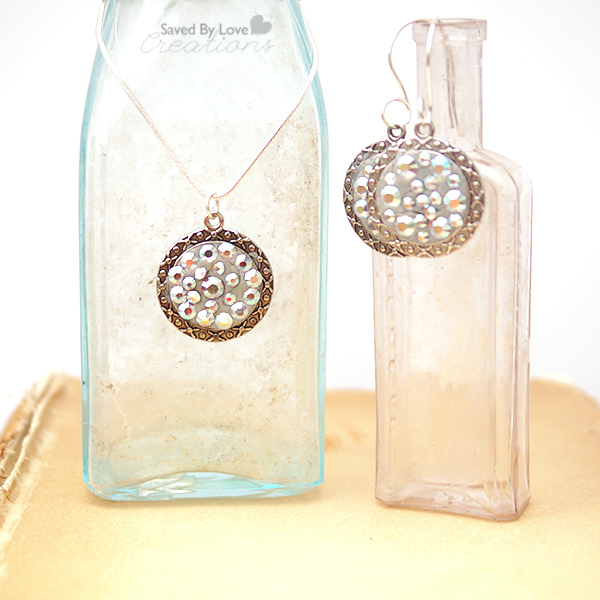
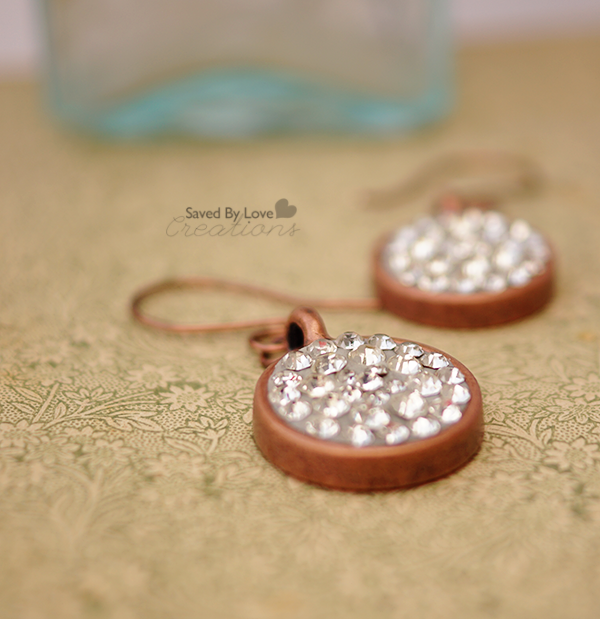
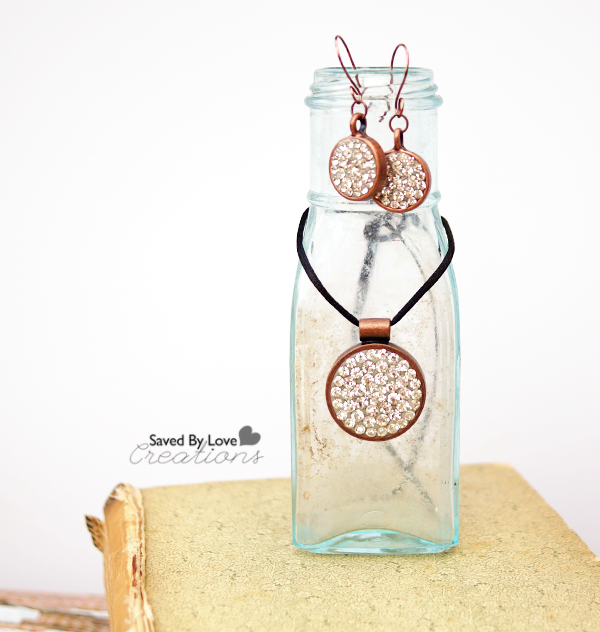
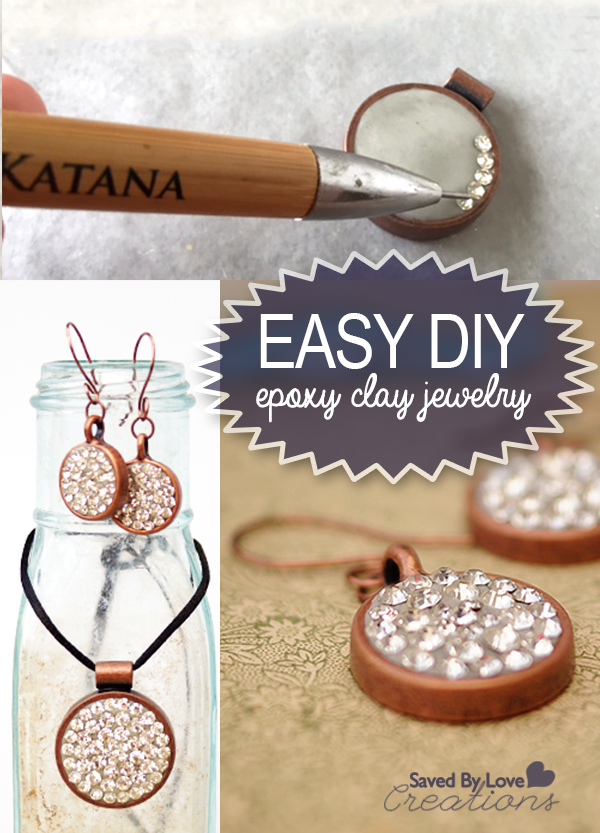
I went to CHA 2014 in Anaheim California, where epoxy clay jewelry was all the rage. I didn’t see what was so great about it, or why I would use it instead of polymer clay. It took me almost two years to get on board. Now I am a full fledge fanatic. The stuff is wonderful for embedding crystals and other small embellishments, since it is a strong adhesive. No glue is necessary, nor does it need to go in the oven. Once you mix the two parts, it starts to set and cures on its own without heat. Today I am sharing these gorgeous, blingy earring and pendant sets! My friend created hers and has zero experience with jewelry making or clay of any kind.  They came out beautifully, proving no prior knowledge is necessary!

DIY Easy Epoxy Clay Crystal Jewelry

SUPPLIES:

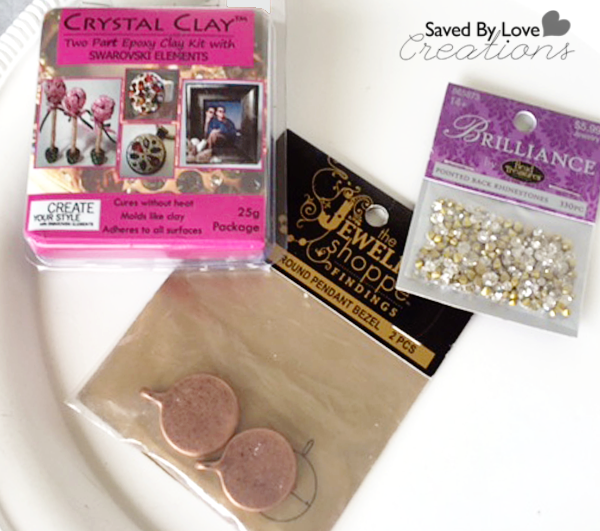
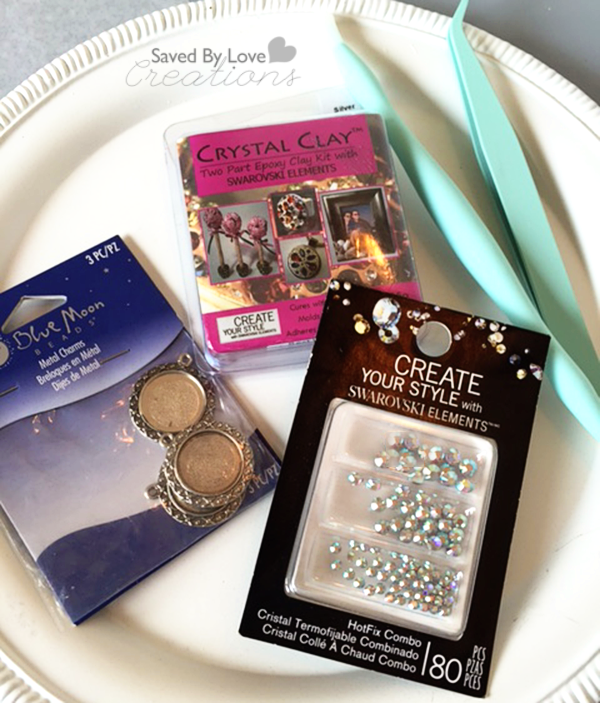
Supplies for Epoxy Clay Earrings

Epoxy Jewelry Clay (we used Silver Crystal Clay)

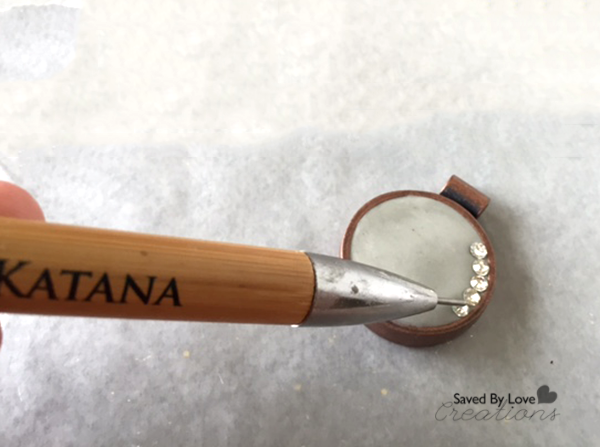
Beeswax coated toothpick (comes with Crystal Clay Kit) or my favorite tool for picking up small beads and embellishments, Crystal Katana

Crystal Chatons or flat backed Swarovski

Round Pendant Bezels

Ear wire or 20-22 gauge jewelry wire to create your own ear wire

Two pair flat nose jewelry pliers

Jump rings

Rattan cord or other necklace chain

Vinyl or latex protective gloves

INSTRUCTIONS:

Supplies for Epoxy Clay Jewelry

Mix clay according to instructions, equal parts of the two components and wearing gloves.

Embed Crystal Chatons into Epoxy Clay copy

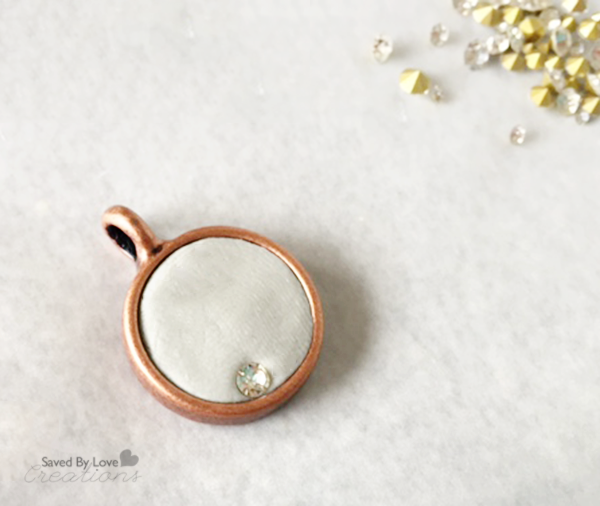
Fill bezel flush with top.

Embed Crystals into Epoxy Clay

Add crystals in desired design with tool.

DIY Copper Crystal Epoxy Clay Earrings

Once cured (overnight) add ear wires with jewelry pliers and add chain or cord to pendant.

DIY Epoxy Clay Crystal Jewelry

Don’t they look so complicated, fancy and expensive?! Well, they aren’t. Your dog could probably make them.

DIY Easy Epoxy Clay Crystal Jewelry

I have gotten so many compliments already!

How to Make Gorgeous Epoxy Clay Crystal Jewelry @savedbyloves

Check out our other jewelry projects here:

Saved By Love Creations Jewelry Tutorials

DIY Fused Mini Amber Glass Bottle Earrings

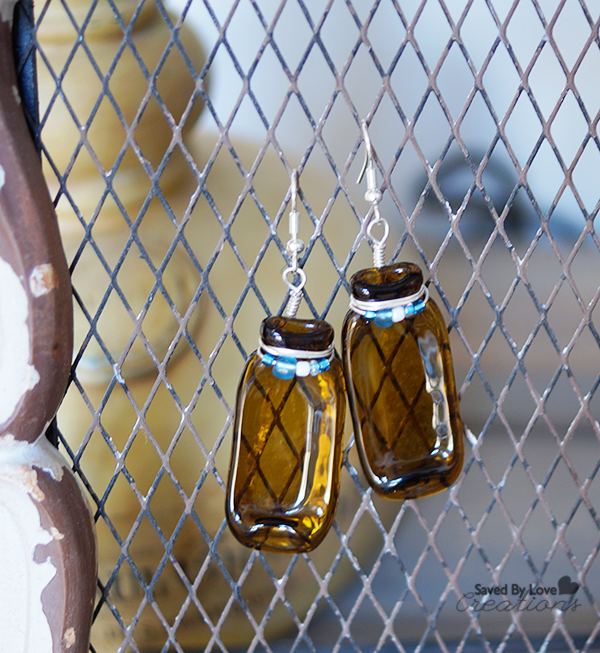
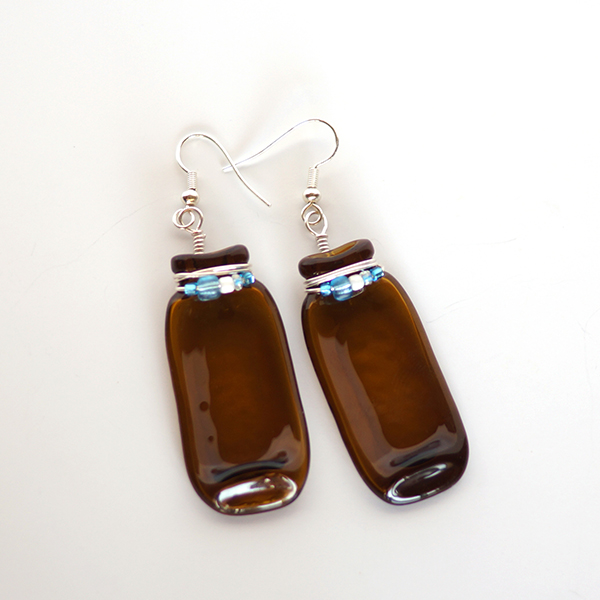
DIY Fused Glass Bottle Earrings @savedbylovesSo, I am crazy excited to share today’s jewelry tutorial with you. These earrings are my go to piece for several reasons.  They are beautiful, unique and go with all kinds of outfits.  I got the idea when flattening wine bottles in my kiln.  I remembered the tiny bottles, or vials that people fill with mica powder and little notes and thought it would be so cool to flatten them.  I wasn’t sure what I would do with them flat, but as soon as the kiln cooled and I laid eyes on them, I knew I wanted to wire wrap and wear them!

MATERIALS

7 Gypsies Amber Apothecary Bottles

Round nose jewelry pliers

Flat nose jewelry pliers

20 gauge jewelry wire

Flush wire cutter

Earring findings

10 coordinating seed beads

Microwave kiln

 TUTORIAL

Fuse your bottles, one at a time in your microwave kiln.  I showed you how to use that here: DIY Wine Bottle Earrings. You can also use a regular kiln if you have that. Let them cool to room temperature before continuing.

How to wire wrap jewelry

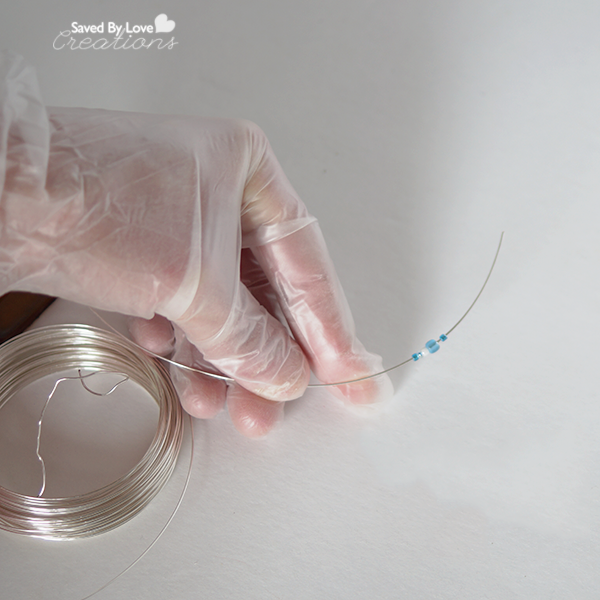
Cut 7 inches of wire and string 5 beads onto it.

How to make fused glass jewelry

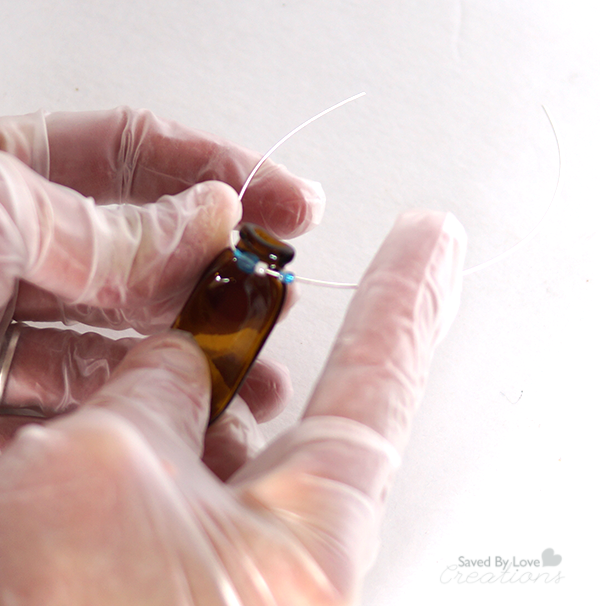
Place beads in front and situate wire at neck of fused bottle as shown.

How to wire wrap jewelry2

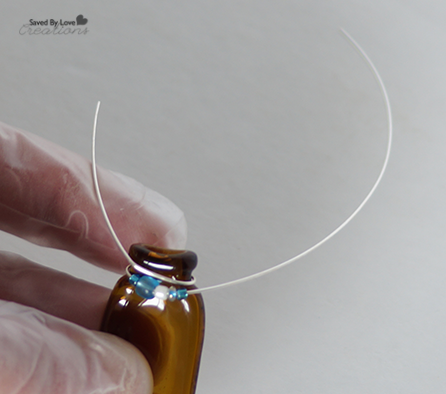
Bring the left side wire around the bottle neck and back to the front as shown.

How to wire wrap jewelry3

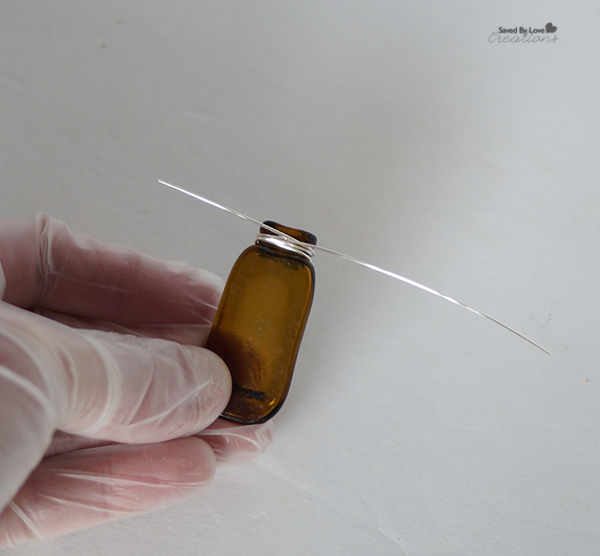
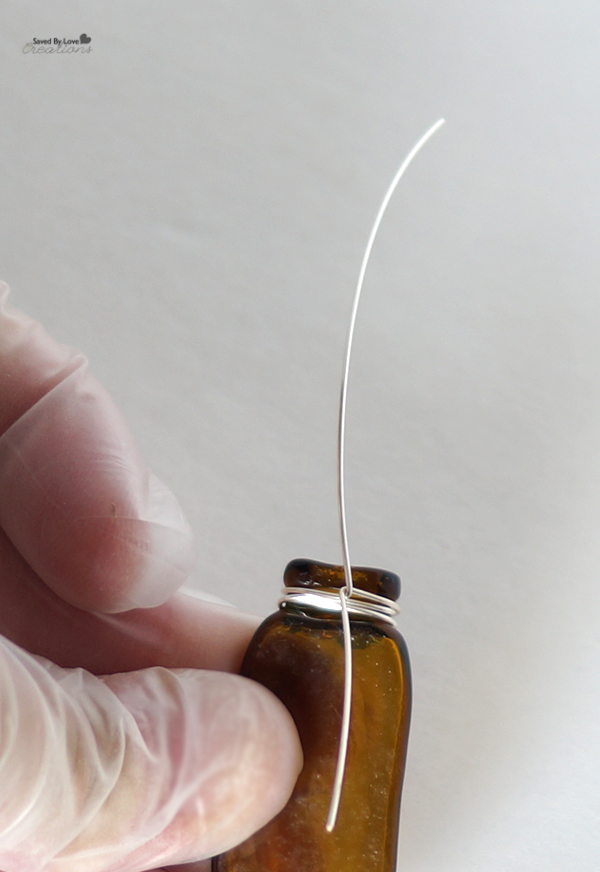
Wrap both wire ends around the neck a few times, ending with 2 wire tails in the back as shown.

How to wire wrap jewelry4

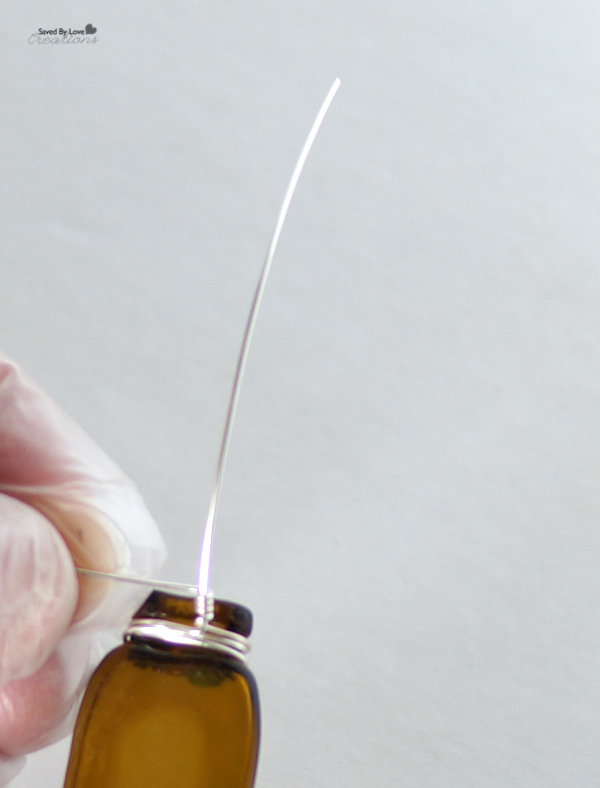
Wrap the two ends as shown so that they are vertical.

How to wire wrap jewelry5

Coil one end around the other as shown.

How to wire wrap jewelry6

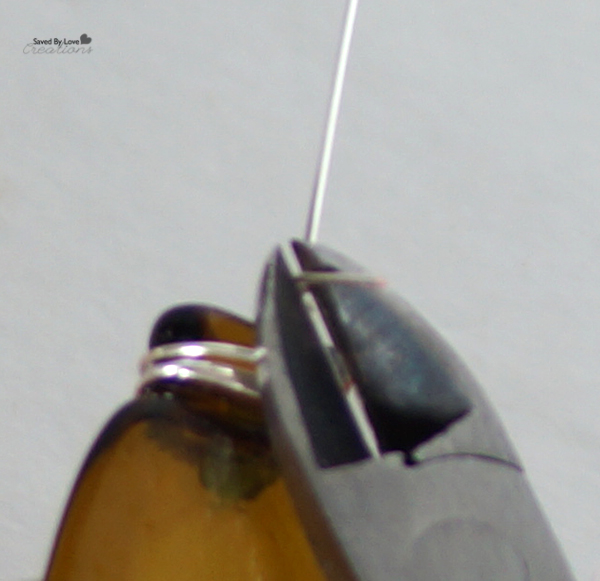
Trim the end of the wire you just coiled.

How to wire wrap jewelry7

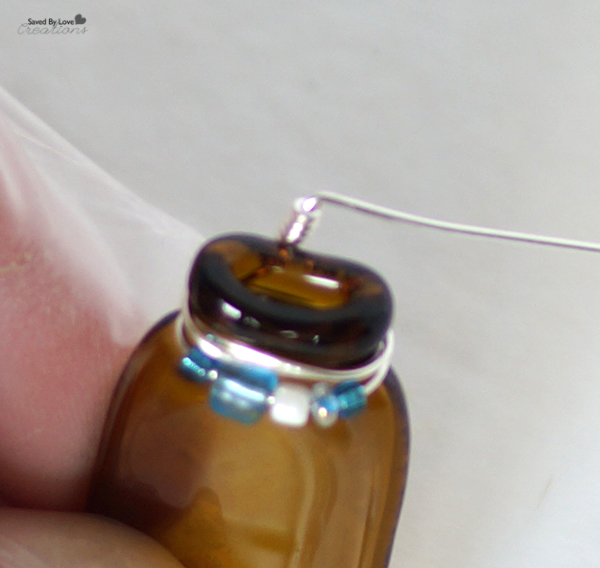
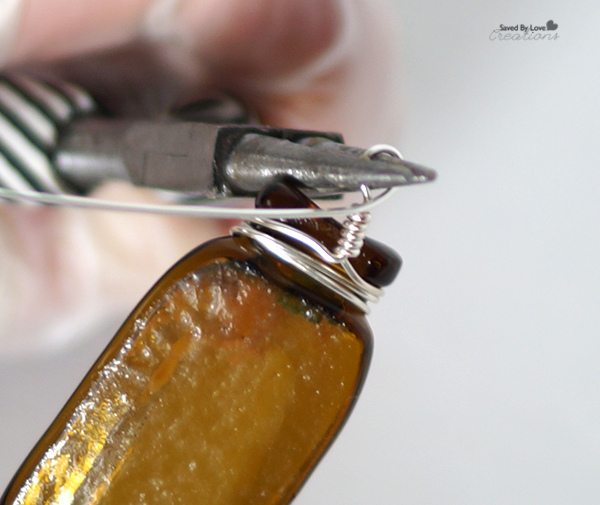
Use the flat nose pliers to bend the remaining tail to form a 90 degree angle.

How to wire wrap jewelry9

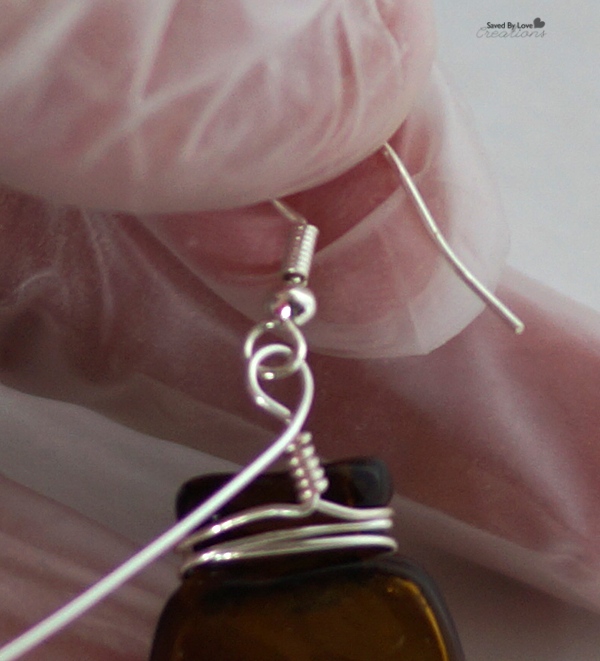
With the round nose pliers, form a loop as shown.

How to wire wrap jewelry10

Thread the ear wire onto the loop, then trim the excess tail.

Fused Amber Glass Bottle Earrings

I love them!  I can’t wait to make more.  Next I will use clear vials and color them with alcohol ink.  Exciting stuff!

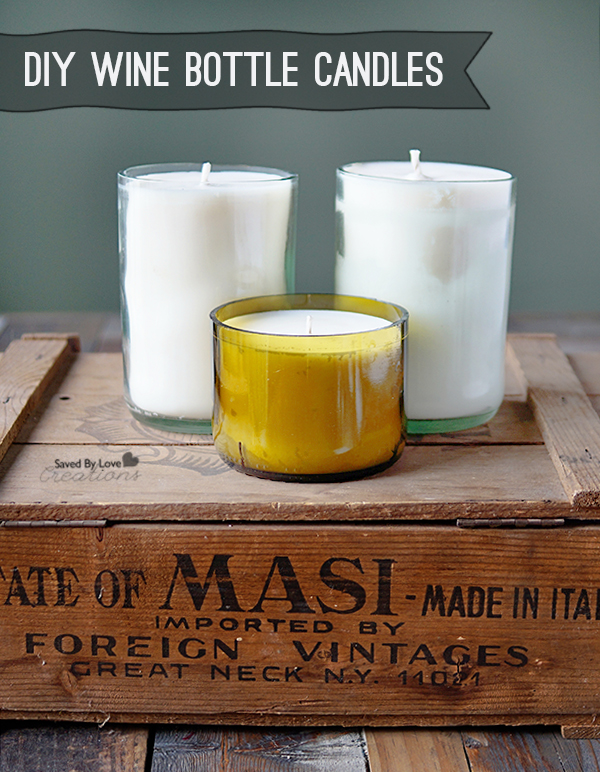
DIY Wine Bottle Candles

How to make Wine Bottle Candles @savedbyloves

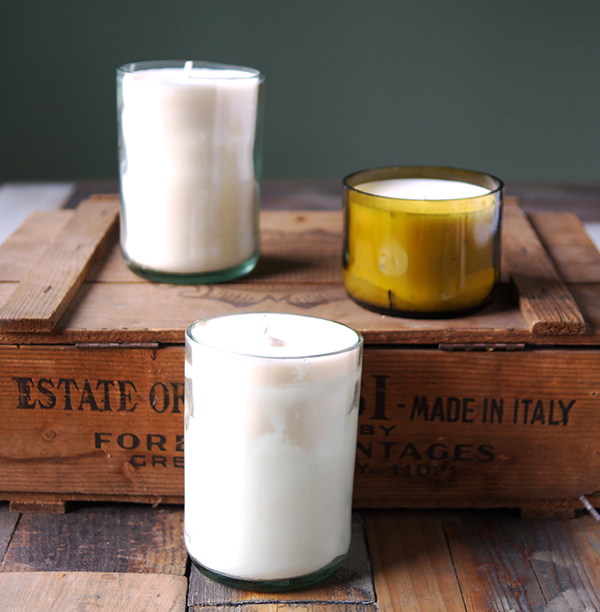
Scented with your favorite fragrance, these beeswax and soy candles are easy to make and great for all occasions!  We will be cutting wine bottles and using the bottom section as a container for pouring our candles.  Get started now and give these inexpensive, eco-friendly, handmade treasures as Christmas gifts that are sure to impress!

 MATERIALS


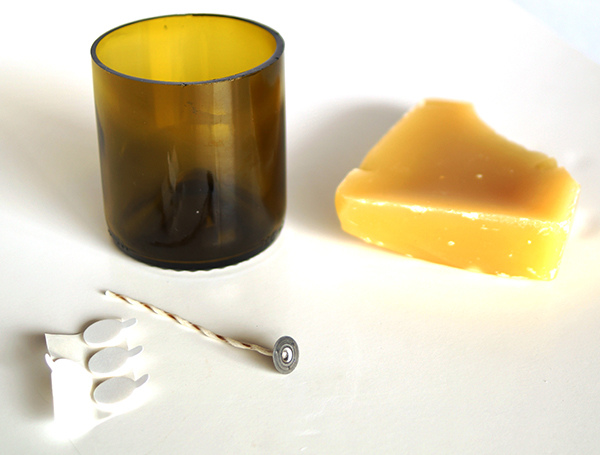
Wine Bottle Candles 1

Beeswax or Soy Wax

Scented Oil

Soy wicks on metal tabs

Double sided adhesive

Melting Pot and large sauce pan for boiling water

Cut wine bottles for candle containers (See How I Cut Wine Bottles)

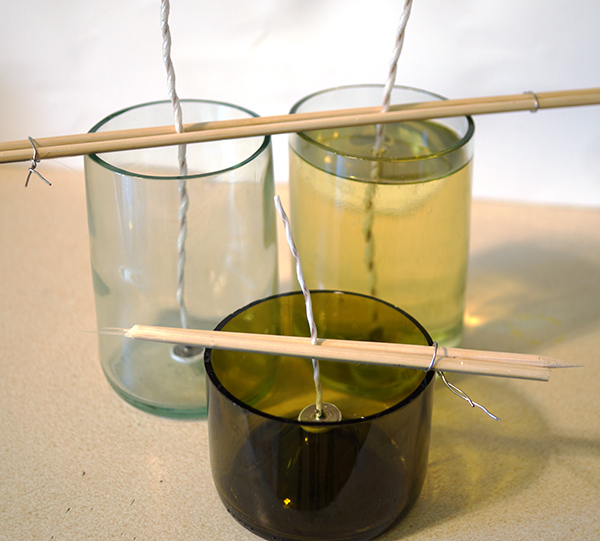
Bamboo Skewer or pencil

Craft wire or rubberbands

Scissors

Lint free cloth

Soap and water or glass cleaner

 DIRECTIONS

 1.  Melt wax per instructions.  I used an aluminum melting pot placed in a large sauce pan of boiling water.  Add scent if you are going to do that.

Wine Bottle Candles 2

2.  While that is melting, prepare container and wick. Clean container well and dry with a lint free cloth.  Adhere wick tab to double sided adhesive, and stick other side into container.

Wine Bottle Candles 3

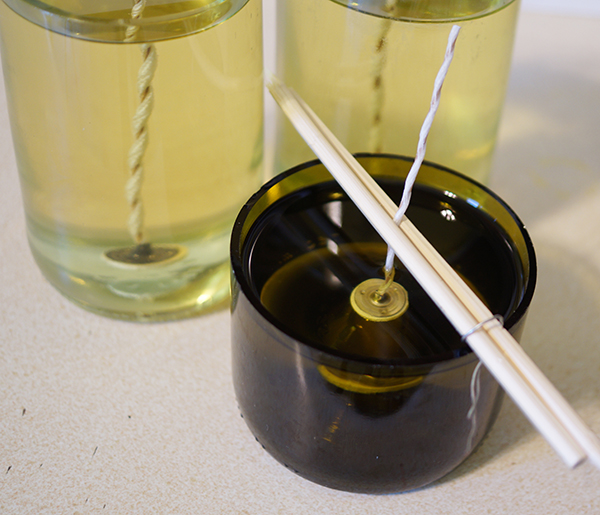
  1. Wrap excess wick around dowel rod, centered so that wicks are straight up and down.  Use wire or rubber band to attach a second dowel rod to the first, sandwiching the wick in place.

Wine Bottle Candles 4

4.  Pour in wax until container is as full as you would like.  Let sit overnight, trim wicks and enjoy!

Wine Bottle Candles 5

EXTRA TIPS

○ Use printable labels to customize your candles for gifts and holidays.  Etch monograms and patterns like I showed you in the Monogram Tumblers project!

For more inspiration, visit our 50+ Glass Bottle Crafts:

Cut Wine Bottle Bracelets

Create Bracelet From Wine Bottle Glass

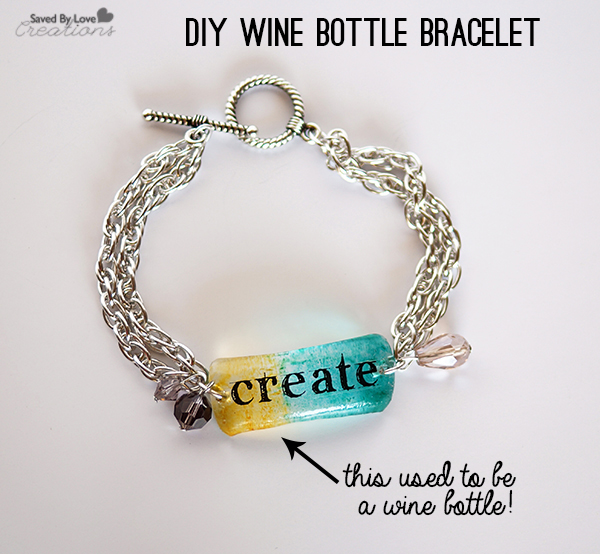
Your friends will be amazed when you tell them these bracelets use to be wine bottles!  This project involves cutting glass and firing in a kiln, but you could do a version without the kiln too.  Use rub on transfers and alcohol inks to create a piece of wearable art!

MATERIALS

-glass bottle label removing and cleaning supplies (see techniques)

-glass bottle cutting supplies (see techniques)

-stainless steel measuring cup

-kiln

-kiln wash

-glass drilling supplies

-jewelry chain

-jump rings

-toggle clasp

-two pairs of jewelry pliers; flat and or needle nosed

-alcohol inks and felt pad applicator

-non stick craft sheet

-rub on transfers

-beads and charms for embellishing as desired

-permanent marker

 DIRECTIONS

 1.  Cut a ring from your chosen bottle (See How to Cut Wine Bottles)

Make jewelry from wine bottles

Wine Bottle Bracelets 3

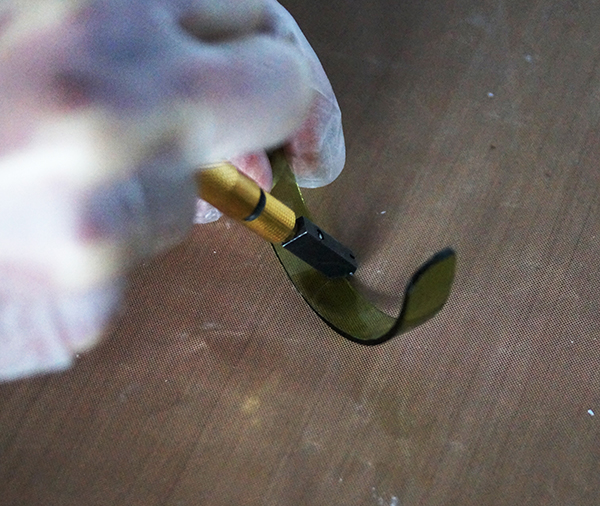
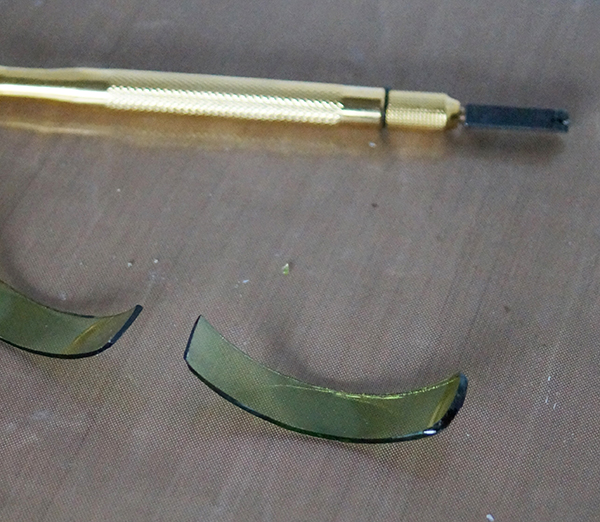
2.  Carefully score ring with glass cutter and tap to break score, leaving you with a half circle.  Score this to the size you would like your bracelet to be, about 2.5 inches.

 Wine Bottle Bracelets 4

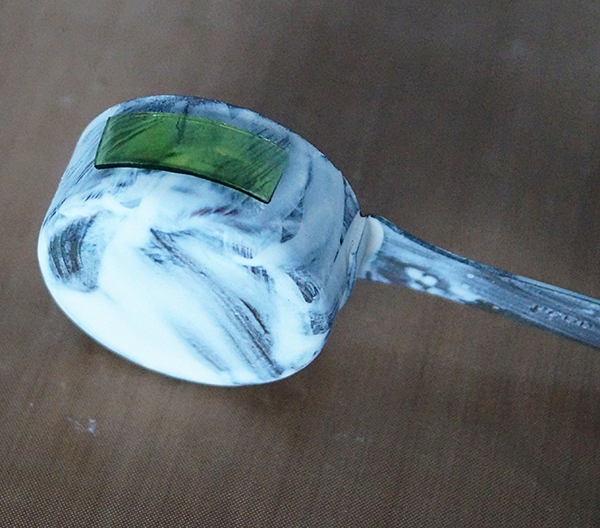
3.  Place bracelet piece on kiln washed stainless steel mold or measuring cup as shown and fire to full fuse (see techniques).

Wine Bottle Bracelets 5

4.  Once the bracelet is cool, remove it from the kiln.  Mark for placement of holes where chain will be attached with a jump ring.

Wine Bottle Bracelets 6

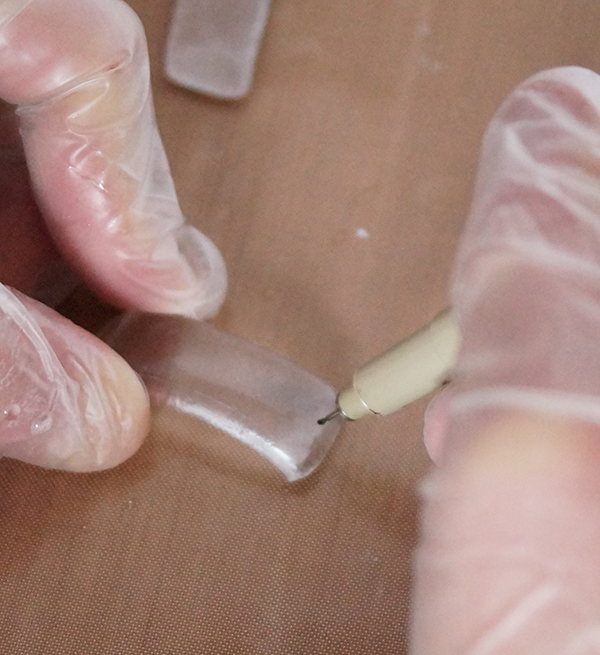
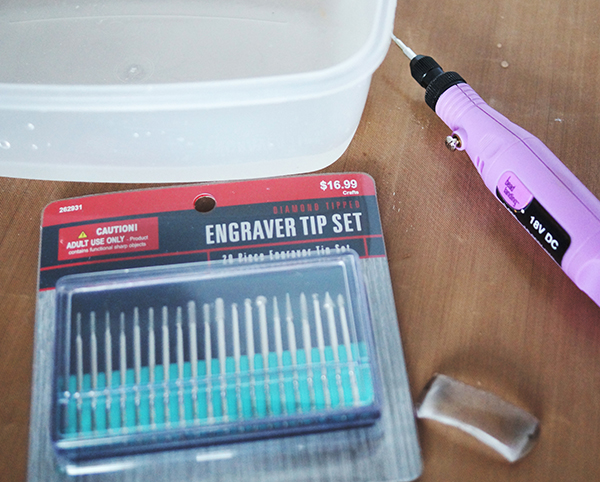
5.  Drill the holes using small diamond bits (see How to Drill Holes in Glass).  I use this diamond tipped micro engraving drill bit kit for my small holes.

Wine Bottle Bracelets 7

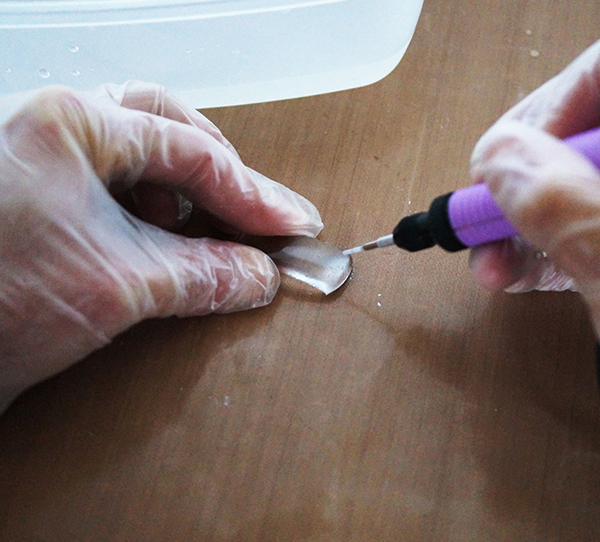
6.  Begin drilling at the mark, coming in at an angle to start your hole, then moving to 90 degrees as described in the techiques.  Make sure to cool the drill bit in water every 30 seconds or so to prevent glass from shattering due to heat.

Wine Bottle Bracelets 10

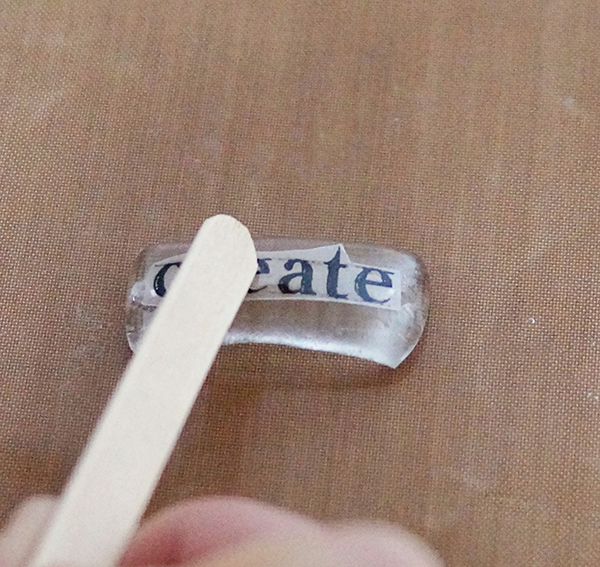
7.  Apply rub on transfer per instructions to the front surface of the bracelet.

Wine Bottle Bracelets 12

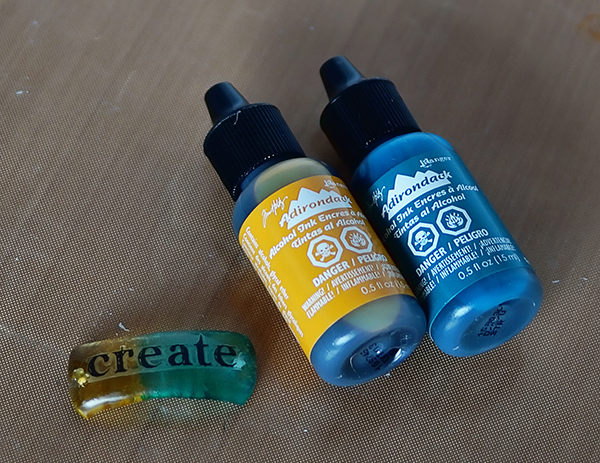
8.  Use felt applicator or brush to apply alcohol inks to back surface of bracelet.

 Wine Bottle Bracelets 14

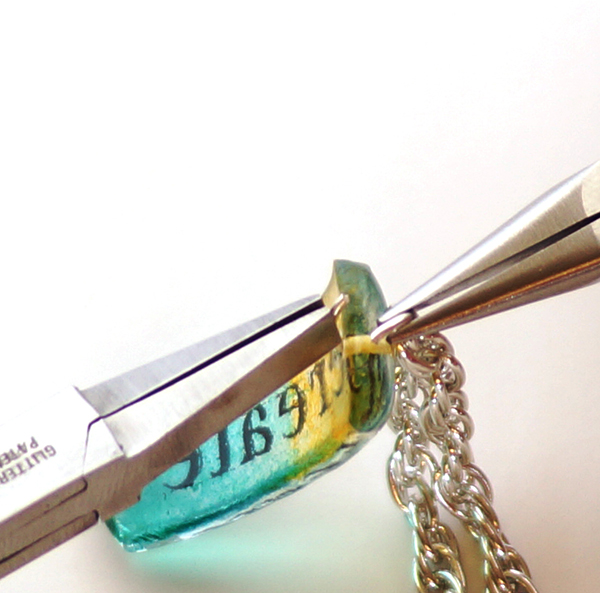
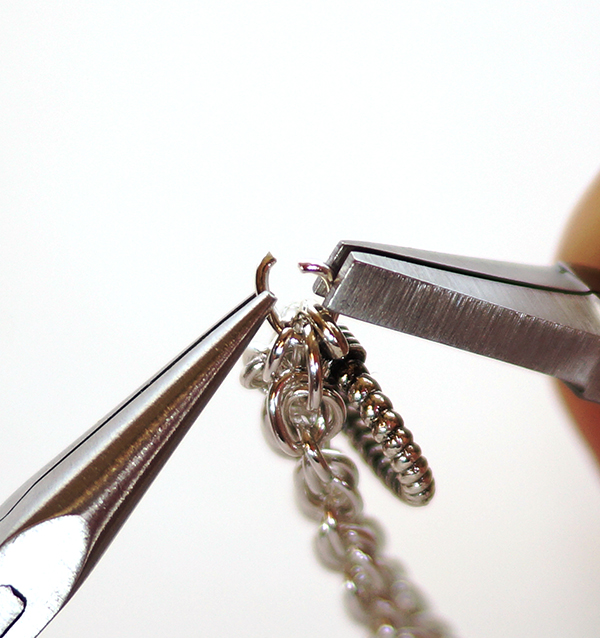
9.  Open jump ring using two sets of pliers to twist each end in opposite directions.  Do not pull ends apart to open, rather twist open as shown.

10.  Attach the appropriate length of chain to get desired bracelet length and close jump ring by twisting ends back together.  Keep in mind the closure will add about ½ inch to the length of the bracelet.

Wine Bottle Bracelets 15

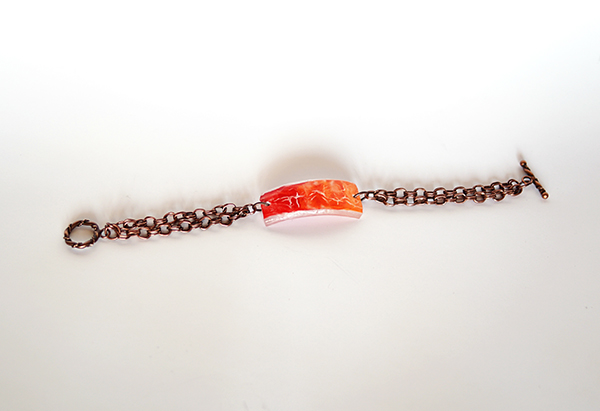
11.  To finish, attach toggle clasp ring to one end and bar to the other, using a jump ring for each.

 Bracelet on Fire

EXTRA TIPS

○ Create custom bracelets, earrings and pendants using this technique.  Use blank rub on transfer paper made for inkjets to transfer your own designs to your recycled glass jewelry!

DIY Easy Cork Monogram Earrings

[pinit]Mongram Cork Earrings[pinit]

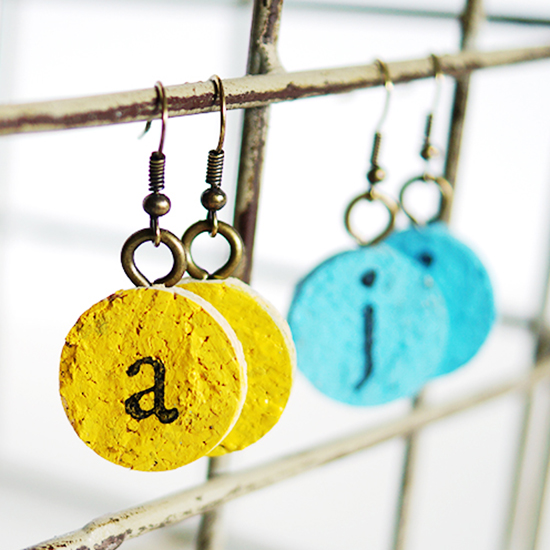
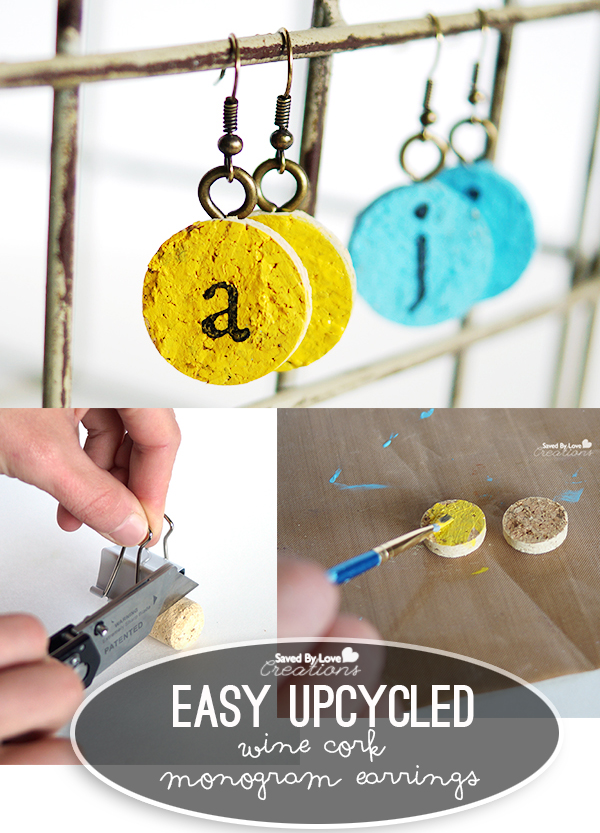
 Did you know that wine corks can be sliced into disks, painted, inked and stamped to create beautiful custom jewelry.  Not only are these monogram stamped earrings stylish and eco friendly, but they are light as a feather.  The customization possibilities are infinite!  Follow the steps below to make your own, or use the same process to make pendants, charm bracelets and wine glass tags!

Monogram Wine Cork Earrings DIY Upcycled Jewelry from @savedbyloves

CLICK HERE FOR MATERIALS LIST AND TUTORIAL


Easy Silkscreen Polymer Clay Jewelry Tutorial #ScupleyProjects

[pinit]

How to Make Polymer Clay Jewelry[pinit]

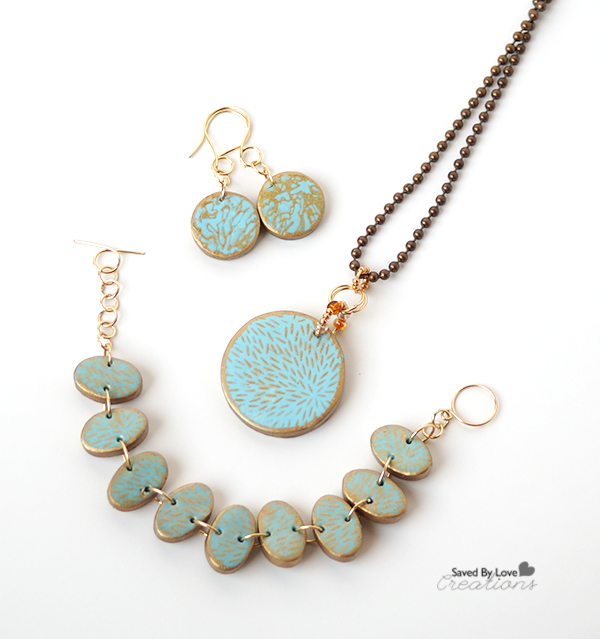
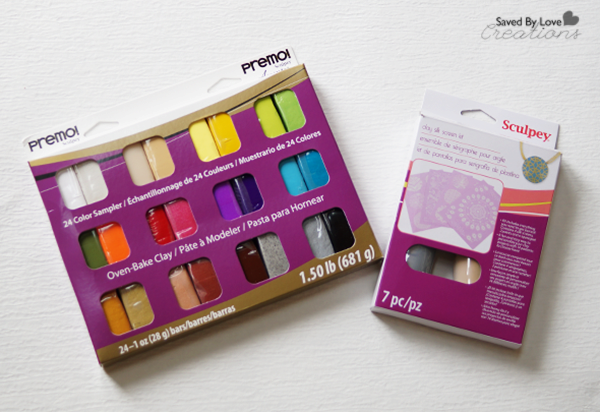
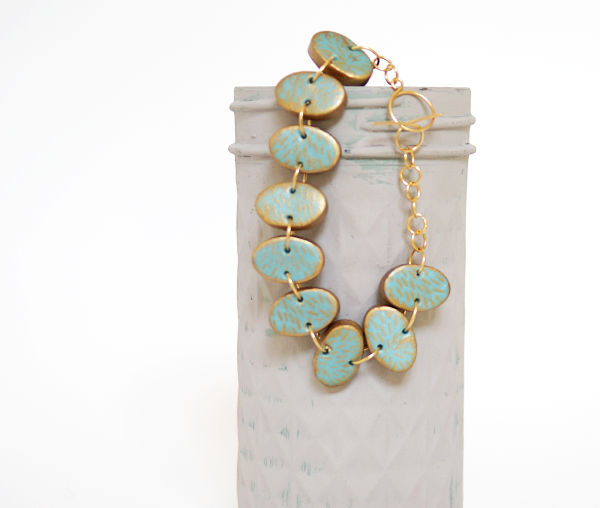
I haven’t had my hands on clay for way too long.  The new Silkscreen Kit from Premo Clay was the perfect way to jump back into the medium.  If you haven’t experimented with polymer clay, stop reading this and go find some.  You will be amazed at the gorgeous pieces you can make right off the bat, from jewelry to home decor and more.  It is a medium that is very forgiving, versatile, and doesn’t require a bunch of expensive tools and equipment to get started.  Today I will show you how I made a lovely necklace, bracelet and pair of earrings that I kinda love a bunch.  You can make your own art jewelry with just a few simple supplies.  Let’s get started!

Premo Clay Jewelry Tutorial

SUPPLIES:

Polymer Clay Silkscreen Kit #SculpeyProjects

Premo Clay and Silkscreen Kit

Jump rings

2 Pairs of flat nose jewelry pliers

Toggle clasp

Earring findings

Necklace chain

Gold paint marker

Cookie cutters in circles and ovals

Bead reamer or toothpicks

Oven

Ceramic tile or flat baking pan dedicated to clay

Rolling pin or smooth bottle or glass

Protective gloves (these are optional but great for keeping clay fingerprint free)

TUTORIAL:

How to mix polymer clay colors

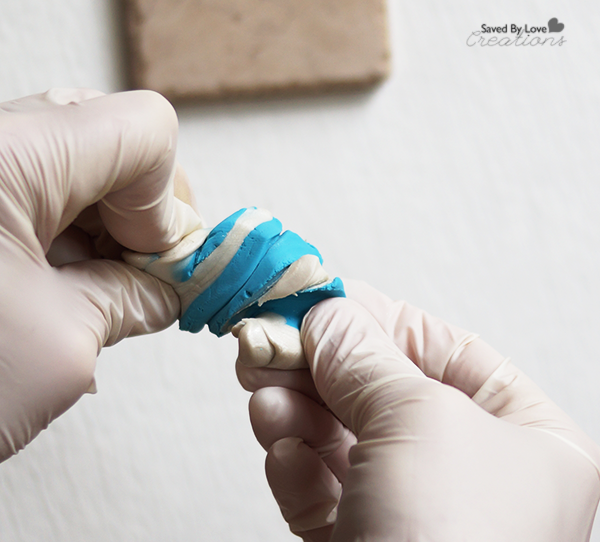
I began by mixing blue clay with pearly white to get my desired color.  Just twist the colors together as shown.  Continue twisting and kneading clay in your hands to mix the colors and warm/condition the clay.  Conditioning is essential when beginning any clay project.  It ensures the components of the clay are evenly distributed and the clay is soft and shapable.  This clay was super easy to condition.  I have worked with clay that is hard and brittle and takes forever to warm up, but this Premo was great!  Continue until the clay is the color and shade you want.

How to condition polymer clay

I used my Sculpey Clay Conditioning Machine to get a flat even sheet.  This costs about $20 and is well worth the investment if you are going to create with clay more than a couple of times.  You can also use a smooth glass, rolling pin or bottle to smooth the clay out on a bake-able surface.  I like to use tiles I pick up at Habitat Restore for a dime.  I have tons of them on hand for just this purpose.  Once the clay is rolled out, you don’t want to have to move it, as it will become distorted and uneven until it is baked and therefore hardened.  Having it on a surface you can just stick in the oven is super handy.

Premo Polymer Clay Silkscreen Kit #SculpeyProjects

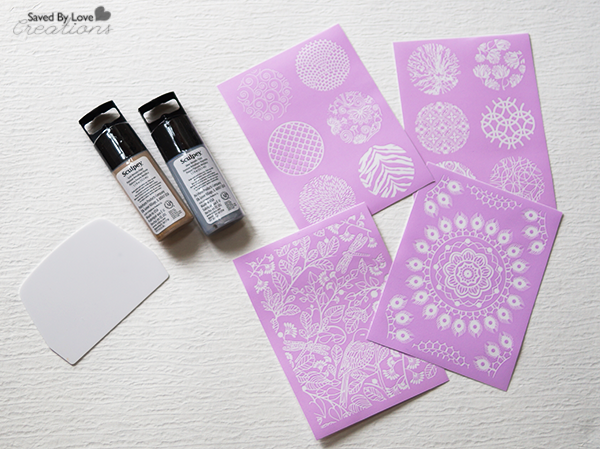
The kit comes with silver metallic paint, gold metallic paint, 4 reusable screens (totaling 2 large single patterns and 12 mini patterns) and a squeegee.  Aren’t the designs so fun?!

How to silkscreen

Premo Polymer Clay Silkscreen Kit Jewelry Tutorial #SculpeyProjects

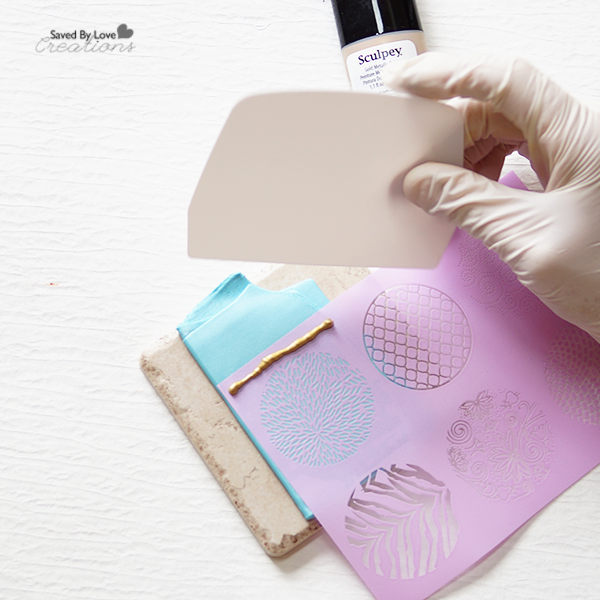
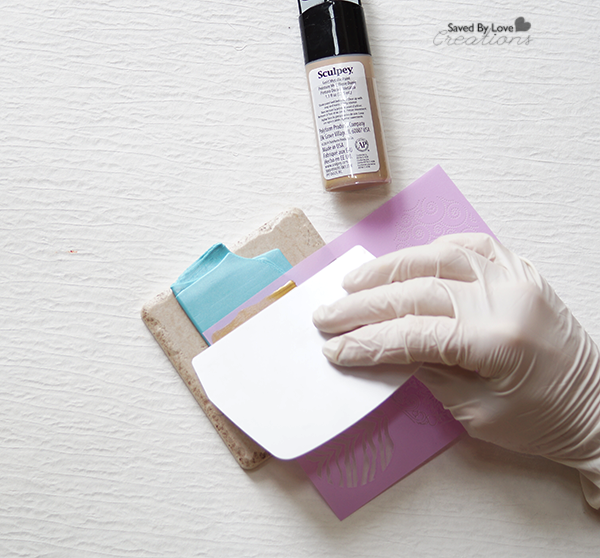
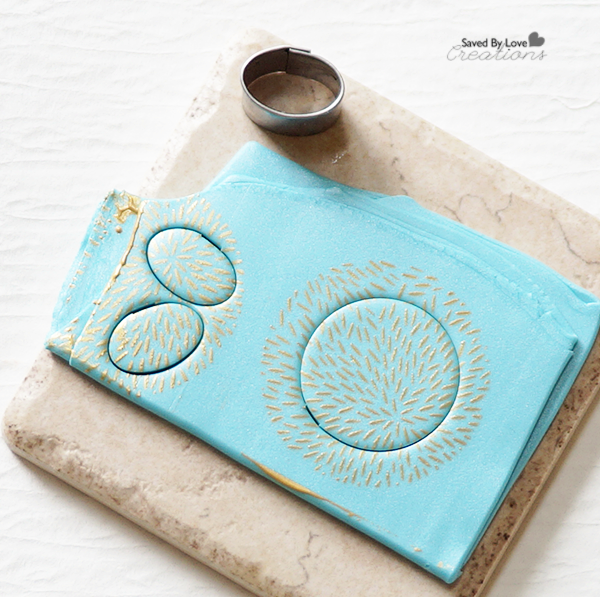
I choose my design, placed a thin line of gold paint, and used the squeegee to pull the color across the screen, lightly so as not to indent the clay.

How to Make Polymer Clay Silkscreen Jewelry

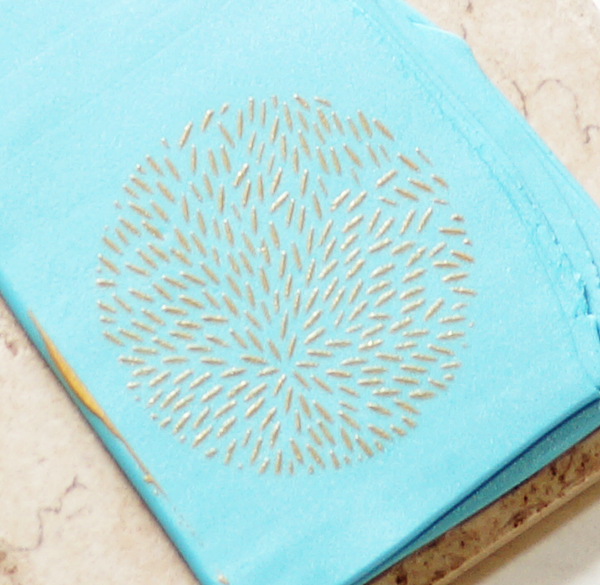
Here is what it looked like after the first try!  So easy and pretty.

TIP:  Make sure to immediately was the screen and squeegee so the paint doesn’t dry on them.  You want to reuse them for as long as possible!

How to Cut Shapes in Clay

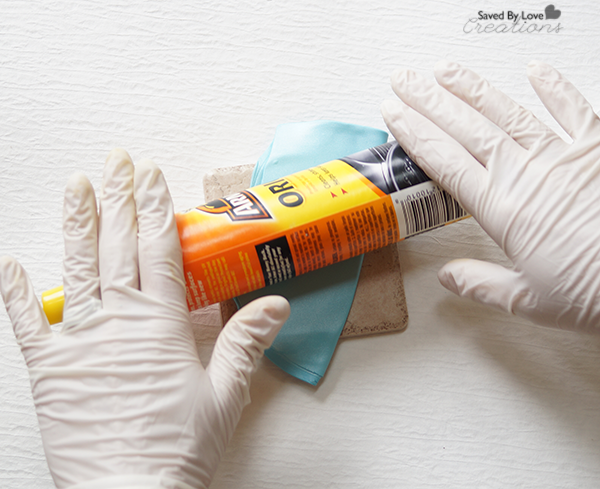
TIP:  Spray armor-all onto the cookie cutter inner and outer edge so that the clay won’t stick to it and come up off the surface when you lift the cutter away after cutting.

Easy Free Polymer Clay Jewelry Tutorials

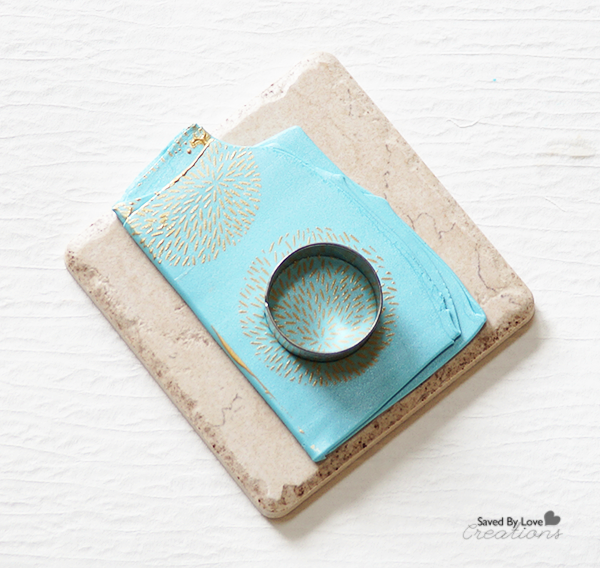
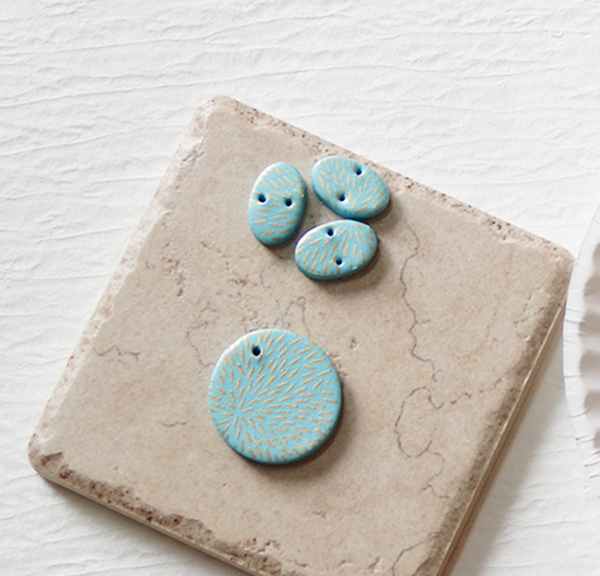
Choose an area and a cookie cutter and press it into the clay to cut shapes.  I used circles large and medium for the pendant an earrings.  For the bracelet I used a small oval cutter.

Pull the “scrap clay” away from the cut shapes and set aside.  You can recondition it and reuse it, even if it has paint on it.  Just mix it in by conditioning it with your hands or pasta machine.

How to attach clay pieces

To create holes for jump rings in your pieces, you can use a toothpick while the clay is still raw, or use a bead reamer or drill after baking the clay.  Manipulating the clay while raw always carries the risk of distorting it, so I usually wait until it is baked before creating holes.  For this project I went ahead and made the holes while the clay was raw since I was going for an organic, imperfect feel.

How to seal polymer clay

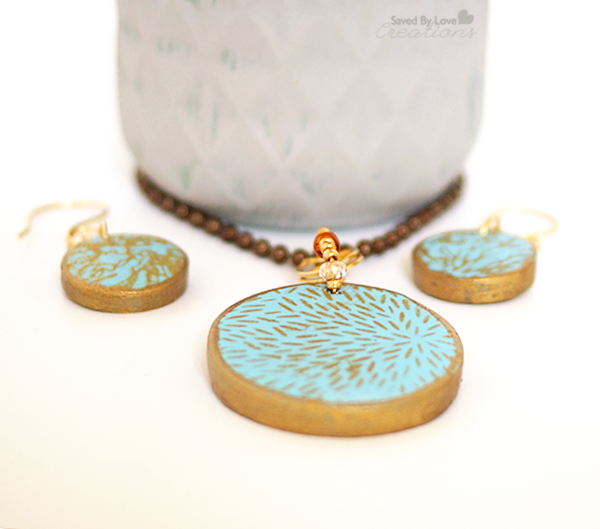
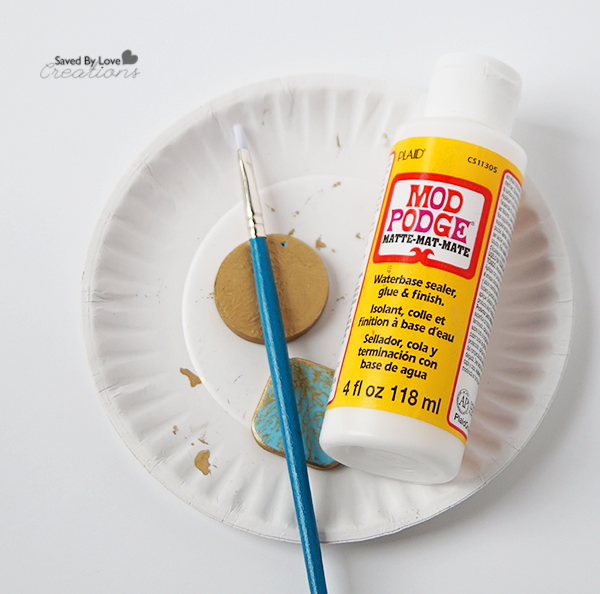
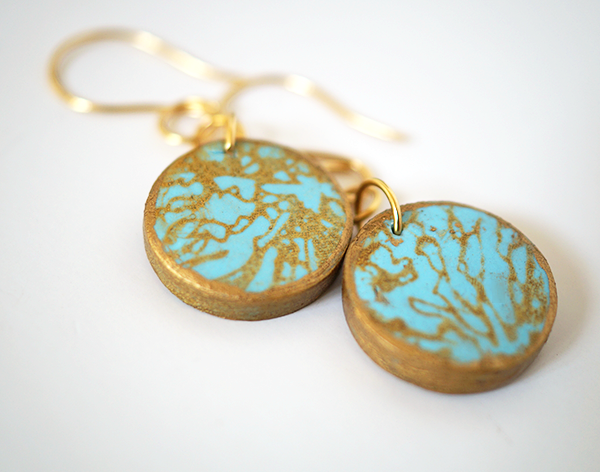
I baked my pieces at 260 for 45 minutes and let them cool.  I painted the edges and back with a gold paint marker and sealed the pieces with Matte Mod Podge after the paint dried.Polymer Clay Silkscreen Earrings DIY

I used 2o gauge gold wire to create jump rings, earring findings and a toggle clasp for my finished pieces.  You can save money and get a unique look to your pieces by making your own findings, or purchase pre made findings.

DIY Polymer Clay Easy Bracelet Tutorial

This new kit from Premo has ignited my clay jewelry flame once again!  I have made several more pieces that you will be seeing in the future.  I hope you are inspired to try some clay projects.  It is so easy, inexpensive and you will be amazed at the gorgeous projects you can make from the get go.

For more clay inspiration and product updates, follow Premo Clay on FacebookTwitterPinterest, and Instagram!


Disclosure: I received product and compensation from Polyform and Blueprint Social in exchange for my campaign.  All opinions are honest and mine, as always!

Check out what other bloggers have been up to using Premo Clay Jewelry Products!

DIY Paper Hydrangeas

[pinit]

how to make paper hydrangeas[pinit]

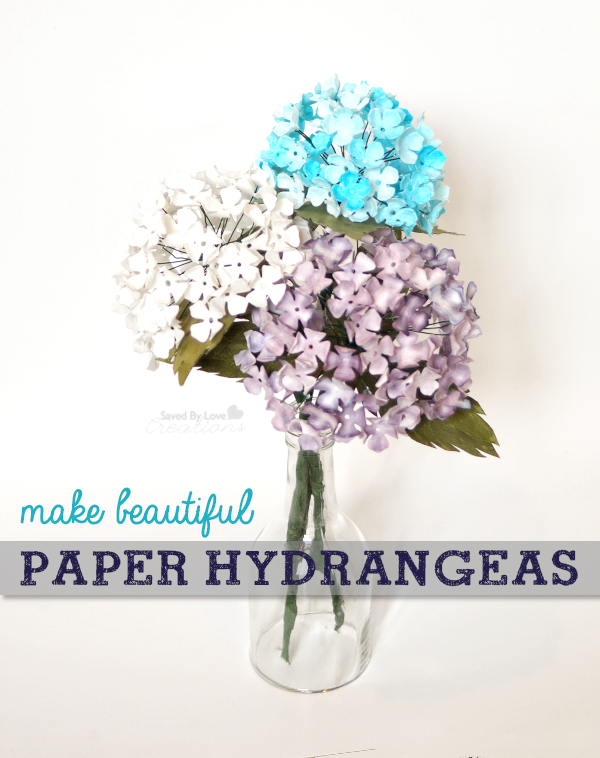
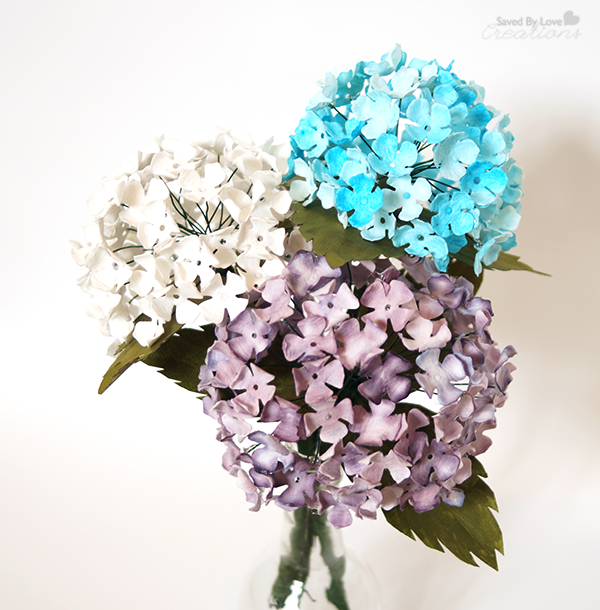
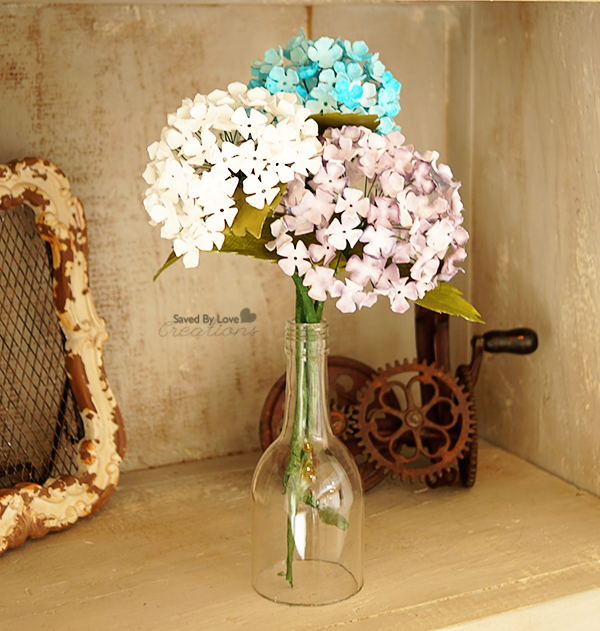
What is better than a bouquet of fresh hydrangeas?  A bouquet of paper hydrangeas that don’t ever wilt!  Today I am sharing with you this easy, however time consuming, paper hydrangea tutorial.  I am going to be upfront here… this project to me way longer than I expected.  That said, it is a perfect way to keep creative while chilling in front of your favorite t.v. series.  I used a Sizzix die for my project, but Lia Griffith has a great Paper Hydrangea Printable Template and DIY that I featured at Printable Decor recently.

How to make paper flower bouquet

I used wonderful filter paper that I got from Materials for the Arts in Bloomington.  If you are a crafter/artist and don’t have a relationship with your local recycling center, you could be missing out big time!

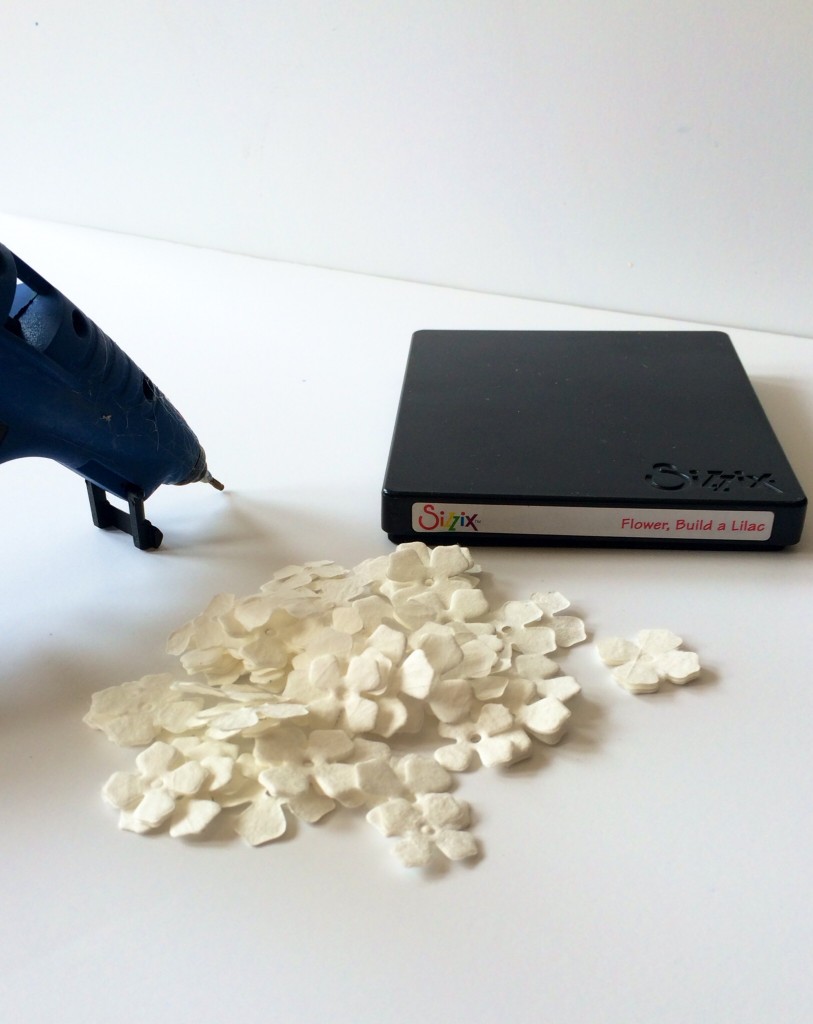
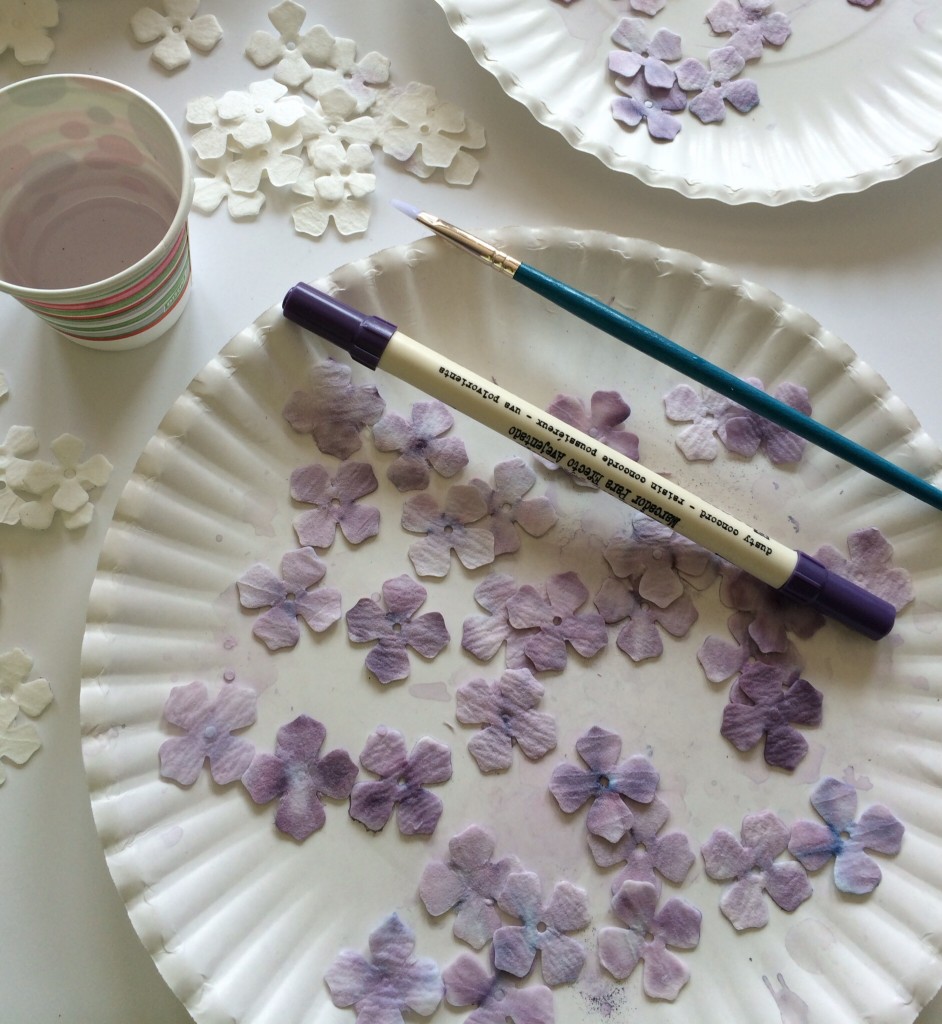
imageI die cut the petals with my Sizzix Lilac Die and colored them with distress markers. For a watercolor effect I painted over the marker with a wet paintbrush. You could use watercolor or acrylics too.

image

I followed Lia’s tutorial linked above to assemble my flowers. Holy ninjas, that took forever. It was totally worth it though.
Papercrafting tutorial paper hydrangeas

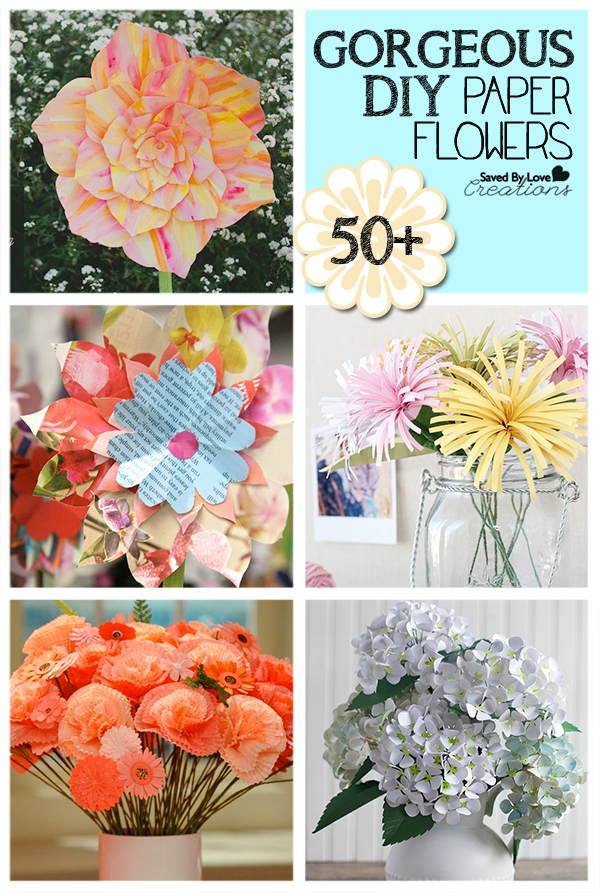
For more paper flower tutorials and awesomeness, visit our 50+ DIY Paper Flowers Roundup;

Dollar Store Craft DIY Mercury Glass Votive Holder From Martini Glass

[pinit]How to Make Mercury Glass Candle Holder[pinit]

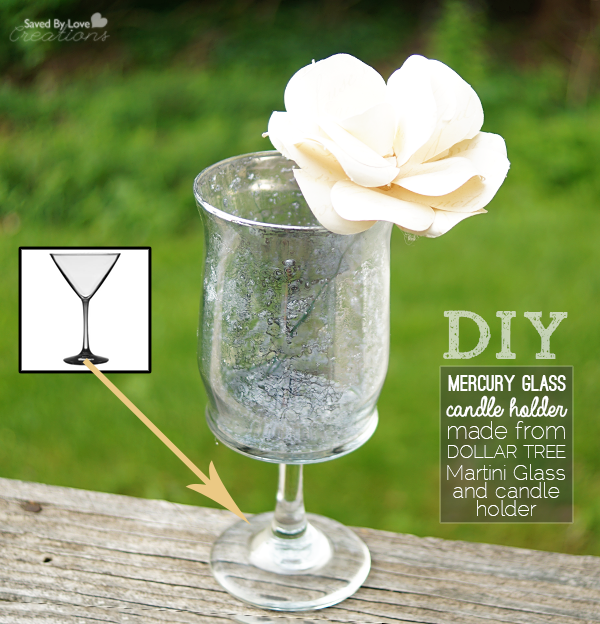
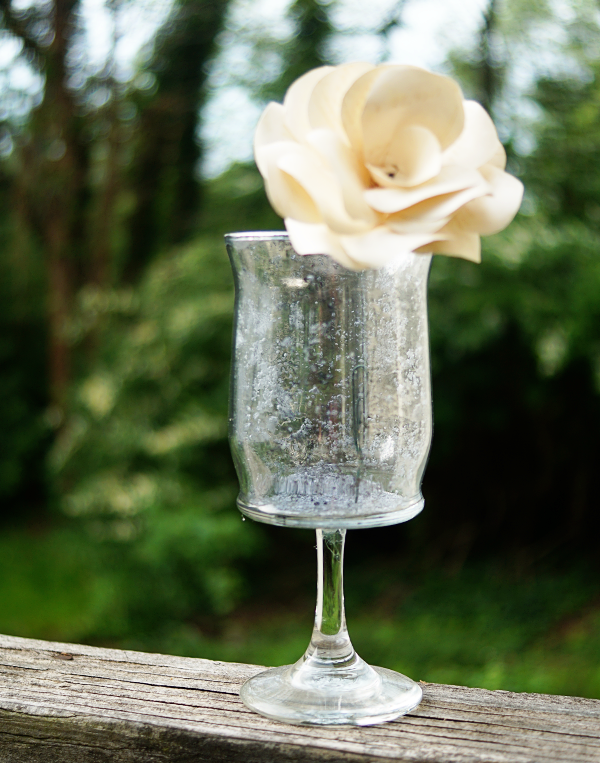
I am excited to share with you this Dollar Store Craft, a lovely DIY mercury glass candle holder.  I made it from the stem of a dollar store martini glass and a dollar store candle holder!  Read on to see how I removed the stem and attached it to the holder, and how I created the mercury glass finish with Krylon Looking Glass Spray Paint.

SUPPLIES:

DIY Mercury Glass With Looking Glass Spray Paint

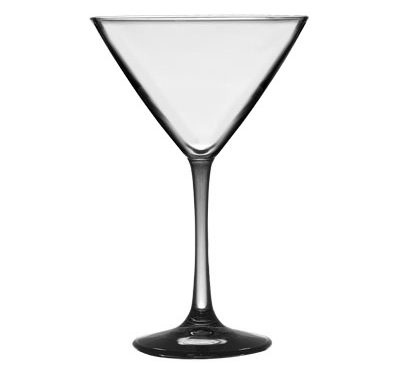
Dollar Store Martini Glass

Krylon Looking Glass Spray Paint

Martini Glass

Glass Cutter

Butane Micro Torch or candle and lighter

Bucket of cold water

Coarse sand paper or grinder with diamond bit for glass

E6000

TUTORIAL:

Make a score line around the stem of the martini glass at its top where the stem meets the upper part of the martini glass.

How to cut glass

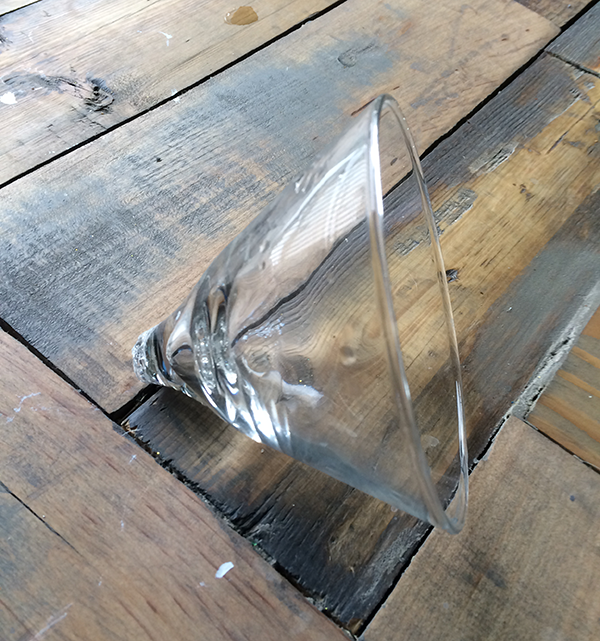
Apply heat to score line and submerge in cold water to separate the stem at the score line like I showed you in this DIY Wine Bottle Rings tutorial.

Sand or grind top of separated stem to give a flat surface for gluing to the bottom of the glass candle holder.

Dollar Store Craft

Here is the glass I used to glue onto the stem of the martini glass.  I used E6000 on to attach two pieces, and placed the glued pieces against the wall for support while drying.  Let dry several hours before applying the mercury glass finish in the next steps!

DIY Mercury Glass Tutorial

Mercury Glass DIY

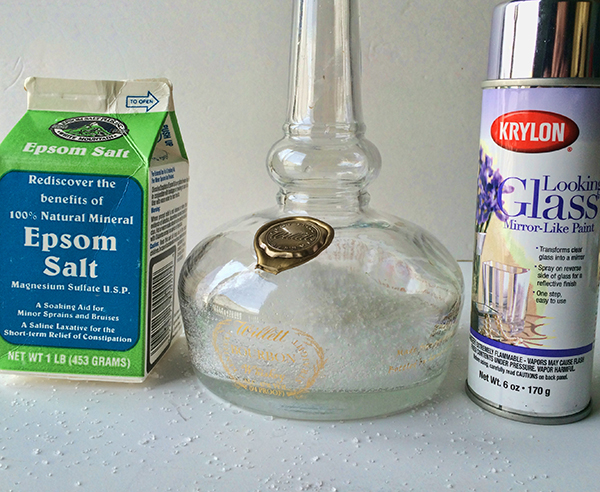
Pour Epson salt into the glass so that to about one inch from the bottom.  It is not important to be exact here.

 In a well ventilated area with protected work surface, spray looking glass paint inside of the glass at the rim. Make sure to follow instructions on label. You want to shake the can vigourously before using.

Shake the glass a snow globe (holding your hand over the top), so that the salt grabs the paint and drags it around. This will create the mercury glass look.

Repeat steps 5 and 6 a few more times, allowing each coat to dry for about 5 minutes before applying the next. Stop when are happy with the look!

Privacy Policy