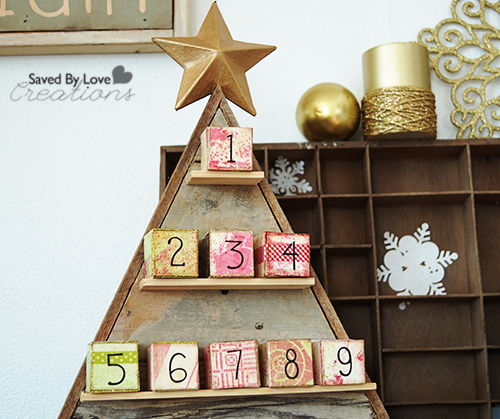
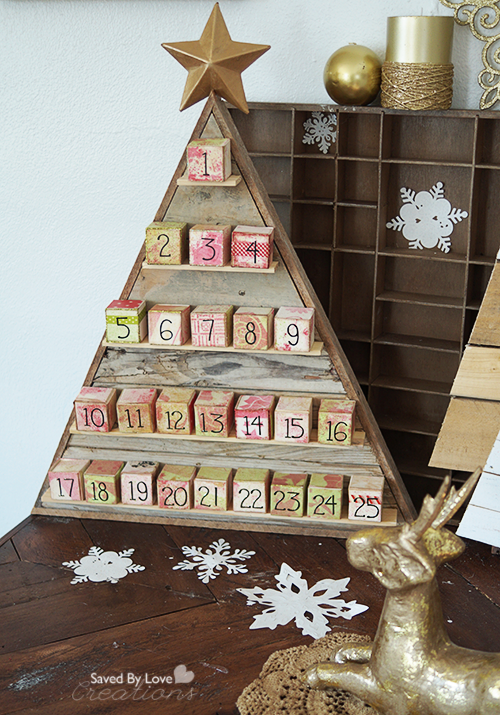
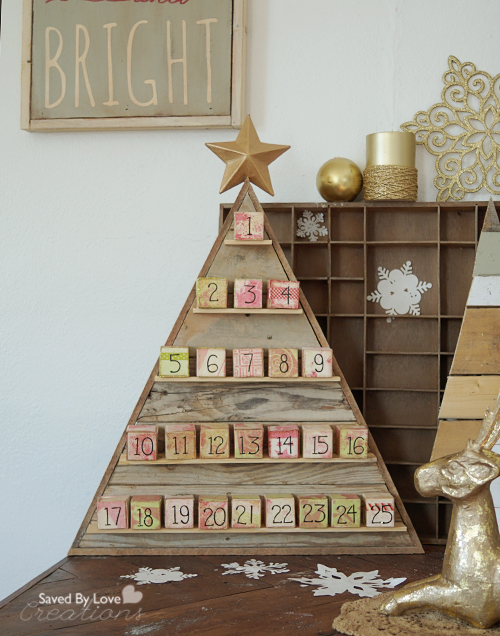
Today’s project is a rustic, reclaimed wood Christmas tree advent calendar that you can make for little to no cost! Building from salvaged wood and paper crafting all in one project! I created the blocks using Eileen Hull’s (soon to be released) Scoreboards Block dies. The die makes blocks in three sizes, for tons of creative potential. Think about artist trading cards, but 3-D! Last Christmas I showed you how to make an advent calendar from wooden blocks, and that is the first thing I thought of when I saw this die. Read on to see how I used stencils from Stencil Girl, spray ink, number stickers and washi tape to decorate my mat board cubes. Watch the video to make your own tree, or display your blocks freestanding. These would make great Christmas gifts and decor for your holiday get togethers.
SUPPLIES:
For the Blocks
Mat Board
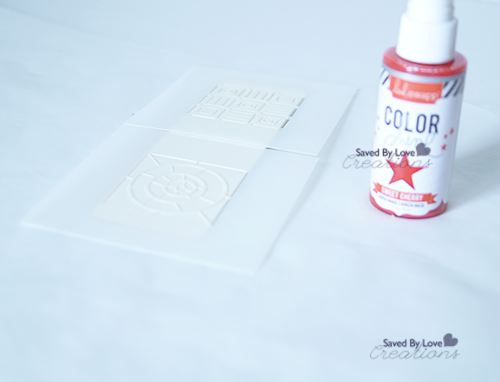
Heidi Swapp Spray ink Gold, Green, Red
Stickles in red, green, gold
Washi Tape in Christmas Patterns
Stencils (I used Stencil Girl)
Mod Podge Antique
For the Tree
Scrap wood
Mitre Saw
Nailer or hammer and nails
Wood Glue
E6000
5 gallon paint stirrers
TUTORIAL:
ADVENT BLOCKS
You may want to decorate your cubes before assembling them into the 3D shape. First I will show you assembly, then how I decorated my cubes.
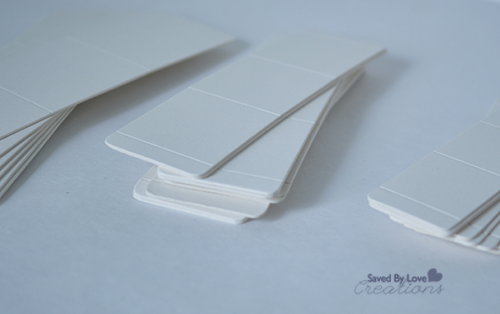
I chose the smallest of the three cubes for my calendar. This is what the mat board looks like after it is cut with Eileen’s awesome new die!
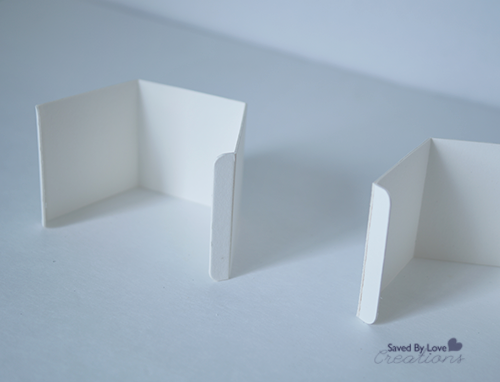
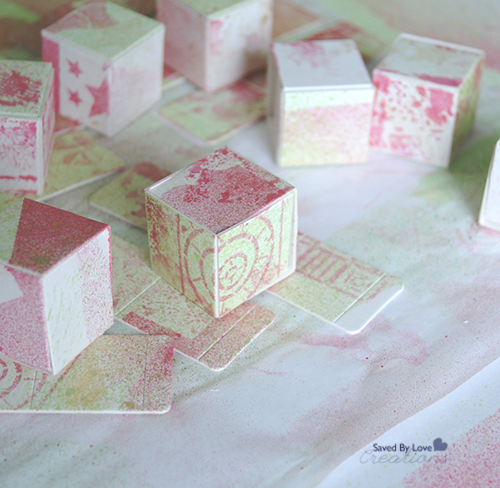
Fold cubes along score lines. Two of the scored rectangles are needed for each cube. Place them together to form the cube. You can glue the tabs in place if you would like, but I didn’t find it necessary with the mat board. I haven’t tried other paper.
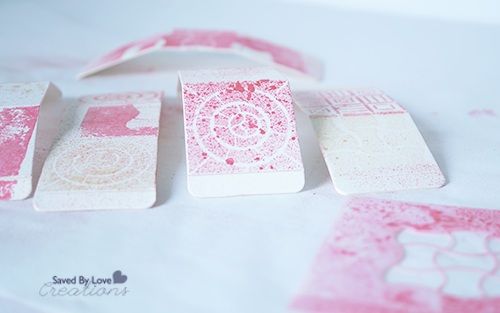
Place stencils over blocks and spray.
Clean up excess ink that’s on the stencils for a reverse image on the blocks, and you waste less ink!
I used red, gold and green sprays, allowing about 10 minutes dry time between each color.
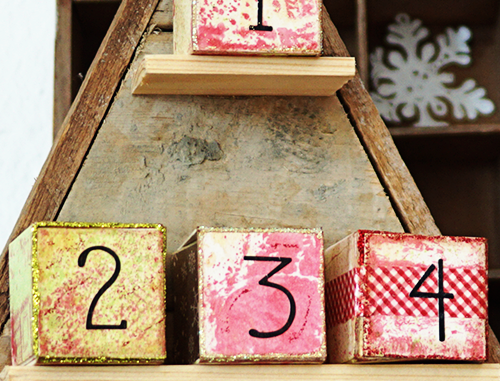
Once that dried, I adhered washi tape to some blocks, the black sticker numbers and coated with the front surface with Mod Podge Antique for an aged look. I thought it needed some sparkle, so I added stickles in red, green and gold.
RECLAIMED WOOD CHRISTMAS TREE
I made the tree like I showed you in this DIY wood pallet Christmas Tree post, and in the video at the end of this post. The only difference is I used chippy, weathered 2×4 scrap wood I found at a demolition site. I determined the dimensions of my tree based on the 1.5 inch advent cubes. The base is 19 inches, and the height is 20 inches without the frame.

I made the five shelves from paint stirrers, cutting them with the mitre saw to lengths that allowed 2 inches for each block. So the first one is 2 inches, then 6 inches and so on, 10 inches, 14 inches and finally 18 inches for the bottom shelf. I laid the tree flat and added a thin line of E6000 to the back of the paint stirrer and placed them on the tree where I wanted the shelves.
I decided to use scrap wood strips to frame the tree, just cutting to length with my mitre saw and using my Ryobi nailer to attach.
I hope you enjoyed the project and the blocks as much as I did! Visit Artists on the Block for more news, updates and projects as artist trading blocks take over the mixed media community!
Be sure and visit other projects using the blocks in the Stencil Girl and Sizzix Artist Trading Blocks Hop

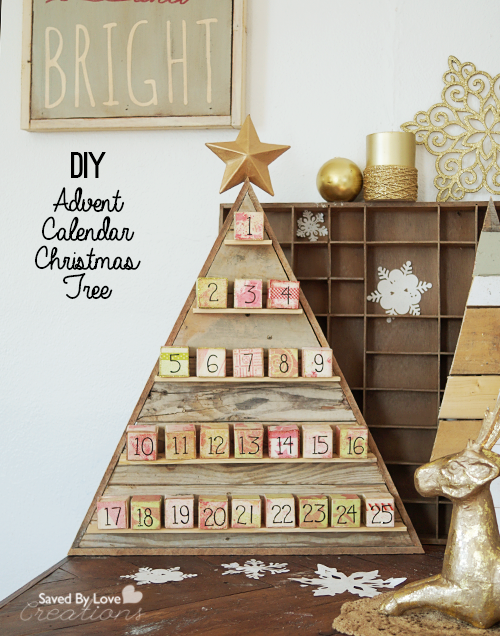 [pinit]