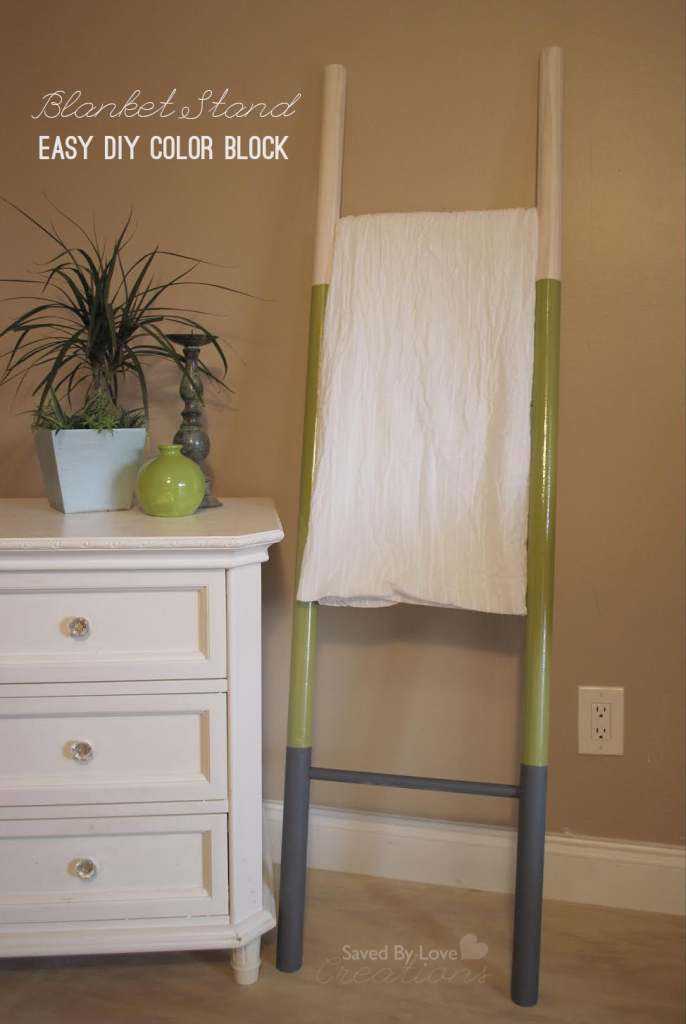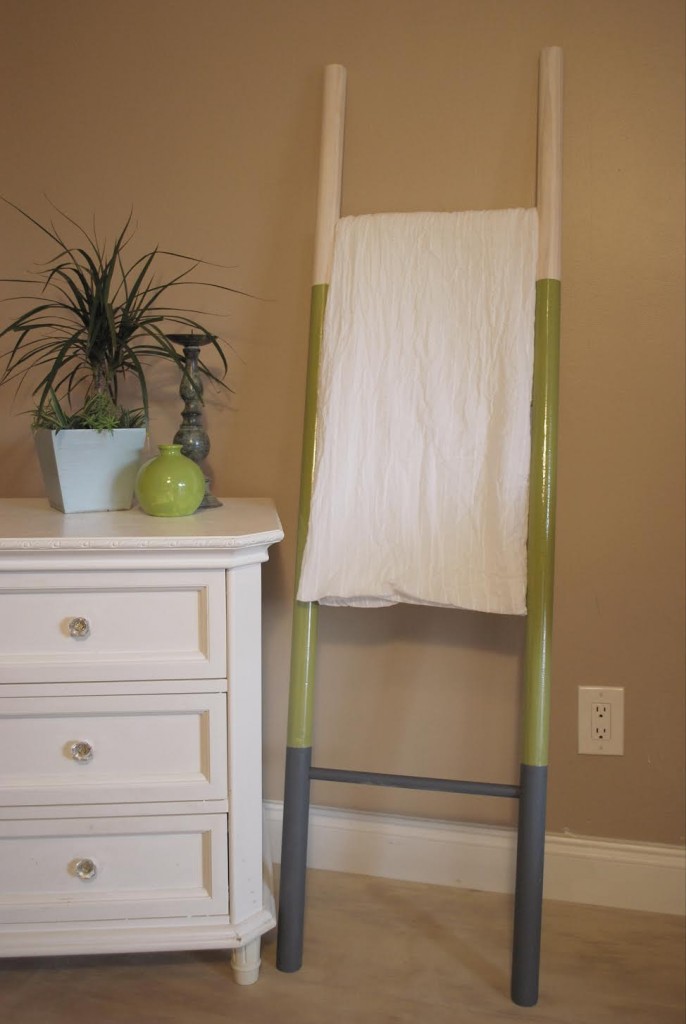
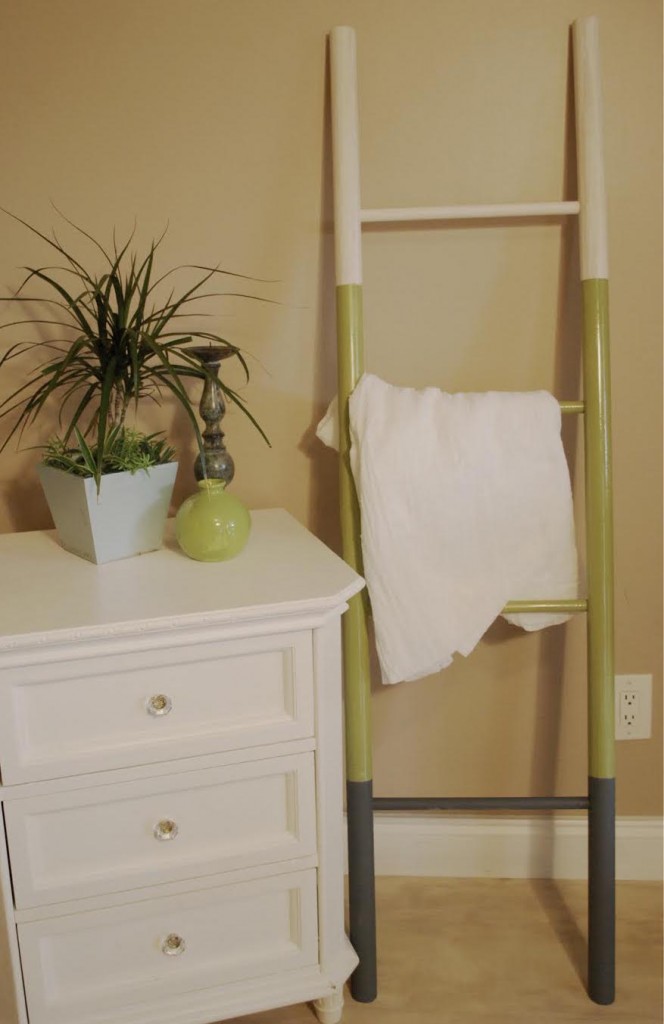
As functional as it is chic, this blanket stand can hold several blankets while only taking up minimal floor space. The fun color block pattern adds some visual interest to your walls, and depending on the blankets, you can create a variety of interchangeable styles for your living room. Lean it against the wall by your couch for easy access to blankets on movie night and when the weather is warm, the blanket stand’s slim design stays out of the way.
Supplies:
- Two 1 ½“ x 5’ pine handrails
- Four ¾” x 14” wood dowels
- Miter saw
- Electric drill
- ¾” Forstner drill bit
- Orbital sander
- Sanding sheets (220 grit)
- Wood glue
- Four strap (or trigger) clamps
- Rubber mallet
- Paint and/or wood stain
- Painter’s tape
- Blankets!

Step 1: Gather Your Materials
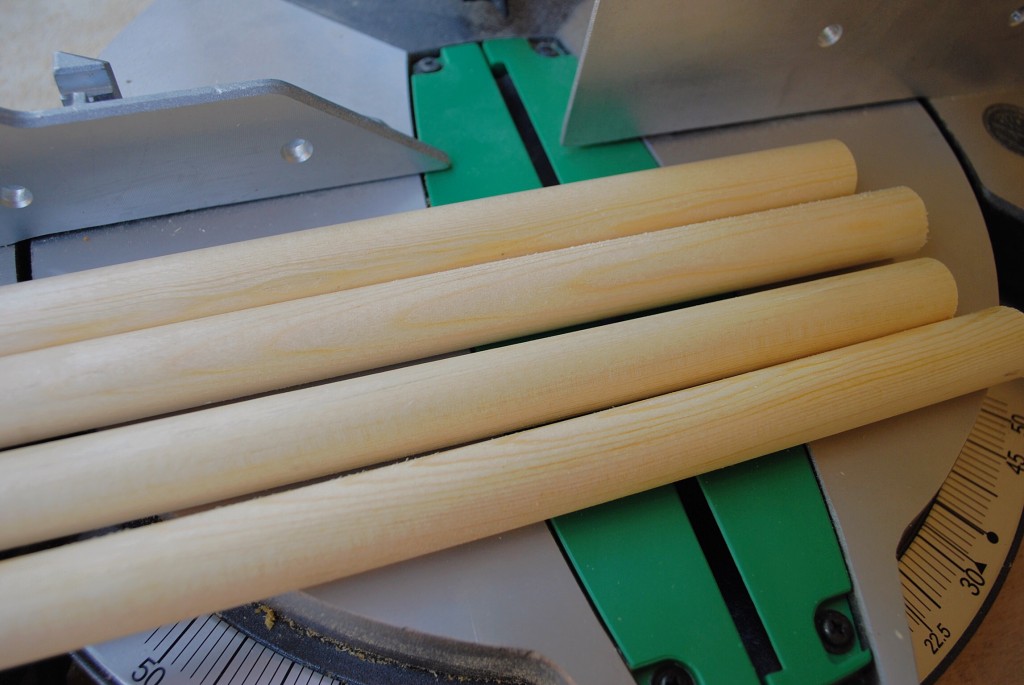
This project calls for a slim ladder profile with a modern, clean look. Because of this, I went with round wood stock and dowels, as they are lightweight but still sturdy enough to support the weight of a few blankets. Handrails work perfectly for the sides of the ladder because they have a flat side that can butt up against the wall without rolling.
Step 2: Cut the Handrails to Size
Using a miter saw, cut the two pieces of handrail material down to five feet in length, and the dowels, which will serve as the ladder rungs, into 14 inch pieces. To help keep the blanket stand propped up against the wall at the right angle, miter the bottom end of both handrails.

Step 3: Sand and Prep
A quick sanding with an orbital sander will clean up any splintering on the ends and prepare the wood for paint and stain.
Step 4: Drill the Holes for the Rungs
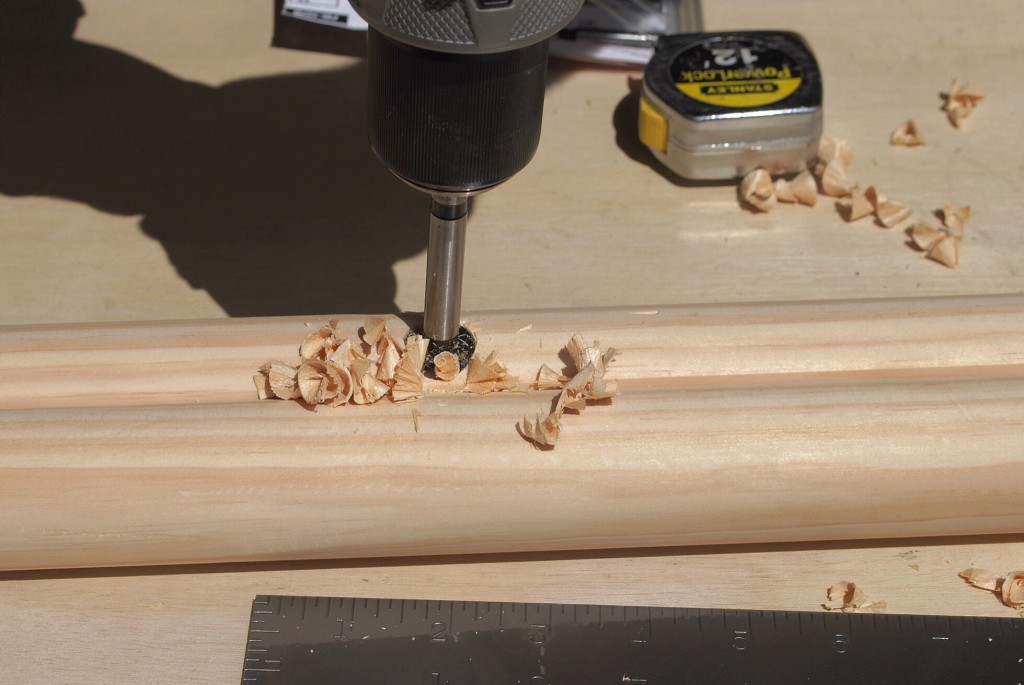
To make sure the holes are even, clamp the handrails together and mark out the placement for the ladder rungs. Leave enough space between the ladder rungs so that the blankets can fit. Once you have the placement marked, use a ¾-inch forstner bit to drill one inch into the handrails on both pieces. A forstner bit drills neat-flat bottom holes that are more precise than what you can usually accomplish with your standard drill bits or spade bits. The flat bottom holes will allow the dowels to fit securely and ensure the ladder rungs maintain equal length. Use some scrap sandpaper to clean out the holes and remove any stray wood curls.
Step 5: Assemble the dowels
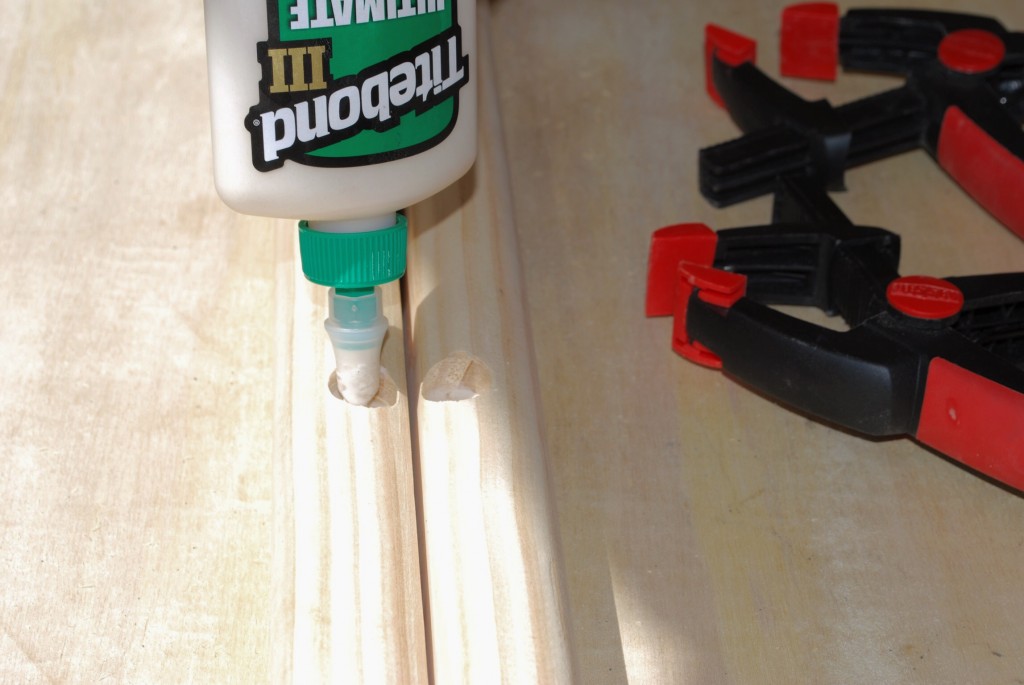
Squeeze some wood glue into the drilled holes and use a rubber mallet to gently tap the dowels into place. Repeat the process for the other handrail to bring both sides of the ladder together.
Step 6: Let the Rungs Set
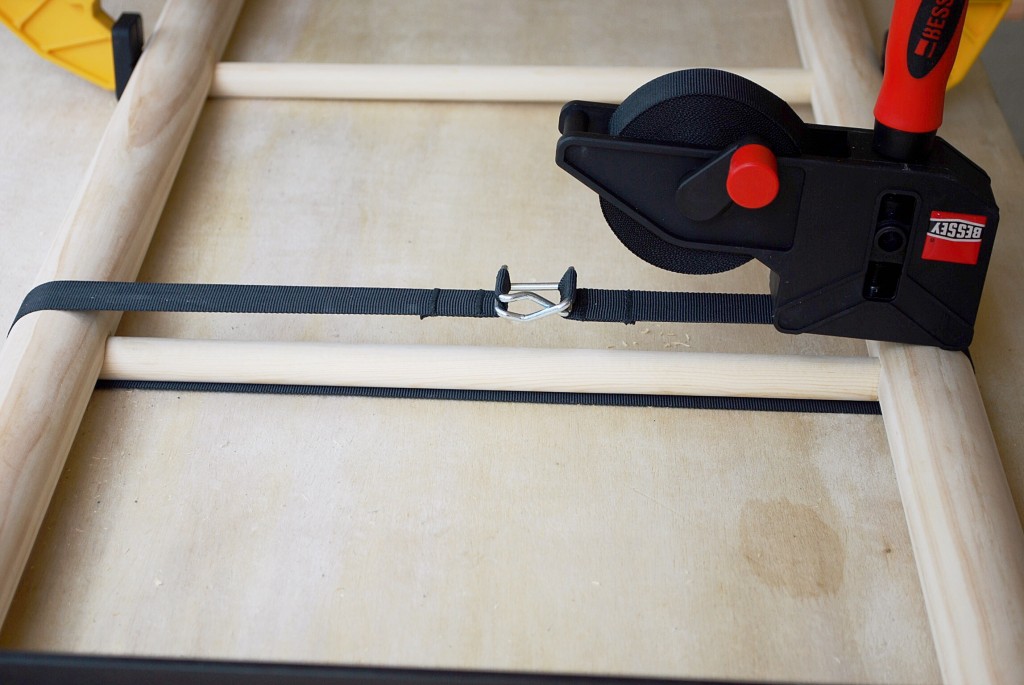
To ensure a strong glue bond, use 4 flexible strap clamps (or adjustable trigger clamps) to place pressure on the joints. Clean up any excess glue and leave the clamps on until the glue dries, usually eight to 24 hours.
Step 7: Apply the Color Block
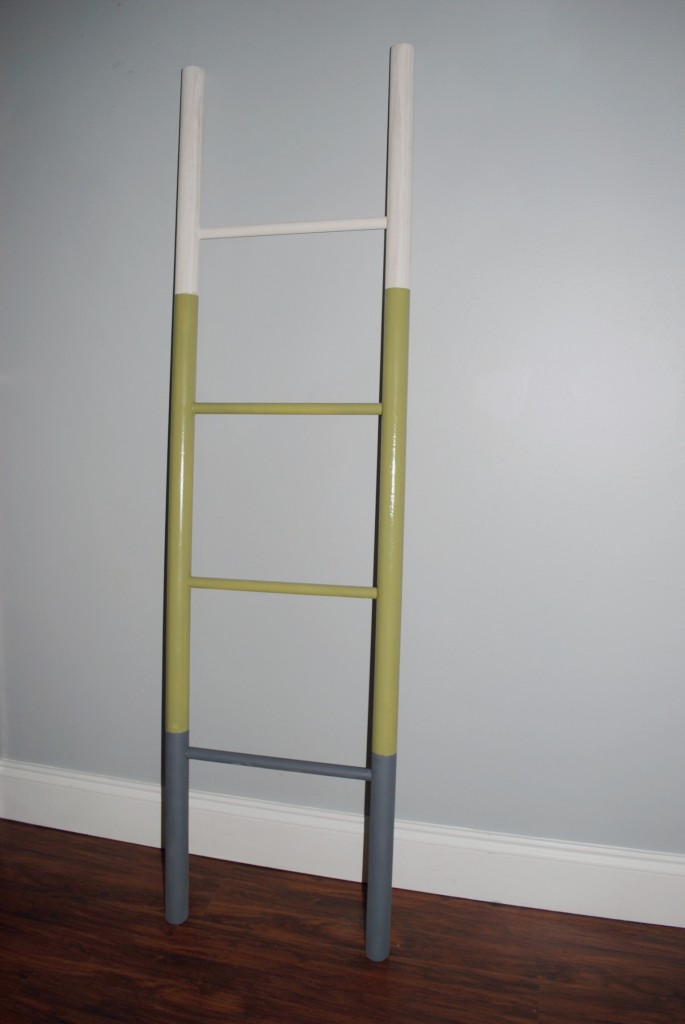
Now that your ladder is constructed, you can begin adding a fun color block pattern. I went with a combination of finishes that draws your eye up, going from a dark matte grey, into a glossy green, into a light white stain that shows off the wood grain. Use paint-block painter’s tape to keep your paint and stain edges clean and straight.
Step 8: Find the Perfect Spot, and Enjoy!
Lean the blanket stand up against the wall and place your blankets on the ladder rungs. Have fun experimenting with different colors, textures and patterns to see what works best in your space!
Mateo Londono is an avid DIYer and vegan cook who has a passion for improving and personalizing homes with cool projects. Mateo and this DIY are featured here on the TenX Homes site, where you can find out more about creating your own unique space. You can also visit The Home Depot to find other wall decor accents to make your home your own.
