Browse +
Collaborations
About
Contact
Browse +
Collaborations
About
Contact
Browse +
Collaborations
About
Contact
Browse +
Collaborations
About
Contact
Category: Fall
← Back to Seasonal
Fall
How to Make a Gorgeous Fall Wreath
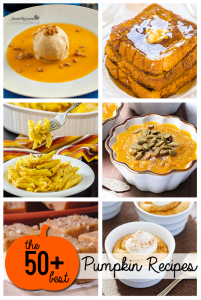
Over 50 Pumpkin Recipes to Make
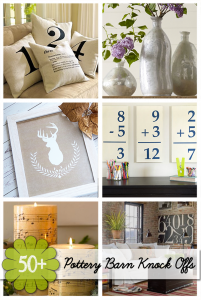
50 Plus Favorite Pottery Barn Knock Offs
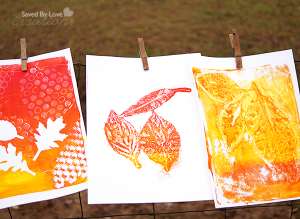
Gelli Printing DIY Fall Art
Over 50 of the Best Pumpkin Recipes
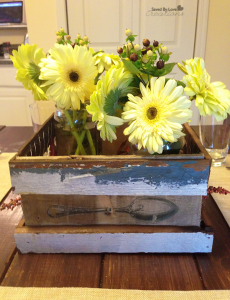
DIY Graphic Centerpiece from Reclaimed Wood
Wood Pallet Planter DIY
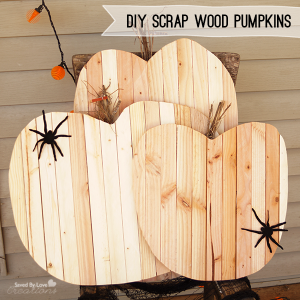
DIY Scrap Wood Halloween Pumpkins
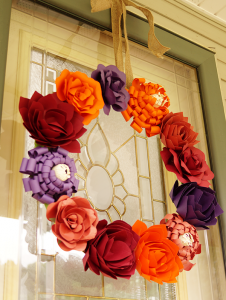
DIY Paper Flower Fall Wreath
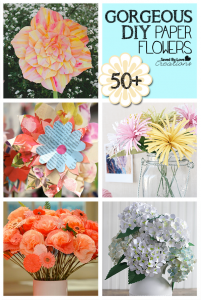
50 Plus Gorgeous DIY Flowers to Make
Inactive
hello
I’m Johnnie! I am a craft blogger inspired by nature, dogs, running, rock climbing, and all things green and creative.
About me
Collab together
Get in touch
Facebook-f
Instagram
Pinterest
Tiktok
X-twitter
Threads
Inactive
Search
Search
Inactive
follow
weekly
updates
...
la-féminité
Twitter
Facebook
Instagram
Pinterest