
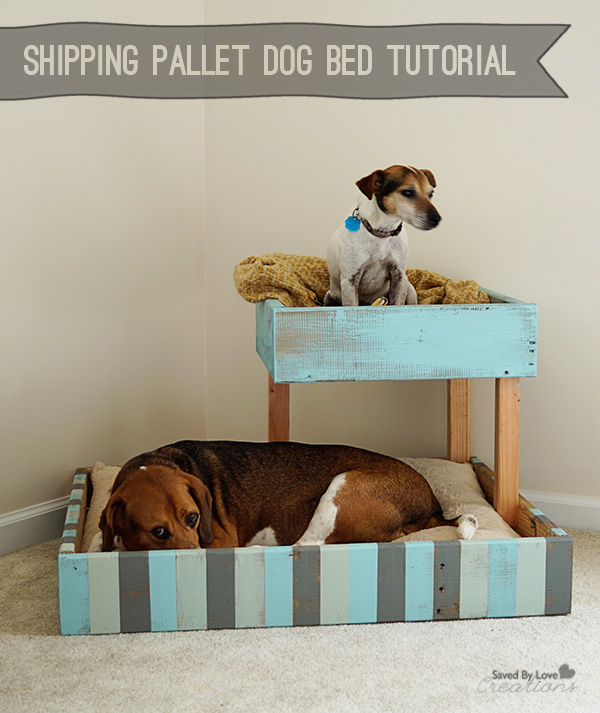
What kind of DIY blogger am I, with my dogs sleeping on a pillow tossed on the floor? I know. That is why I thought a striped doggie bunk bed made from shipping pallets would be perfect for the “Get It, Got It, Go” Summer Blog Hop hosted by ScotchBlue™ Painter’s Tape and The Home Depot! This project is a wonderful upcycle that can be color customized to fit any decor, and requires beginner woodworking skills to achieve.
MATERIALS USED
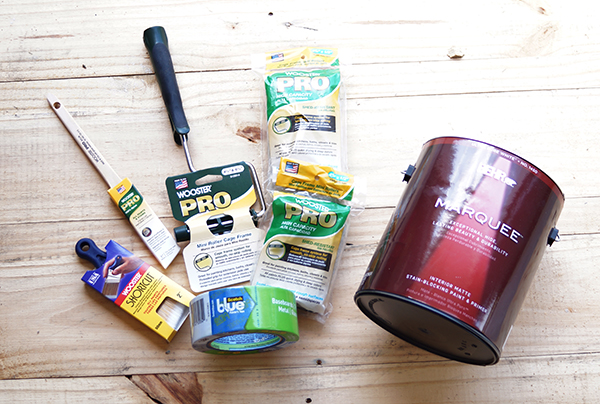
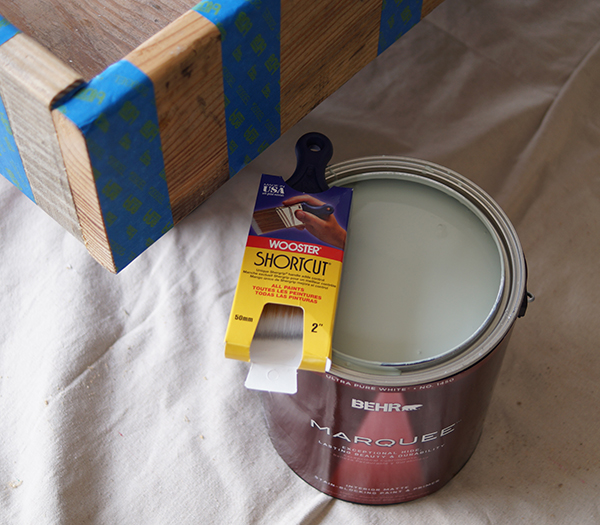
ScotchBlue™ Painter’s Tape Multi-Surface with Advanced Edge-Lock™ Paint Line Protector 2093EL
Behr Marquee™ Paint in Costal Storm #MQ6-20, Recycled Glass #MQ6-18 and Aquifier #MQ6-8 colors
Wooster® Shortcut 2 in. Nylon/Polyester Angle Sash Brush
Shipping pallets
1/2 inch plywood sheets
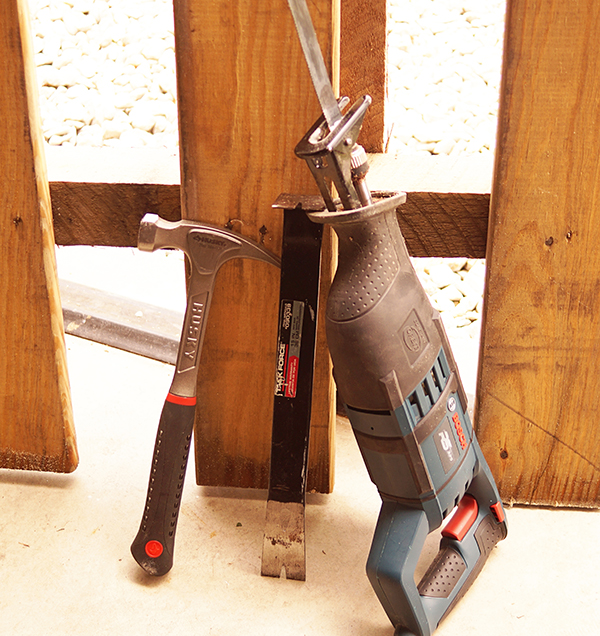
Reciprocating saw with blade for cutting metal
1 1/4 inch Kreg® screws
2 inch wood screws
drop cloth or plastic painters tarp
Drill
Hammer
Crow bar
Table saw or circular saw
TUTORIAL
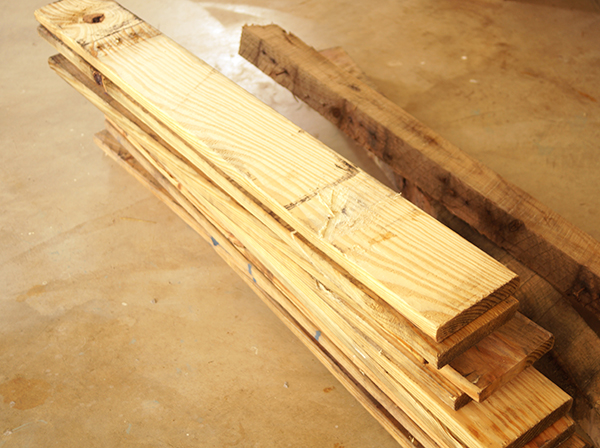
The first step in this, and any pallet wood project, is breaking down the pallets. My favorite method for this is cutting through the nails holding the wooden slats to the support beams with a reciprocating saw. Sometimes it is necessary to use the crow bar and hammer to create enough space for the reciprocating saw blade, then you just cut through the nails and free one board at a time.
Here is a quick video showing the pallet breakdown process:

To build the bottom bed, I cut two 35 inch pieces and two 28 inch pieces from the pallet wood for the sides. I picked these measurements based on the dimensions of the pillow I already had on hand. Using my Kreg® pocket hole system (I showed you how to use a Kreg® jig HERE), I attached the four sides together with 1 1/4 inch screws and wood glue. For the top “bunk”, I followed the same process, cutting two sides 20 inches and two sides 18 inches long.
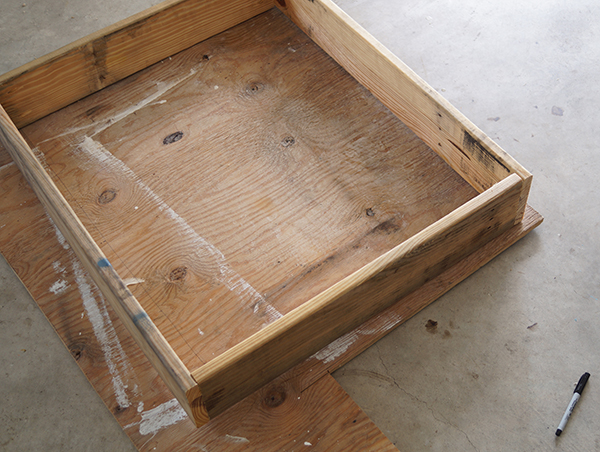
To create floors for the beds, I placed the bed frames on a large piece of 1/2 inch plywood and used a marker to outline the inner edges of the frame onto the plywood. I cut along these lines using my table saw, for a floor that fit right inside each frame.
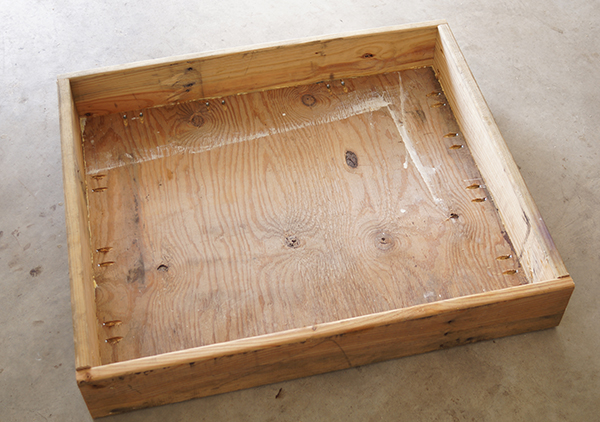
To attach the floors, I placed pocket holes every 5-6 inches around all four sides and screwed the floor into the frame with 1 1/4 inch pocket hole screws/wood glue.
After building the individual beds, it was time to join them. For this, I created three 2×2 poles by ripping a 2×4 with my table saw. Two of the poles I cut to 19.5 inches and one to 15 inches in length.
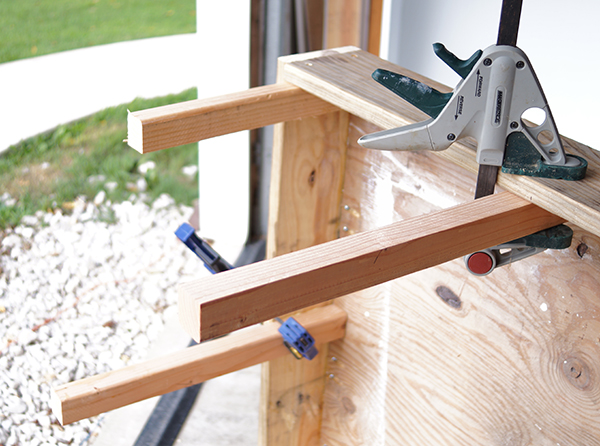
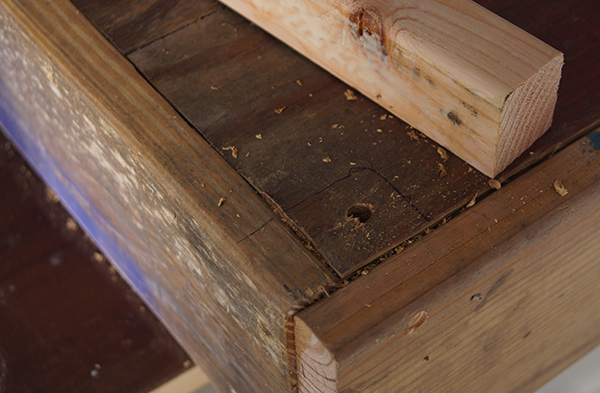
I attached the three poles to the bottom bed, using the top bed to guide placement. The shorter pole goes in the back right corner of the bottom bed, and the top bed rests on top of it (which will become clear in the next step). The two longer poles will go through the floor of the top bed, nestling up against the right front corner and back left corner of it. Once they were placed in the correct location on the bottom bed to fit where they needed to on the top one, I used wood glue and 2 inch wood screws to secure them in place. I placed clamps to hold everything in place until the glue was dry.
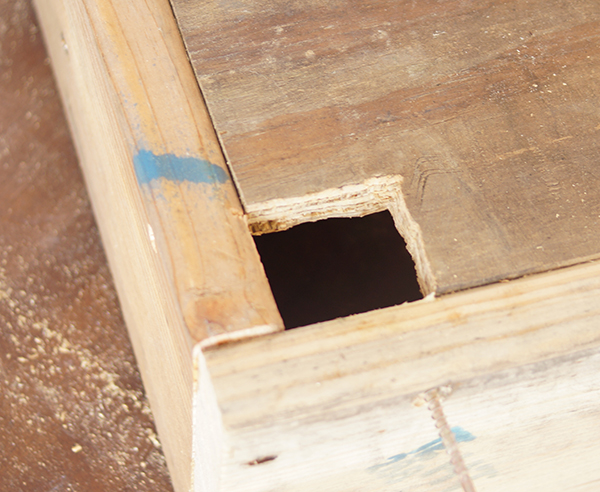
Once that dried, it was time to secure the top bunk in place. I needed to create holes in the floor at the right front and back left corners for the poles.
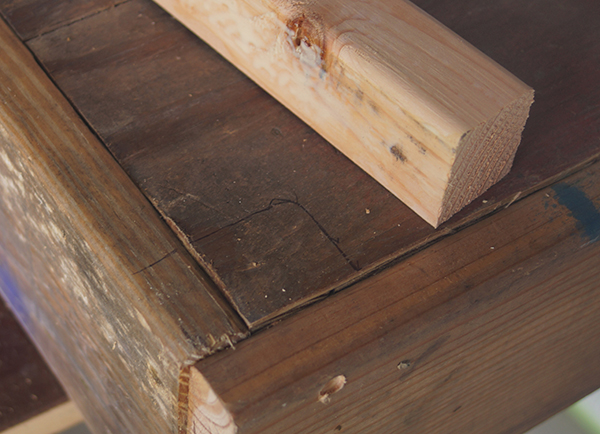
To do this, I took a scrap 2×2 and traced it where I wanted the holes to be.

I drilled a hole in the middle of the square I just traced, for the jigsaw blade.

Using the jigsaw, I cut out the square for the pole.
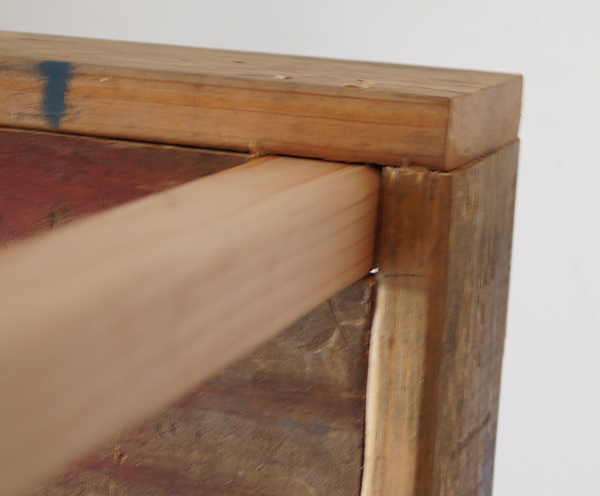
To finish the assembly, I just placed the top bed with the poles extending up from the bottom bed in their corresponding corners. The back right corner was secured in place with a 2 inch wood screw going through the floor of the top bed, into the top of the back right pole. The other two corners where the poles extended up through the floor were secured with 2 inch wood screws though the side of the top bed, into the poles.
Finishing
Once the bed was built, I decided to paint randomly patterned stripes.
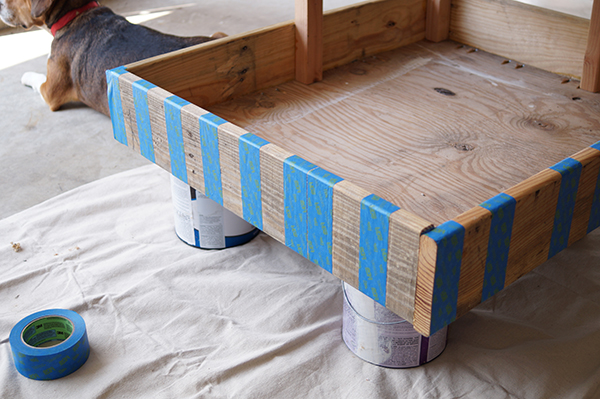
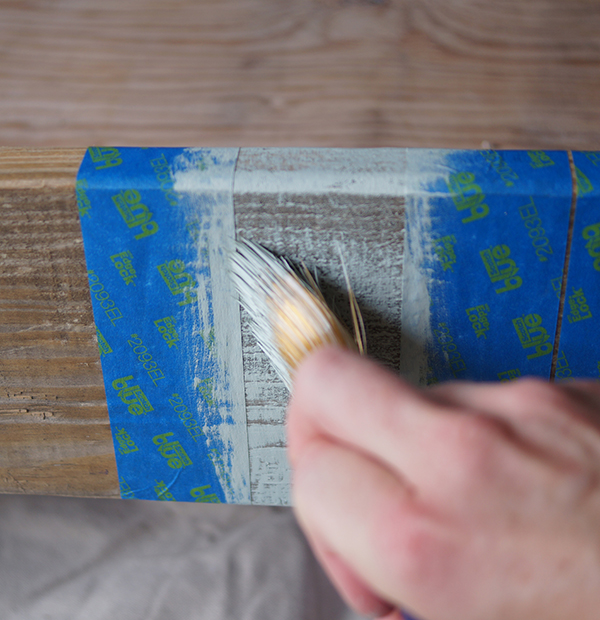
I placed the ScotchBlue™ Painter’s Tape and began painting with the first color. The paint coverage was great! I wanted a distressed look, so I used the dry brush technique with Wooster® Shortcut Brush.
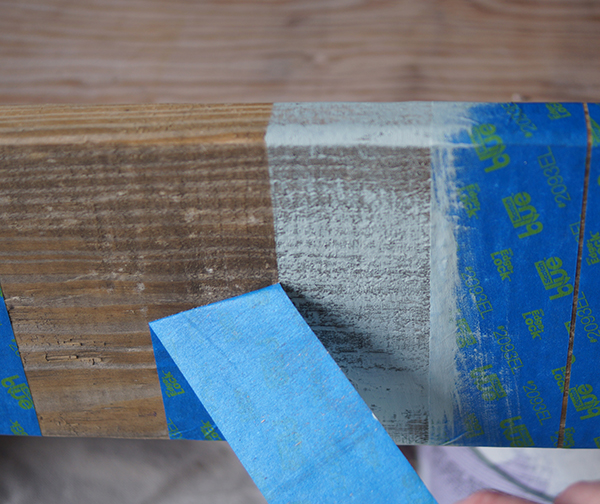
Once the first color was dry, I taped again and repeated for the 2nd and 3rd colors. It was no problem to tape over the paint, but keep in mind that Delicate Tape is the recommended tape to use on freshly painted surfaces (24hrs).The lines were perfect, and the tape didn’t remove the paint when I taped over the stripes I had already added. There was no pattern in the colors, I just painted randomly.
For the top bunk, I dry brushed the entire bed in Aquifier.
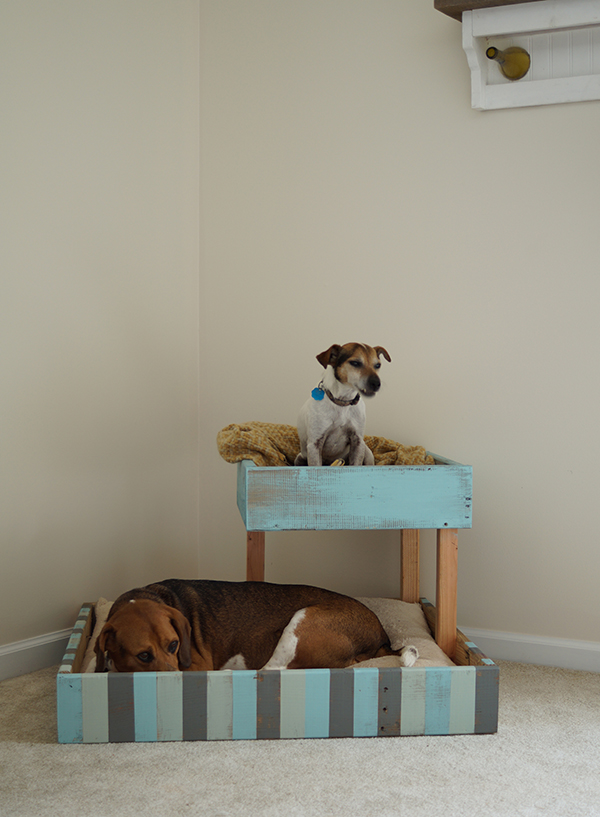
I love it, and so do my boys! Way better than the pillow on the floor, right?!
I am proud to be a 3M, Behr®, and Wooster® – sponsored blogger, and, as part of my responsibilities, I get the opportunity to evaluate products. Opinions are my own and additional product used in the project were selected by me.
Find the products used for this project, and tons more inspiration at the following links:
The Home Depot Consumer Program
ScotchBlue™ Painter’s Tape Facebook
ScotchBlue™ Painter’s Tape Twitter
ScotchBlue™ Painter’s Tape Pinterest
320 Sycamore: Front Porch Project
Simply Designing: DIY Board & Batten
Brooklyn Limestone: Farmer’s Market Display Stand
Fave Crafts: DIY Aztec Planters
Domestic Imperfection: Rusty Metal Shed Makeover
Studio Pebbles: Faux Frame Modern Art
Whipperberry: BBQ Tool Storage
Dukes & Duchesses: Color Block Umbrella Table
HoneyBear Lane: Patriotic Lanterns
Uncommon Designs: Striped Workbench
Better After: Geometric State Art
I Heart Nap Time: Striped Hall & Gallery Wall
The Pinning Mama: Oversized Painted Wall Frame
Love of Family & Home: Grain Sack Table
The Girl Creative: DIY Lemonade Stand
