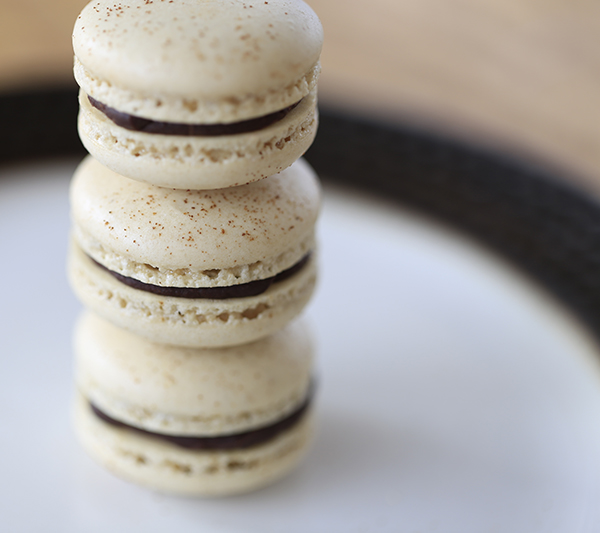
Espresso Macarons With Chocolate Espresso Ganache

Espresso Macarons with Chocolate Espresso Ganache

French macarons have been on my ever growing to do list since 2014, when I had the blissful experience of tasting a Laduree Cafe macaron in the heart of Paris! At that time, I downloaded this great how to make macarons book on amazon and committed to get baking as soon as we landed in the states. A short 5 years later, I made my first macaron. This is pretty typical for my project lists. Is it just me?
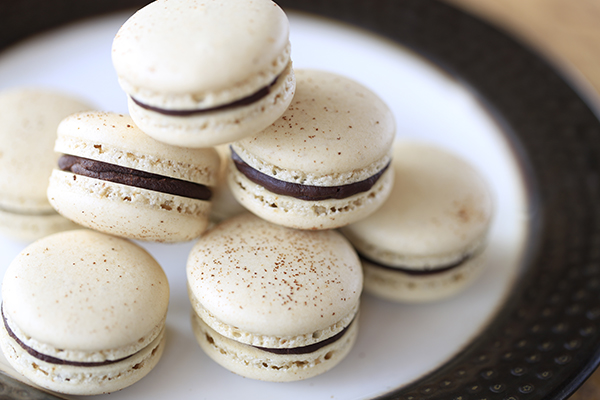
how to make french macarons

Did you know there are actually three methods for making the cookie part of the macaron, which is a meringue mixed with almond flour, powerdered sugar and maybe a flavoring (in this case espresso poweder)? It’s true. I call these french macarons, but technically I guess I should call them swiss macarons. That’s just not as search friendly on google! I say this because I use the swiss meringue method now, after many, many batches using the french method, and a couple of swings at the italian meringue method, I have found the swiss method to be the most consistent and reliable. The very first batch I made using this method came out beautifully. Wanna see?
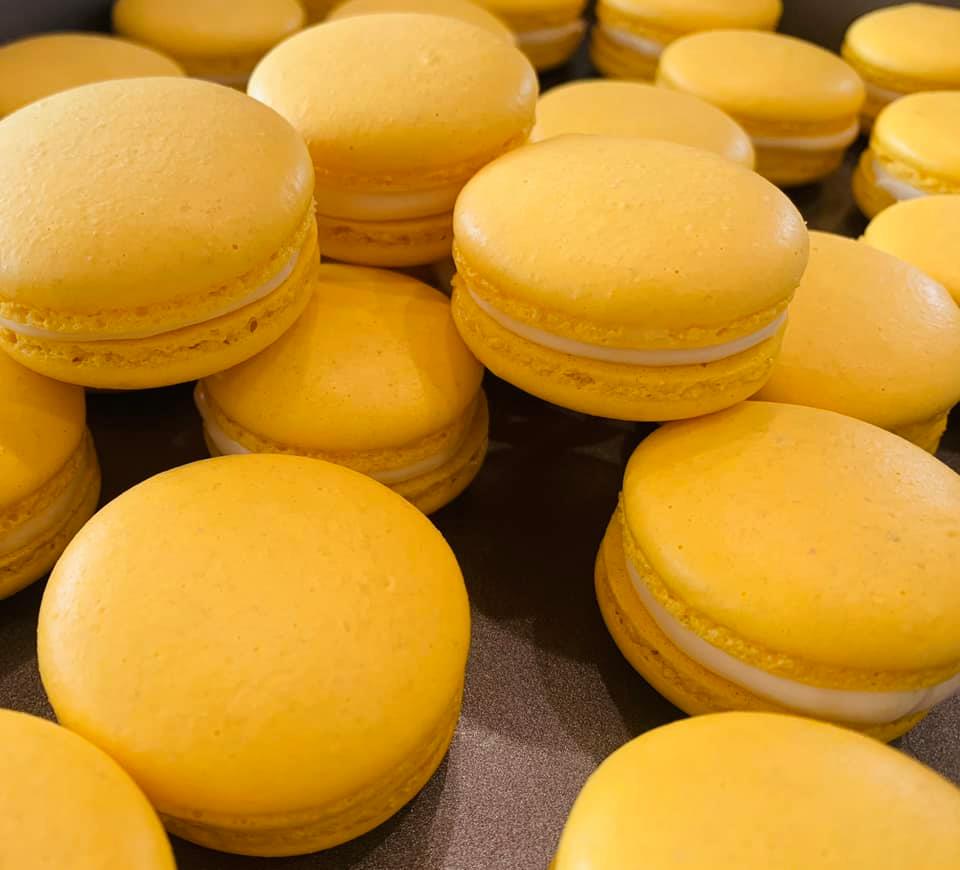
Lemon Buttercream Macarons

Trust me, no hear me, when I say that there were many imperfect batches that preceded what you are seeing here. As I agonized over failed, lumpy, cracked, hollow, nipply shells, wanting to launch the tray out the back door like a frisbee, my husband would remind me of a quote…

“I have not failed. I’ve just found 10,000 ways that won’t work.”
― Thomas A. Edison

This would annoy me further, but then sanity would return and I would be back at it. I am so happy I stuck with it, and you will be too. It is super gratifying to create a beautiful batch of these delicious treats. I find myself waking up in the middle of the night excited about a new flavor combo! Today I am doing mango shells with white chocolate lime ganache. I can’t wait!
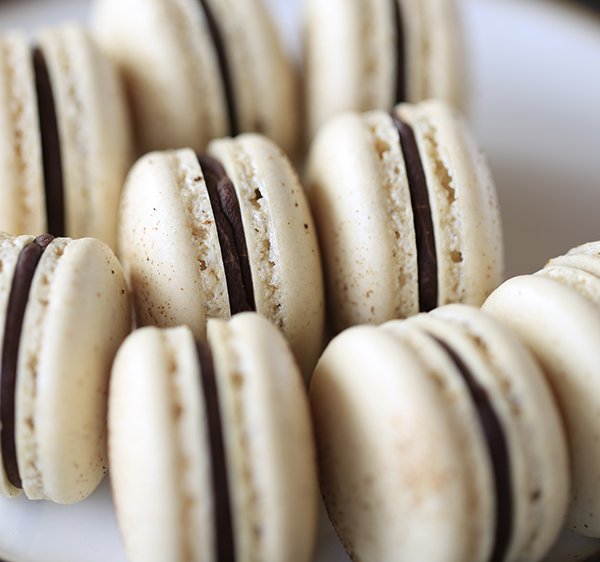
Espresso Macaron Recipe

TIP: So the basic recipe for the shell is the same, and quite simple. Then to flavor it, you can add extracts, freeze dried fruits, baking emulsions. This can be trial and error, as some oils will anger the shells and you will end up trashing them. I bought a bunch of flavored oils from a local candy shop and they are a no go! Extracts are ok. I prefer grinding up freeze dried fruit and really adding the most flavor in the center ingredient of the sandwhich. Ganache is far easier to flavor.

Ingredients

Espresso Shells
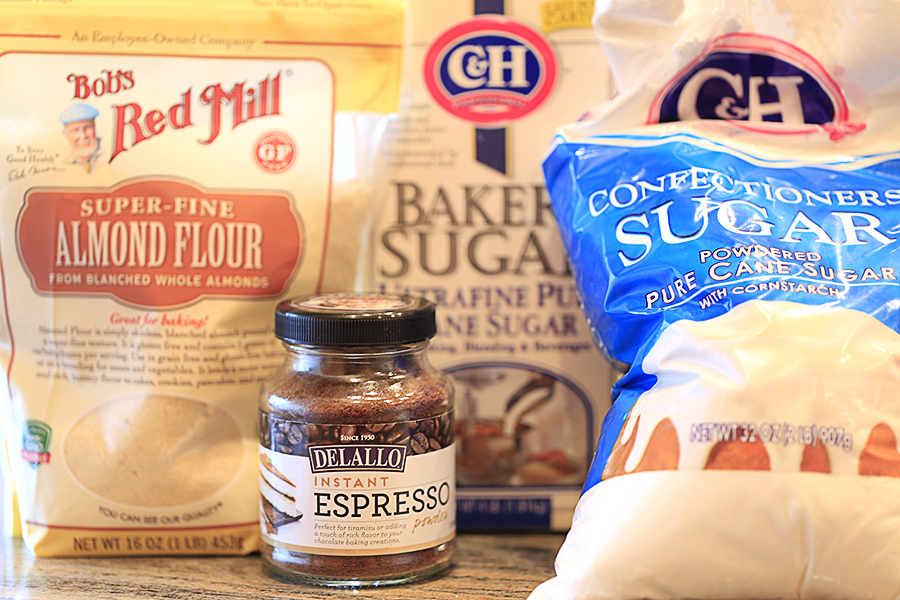
*This recipe yields between 24-30 complete sandwhiched macarons, depending on how your piping size (this will make sense later).

  • 3 egg whites 100 grams, 3.5 oz
  • 1/2 cup white granulated sugar 100 grams, 3.5 oz
  • 1 cup almond flour 96 grams, 3.4 oz
  • 3/4 cup powdered sugar 90 grams, 3.17 oz
  • 1 1/2 tsp espresso powder

Espresso Chocolate Ganache Filling

  • 8 oz bittersweet chocolate, chopped up into <1 inch sized pieces
  • 8 oz heavy whipping cream
  • 3/4 teaspoon instant espresso powder

***Make the ganache ahead of time as it needs to sit in the refrigerator for a couple of hours, then at room temp for 30 minutes before piping between the macaron top and bottom

Instructions

Shells

  1. To start, measure out all of the ingredients. I highly recommend investing in a kitchen scale for accuracy as these cookies are so very fickle. I measure my ingredients in grams, even though I have listed cup and teaspoon measurements as well. I got this digital kitchen scale from amazon. Have 2 baking sheets ready. You can line them with parchment paper, which is how I started, but I found no matter how many tips and tricks I used to flatten the parchment paper, it bubbled and led to warped cookies. This is why I LOVE the mats I ordered on amazon here: silicone baking mats for macarons . They are super cheap and awesome. If you go the parchment paper route, you can print off templates to help you pipe out the optimal size macaron and stay consistent so that your sandwich cookie tops and bottoms match. Here is the free macaron template printable I made, which you can download, print, place under your parchment paper and carefully pull out immediately after piping your macarons in a later step.
  2. Leave a 16 in disposable piping bag fitted with a large round tip (size 10 or 12), all ready to fill with your batter.
  3. Sift powdered sugar and almond flour together in a bowl and set aside. Some people swear you need to grind the flour and powdered sugar in a food processor. I have done both ways and I see no difference, so I don’t waste the time. It is supposed to get rid of “bumps and lumps” in the shell of the macaron. I find mine come out smooth if I sift the ingredients together into a bowl, and then sift them into the meringue when that step comes.
  4. Mix egg whites and sugar together in a metal bowl or in a double boiler pan, over a small saucepan of simmering water, making sure the bottom of the bowl isn’t touching the water. I actually use my KitchenAid mixer bowl for this, since the egg/sugar syrup will go into it anyway. You do not want to cook the egg whites! No thermometer needed. This is what I love about the swiss meringue method vs. the italian method. The latter requires a candy thermometer. It’s a hassle.
  5. Whisk whites and sugar over simmering water for about 90 seconds. Remember, this water shouldn’t be boiling, it should be at a very low simmer.
  6. Once sugar is dissolved, pour the syrup to the electric mixer bowl if it’s not already in there. With the whisk attachment, whisk mixture on low speed for 1 minute, raising speed to medium. Whisk on medium for 1-2 minutes, until the whisk starts to leave streaks in the meringue. Raise speed to high, and whip for a couple of minutes until stiff peaks are formed. Here is a great video from my macaron hero at Pies and Tacos . It shows what the meringue should look like. Make sure you look at her other amazing macaron recipes, tips and tricks!
  7. As soon as the meringue reaches stiff peaks, stop beating. Sift (for the second time) the almond flour and powdered sugar mixture into the meringue. You will see many recipes having you add 1/3 of the mixture, folding it in, then incorporating the remaining dry ingredients. I find no difference when i sieve it all into the meringue at once. Try and see what works for you!
  8. Now it is time to fold the dry ingredients into the meringue. Here is a great video from Indulge With Mimi, another wealth of information on macaron trouble shooting and some fantastic recipes. This folding of the dry ingredients into the meringue is called macaronage, and is in my opinion the step that makes or breaks your final product. If you don’t mix enough, you get cracks and all sorts of ugliness. If you over fold, you get wet blobs that never bake into solid, round cookies. It’s tragic, but don’t give up! You will get this with experience. This video will help.
  9. The batter should be falling off of your spatula like a ribbon, not in chunks. I like to scoop a spoonful out onto a plate and wait 20 seconds or so. If the “nipple” on top dissolves into the cookie and disappears, you are ready to pipe your macarons. If not, stir 5-10 more times and test again. Keep doing this until you get the correct result.
  10. Pipe as many circles as your batter allows. I usually fill two of my silicone mats, sometimes a few less on the second mat. Immediately after piping, pick up the baking tray about 6 inches above the counter and drop it. Do this a couple of times. The purpose is to release any air bubbles in your piped macarons. How to Pipe Macarons
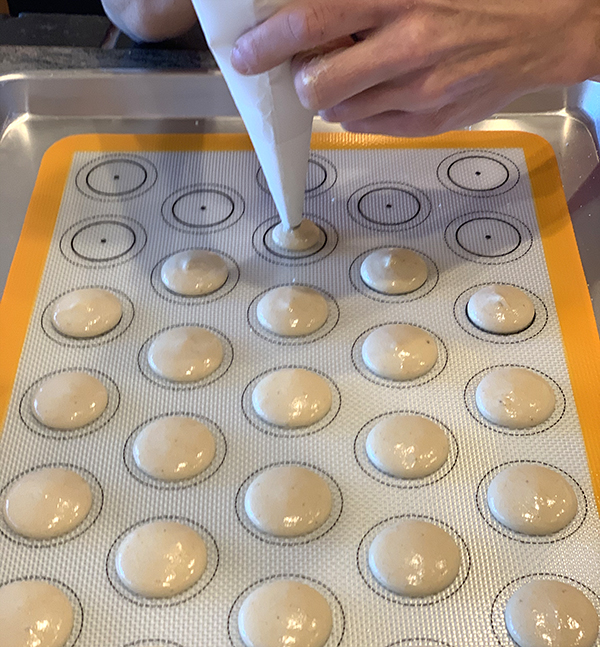
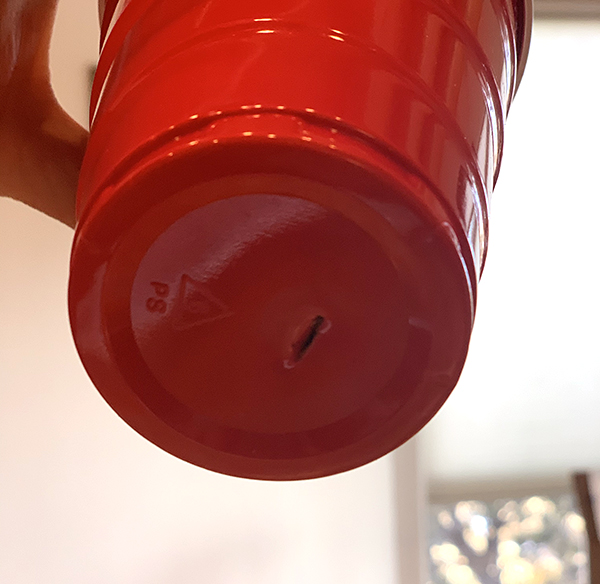
  11. For aesthetics and for more espresso flavor (cause I’m a full blown addict, we cut a slit in the bottom of a red plastic solo cup and put a small amount of espresso powder in the cup. Then lightly tapped the side of the cup over the tray of piped cookies for some espresso powder sprinkles. I tried using a salt shaker, but way to much powder came out, so my engineer husband McGyvered a way to get the effect I was after.
  12. Pre-heat the oven to 310F. This is what works in my oven. Yours may vary. You will have to start somewhere around there, take meticulous notes and make adjustments as needed! Remember the Thomas Edison quote earlier in the post!
  13. Many recipes tell you to leave your piped batter sit out before for 30-60 minutes to form a skin before placing in oven. I happen to live in the high desert and my macarons form a skin within 5 minutes. The way to test for yours is to touch one lightly. No batter should come off on your finger. There should be a dull sheen to them as well. The skin is important, otherwise the heat will escape to quickly and the macarons won’t rise correctly, or they will have blown out feet (the bubbly area of the cookie that directly contacts the filling of sandwich). If it is a humid day, it may take well over an hour, so go by feeling the actual batter, not by time.
  14. Bake one tray at a time. Bake the first tray for, rotating after 4 minutes. Bake 4 more minutes and rotate again. I continue to bake until 18 minutes, rotating one more time at 13 minutes.
  15. Let the cookies cool for 20 minutes or more before trying to remove them from the parchment paper or silicone mat. They should pop right off unless they are under cooked. In which case, back in the oven they go. I would do 2 minutes at a time. You don’t want to overcook and get hollow macarons. Once they are cool, it is time to fill…

Chocholate Espresso Ganache

To make the espresso ganache, place the chopped up chocolate into a metal or other heatproof bowl. In a small saucepan, heat the cream until bubbles appear. Stir in the espresso powder until dissolved.

Immediately pour the hot cream mixture over the chocolate chunks and let stand for 1 minute. Stir the chocolate until smooth and melted. Pour the ganache into a disposable 12 or 16 inch piping bag clip or rubber-band off the open end and place in refrigerator for 2 hours. When you are ready to use the ganache, let it sit at room temperature for 30 min so that it is soft enough to squeeze out of the bag.

Simply cut the tip off the disposable piping bag containing your ganache and fill one cookie, coiling from the outside into the center, then place the top cookie on to complete the sandwich. It helps to match up similar size macarons before adding the filling so your tops and bottoms are together and ready to go.

Place in an airtight container in the refrigerator. I find macarons are the very best after maturing in the fridge for 1-2 days. This allows the center to mesh with the shell, the flavors to meld and the texture to perfect. Take out of the fridge for about 20 minutes before enjoying. They are best eaten within a week. Another option is to freeze after the 1-2 day maturation. I have frozen them for 6 weeks, pulled them out to room temp for 1 hour and served them up at a party to watch them be devoured. They were a hit.
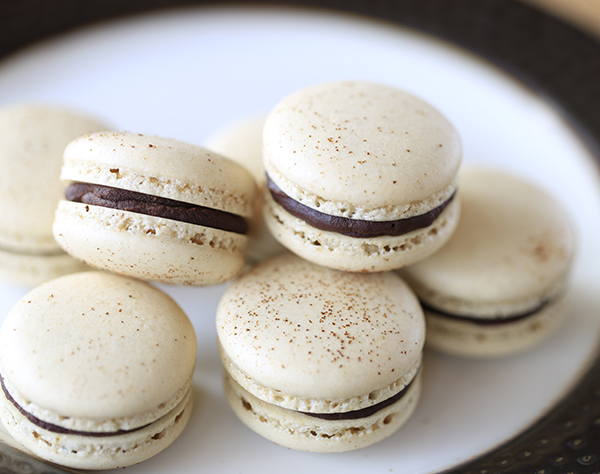
coffee french macarons

Give macarons a try! Don’t give up. Be patient and learn your climate, oven, astral alignment. Pray to the macaron gods. Whatever works for you. Just find it. It is so worth the “failed” attempts! Let me know how it goes.

Stay tuned for macaron videos and more recipes!
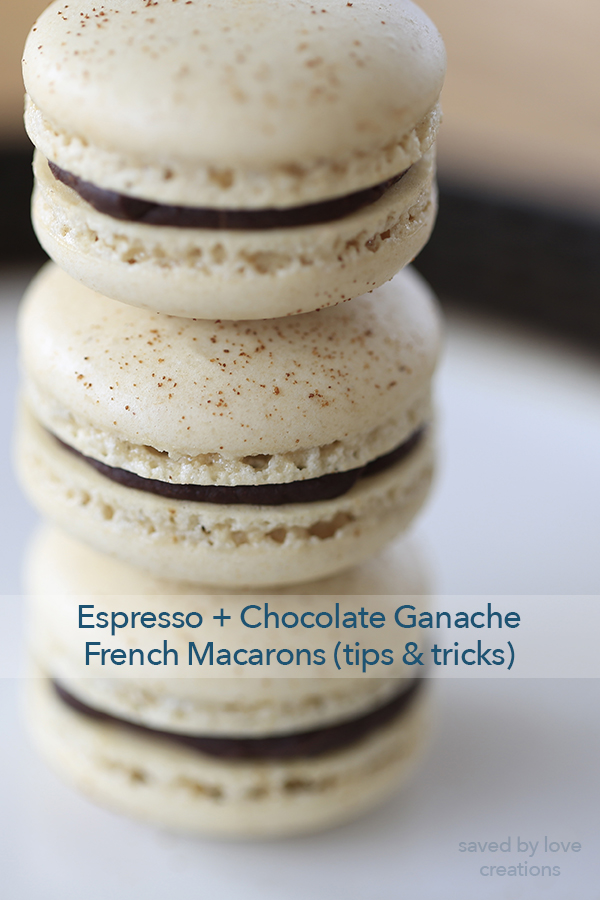
Tips and tricks for making perfect french macarons

Over 50 Pumpkin Recipes to Make

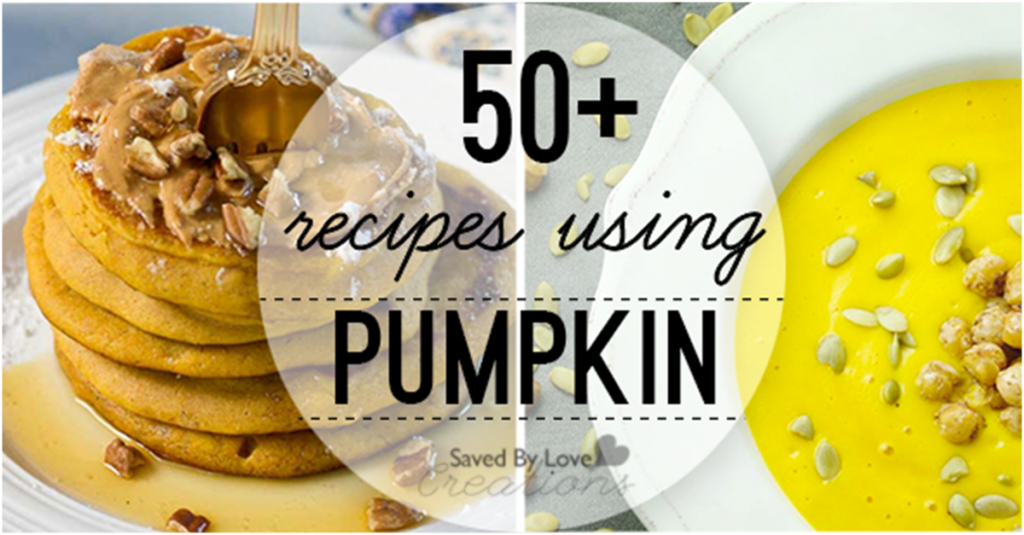
Over 50 Pumpkin Recipes @savedbylovesIt is one of the best things about fall and the holiday season, a great source of potassium and Vitamin A, and is over 90% water. What is it, you ask? We are talking about pumpkin! Today we are sharing over 50 tasty pumpkin recipes for you to enjoy. You will see pumpkin soup, scones and everything in between. If we missed your favorite pumpkin recipe, leave us a link in the comments so we can share your delicious creation!

Over 50 Pumpkin Recipes @savedbyloves

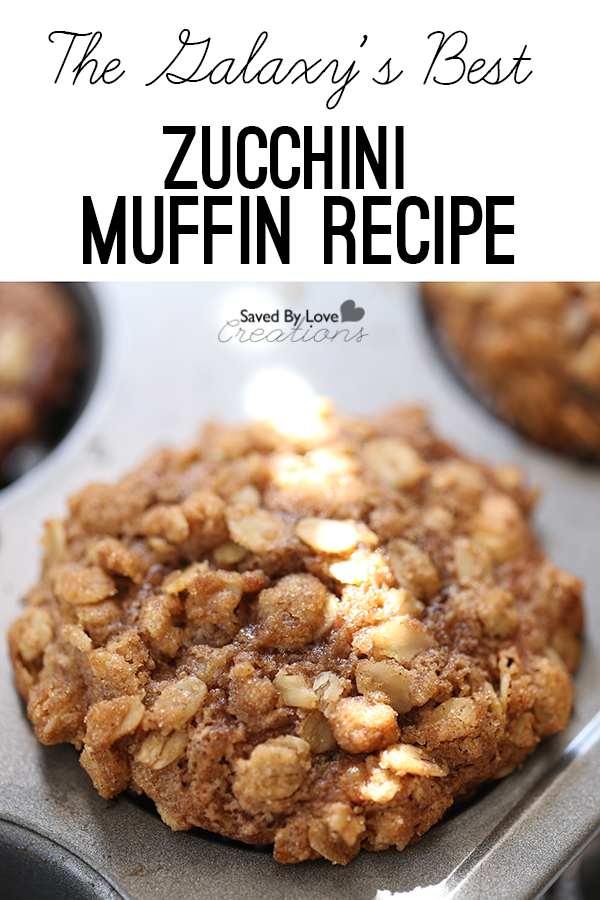
Best Zucchini Bread Recipe in the Galaxy

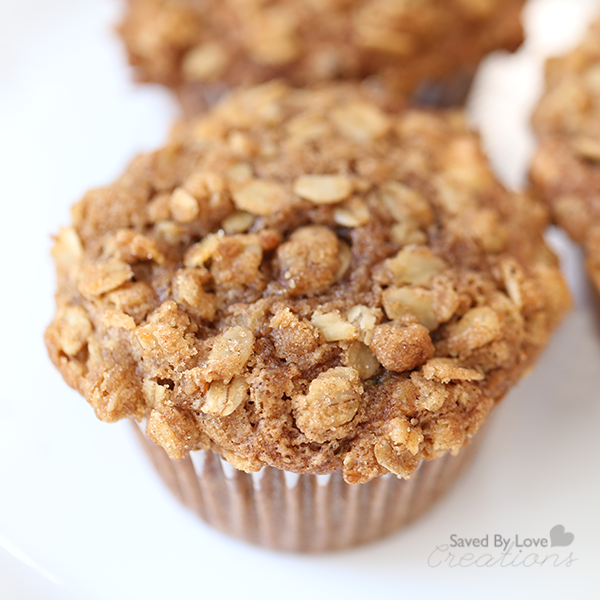
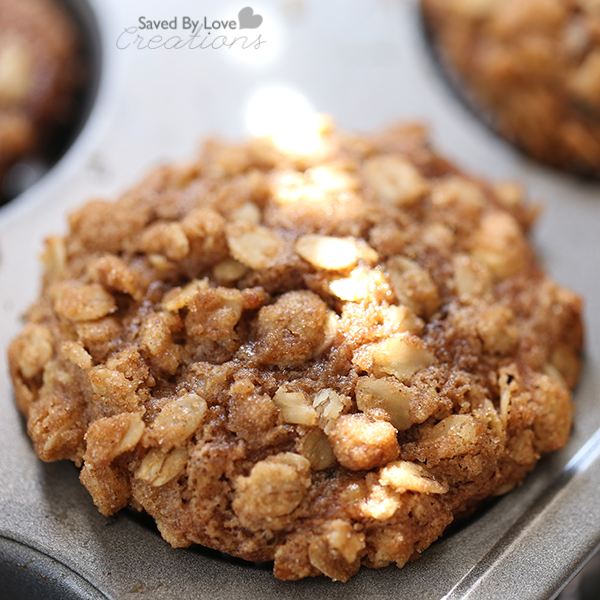
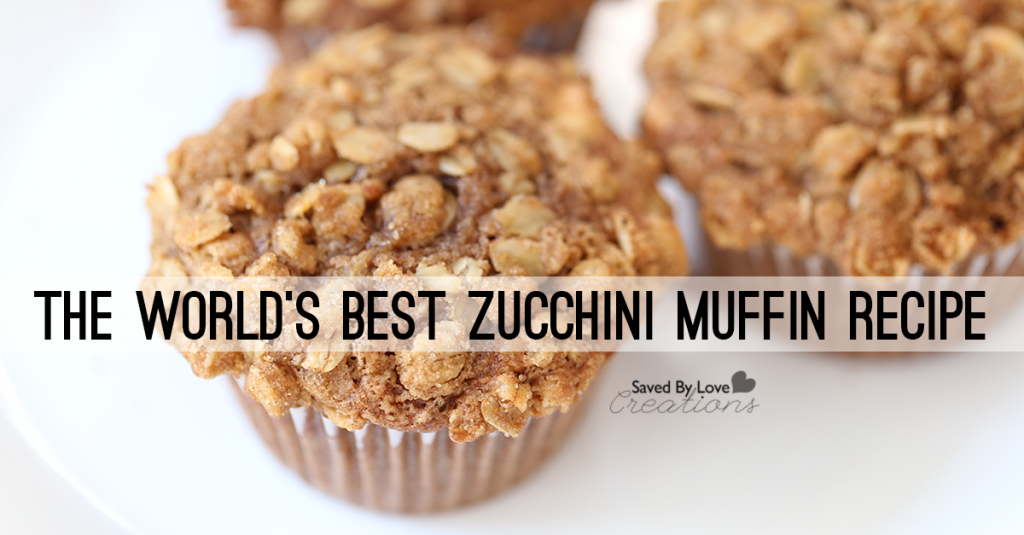
Healthy and Delicious Zuchinni Muffin Recipe

Oh, hi! I’m Dondi, and you can usually find me and my work over at I Heart Intelligence and Unified Soul Theory. I live and work as a freelance writer and for an awesome community non-profit in gorgeous Fort Collins, Colorado, and I’m a cyclist, rock climber and general outdoor enthusiast. I’m thrilled to be here today to share my recipe for the best zucchini bread and muffins you’ve ever tasted.


First, a confession: the original recipe for this amazing bread is not one I can claim of my own. It comes from Sally’s Baking Addiction, my all-time favorite baking blog, and you can find the original recipe here.


I have a serious sweet tooth and, as a commuter cyclist who travels everywhere by bike, I really appreciate treats that taste delicious and travel well zipped into the pocket of one of my panniers. So when I first made this recipe I nearly lost my mind. The flavors were incredible: the butter! The brown sugar! The cinnamon and nutmeg and vanilla! The melty chocolate chips and crunchy walnuts and the streusel…oh the streusel…


Clearly I could wax poetic about this for hours. I probably have. I especially love that the recipe is for zucchini bread or muffins: there are vegetables in its title. Obviously, it must be good for me, right?

Best Ever Zuchinni Bread Recipe @savedbyloves

Unfortunately, while this recipe does have a whopping cup of zucchini in it (and I often add more), it also has a fair amount of butter and sugar and oil and therefore a whopping number of calories. So I made a few changes: I subbed half the oil for applesauce and part of the flour for ground flaxseed. I found that when I was making it, I always had a TON of streusel topping, so I started halving the amount of topping I made for each recipe. This sounds like baking blasphemy, I know, especially as one of Sally’s mandates on her blog is “more streusel!”, but I found that using half the amount was more than enough to get all of the incredible flavors with fewer calories and less fat. It’s the best of all worlds.


Both the bread and the muffins (I mostly make the muffins) keep nicely, covered at room temperature for up to five days. They also freeze really, really well. If I make these muffins and don’t freeze them I will eat way too many immediately, so I freeze most of the batch and then just grab them from my freezer as needed and toss them into my pannier to take with me wherever I’m going. By the time they thaw it’s like they were never frozen. For folks who don’t bike everywhere, they thaw just fine out on the countertop for an hour or so too, or you can warm them on low in an oven for 10-15 minutes. This recipe is also wonderfully scalable: I’ve doubled, tripled and even quadrupled it with no problems whatsoever.


Streusel Topping:

-⅓ cup rolled oats

-¼ cup firmly packed brown sugar

-¼ teaspoon cinnamon

-1 tablespoon all-purpose flour

-⅛ cup butter (2 tablespoons), very cold


Zucchini Bread:

-1 ¼ cup all-purpose flour

-¼ cup ground flaxseed

-½ teaspoon salt

-¾ teaspoon baking powder

-½ teaspoon baking soda

-2 teaspoons ground cinnamon

-⅛ to ¼ teaspoon ground nutmeg, to taste

-¼ cup mini chocolate chips (optional)

-¼ cup white chocolate chips (optional)

-½ cup chopped walnuts (optional)

-½ cup firmly packed brown sugar

-½ cup white sugar

-¼ cup oil (I use canola but use whatever mildly flavored oil you like!)

-¼ cup applesauce

-1 cup grated zucchini*

-1 egg, beaten

-2 teaspoons vanilla extract


To Make:


For Bread: Heat oven to 350 degrees F. Grease or nonstick-spray a loaf pan or line with parchment paper and set aside. For Muffins: Heat oven to 425 degrees F. Grease or nonstick-spray a 12-count muffin tin or line cups with paper liners and set aside.


-Streusel Topping(make this first!):

Combine oats, brown sugar, cinnamon and flour together in a medium-sized bowl until well-mixed and no brown sugar lumps remain. Cut the butter into tiny pieces (I actually grate it on the large holes of a box or hand grater) and combine with dry ingredients using a pastry cutter, two knives or just your fingers. You want a loose crumby structure, and if the mix or the butter gets too warm it’s easy to overmix. It’s still usable in this form, but more difficult to work with, so try to keep it loose, but well-combined. Set aside (I put it in the fridge.)


-Muffins:

Toss together flour, flaxseed, salt, baking soda, baking powder, cinnamon and nutmeg in a large bowl until well combined. Mix in chocolate chips and walnuts, if using. Set aside.


Stir together brown sugar, white sugar, oil, and applesauce in a medium bowl until well-combined. Add in the zucchini and mix well. Add in the egg and vanilla and give a good stir until everything is well-combined. No need to over-stir.


Pour the wet ingredients into the dry mix and stir to combine. I try to stir this mixture as little as possible, just until no flour remains. This keeps it from getting tough.

Best Ever Zuchinni Muffin Recipe FB @savedbyloves


For bread: Pour into prepared loaf pan, then bake for 20 minutes at 350 degrees. Remove from oven and add streusel topping, pressing the topping evenly into the top of the bread. You’re adding this after baking 20 minutes so that the streusel doesn’t sink down into the batter. Return it to the oven and bake for an additional 25-30 minutes. You can cover the bread loosely with foil to keep it from browning too much. It’s done when a toothpick or knife inserted in the middle comes out clean. Let the bread cool for at least an hour in the pan set on a wire rack before cutting and serving. (This may be the hardest hour of your life.)


For muffins: Oven should be preheated to 425. Fill cups with batter almost all the way to the top. Sally’s recipe notes that this makes 10 muffins but it easily fills all 12 cups every time I make these. Sprinkle streusel topping evenly over each cup, then bake for 5 minutes at 425 degrees. After five minutes, turn down the oven temperature to 350. Bake at 350 for an additional 14-15 minutes or until done (a test toothpick into one or two should come out clean, though they are so reliably done at 14-15 minutes I don’t even check them). Allow to cool for a few minutes in the pan, then pop out and place on a wire rack to cool completely.


*Zucchini is a really watery vegetable. To keep it from watering down your muffins, grate the zucchini onto a few layers of paper towels or a clean dry kitchen towel and squeeze as much water from it as you can. You’ll be amazed how much water you squeeze out!

Best Ever Zuchinni Muffin Recipe @savedbyloves copy

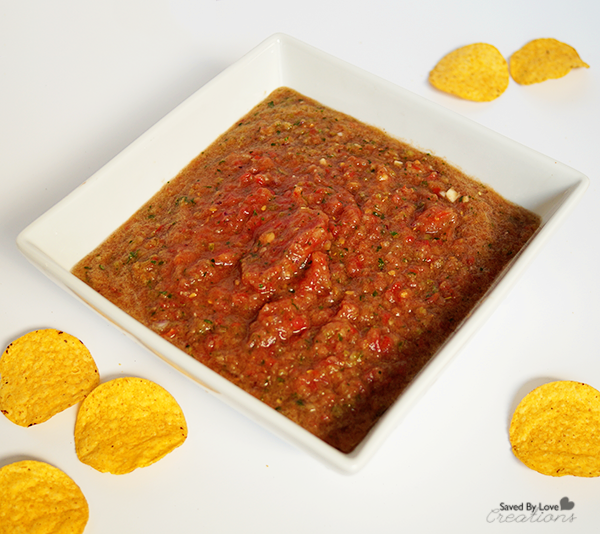
Easy Game Night Salsa Recipe

Easy Game Night Salsa Recipe @savedbyloves


Johnnie and I met about two months ago, both having recently moved to Fort Collins, CO from out of state. We both work from home, have a beagle(s, in her case), love outdoor adventures, and are positive and active people. Needless to say we hit it off well. Our first meeting was at the dog park, then we carpooled to a snowshoeing event the following weekend, and went to float in isolation tanks, too!


I just love food made from whole, fresh ingredients. I originally came up with this recipe when I was living in Maryland and getting fresh organic veggies weekly through a CSA subscription. Salsa is amazing because you can eat it so many ways- with corn chips, on top of a baked chicken breast, with scrambled eggs, and on top of a turkey burger just to name a few. Who doesn’t love a tasty way to get some extra veggies on their plate?

Salsa Recipe

Ingredients:

6-8 large tomatoes

2 lemons

1/2 large bunch cilantro

couple pinches of sea salt and pepper

1 green pepper

1 onion

2 cloves garlic

Optional: jalapeno pepper(s), if you like spicy salsa


  1. Juice lemons (remove seeds).
  2. Remove seeds and stem from pepper. Cut into quarters. If using jalapenos, dice and remove top.
  3. Peel onion and garlic. Quarter onion. Mince garlic
  4. Throw all ingredients along with the stuff from steps 1-3 into the food processor. Pulse until desired consistency, stopping to scrape/mix as needed.
  5. Serve with chips or over burgers or as desired. Refrigerate leftovers.


Note: We didn’t have a food processor at our disposal, so instead, we chopped the tomatoes into quarters, cut the cilantro with scissors into small bits (just the leaves), diced the onion into small bits, and diced the garlic and peppers. Then we followed the recipe above using a blender. The food processor just saved some time dicing, but the end product is equally tasty.


My love for the Spanish language and Hispanic culture goes farther than just making tasty salsa! After majoring in Spanish in college and studying abroad in Spain, I started my own virtual business teaching practical conversational Spanish and English to break down language barriers. I offer personalized one on one language lessons, appropriate for all levels, including those with no prior language experience. Payment plans available. I also offer group language lessons at a great rate, virtual workshops, and trips to Spanish speaking countries. Want to chat more with me about learning Spanish (or English) conversation virtually? Check out my website at www.rompiendolasbarreras.com or email me at hannahrompiendolasbarreras@gmail.com.

Guest post by Hannah Pinkerton, Rompiendo Las Barreras- Virtual Spanish & English Conversation Lessons

Thank you so much, Johnnie for allowing me to do a guest post on your blog this week. You are the best!


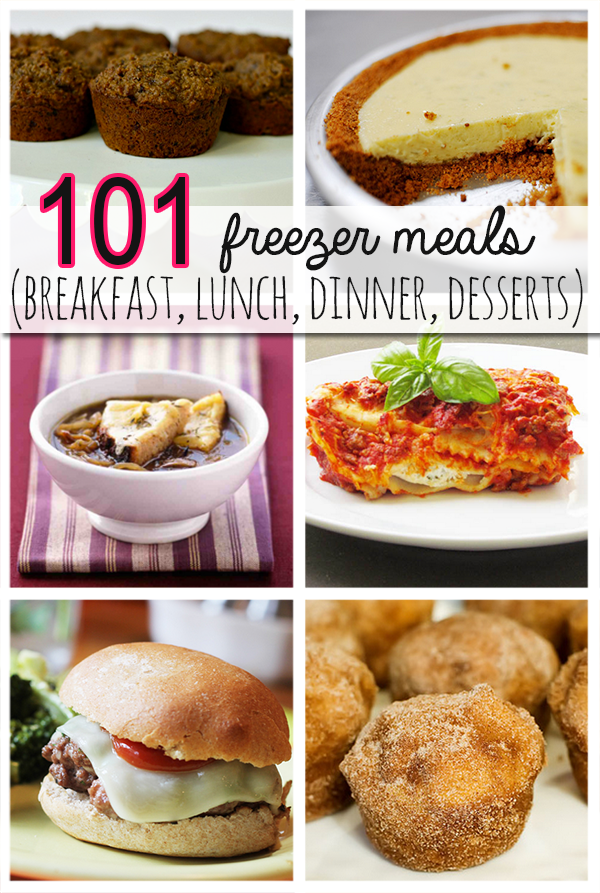
101 Tasty Freezer Meals Plus Great Tips

101 Freezer Meals @savedbylovesToday I am thrilled to share with you this yummy collection of 101 Freezer Meals from Julia at Rock it Like a Mom!

Whether you are flying solo, or cooking for a large family, make ahead meals save you loads of time. Especially if you tackle a ton of meals in one day. Julia gives you great tips for doing just that, as well as over 100 recipes she has curated. There is something to fit every taste, including breakfast, luch, dinner and desserts!

Find them here:

101 Freezer Meal Recipes

Thanks Julia!

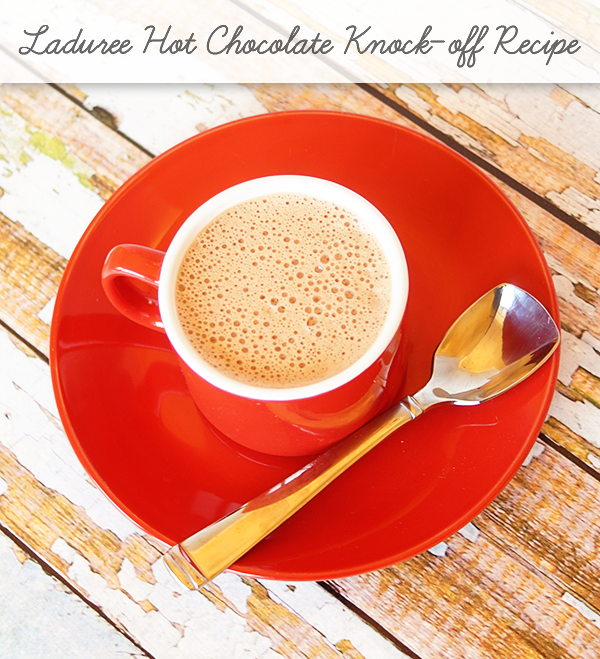
Laduree Hot Chocolate Recipe Knock Off

Laduree Hot Chocolate Recipe Knock Off @savedbyloves

If you read anything about traveling to Paris, Ladurée hot chocolate and macarons are bound to be mentioned. We heard about the place first on Rick Steve’s audio Paris app, in one of his many interviews with Parisians.  Then pretty much everyone we talked to about “must see places” in Paris recommended we go there for chocolat chaud (hot chocolate).

Laduree Paris

Well we went there, and I must say, the hot chocolate was smooth and divine.

chocolat chaud paris Recipe

I came home, and much like with the french onion soup recipe I shared yesterday, I had to try to recreate the experience here in Indiana! After some time with Google, I found this Parisian Hot Chocolate Recipe. I followed it to the letter, using Ghirardelli bittersweet chocolate chips from the local Wal Mart. To grind them, I used my blender on “grind”. I also blended the mixture after adding the chocolate in the same blender on “Liquefy” for 1 minute.

Best Hot Chocolate Recipe

It was so much like the real thing! The next 10 minutes consisted of “mmmm….” and that’s about it. I have made it twice more since then, and it is a huge hit in our house. I won’t make hot chocolate any other way now.  If you can’t make it to Laduree, this is the next best option! Enjoy.

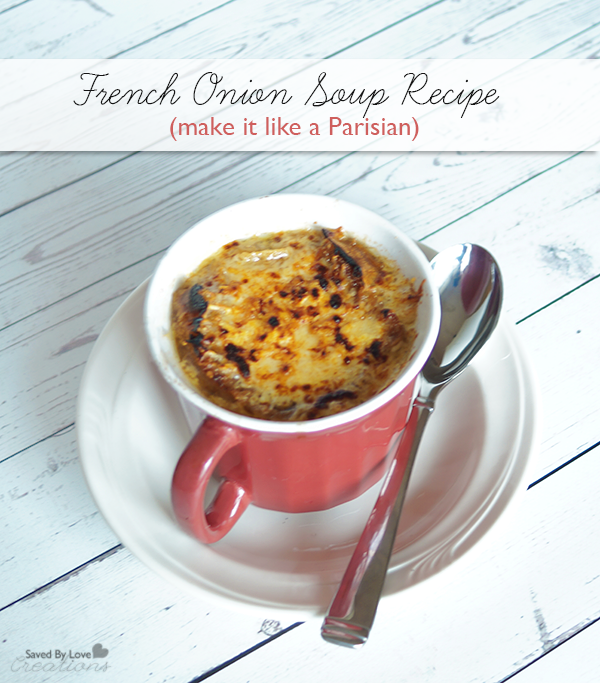
Best French Onion Soup Recipe


Amazing, easy French Onion Soup Recipe @savedbyloves


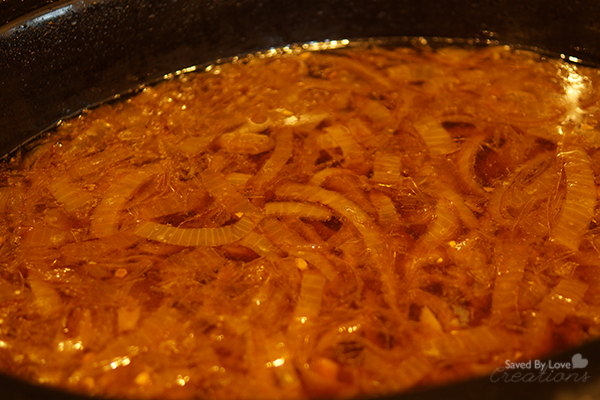
We had the awesome opportunity to travel to Paris, France over the holiday season. So. Freaking. Amazing. The history, the art, the architecture, the food, the food and the food awakened my senses like I could never have predicted! The first night in our hotel, we went for room service French onion soup, starting what became a daily must have. We ate it to warm us at the Christmas markets as we browsed the handmade soaps, colorful macaroons and stands filled with endless gifts, pastries and foods. By the time we landed back in Indiana, I already needed a fix. I asked Google how to make French Onion Soup just like they made it in France, and landed on a couple of recipes to give me a starting point, but then just made it my own. I tested out various combos until it tasted just like I remembered. Caramelizing the onions is key, and is about 30 minutes hands on, but then the crockpot takes over and you are free until serving time. Here is what I did!

INGREDIENTS

(Serves about 10-12 bowls, depending on size)

12 tablespoons butter
8 large yellow onions, sliced and separated into rings
2 tablespoon white sugar
4 cloves garlic, minced
1 cup cooking sherry
12 cups reduced-sodium beef broth
sea salt to taste
1/2 teaspoon dried thyme
2 bay leaves
8 slices of French bread
1 cup shredded Gruyere cheese
2/3 cup shredded Swiss cheese
1/2 cup freshly shredded Parmesan cheese
4 tablespoons shredded mozzarella cheese

French Onion Soup in the Crockpot @savedbyloves

 DIRECTIONS

Begin by caramelizing the onions

 Heat butter in a large pot over medium heat; cook and stir onions until they become translucent, about 10 minutes
Sprinkle onions with sugar; reduce heat to medium.
Stir constantly at least 30 minutes until onions are soft and brown.

Stir in garlic and cook about 1 minute.

Stir sherry into the  onion mixture and scrape bottom of pot to dissolve any browned food.

Transfer to Crockpot

Transfer onions into a slow cooker and pour in beef broth.

Season to taste with sea salt; stir in thyme and bay leaf.

Cook on high in crockpot 4-6 hours or low 8-10 hours.

10 minutes before serving
Arrange bread slices on a baking sheet.
Broil until toasted, 1 to 2 minutes per side.
Combine Gruyere, Swiss, Parmesan, and mozzarella cheeses in a bowl.
Fill soup crocks 1.5 inches from the top with soup and place bread slice on top of liquid.
Top with about 2 tablespoons of cheese mixture per bowl.
Place bowls onto a baking sheet, broiling until cheese topping is browned and bubbling, roughly 1.5 minutes.

60 Plus Christmas Cookie Recipes to Make

60-Plus-Easy-Christmas-Cookie-Recipes from @savedbyloves

We have moved things around a bit, and are now sharing with you our 60+ Christmas Cookies to Make from Taste Every Season. These will be great neighbor gifts and party treats this holiday season! Enjoy.


Halloween Treats Best Pumpkin Cupcake Recipie

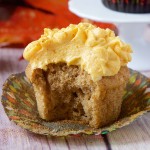
The Best Pumpkin Cupcake Recipe @savedbyloves

As soon as 16 year old Brianna told me her passion was baking, I started working on her to share a recipe here on SBLC.  She whipped up these to-die-for pumpkin cupcakes with cream cheese frosting. Today I am happy to let you in on how she did it!  I know she will be a success and you will understand how I know that once you get a taste of these.

PUMPKIN CUPCAKES

Makes 2 dozen cookies with 25 minutes cook time.

Ingredients

1/2 tsp salt

2 1/4 cups flour

1 tbsp baking soda

3/4 tsp cinnamon

1/2 tsp ginger

1/2 tsp nutmeg

1/2 cup softened butter

1 1/3 cup sugar

2 eggs beaten until frothy

1 cup pumpkin puree

3/4 cup milk

Halloween Recipes

Directions

1.  Sift flour, baking powder, baking soda, salt, ginger, cinnamon and nutmeg into medium sized mixing bowl.

2.  Cream butter and sugar until light and fluffy.

3.  Beat in eggs one at a time, then blend in pumpkin.

4.  Stir in the sifted dry ingredients with milk, blending until batter is smooth.

5.  Spoon batter into lined muffin pan, filling each 2/3 full.

6.  Bake at 375° for 25 minutes.

CREAM CHEESE FROSTING

Ingredients

4 tbsp softened butter

8 oz softened cream cheese

4 cups confectioner’s sugar

1 1/2 tsp vanilla extract

Directions

1.  In a large mixing bowl, beat cream cheese, butter and vanilla until well blended.

2.  On low, beat in powdered sugar a little at a time until well blended.

3.  Beat on high until smooth and creamy.


Thanks for sharing with us, Brianna!

Over 50 of the Best Pumpkin Recipes

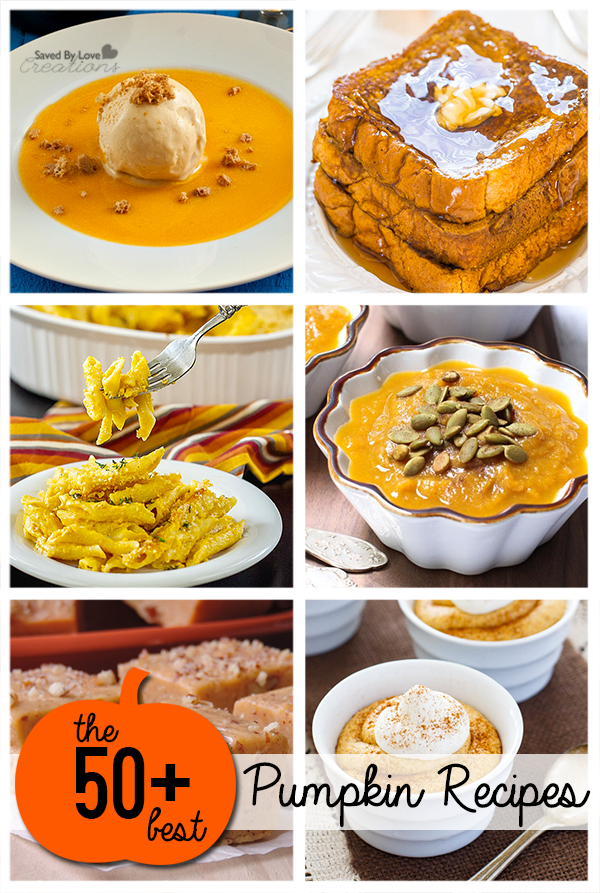
50 Plus Best Pumplin Recipes @savedbylovesSweaters, pumpkins, orange, leaves, hay rides, these things make me happy. That is why fall is my favorite time of year. I couldn’t resist the urge to search out and share over 50 of the best pumpkin recipes out there. If you have a favorite fall pumpkin recipe that I missed, leave a link in the comments after this post and I will add it to the collection. Enjoy!


Privacy Policy