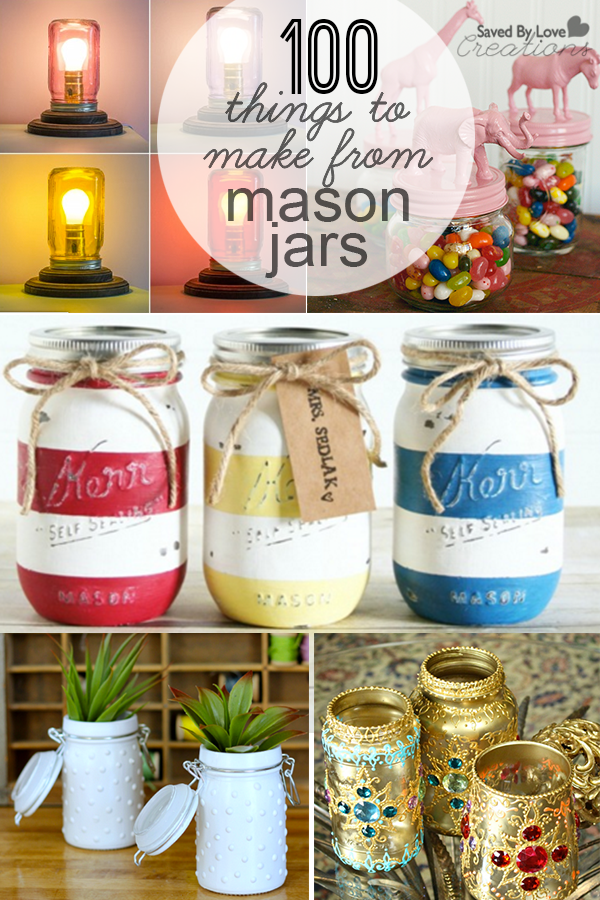
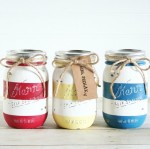
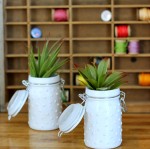
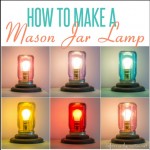
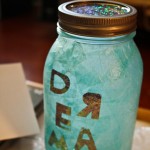
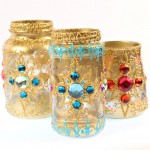
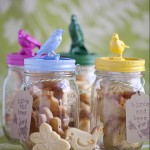
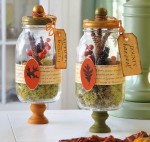
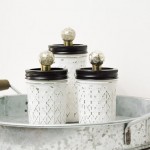
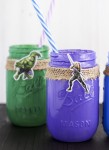
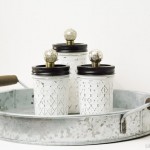
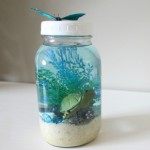
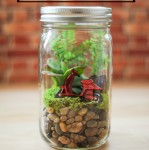
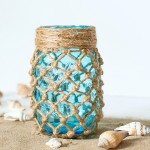
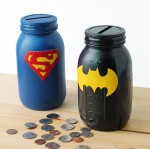
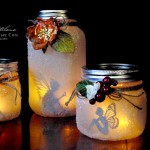
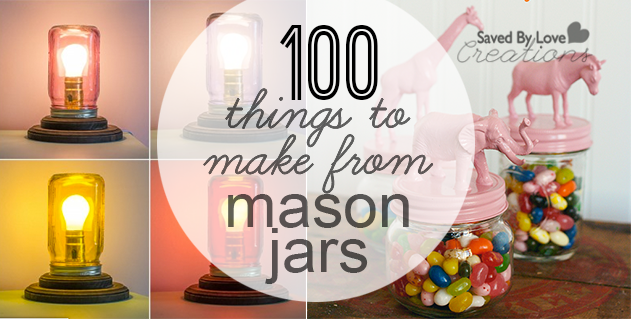
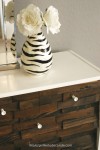
The creative mason jar projects keep rolling in, so we have updated our orignal round-up of jar crafts to include our new favorites. Enjoy!!


Upcycling DIY home decor, woodworking and Crafts

The creative mason jar projects keep rolling in, so we have updated our orignal round-up of jar crafts to include our new favorites. Enjoy!!
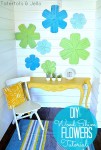
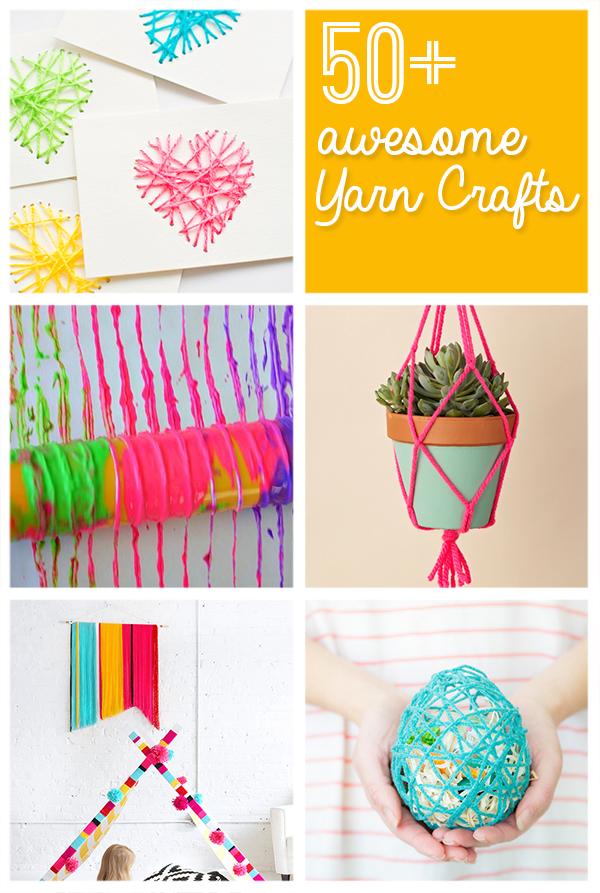 Don’t let the title scare you. For this collection, no crochet or knit skills are needed. This week’s crafty round-up is all about things to make with yarn. You will find all kinds of kids crafts, home decor, paper crafts and more. Enjoy!
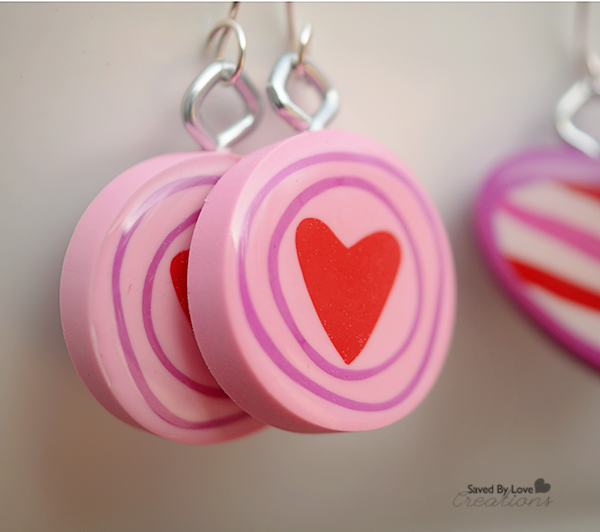
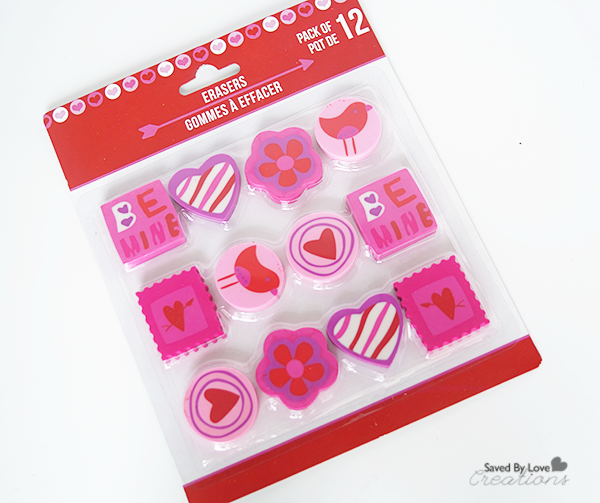
I heart creating with dollar store supplies. For one, it is cheap, and it challenges me creatively. When I saw these cute Valentine’s Day erasers over the weekend, I immediately thought they need some resin and ear wires! Follow along to see how I made earrings from dollar store erasers!
At first I imagined making a pendant, but then I realized the erasers came in pairs, just perfect for earrings. This project is super cheap and easy to do. Don’t be intimidated by resin if you’ve never used it.
Especially now that ICE resin has made mixing the two parts so simple.
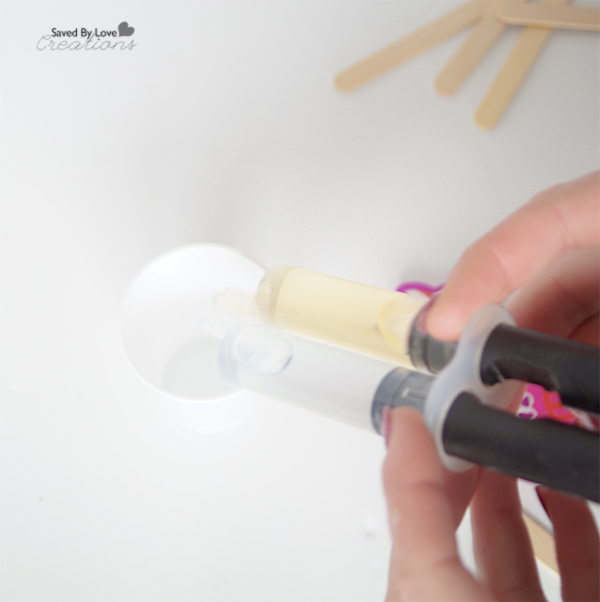
When working with 2 part resin, it is crucial to mix equal parts A and B. If you are off even just a little, the resin may no cure properly. ICE resin comes in a plunger that extrudes equal parts automatically.
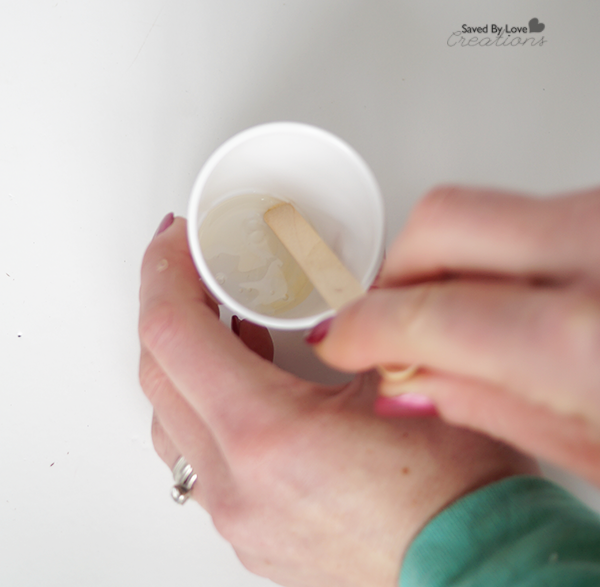
Use a craft stick and mix the 2 parts by stirring for at least 1 minute.
TIP: After mixing, let resin sit for 5 minutes before applying it. This lets the mixture settle and decreases air bubbles.
Apply a little bit of resin at a time, starting in the center using the craft stick. It can take awhile to get use to how much resin to use. Just don’t go overboard. You can always add more to create a dome effect after the first layer has dried, but you are in for a mess if you use to much and it spills over the edge.
Let resin cure for 12 hours.
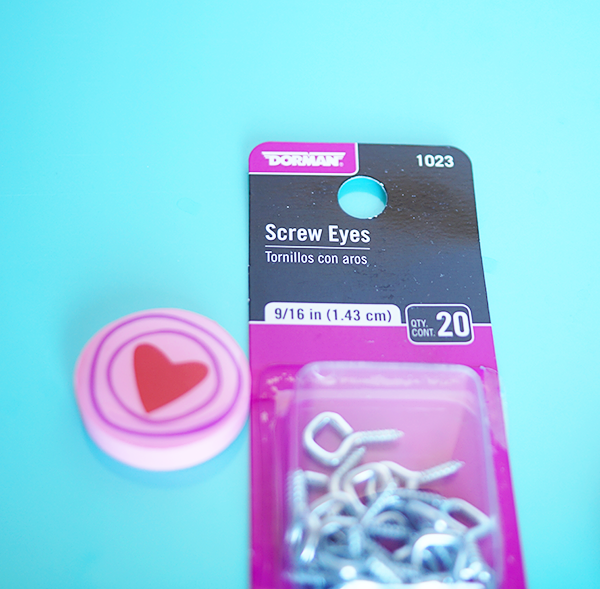
I picked up these screw eyes at Walmart for $0.97.
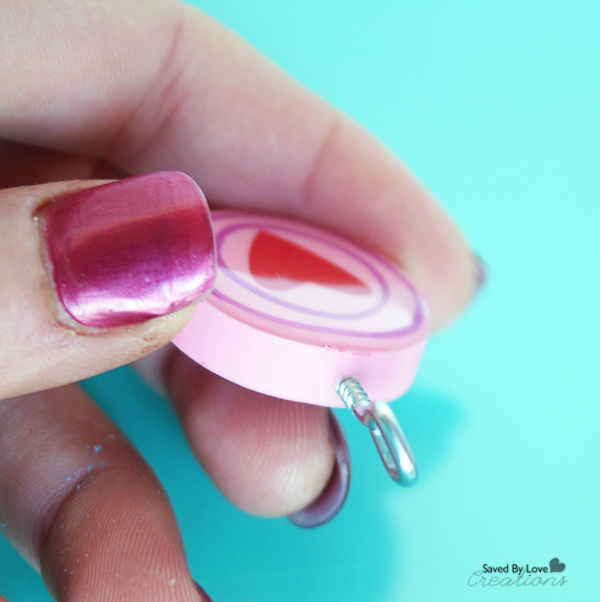
Just screw the hardware into the top center of your resin eraser.
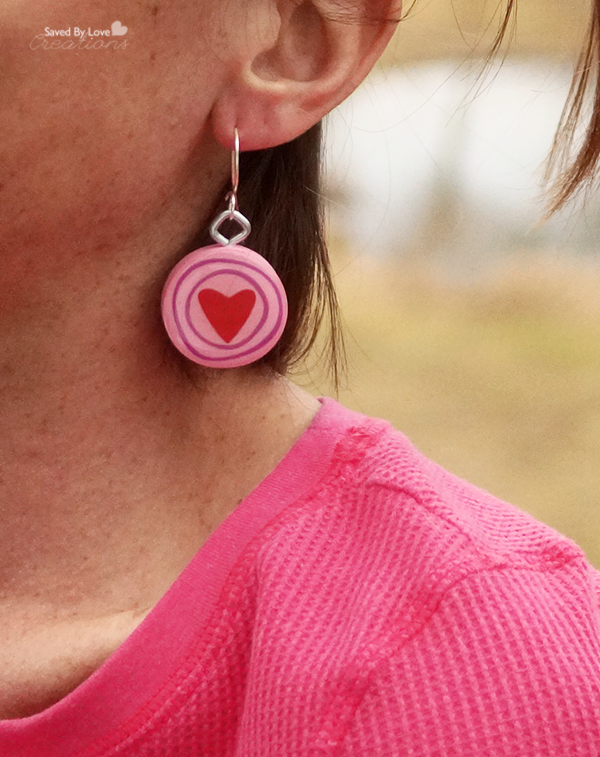
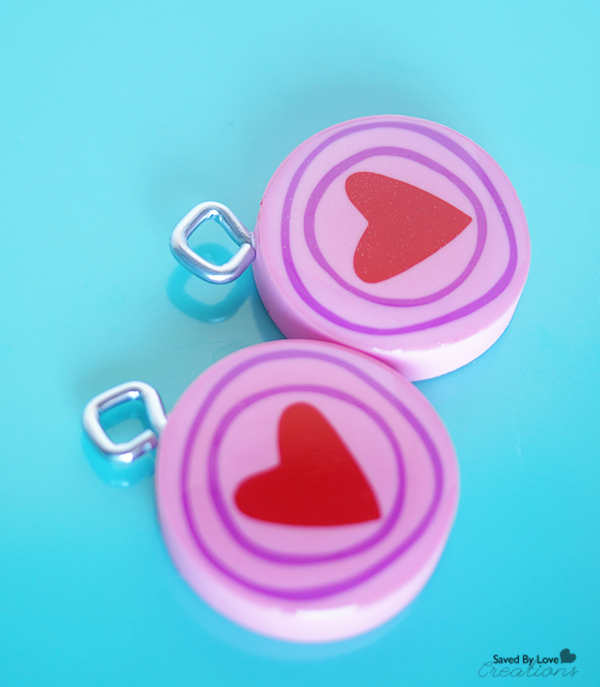
Add ear wire and you are set!
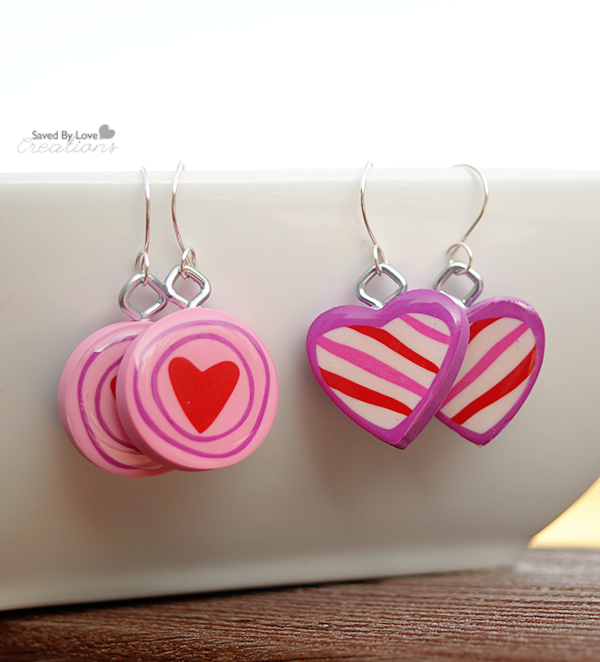
Do you love them as much as I do? You can make 6 pairs with the pack of $1 erasers!


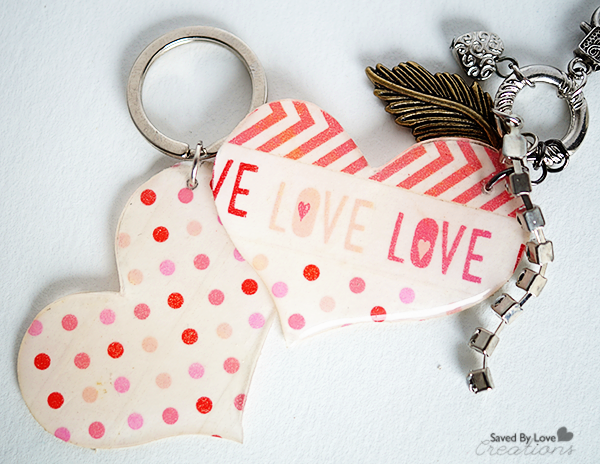
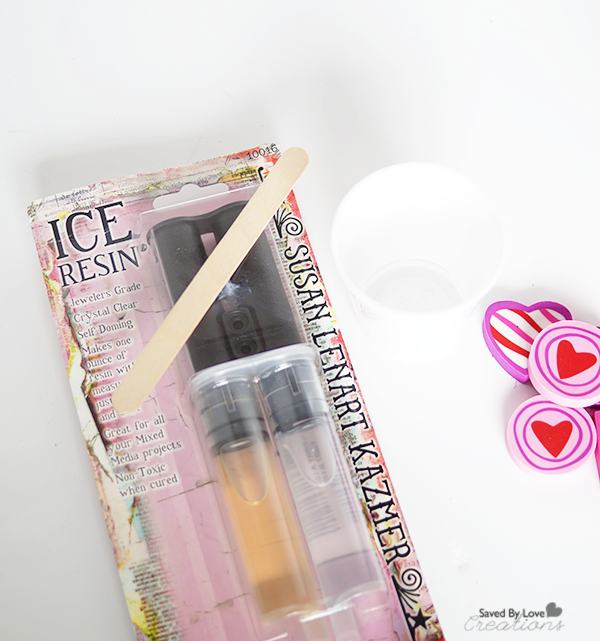
Today’s project is a washi tape and resin craft that makes the perfect Valentine’s Day gift! Follow along as we die cut washi tape and apply ICE resin for a quick and easy charm that you can customize to fit your needs.

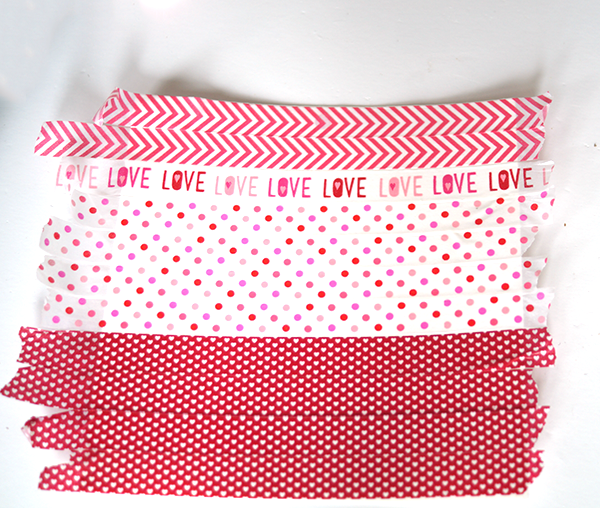
I was inspired on a recent trip to the craft store by these Valentine’s Day prints on washi tape by Hampton Arts.
I covered white card stock with strips of the tape as shown.
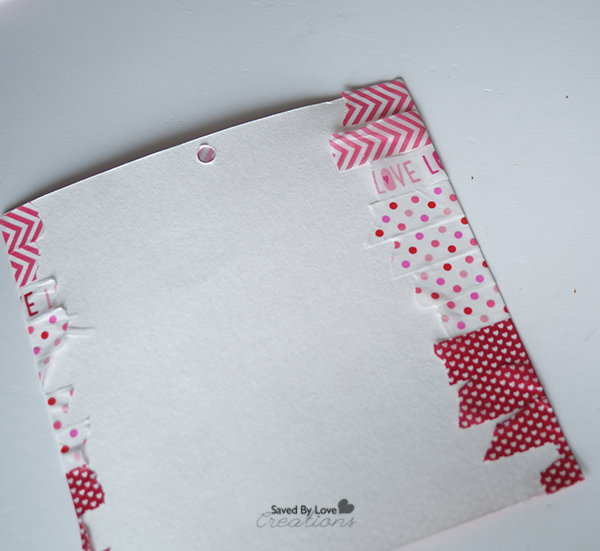
I folded the excess tape over the back of the paper. If you want your charms two sided, you could cover the entire back in tape as well, or use printed scrap book paper instead of white card stock.
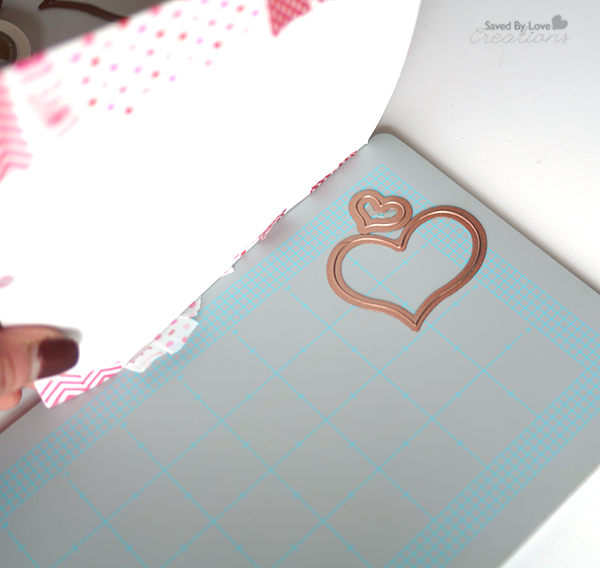
I cut the tape covered paper with these heart dies by Spellbinder’s Media Mixage.
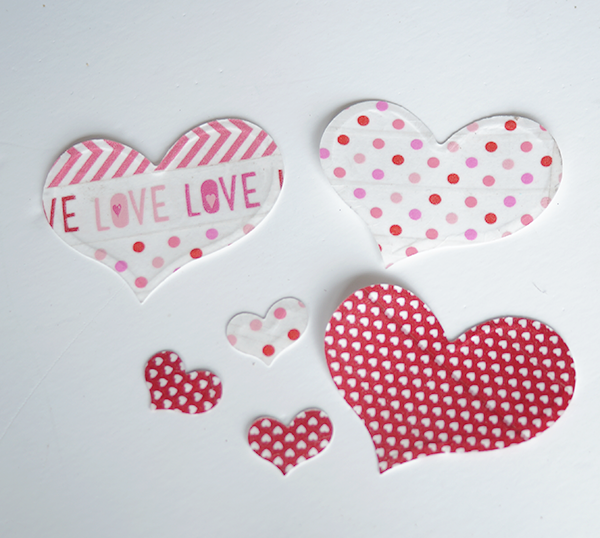
Here is what they look like after die cutting the shapes.
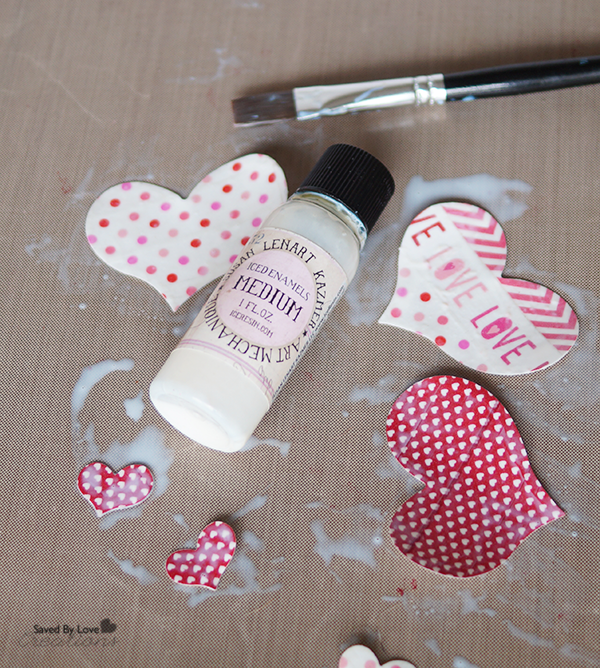
I sealed the front and back of the hearts with Iced Enamels Medium. If you don’t seal the paper tape, the resin will darken it and look funny. Let dry.
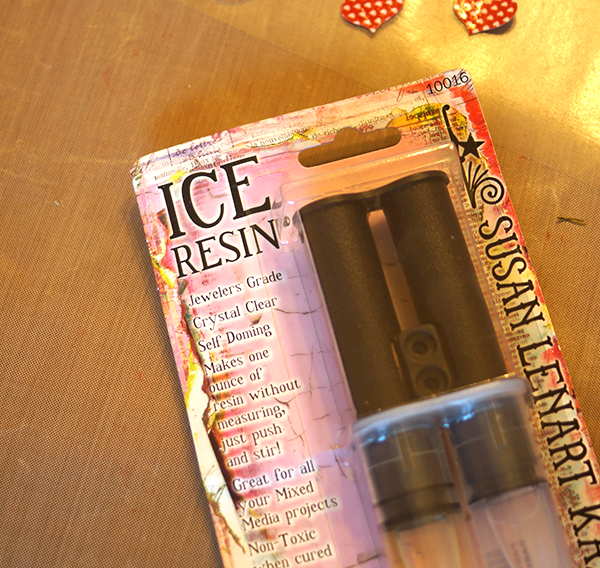
I used ICE Resin on my charms. You could use any jewelry grade resin, or Mod Podge Dimensional Magic.
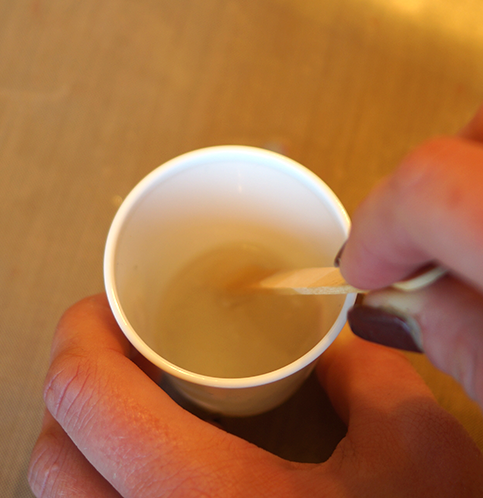
Following the directions on the resin package, I mixed the two parts in a plastic dixie cup with a clean craft stick.
 TIP: Place the paper hearts on top of sticky contact paper to keep them flat while resin dries.
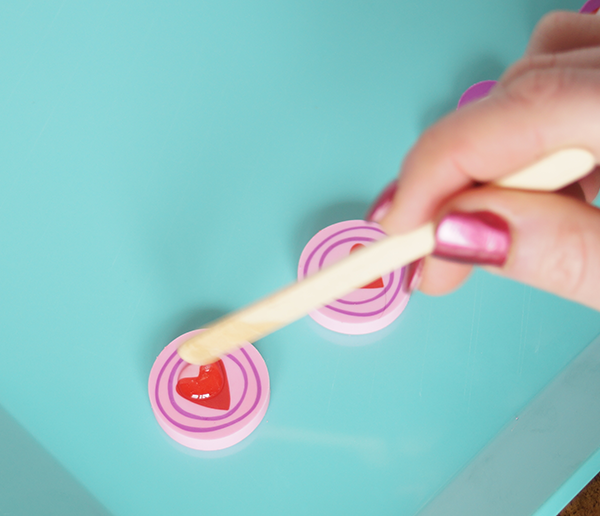
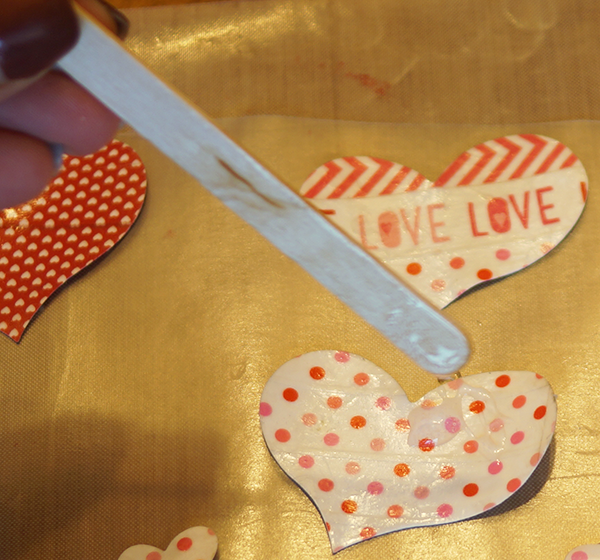
Use the toothpick to drip the resin onto the hearts.
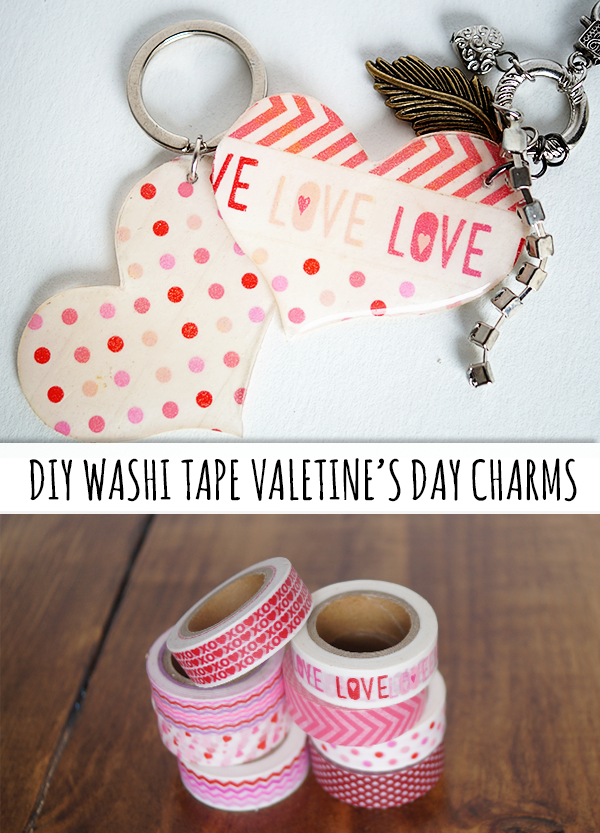
Hole punch the hearts once dry. The resin instructions say 6-12 hours. I let mine sit overnight and used a jewelry hole punch to place holes for jump rings.
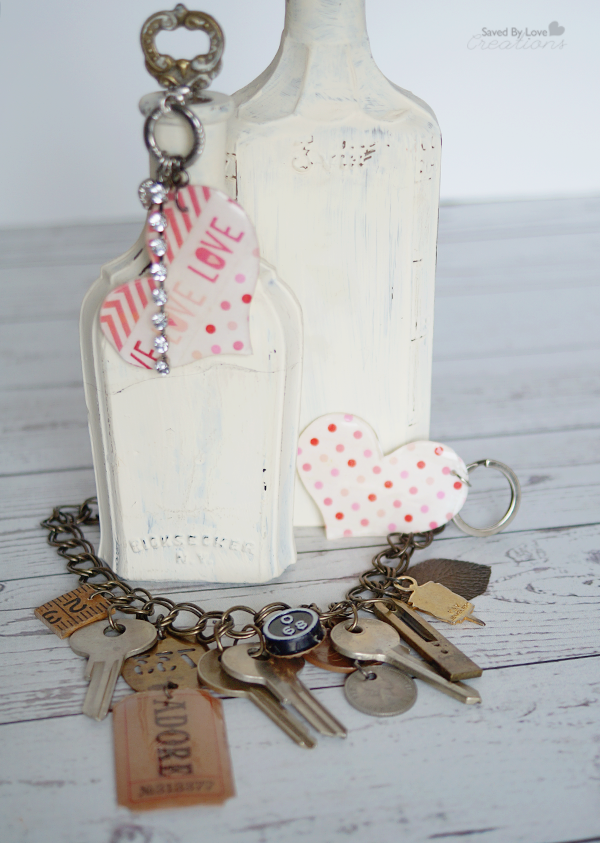
Add keychain fobs and other charms. I went for keychains with the larger hearts. I will be using the smaller hearts for earrings!
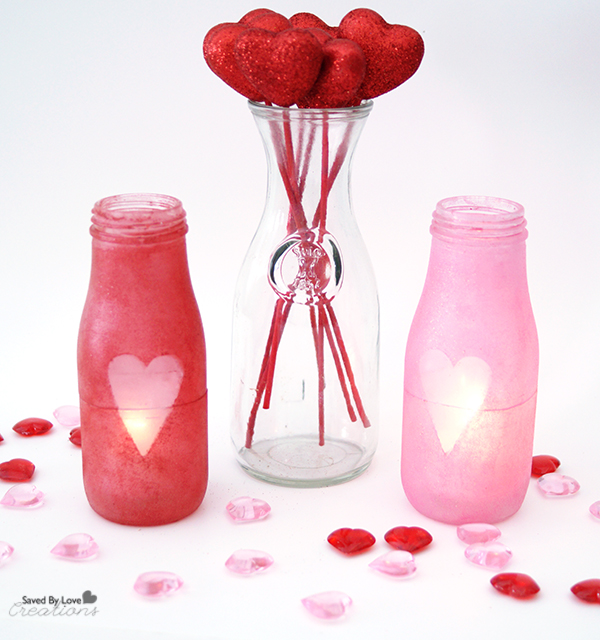
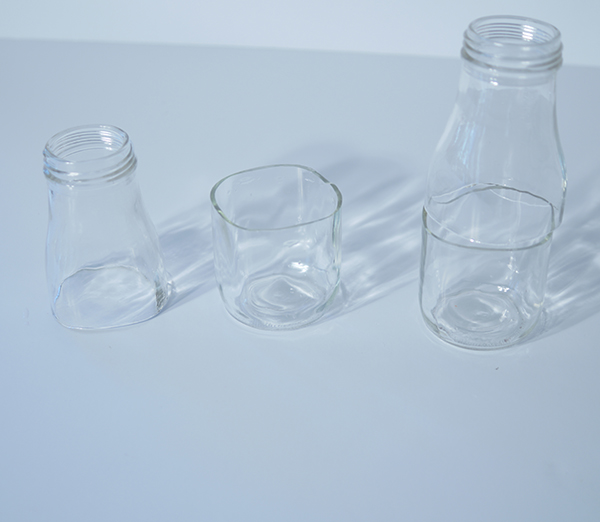
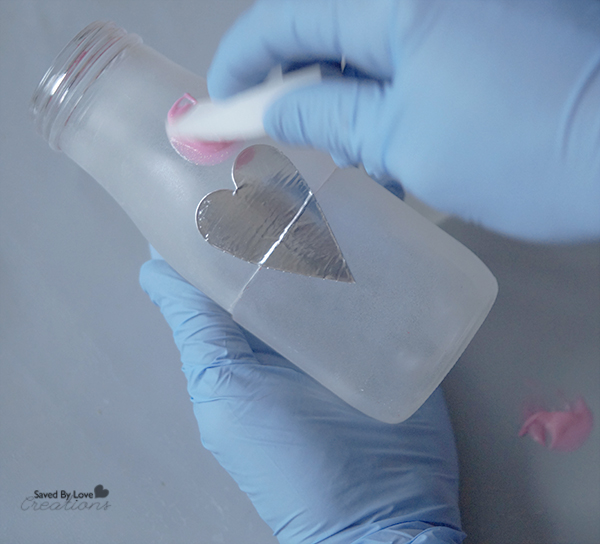
Handmade lanterns are all the rage. With adhesive stencils and paints made just for glass, creating fun designs on bottle is easier than ever. This project involves cutting the bottles roughly in half. Frost and glitter paint are used with heart stickers in a masking technique, so that light from the candles shines through the frosty heart shapes. Create a warm glow for your Valentine’s Day dinner at home!

MATERIALS
– Frappuccino bottles
–Martha Stewart frost glass paint in white
– glitter glass paint in red and pink
– heart stickers cut from foil tape or adhesive vinyl
– cosmetic sponge
– Rubbing Alcohol
– Lint free dry cloth
– Protective gloves
– heart stickers that adhere well to glass
-Surface protector such as newspaper or craft sheet
-bottle cutting supplies (See How to Cut Glass Bottles)
DIRECTIONS


EXTRA TIPS
○ Masking Tips – Foil tape in the electrical section at the hardware store works great for these projects. It adheres well so that the paint doesn’t seep underneath, but doesn’t disturb any base layers of paint when removed. A large roll of it is under $8 and lasts years. Don’t leave the stickers on overnight, or the surrounding paint will peel away with them upon removal. You want to remove them soon after your last coat of paint.
[pinit]
[pinit]
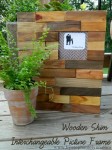
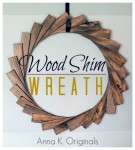
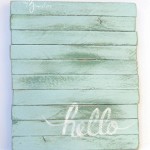
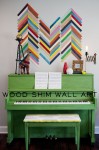
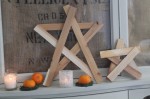
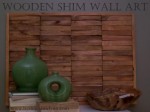
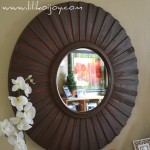
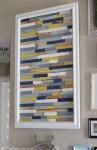
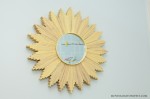
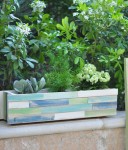
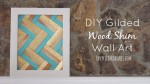
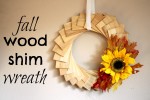
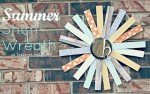
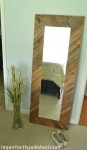
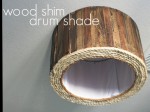
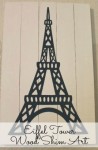
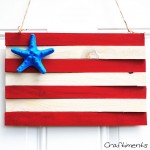
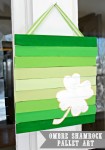
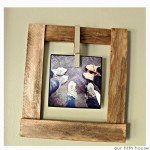
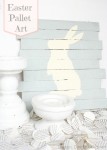
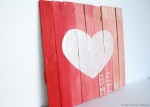
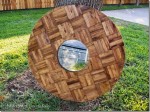
Wood shims are inexpensive and can be used to create gorgeous DIY home decor. Make faux pallet art, cover an ugly thrift store dresser, create a designer starburst mirror on a shoe string budget. Here are 50+ of the best DIY wood shim project tutorials from creatives everywhere. If we missed your project, send us a link so we can include you! Enjoy.
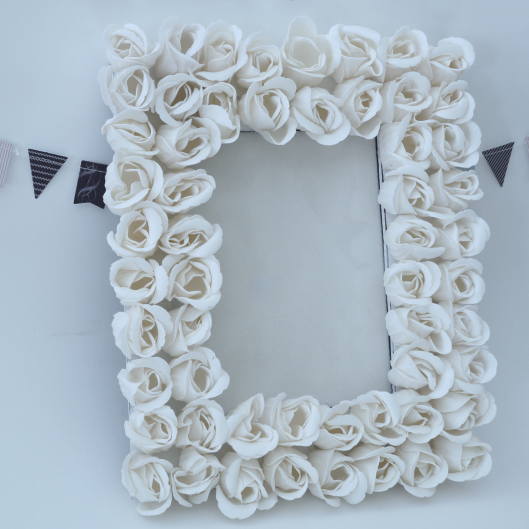
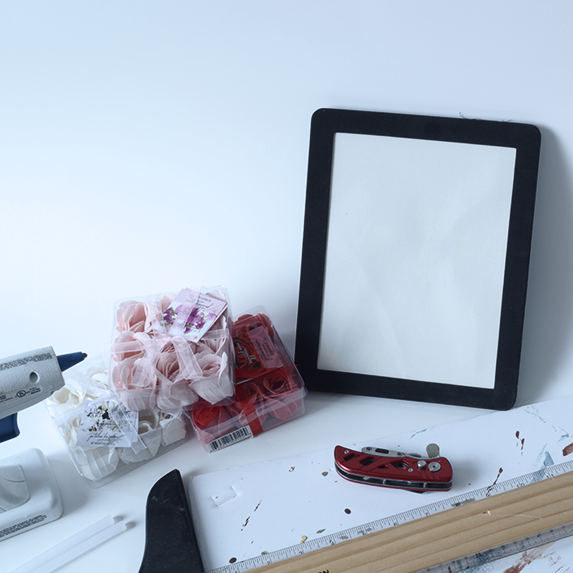
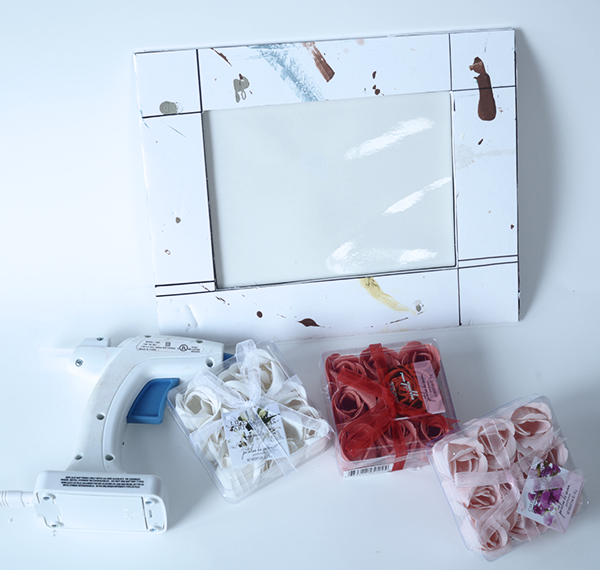
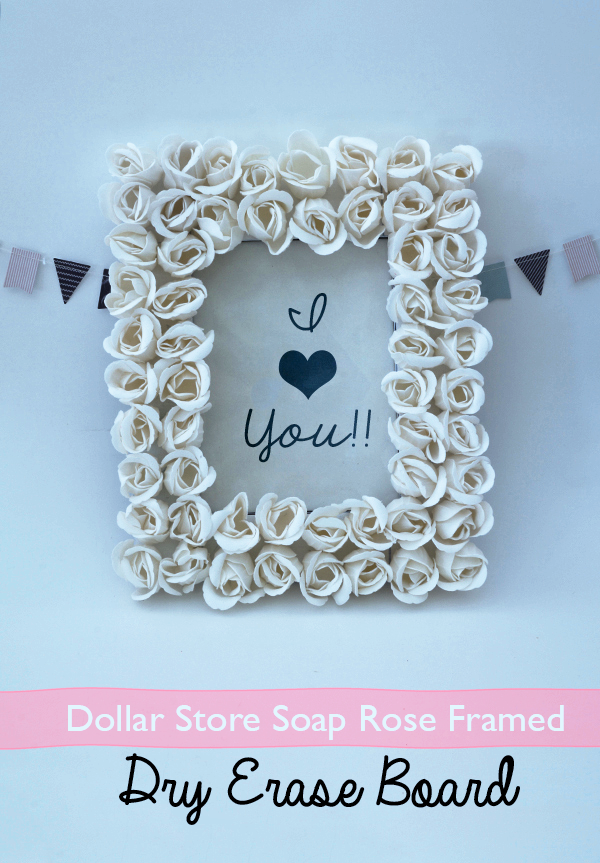
Last week I showed you a wreath and bouquet made from these pretty Dollar Tree rose soaps. You get 9 in a package, and at the store where I live the packs are 2 for $1! I am having a blast gluing these soaps to various things. Today I will show you how I made this rosette framed dry erase board with them and a few basic supplies. Wake up your sweetheart with a personalized message and breakfast in bed this Valentine’s Day!
Dry Erase Board from Dollar Store
Scrap foam board or cardboard large enough to frame the dry erase board
Utility knife
Straight edge and marker
Glue Gun
Dollar Tree rose soaps
Measure and and mark frame dimensions on foam board using straight edge and marker. I made mine 2 inches wide and the opening to fit the dry erase board (in this case 6×8 inches). Cut out with utility knife.
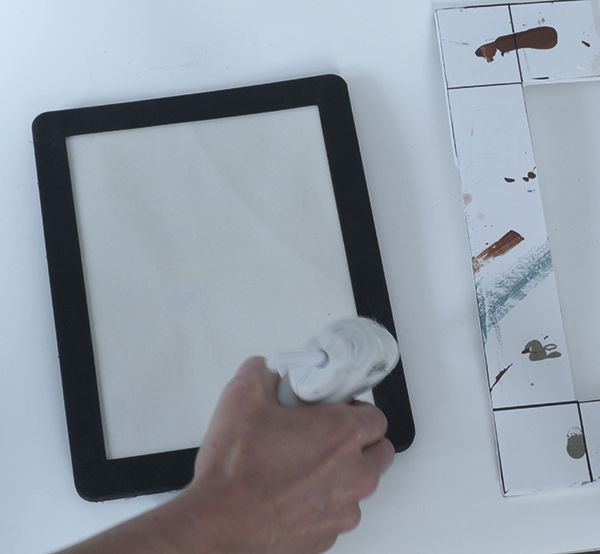
Apply a thin strip of hot glue around the dry erase board foam frame and place your new frame on top of that.

Simply glue the rosettes in place with a dot of hot glue. I went with all white this time. That way I can use it all year round, not just on Valentine’s Day.
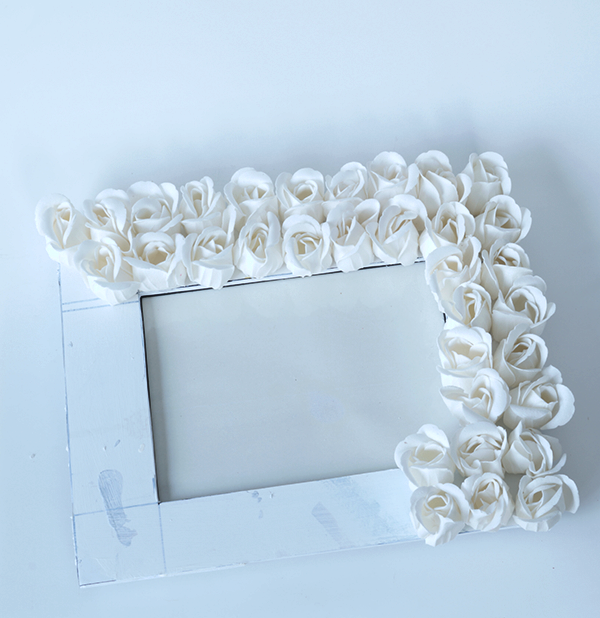
The roses made the piece to heavy to hang on the fridge with the 2 magnets that came on the back. I didn’t really mind since I plan to display mine on a shelf. If you want to have it on your fridge, add more magnet strips to the back. You can get rolls of adhesive backed magnet at most craft stores.
[pinit]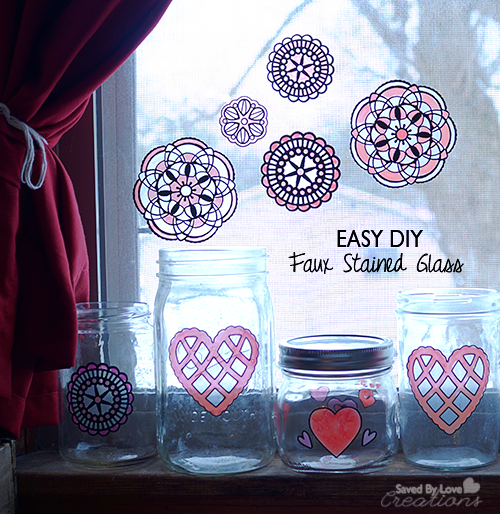 [pinit]
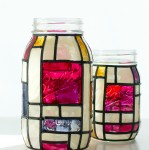
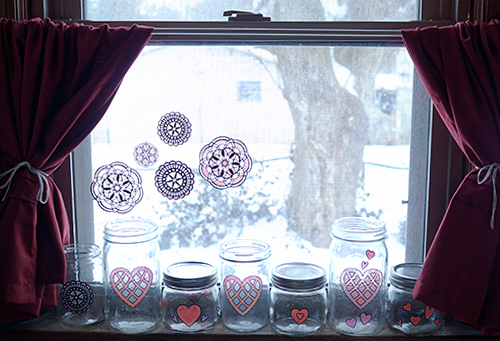
Have you had the chance to use Martha Stewart Paintable Clings? I have always loved the look of stained glass, and these clings give you that in a few easy steps. My favorite part is that they are reposition-able, so you can easily remove them and place them on another surface. Read on to see how to use them for this fun heart themed window scene on mason jars.
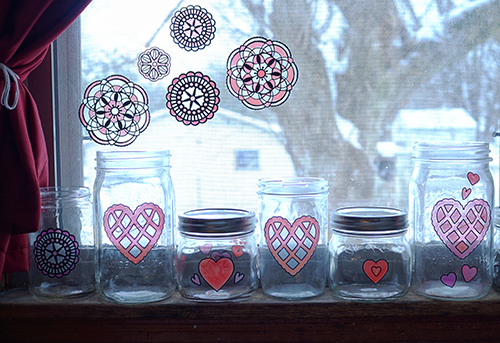
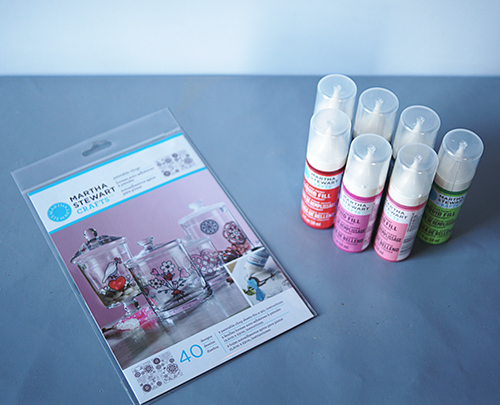
Martha Stewart Paintable Clings Hearts and Flowers
Martha Stewart Liquid Fill in colors of your choice
Glass surface such as windows, mason jars, bottles
Paper towels
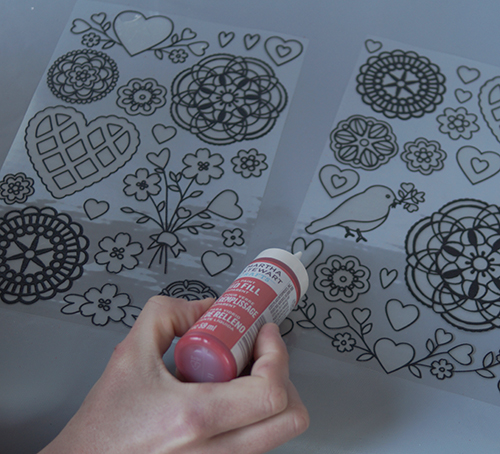
Lay out the clings on a flat surface, leaving them on the clear backing sheet. Paint in the designs using the transparent fill straight from the bottle. I got lots of air bubbles, which I popped with my finger and wiped onto a paper towel.
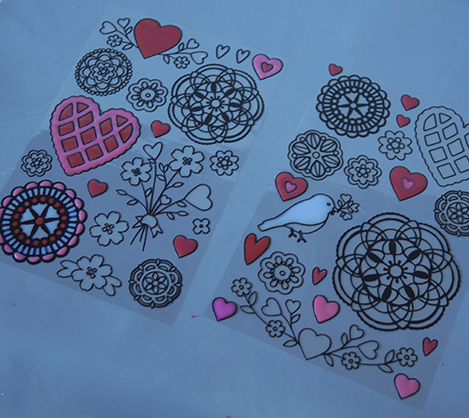
Let dry for several hours. Clean receiving surface with rubbing alcohol and dry with lint free towel. Apply cling and that is it! If you don’t like the placement, you can easily remove and reposition.
[pinit]
 [pinit]
My friend Amy at Plucking Daisies has some fun DIY Valentine’s Day projects that I want to share with you today. I have always loved her style. It all started over Sizzix and paper flowers. She is my flower hero! The two of us have only spent time together in real life twice but it seems like we’ve know one another since childhood. She brings me such joy, both through her art and her friendship. Check out her mad skills and be inspired!

Recycled Packaging Heart Banner
![]()

Faux Barnwood Chalkboard Frame

Printable Chalkboard Valentines

Bitter Coversation Heart Centerpiece
[pinit]
[pinit]
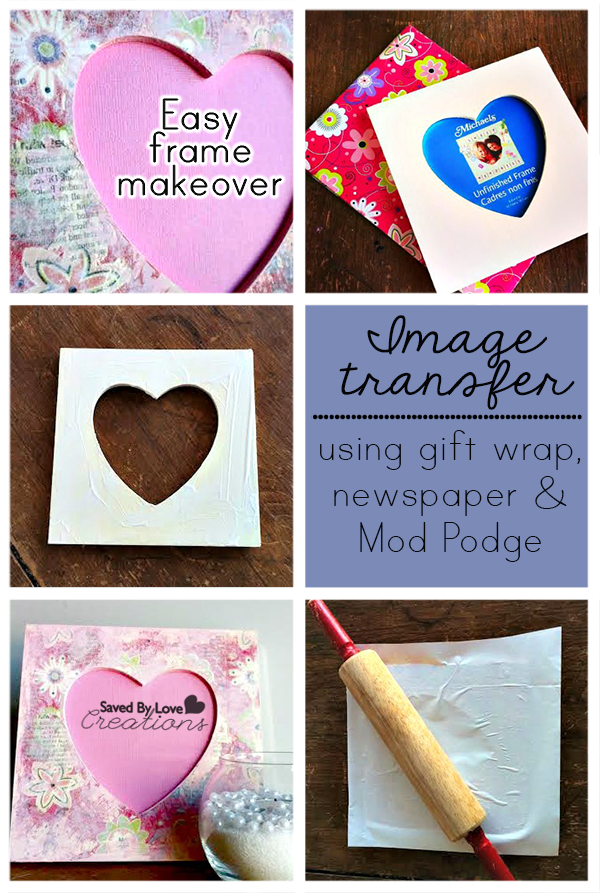
Today Cyn from Creative Cynchronicity is here to share a super cool image transfer technique using gift wrap and Mod Podge. I can’t wait to try it out and I think you will feel the same way. Enjoy!
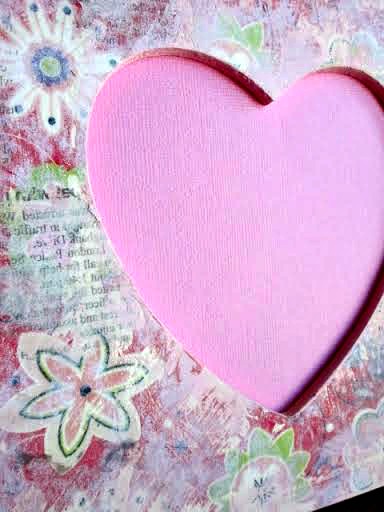
My daughter is getting married this spring so when it comes to Valentine’s Day, I’m thinking of things that will also work in relation to the upcoming nuptials. Since we have some lovely engagement photos around here in need of framing, I decided that the perfect Valentine gift for my daughter and her fiance would be a pretty heart shaped frame. Not only that, but I’m currently planning the bridal shower and it’s going to be all vintage-y and pink and romantic so this works perfectly for that too.
Mod Podge
Gift Wrap
Newspaper
Frame or other surface to transfer onto
Foam brush
Acrylic or Chalky finish paint
Sandpaper
Brayer, rolling pin or credit card
 I started with one of these simple, inexpensive wooden frames from Michaels and some leftover wrapping paper. You want the paper to be pretty bright because once we transfer it onto the frame, it will come out much duller and lighter. The other supplies you’ll need are: Mod Podge, a foam brush (confession: I prefer to use my fingers!), scissors, scraps of newspaper or book pages, some paint (I’m using Deco Art Chalky Paint because I feel it has just the perfect finish for this vintage feel I’m going for) and a small scrap of sandpaper. A brayer or a rolling pin is great to have on hand too but if you don’t have one handy, you can just use the Mod Podge bottle.
 Now, check your frame before you get started to see if there are any little rough edges that could use a bit of a sanding. Spread some Mod Podge all over the front of the frame. Here’s a little hint: If you want to try to get more even coverage, spread a medium layer of Mod Podge on the frame ensuring that you get it all over, including right in the corners and all around the heart shaped opening. I put mine on somewhat sporadically because I really wanted to get a “shabby chic kind of effect” with it. Even if you do get complete coverage, just remember that this is not a perfect transfer process and it will still come out looking somewhat distressed.
 Lay your paper face down onto the Mod Podged frame and here’s where your brayer or rolling pin can come in handy for getting good adhesion to the frame. Leave the paper on the frame for about a minute or so. You want to be able to remove the paper from the frame – you don’t want it permanently adhered! – but you also want some of the design to be left behind. You can take a peek by carefully lifting up a corner of the paper – as you start to peel it away from the wood, there should be a bit of tension and you should see some of the paper’s design on the wood.
 You’ll have some bits of the white backing of the paper left behind as well as the printed part that you want there. Dampen your fingers and rub gently to take away some of that backing. I left a bit behind, once again to add to that aged quality of the project.
 To add to the interest of the design, I used some bits of newspaper in some of the areas where the wrapping paper didn’t really adhere. I followed the same Mod Podge procedure that I did with the wrapping paper.
 Once I was finished with putting on any of the papers I wanted, I went on to the paint. Now, even if you were using the foam brush for the Mod Podge application, I strongly suggest you use your fingers here. I found I had better control of the paint which is important because I didn’t want it all over the frame. I was strategic in applying small amounts of the paint very lightly to small sections of the frame and then using my finger to spread and blend it out so that it had a lovely transparent quality to it.This was also when I painted the edges of the frame. Once the paint was dry, I used a bit of sandpaper then to go over the whole frame, roughing up and distressing the paint and paper to finish off the aged, vintage look of it.
 Seal your project with a top coat of Mod Podge and let it dry. You could write a poem or message in the center of the frame or add a special photograph and you’re all set with a gift for your favourite Valentine!


