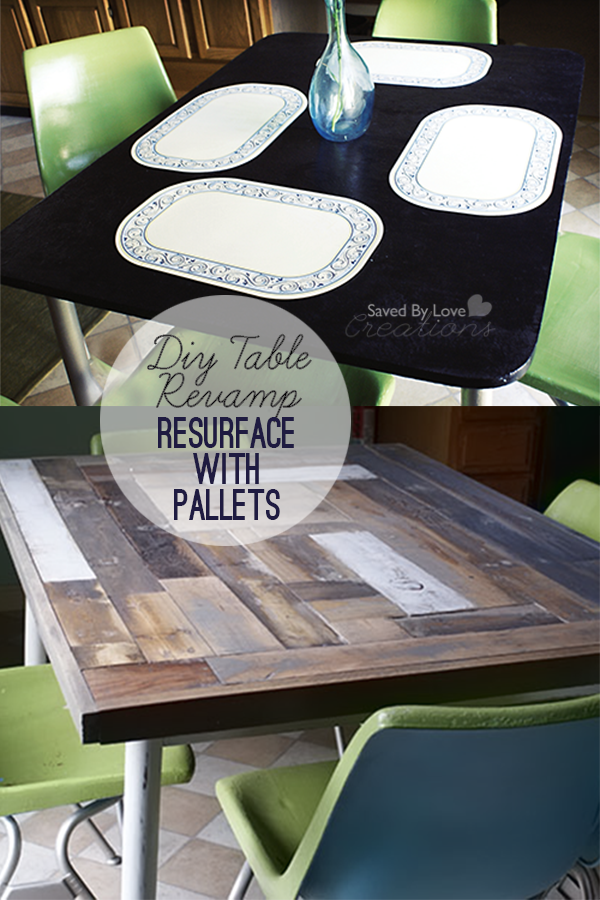
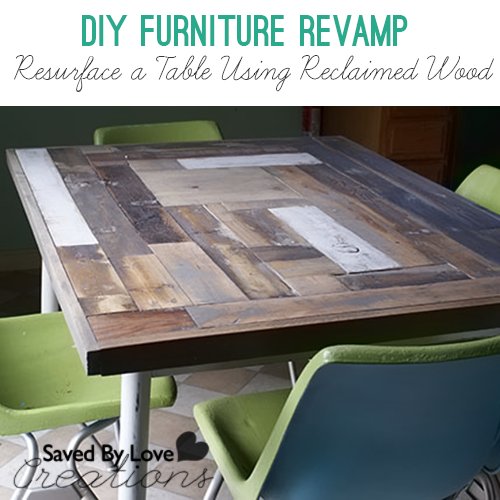
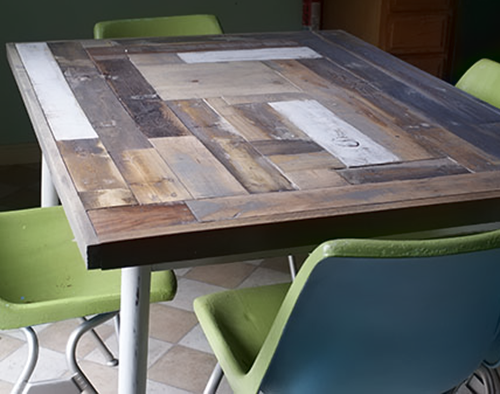
Are you tired of your table, but not in a spot to spend money on a new one? Do what I did and cover your worn out kitchen table with reclaimed wood from pallets, fences and whatever scraps you have on hand. This project was fast, easy, cheap, and I am in love with the new look. I used milk paint for the legs, a first for me. I finished with CeCe Caldwell wax and aging wax. Read on for the full scoop from planning to finish!
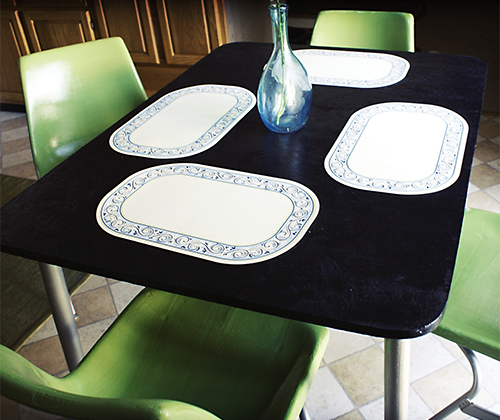
I told you about this table/chair set I got at Habitat Restore for $6 and revamped a couple of years back. I spray painted the table top black and the legs silver, the chairs blue and green and this has been our kitchen table since 2010.
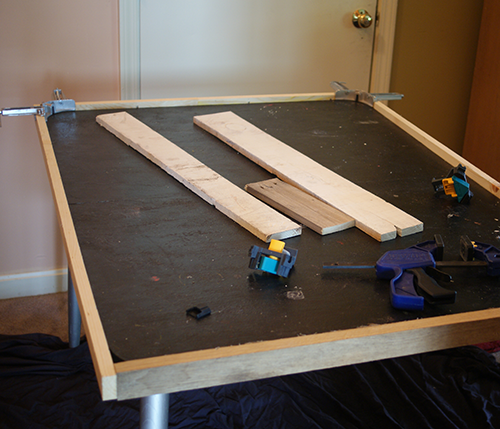
I measured the table’s length and width and cut 1×2 pieces I had on hand to frame the it.
I connected the sides to each other with wood glue, a Kreg pockethole and 1 1/4 inch Kreg screws and held them together with corner clamps while the glue dried.. I glued the frame to the table sides with wood glue and 2 inch brad nails, holding in place with clamps until glue set.
For the boards on the top, I just placed them and marked where I needed to cut the ones that stuck over the edge. I cut them, glued the boards in place, and used my nailer to nail some down for added security. I let that dry overnight, planed and sanded the top, stained with weathered wood from Minwax.
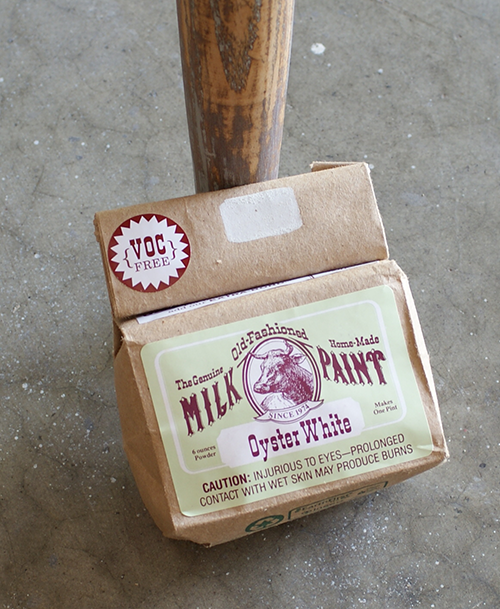
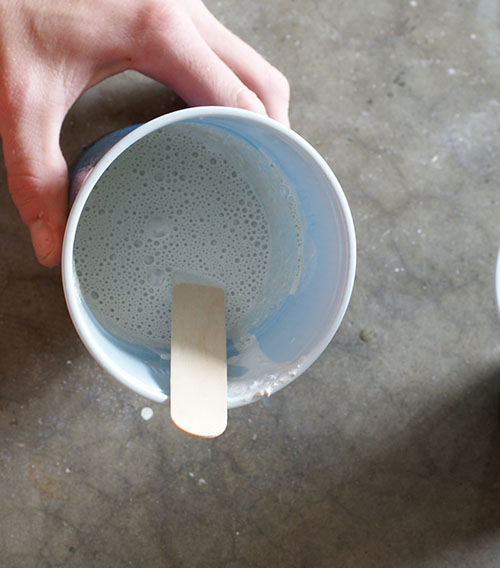
I used this milk paint, which comes in a powder that you mix with equal parts warm water.
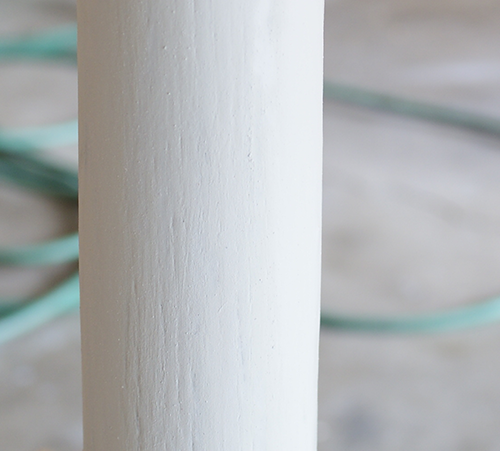
This is after one coat.
This is after the second coat with 1 hour dry time between.
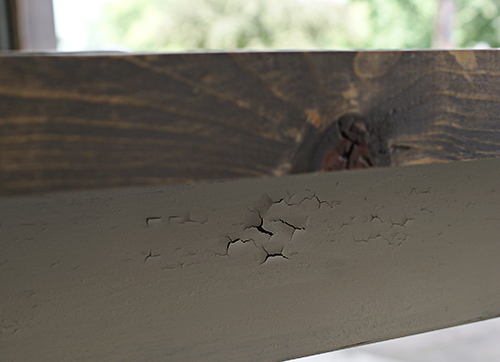
I love where this chippiness happened! I wanted the look everywhere, but it happend where it wanted.
I painted a few of the boards with the leftover milk paint. I distressed the legs with my hand sander in some spots. To finish, I sealed with a coat of CeCe Caldwell clear wax, followed by aging wax all over.
