
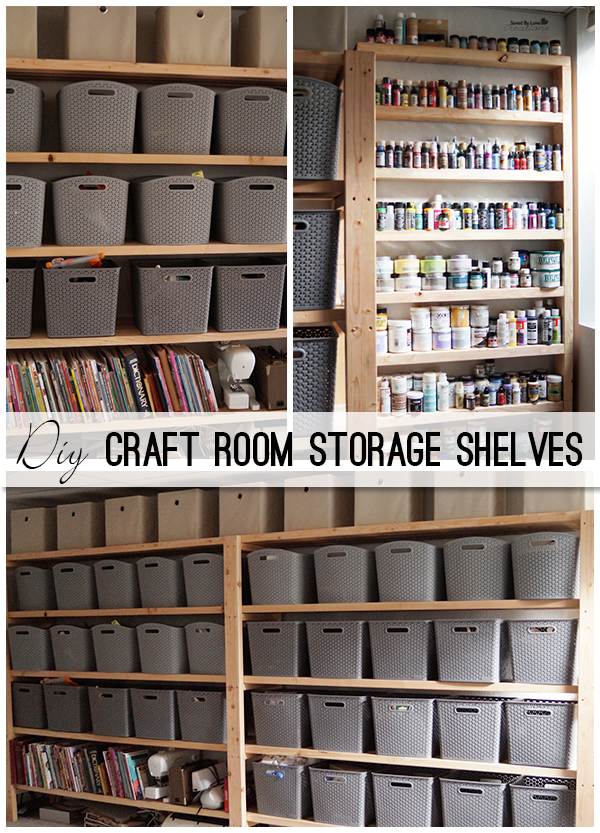
We needing some shelving in our new craft room. The space we had to work with was 81 inches floor to ceiling and about 15 ft. wide. We wanted something sturdy and easy to throw together. We decided to go with 2×4 shelving. It is relatively cheap, easy to work with, super strong and if you don’t go crazy with the screw fasteners it can be disassembled pretty simply if you need to move it.
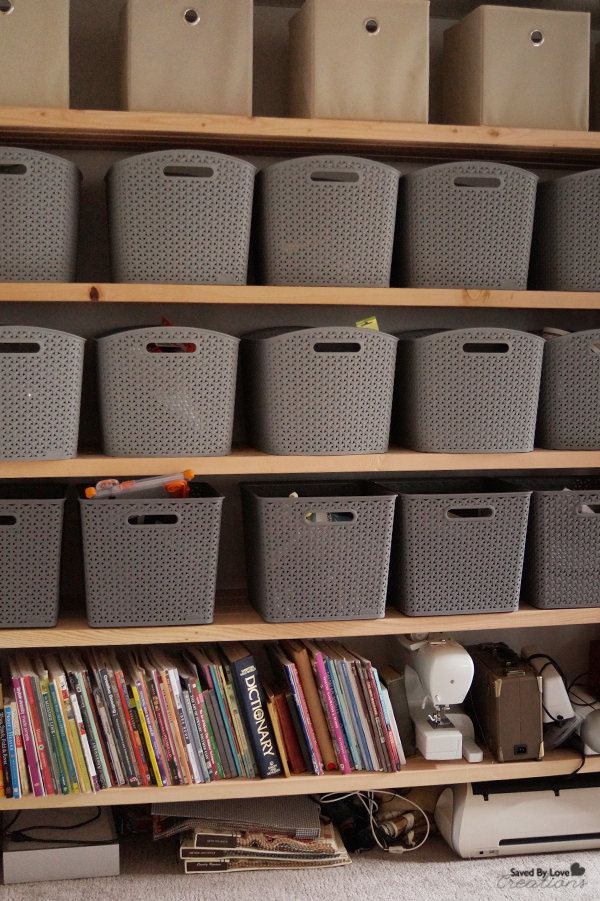
The other dimensions we landed on were the depth of the shelves at 14” and the distance between the shelves of 13”. Once we had these picked it was just a matter of drawing up the simple design to maximize the space and minimize the number of cuts. This way I could buy standard 2×4 lengths.
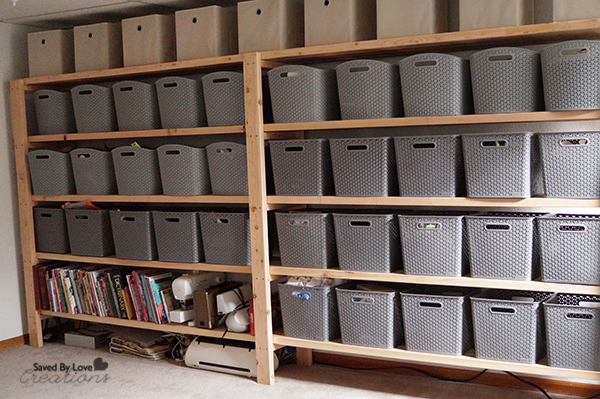
Overall the shelving unit measures 68 inches (H) x 14 inches (W) x 12 ft (L). It has five levels of shelves spaced 13 inches apart and allowing a nice clearance to the ceiling on the top shelf. We were able to get all of the pieces we needed out of (23) 2x4x12’ and (2) 2x4x10’. The unit is held together with 2” and 2.5” # 8 phillips deck screws and wood glue.
Purchase list:
(23) 2x4x12’ 2” #8 phillips deck screw
(2) 2x4x10’ 2.5” #8 phillips deck screws Wood glue
Cut List:
(15) 2x4x 14 inch rungs
(6) 2x4x68’ ladder legs
Tools:
Circular saw or chop saw
Milwaukee cordless Hex impact with phillips bit
Milwaukee Cordless drill for pilot holes
Hammer
Measuring tape
Pencil
Ladder supports
The first thing to do is to build what I call the ladder supports. It’s obvious why I call them this, they look like ladders with the rungs providing the support for the shelf boards. This length of unit needs three of these identical ladder supports. So first using 3 of the 2x4x12’ boards cut (6) 2x4x68” pieces which will be the legs of the ladder and using the (2) 2x4x10’ cut 15 pieces 14” long which will be the rungs of the ladder. After you have all the pieces cut lay out one of the ladders on the floor and mark the legs at the point where you want the rungs to attach. Remember that you will be placing a 2×4 on top of these that will become the actual shelf surface. So adjust the position of the rungs so they are evenly spaced with the top rung allowing the shelf to be flush with the top of the leg and the remaining shelves to be 13 inches below the next shelf as you go down. (see picture). Secure the 14 inch rungs in place between the two legs using the 2.5” deck screws and glue on the joints. Use 4 screws per rung. We drilled pilot holes in the leg to make it easier to hold the rung and get it square on the leg as you screw it in. We used a really awesome Milwaukee power impact driver that made life really easy. It had tons of power and the torque settings were perfect to keep the phillips drill bit in the screw without twisting out, and not countersinking so rapidly that it splits the wood. At the end of this section you will have three identical ladder supports.
Shelf stringer boards
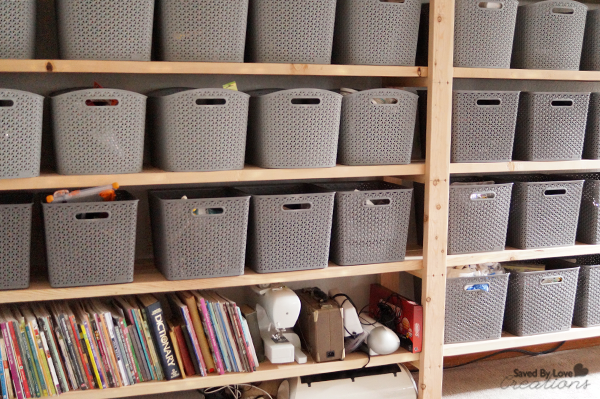
Now take the rest of the 2x4x12’ boards and place them between the ladder supports. Four boards will fit snugly within the 14 inch space in the rung. When you have a ladder section on each end and one centered in the middle at the 6 foot mark. Use the 2 inch deck screws to secure the shelf boards to the rungs. I find it wise to have a helper and to fix one shelf board top front and back and bottom front and back first. This will hold the whole thing together and upright while you set the rest of the shelf boards. Finish setting and screwing in the shelf boards and you are done !!
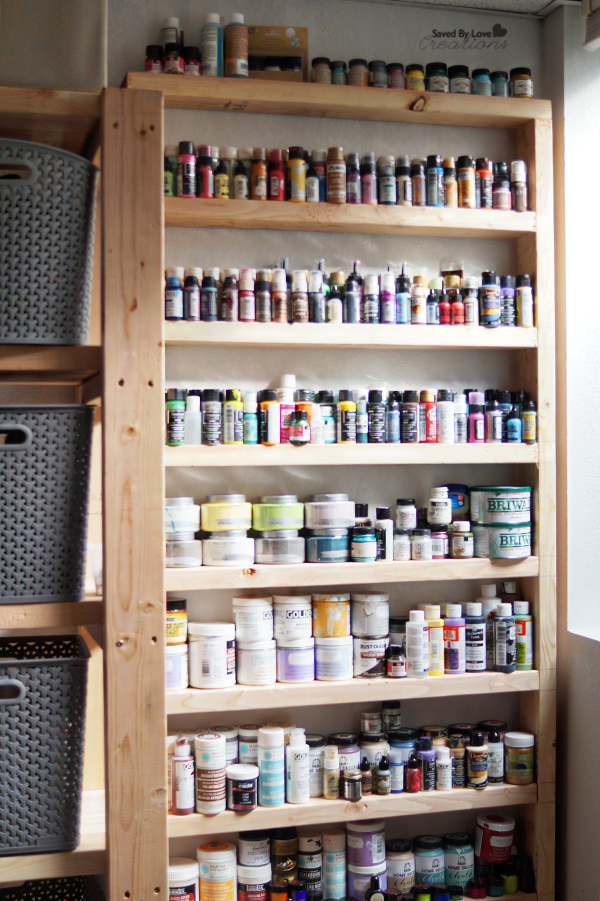
We also threw together a paint storage unit with our extra 2×4 from this project. It is super simple. Another ladder unit as you can see. We just measured the space and cut our shelves to fit.
Remeber our DIY Custom Built-ins from Bookshelves…
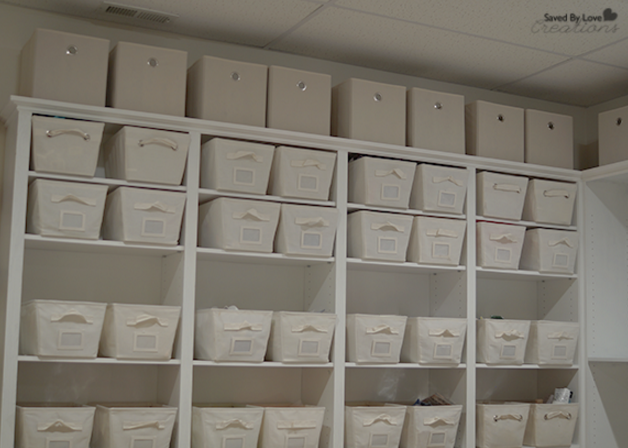
It was hard to leave this awesome set up, but we are finally getting settled into a new studio that we love!
