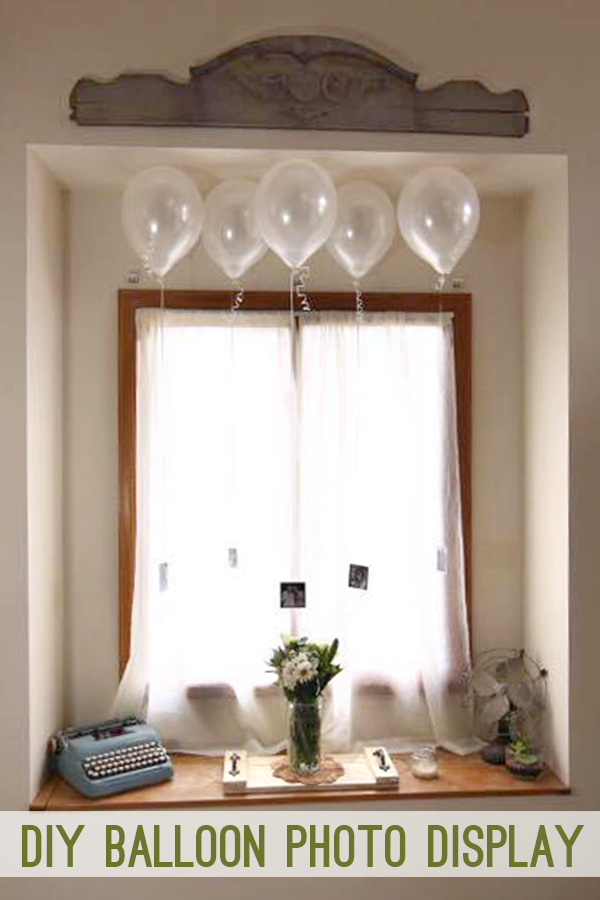
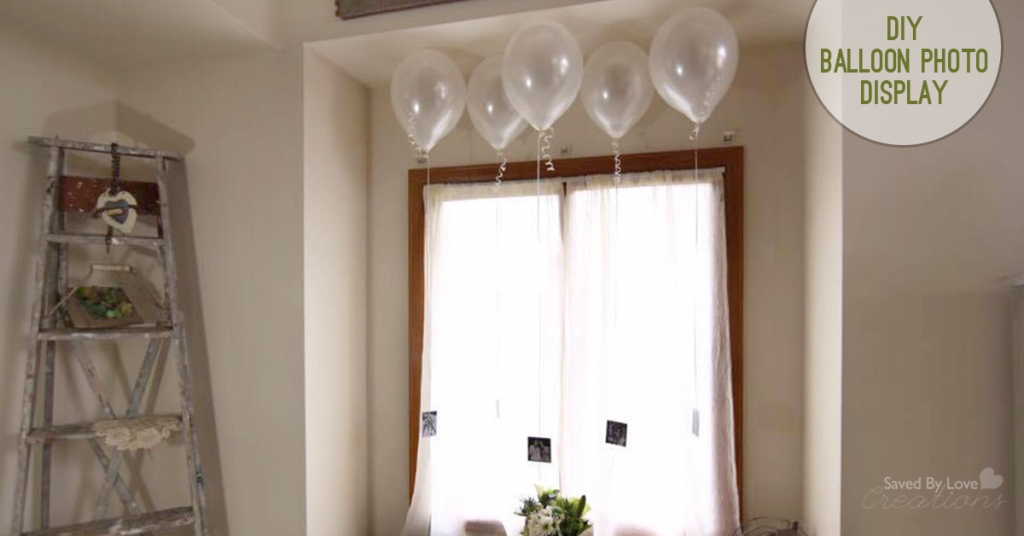
Add a personal touch to your birthday party decor, with this simple, quick and inexpensive DIY balloon photo display! This project can be translated to fit any celebration or holiday. Use photos of the happy couple for a golden anniversary celebration, or for wedding reception decor. Here you will see adult female birthday party decor, but use your imagination. The possibilities are endless, especially if you have a Balloon Time Helium Tank, allowing you to bring whimsy anytime, anywhere! Let’s get this party started…
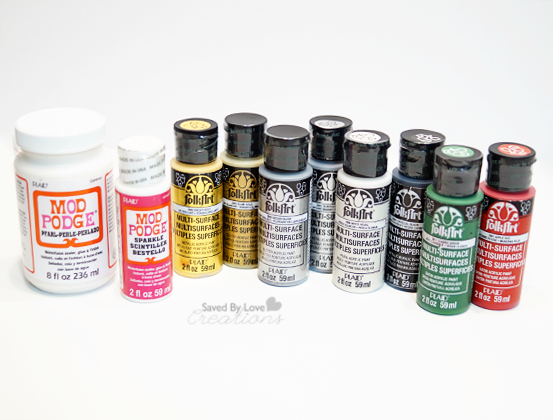
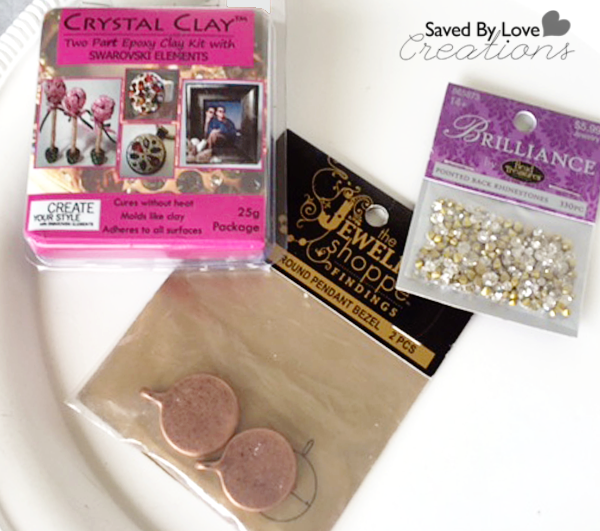
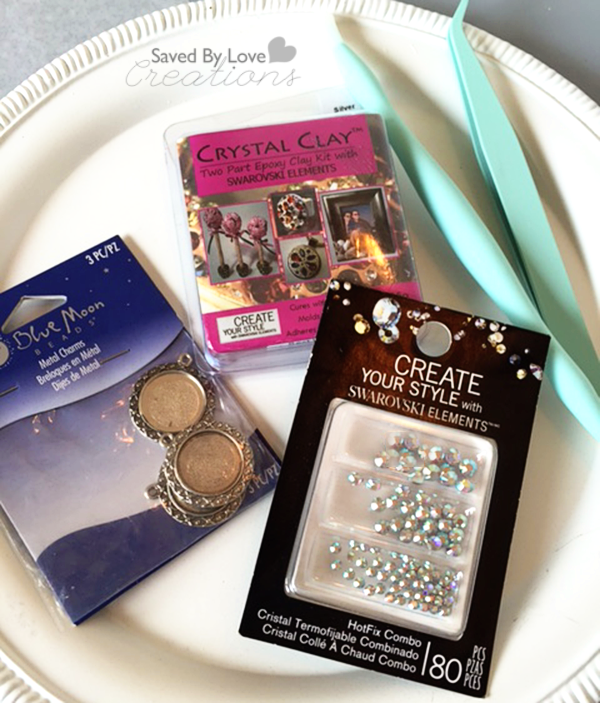
For this project, you will need the following supplies:
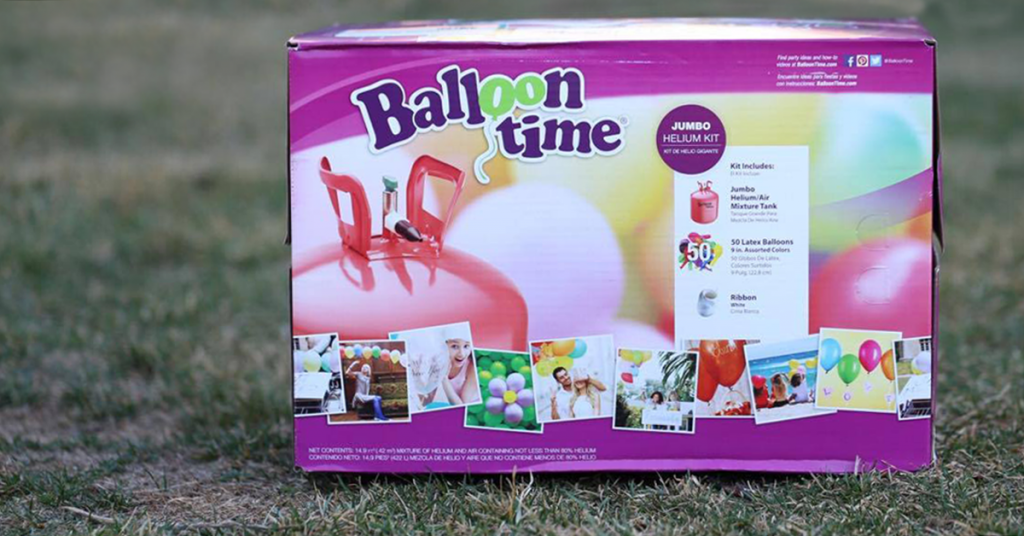
Balloon Time Helium Tank
Balloons in your color choice
Ribbon to tie off balloons
Photos to display
Glue dots or adhesive of your choice
To create your own balloon photo display, follow these instructions:
Begin by printing off your favorite photos to go with the occasion. I edited photos in Photoshop to give them a black and white, framed Instagram type feel. I created a file sized to 8.5 x 11 inches and pulled each edited photo to the new file. Then I took them to my local big box office supply store and had them print 2 copies of the file on white card stock. It was $1.40 total! Cut them out and set them aside. You have 2 prints of each photo.
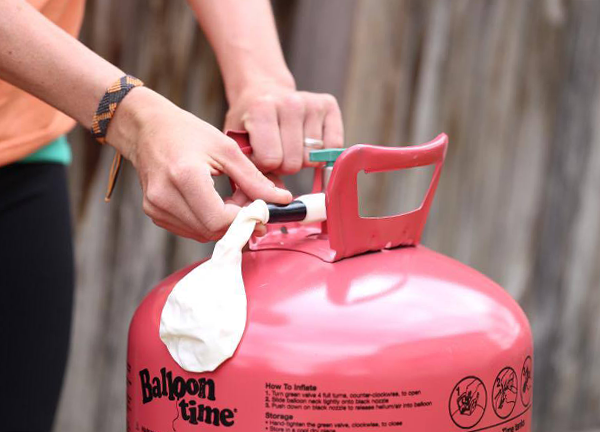
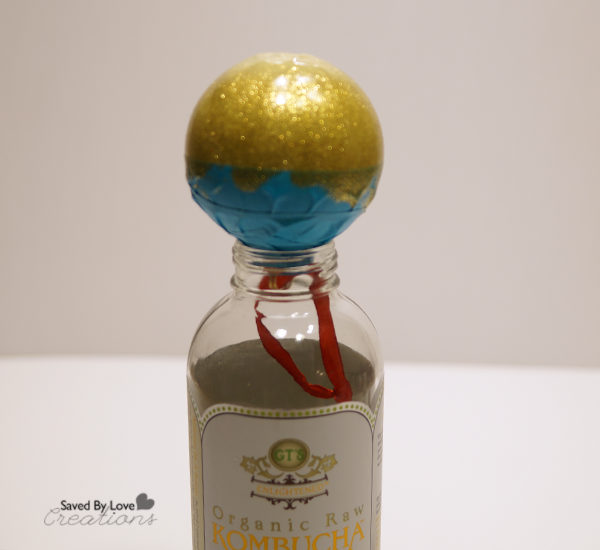
Next, turn the green valve four times, counter clockwise. Slide the balloon neck over the black nozzle.
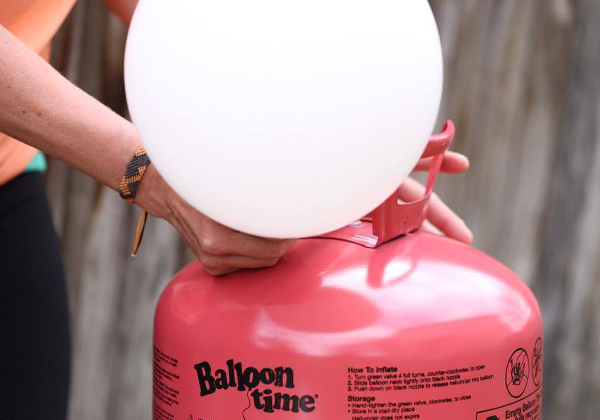
Simply push down on the nozzle to inflate the balloon! So simple to use and convenient to have on hand for whimsical decor, any time.
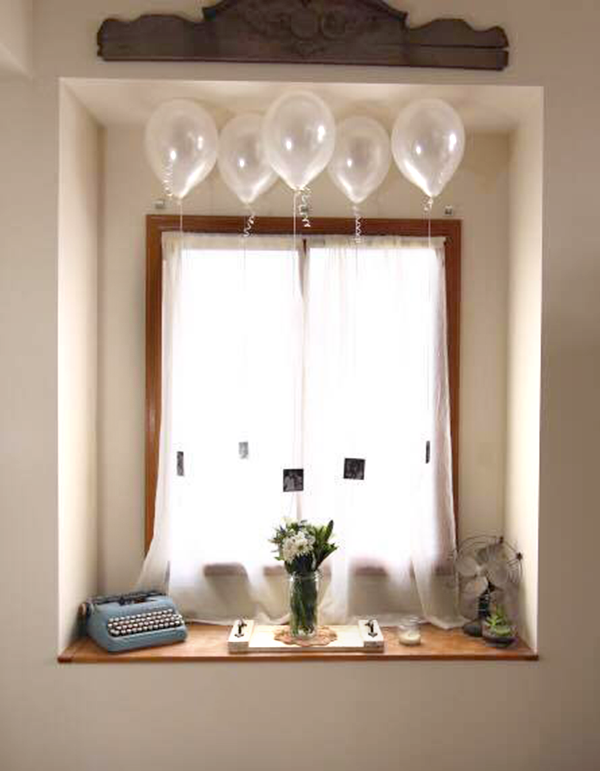
Tie a knot in the balloon and attach ribbon to each balloon. Now you can use glue dots to adhere photos to the ribbon. Sandwich the ribbon between the 2 copies of each photo so that when the ribbon twirls with balloon movement, there won’t be a blank side.
That is it! Go grab a Balloon Time Helium Tank and show us what unique balloon displays you can create!
This is a sponsored conversation written by me on behalf of Balloon Time. The opinions and text are all mine.

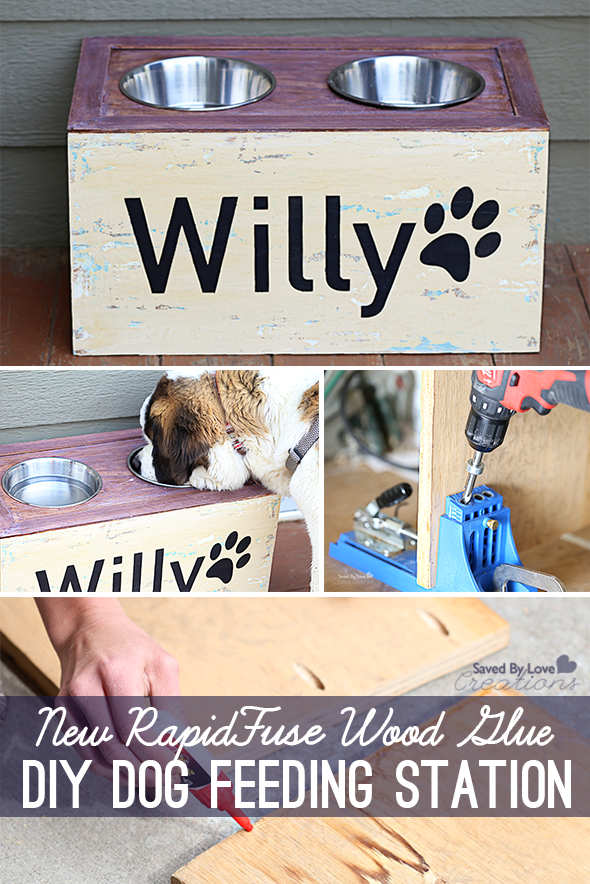

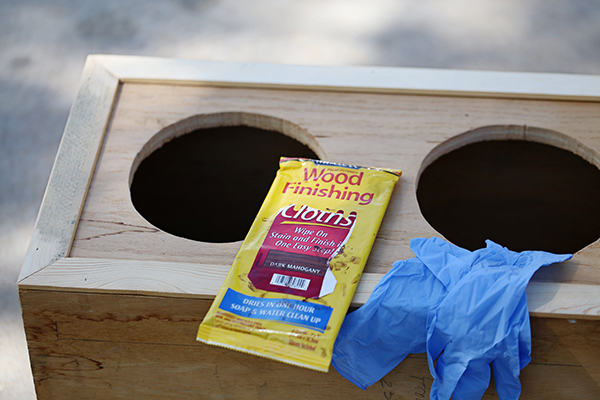
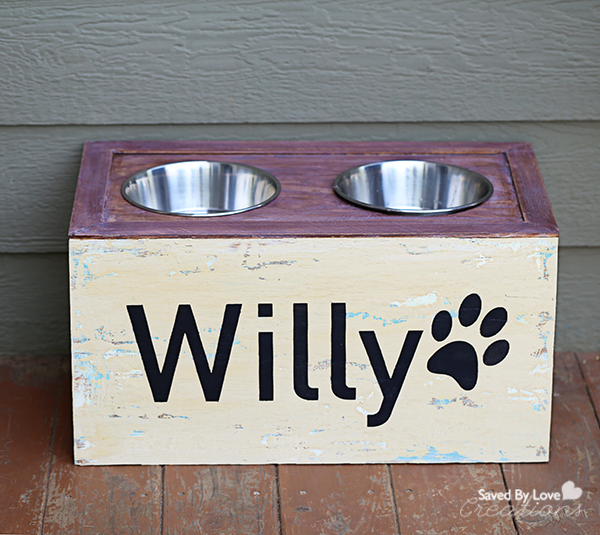
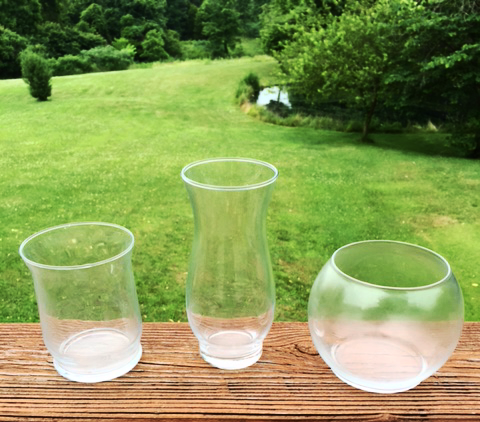
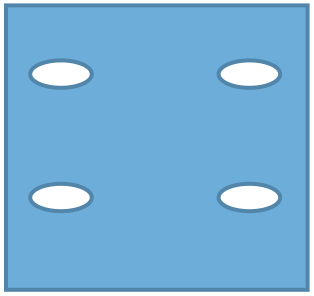
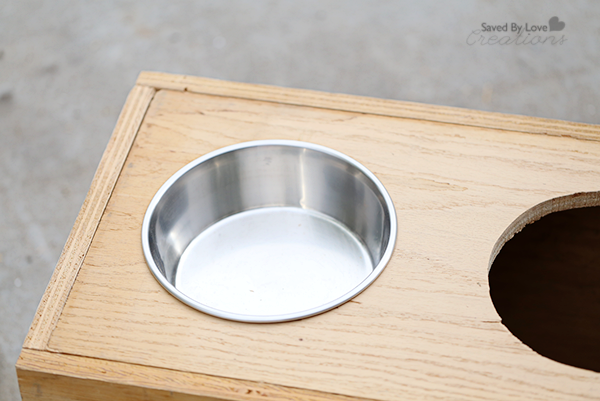
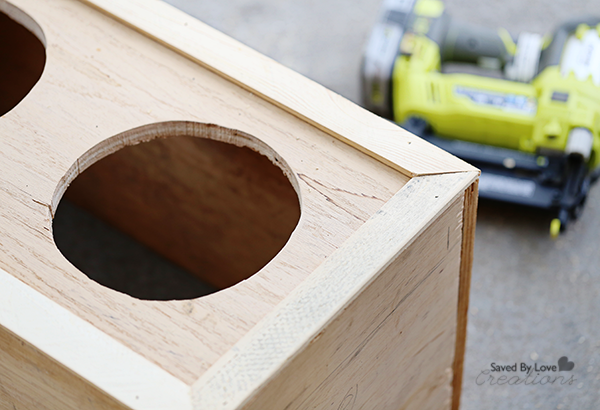
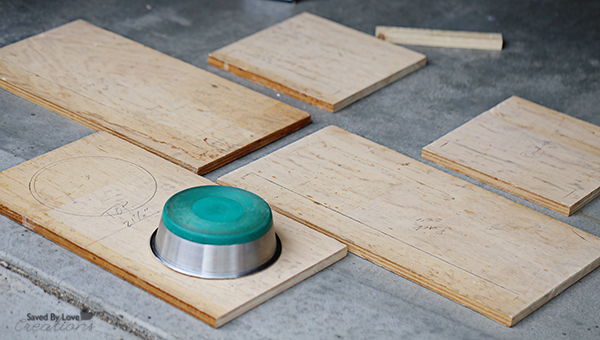 Get the bowl into position. For mine each bowl opening ended up being 3.25 inches apart in the center and 7.5 inches in diameter. You can set them however you want visually. Once in place, trace a line around the upside down bowls.

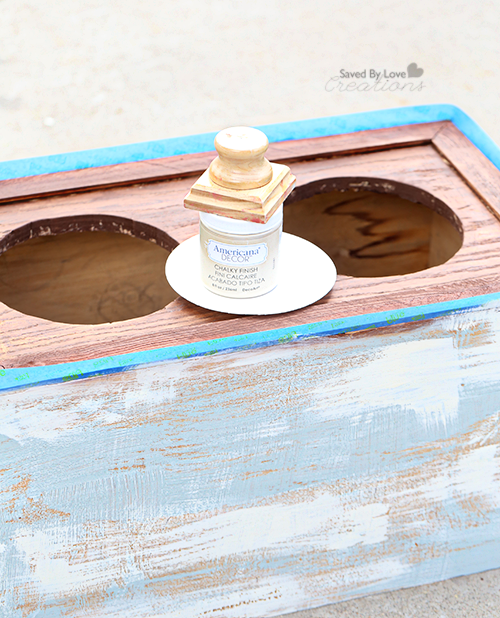
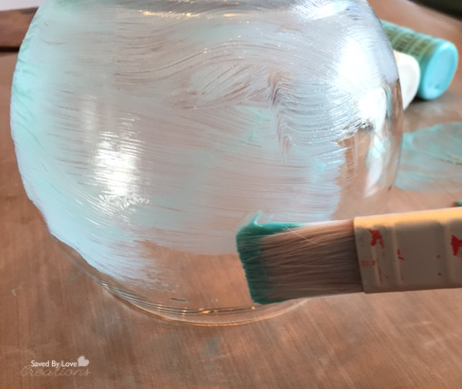
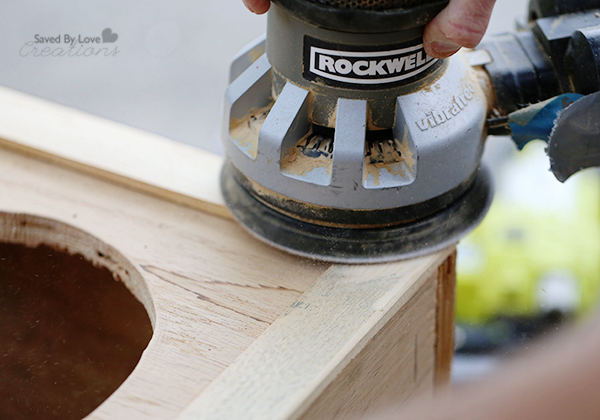 Before painting, sand any uneven areas.