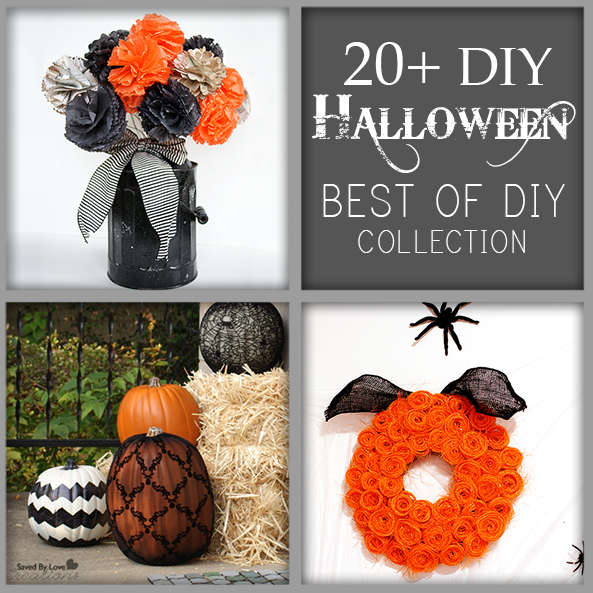
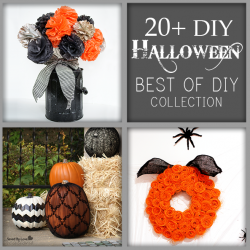
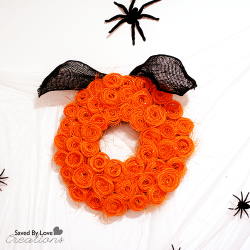
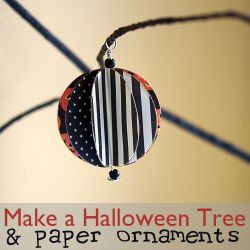
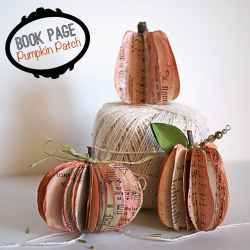
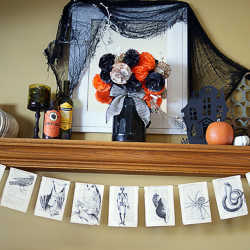
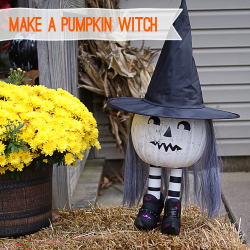
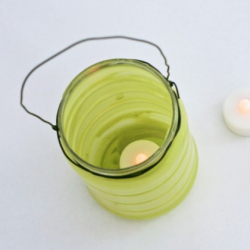
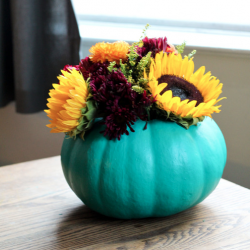
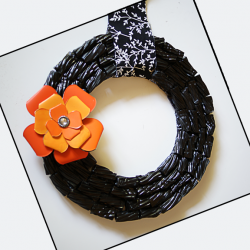
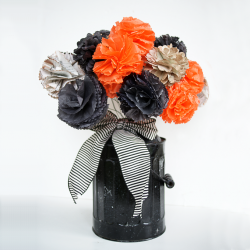
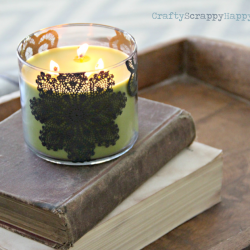
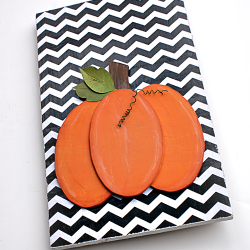
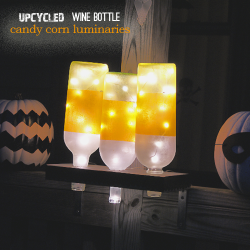
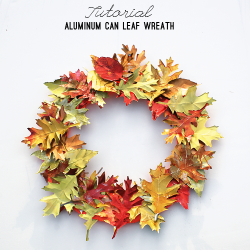
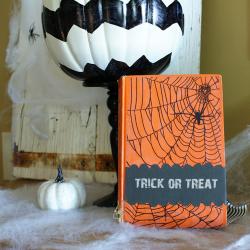
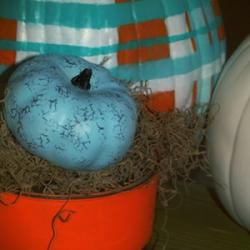
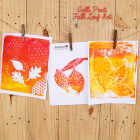
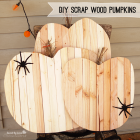
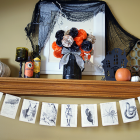
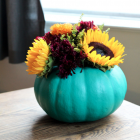
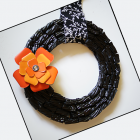
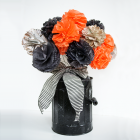
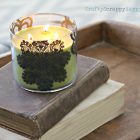
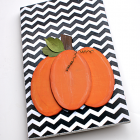
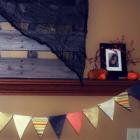
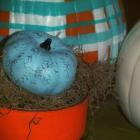
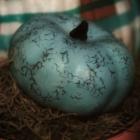
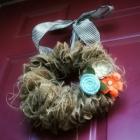
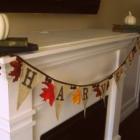
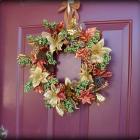
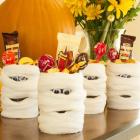
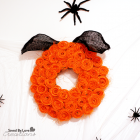
Halloween is one of my favorite holidays for decorating. What’s not to love… orange and black, painted pumpkins, ravens, spiders, bats and all things fall?! Here are some of our favorite Halloween projects shared and featured at SBLC. What are some of your favorites?
Cutest DIY Pumpkin Decor
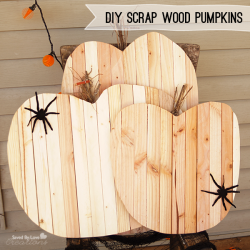
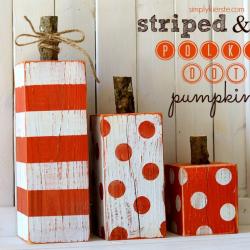
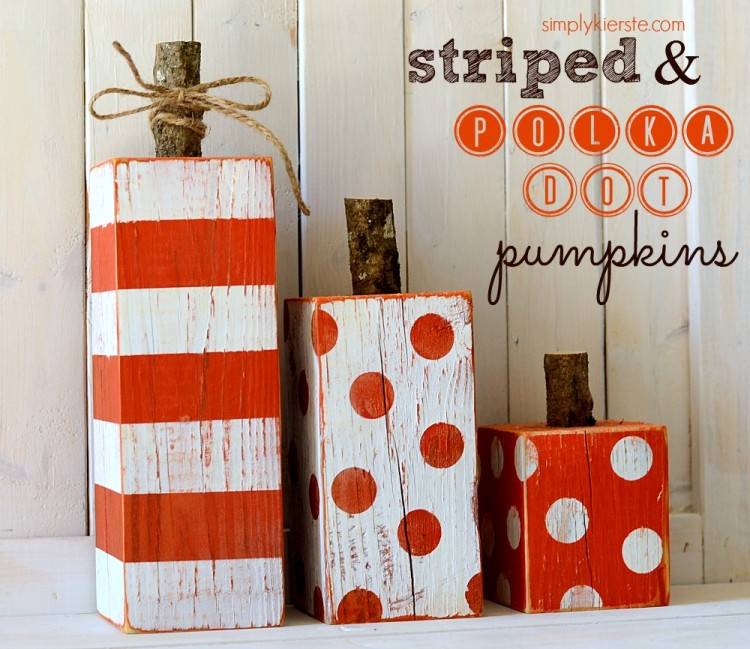
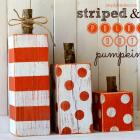
Why are pumpkins so cute? Fall is my favorite time of year for so many things… running, fashion and – most of all – decorating. You combine pumpkins with a project that utilizes scrap wood and twigs to create adorable, stripy, polka-dot decor that also happens to be my favorite color and… well… you are probably going to end up featured on my blog. That is the case with this 4×4 striped and polka dot pumpkin DIY from Simply Kierste. Do you not want to reach through your screen and scoop these up for your mantel?
Check out our other DIY fall decor ideas!
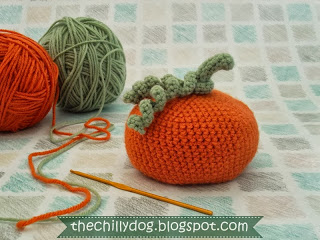
Make a Cute Crochet Pumpkin
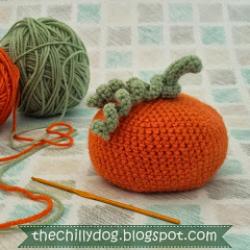
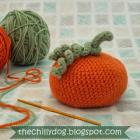
Fall makes me in the mood to crochet and knit, and that remains until the spring. I am always on the lookout for unique decor to whip up from my gigantic yarn stash. That is how I came across this precious crochet pumpkin pattern from The Chilly Dog. Get your hook and make your own fall home decor in no time at all!
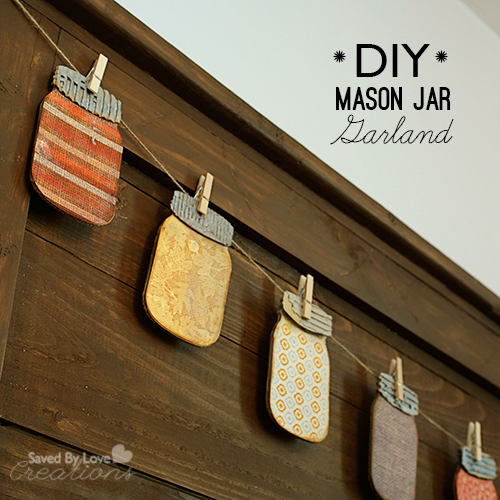
Make Paper Mason Jar Garland
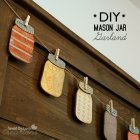
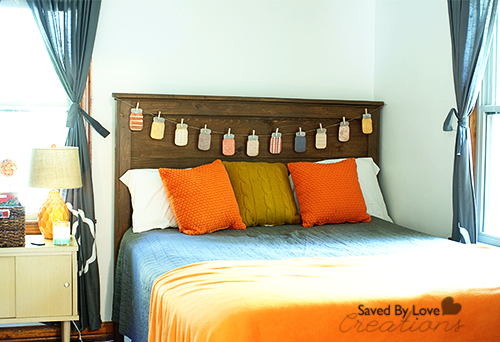
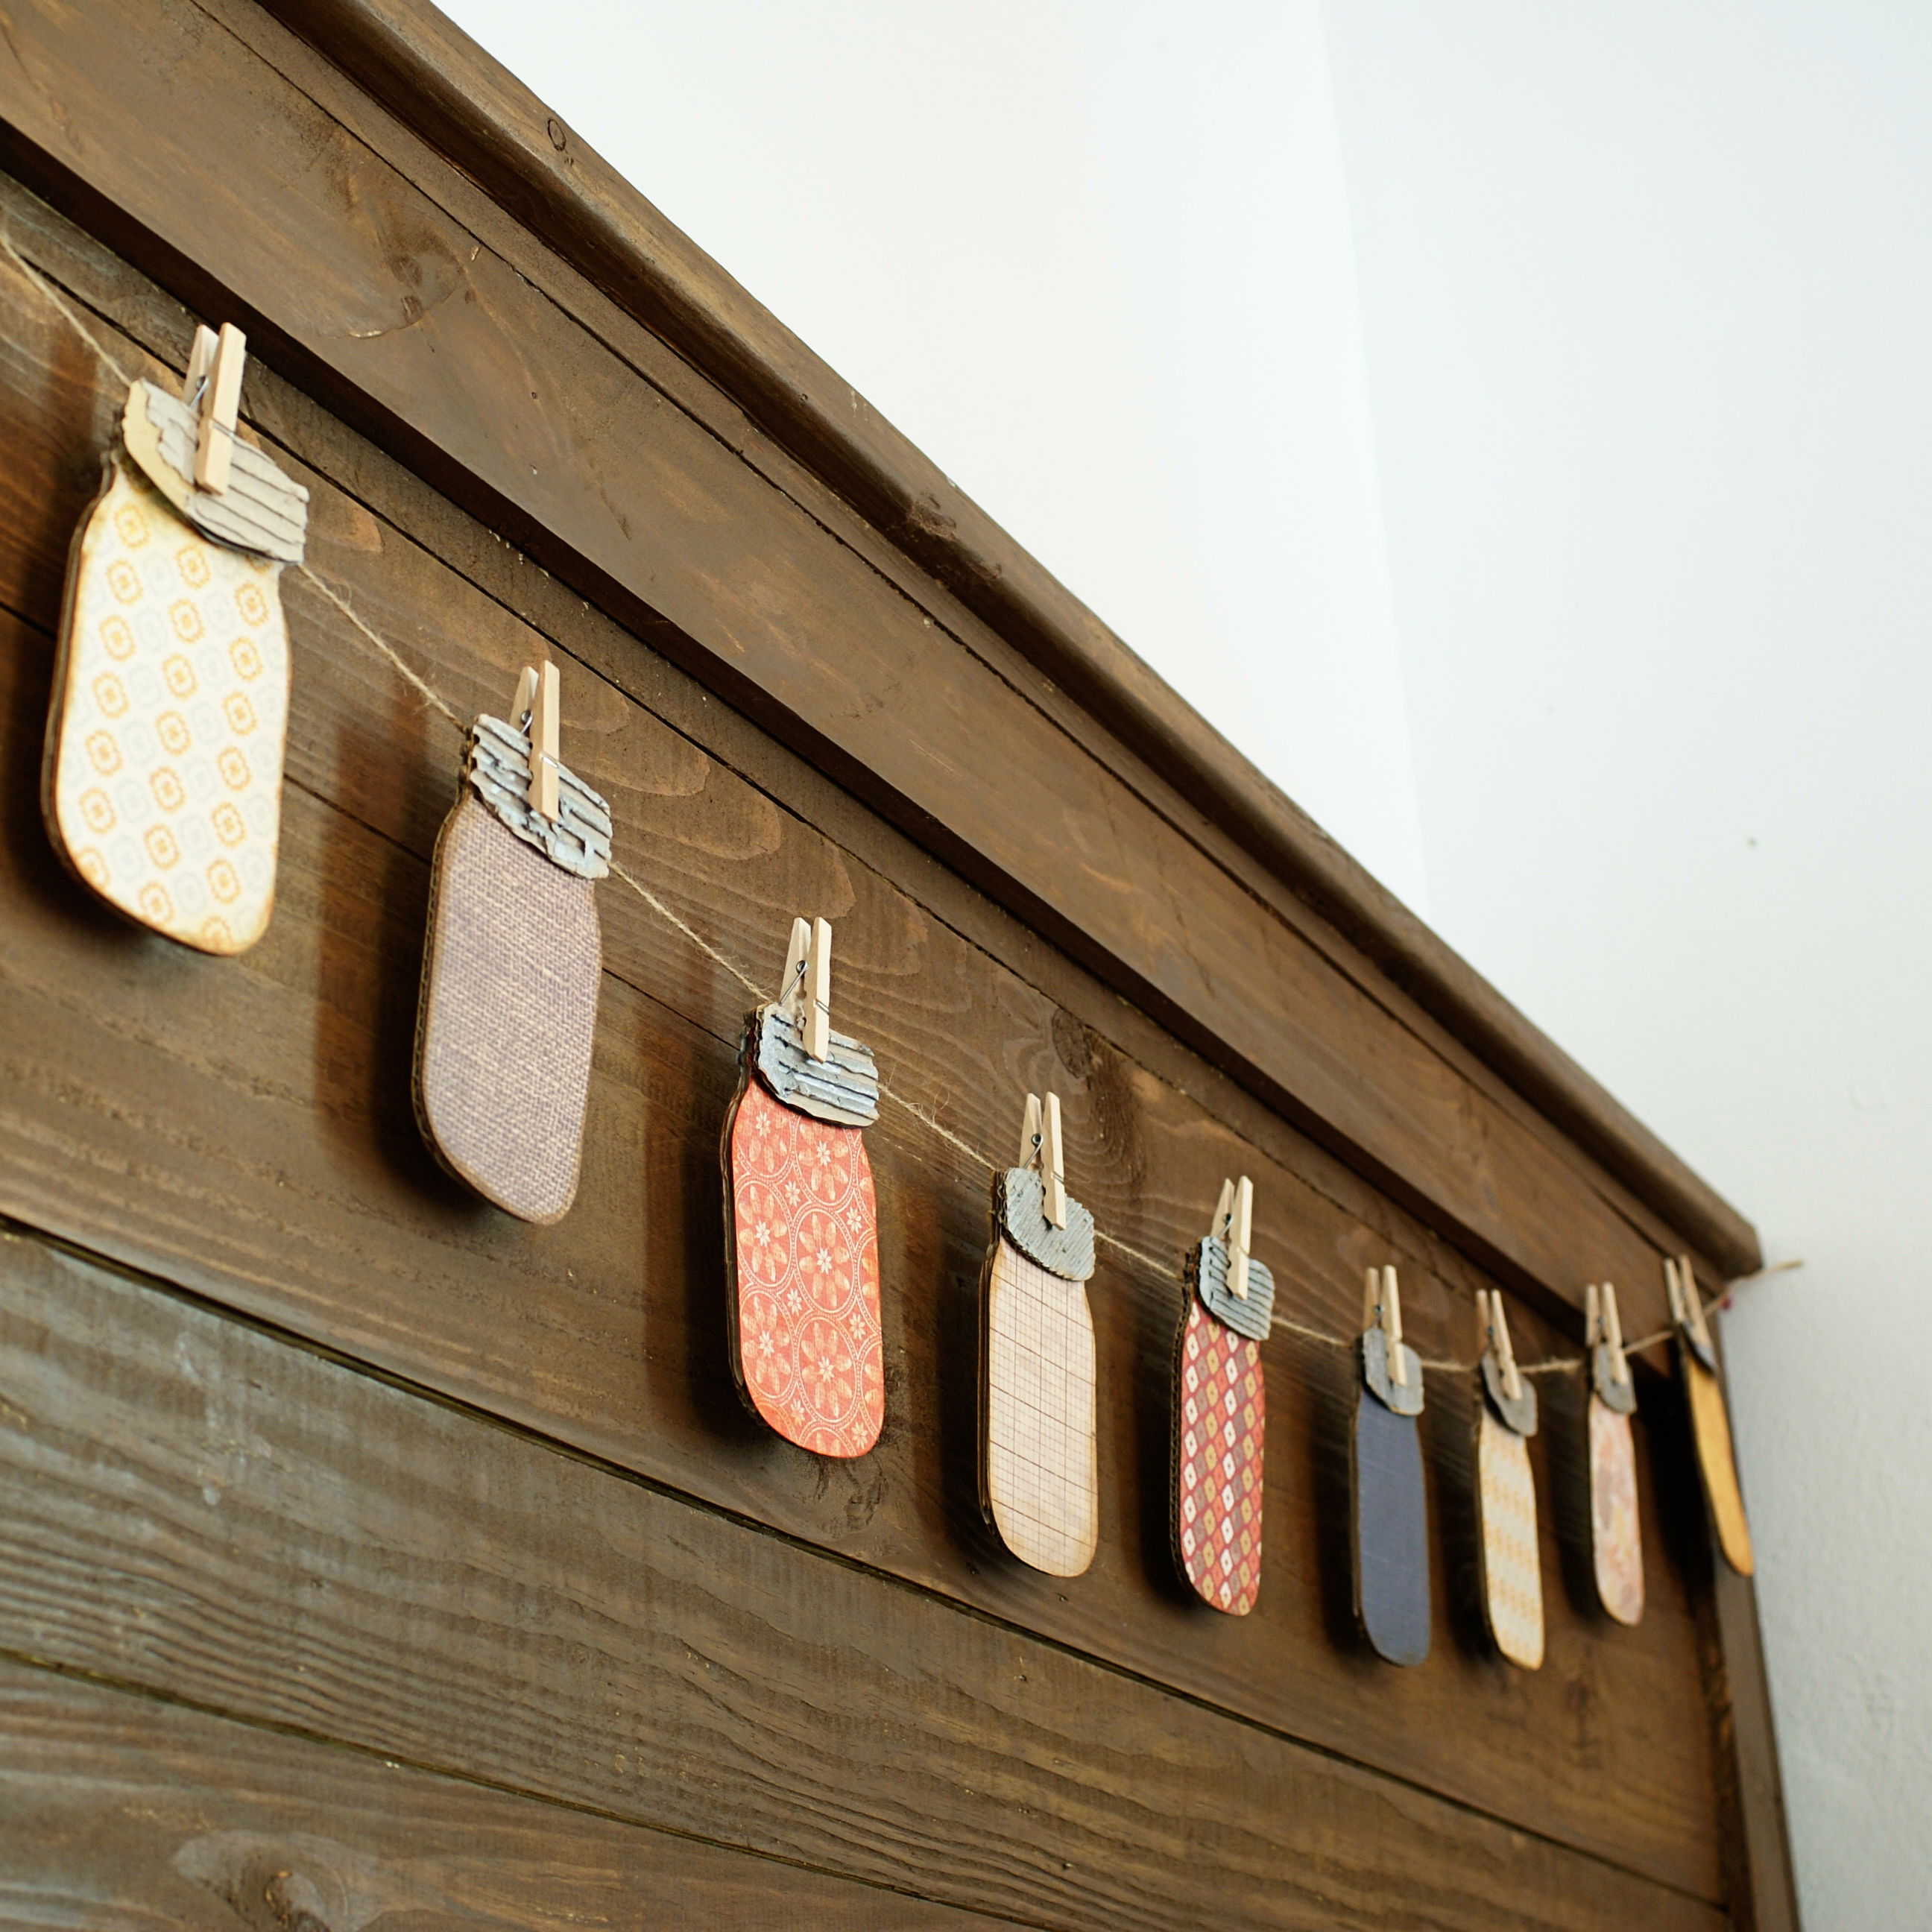
Mason jar crafts have become a phenomenon over the past 2 years, to say the very least. I, for one, am a huge fan of incorporating them into my home decor whenever possible. You combine mason jars with my papercrafting obsession, and it is almost more excitement than a blogger like me can withstand. Well, those two worlds collided for me in this Sizzix Canning Jars Die by Eileen Hull. Today I am sharing how I used it on some recycled cardboard and fall patterned scrapbook paper to make this fun garland adorning my headboard.
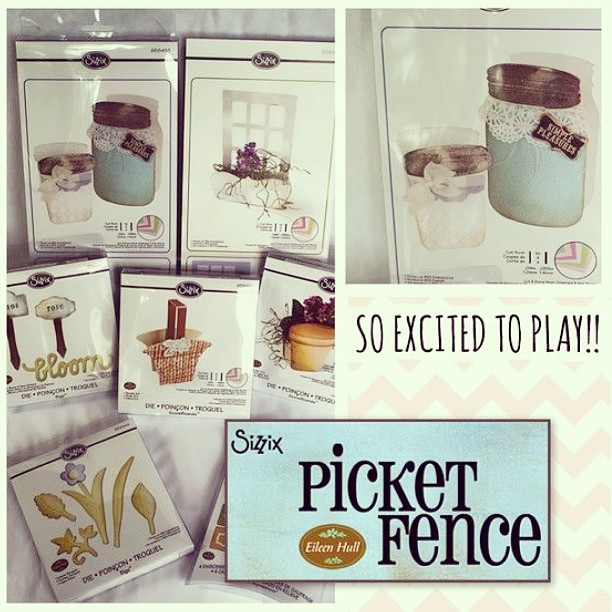
I told you about Eileen Hull’s Picket Fence Sizzix line a few months back, and am having as much fun with it as I predicted I would!
For this project, you will need:
Eileen’s Sizzix Canning Jars, 3-D
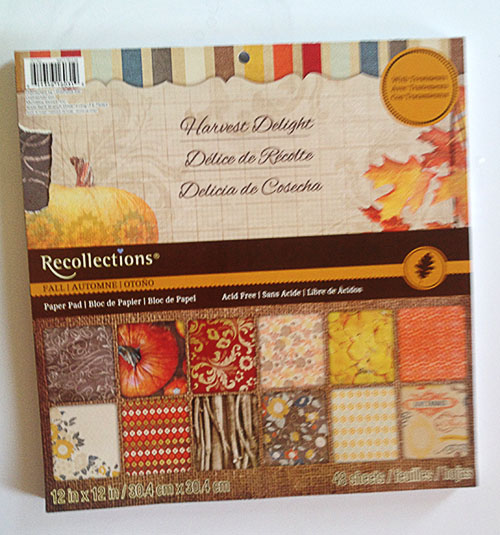
Fall or other patterned scrapbook paper; I used Recollections Harvest Delight
Corrugated Cardboard
Paper Cement
Jute or other twine
Mini Clothespins
Tim Holtz Distress paint Silver
Ranger Distress Ink Vintage Photo
3D foam adhesive squares
TUTORIAL:
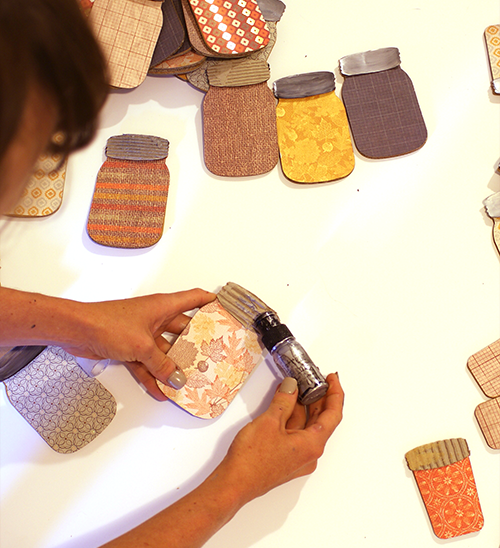
Die Cut the larger jars out of paper and cardboard
Adhere paper to cardboard with Paper Cement or favorite adhesive
Cut tops out of corrugated cardboard and adhere to jars with 3D foam squares
Paint tops with silver distress paint, or leave as they are. they look cool either way!
Ink edges with distress ink on foam applicator and attach to twine with clothespins.
I love my garland, and have several more projects in mind for this die alone. Make sure you visit Eileen at her blog for tons of inspiration! You will want to set aside a chunk of time and be ready to watch your creative project to do list grow!
Easy No Carve Pumpkin Decor
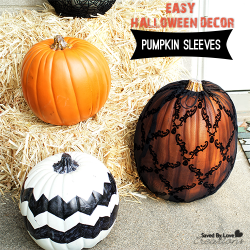
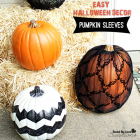
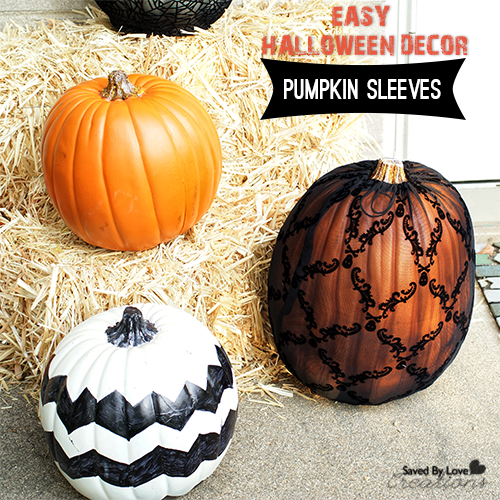
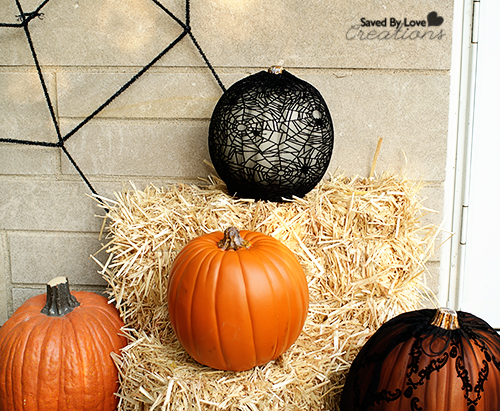
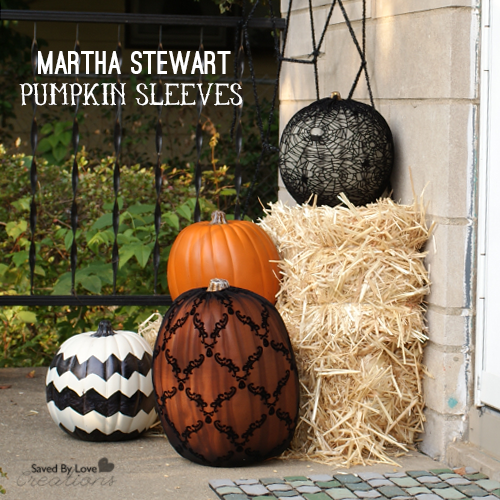
If you want a quick, easy, no carve way to decorate your pumpkins, Martha Stewart Pumpkin Sleeves are a great solution. They come in a pack of three and take 2 minutes to put on the pumpkin. I love the lacy look, and the cute skulls and spiders with webs. There is a drawstring at the top to cinch everything up around the pumpkin stem for that nice, finished Martha look!
I love them. I didn’t have a small enough pumpkin to use the smallest sleeve, but you can bet I will!
More Halloween Inspiration? Check out what we’ve got!
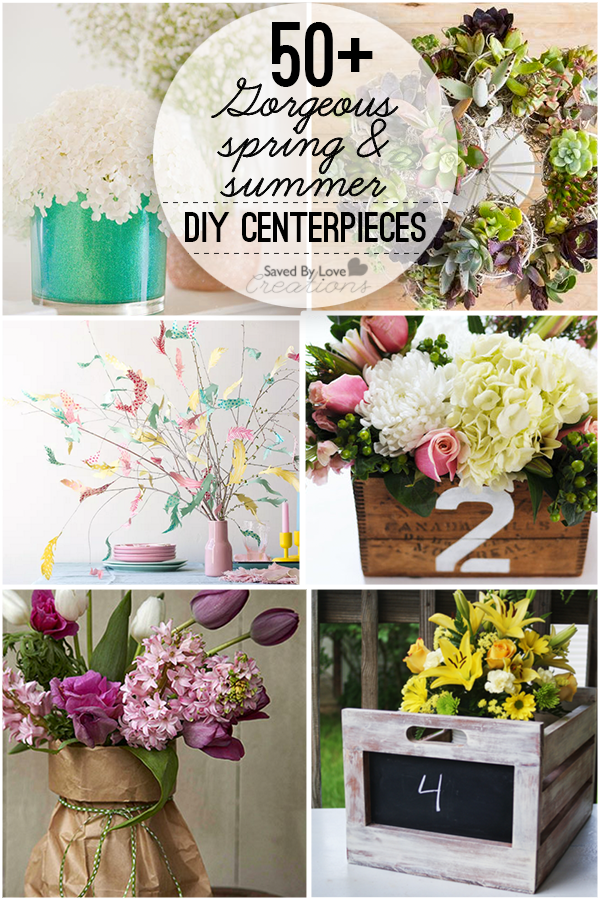
The 50 Plus Best DIY Summer Centerpiece Ideas
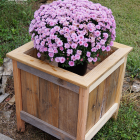
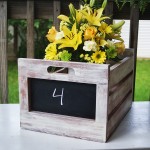
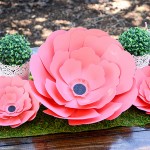
UPDATED!! A great centerpiece is really all you need for your decor to look fabulous. Whether for your wedding, summer parties, or other special occasion, having gorgeous centerpieces doesn’t have to break the bank. Getting creative with recycled cans, bottles jars and crates can keep the budget low. Making your own flowers from paper saves cost and lends to a piece that lasts forever!
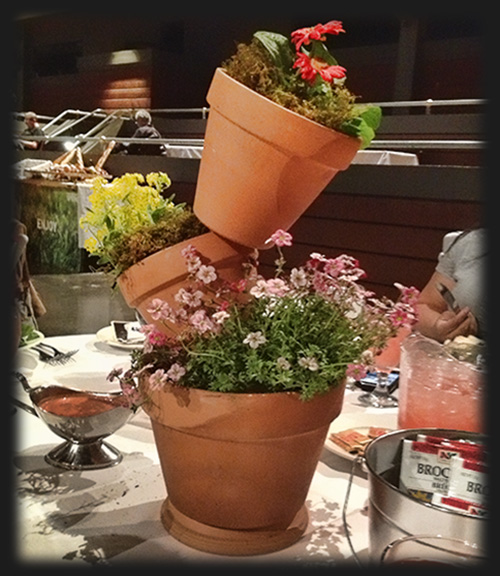
This stack planter centerpiece adorned the tables at SNAP! 2013. It makes me think of other objects to stack for an interesting, upcycled centerpiece. You will find a tutorial in the roundup below if you want to take a crack at making your own.
Here are the best DIY centerpieces on the planet! Enjoy.
Repurpose Fan Blades to Dragonflies
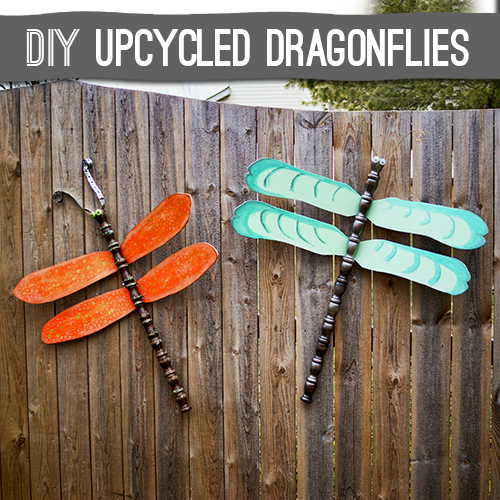
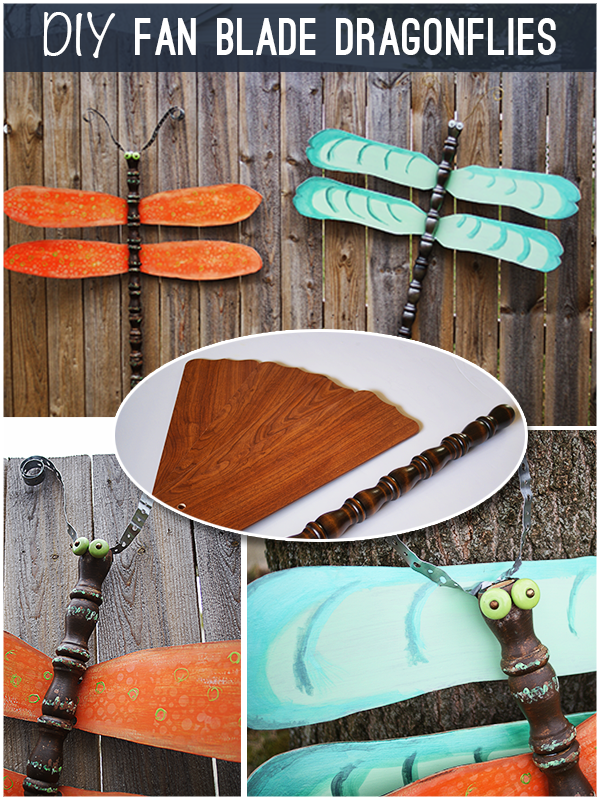
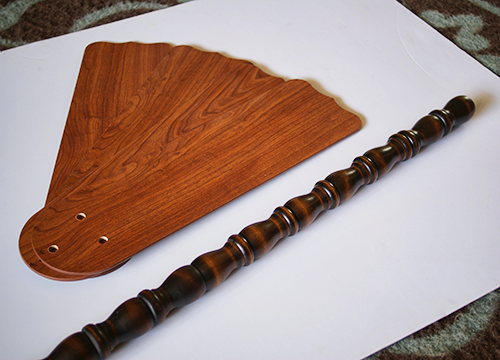
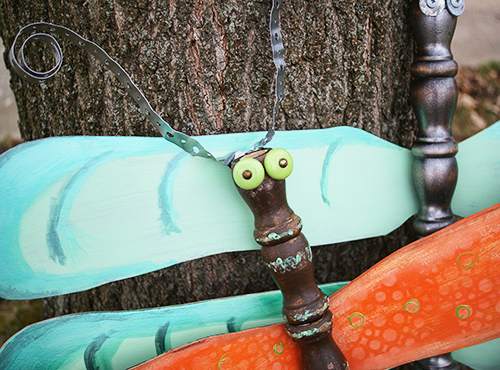
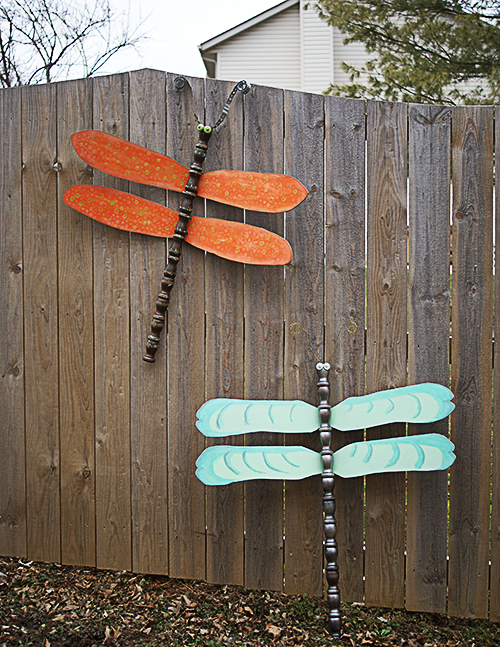
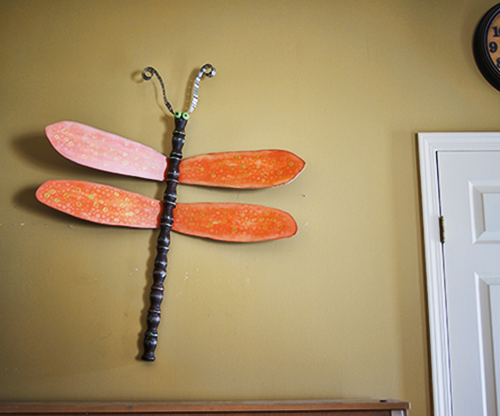
Since the first time I saw Lucy’s fan blade/table leg dragonflies, I have been dying to make my own. Today, I will show you how I used ceiling fan blades and spindles for this fun, cheap, and easy to create upcycled decor project.
[pinit]
[pinit]
SUPPLIES:
Fan blades (I found some at Goodwill and Habitat Restore for just a few dollars)
Table leg or spindles for body (I found a box of these at Habitat Restore and snatched them up, knowing I would find a use for them)
Sandpaper
Lint free cloth
2 hinges per dragonfly
Hardware for eyes and antennae
Paint in colors desired for wings and body
TUTORIAL:
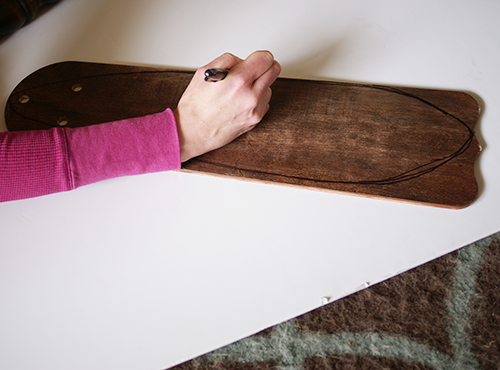
Lightly sand your fan blades and body (table leg, spindles or whatever you find). Use a permanent marker to draw the shape you want on your wings.
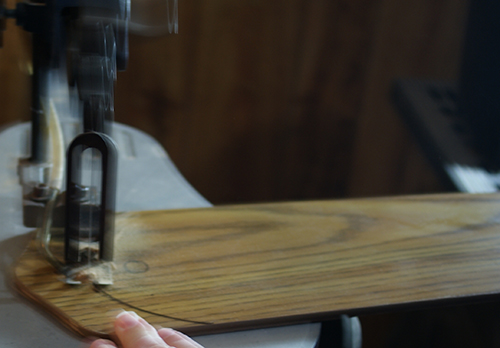
Cut along line with scroll saw or jig saw. Clamp 2 or more fan blades together to cut more than one wing at a time if you want them all exactly the same.
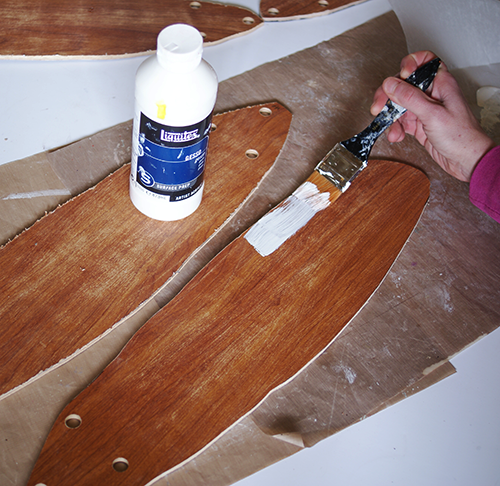
Wipe the debris and dust away from blades with damp cloth. Let dry and apply coat of gesso or primer.
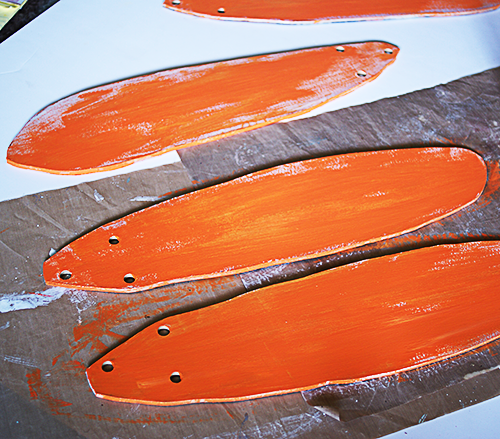
After gesso dried, I painted Martha Stewart Craft Paint satin finish, color Carrot.
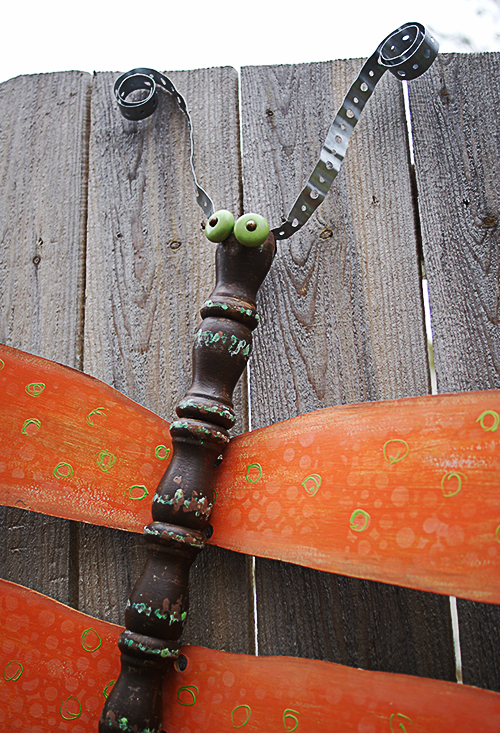
I painted haphazardly to let the gesso show through on purpose. This dragonfly was going for a distressed look.
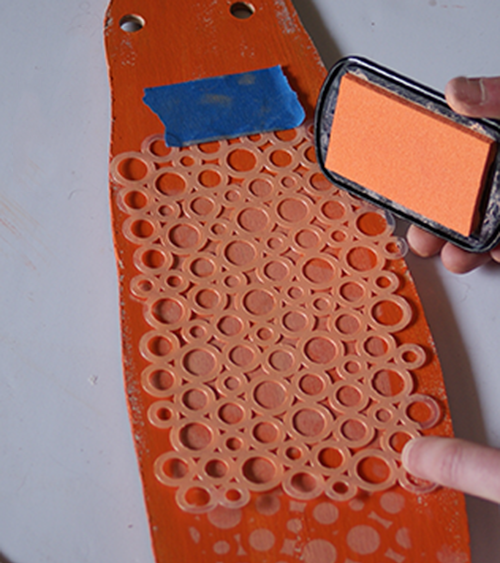
Using Color Box pigment ink, color sweet melon, I stamped over The Crafter’s Workshop Cosmic Bubbles template to create the design on the wings.
I went around the wing edges with the sweet melon ink pad and blended the stamped design into the edges with my finger.
I used my heat tool to dry the pigment ink, then sealed the wings with Mod Podge Clear acrylic sealer.
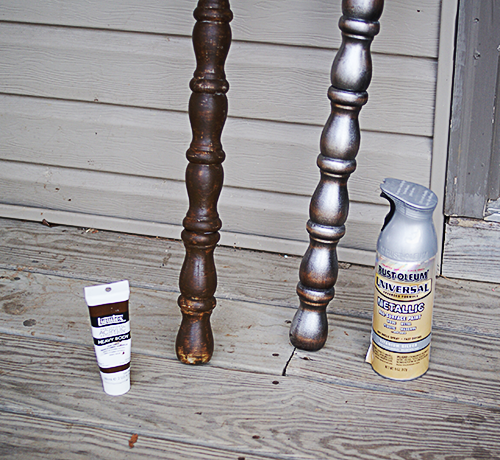
I used Liquitex heavy body acrylic paint in raw umber for the base
coat on one body, dry brushing lime green acrylic paint and aqua acrylic paint randomly for a distressed feel. The other body was sprayed with Rustoleum in metallic silver.
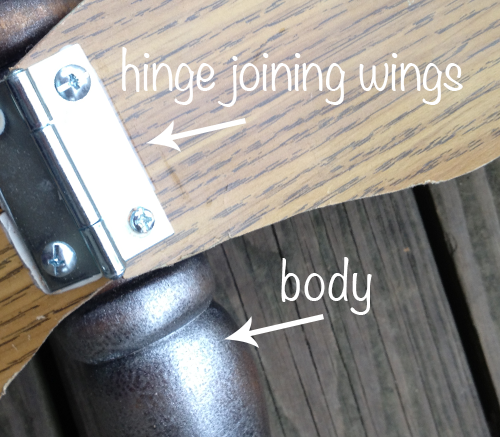
I used a hinge to join the wings to each other, and to the body.
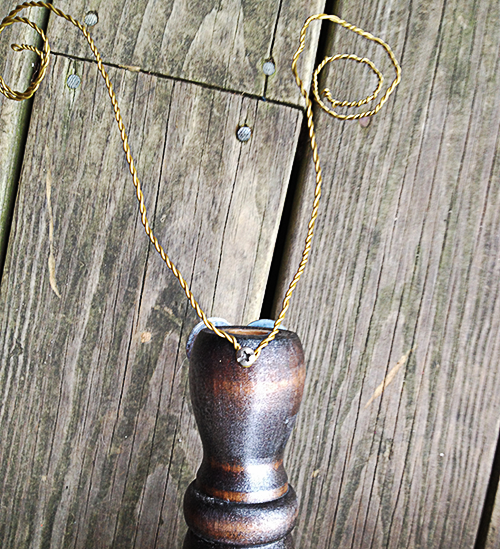
The eyes are drawer pulls on the orange dragonfly, and washers with screws on the blue one. Leftover antenna strap from my hubby’s stash and craft wire were used for the antennae.
Hang them inside or outside!
What do you think? Do you have any fan blade repurpose ideas?
Spring Printable Chevron Bunting
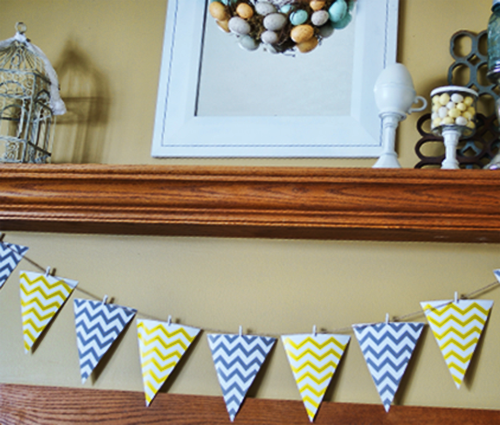
Are you as anxious for warm weather to arrive as I am? It is time to update that winter decor to bring in the spring! Someone needs to tell the snow that its time is up around here. I went for some quick, easy printable chevron garland this year. I found the perfect gray and yellow chevron printable bunting flags from Detail Oriented Diva!
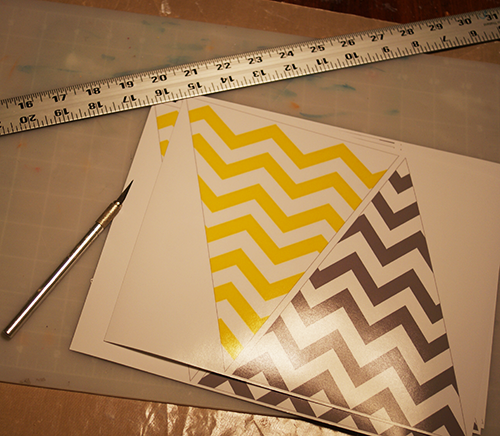
I just uploaded them to Snapfish and ordered them for 1 hour pickup at my local Walmart. The cost was $15. I got 5 8×10 prints. In retrospect, I should have just thrown them on a flashdrive and had them printed at my local Office Depot or Staples on cardstock for about half that price, but there is always next time.
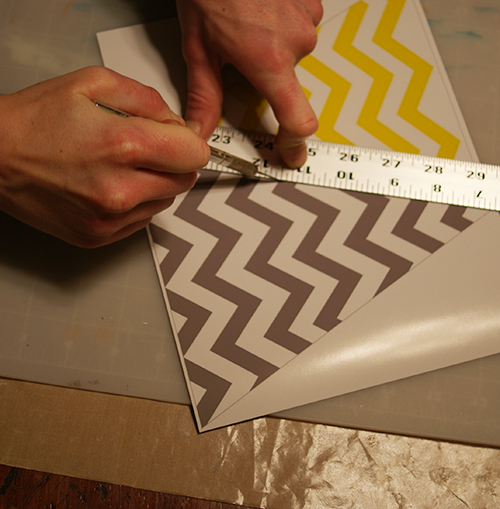
This is what the prints looked like. I just cut them out with a straight edge and craft knife.
Detail Oriented Diva shows you how to use bias tape and sew your bunting. I went for jute twine and white tiny clothespins. Super lazy, it’s true, but I love the look. I also like that I can change the distance between the flags to fit whatever space I am using the bunting to decorate.
What do you think? Have you started decorating for spring yet?
For more garland and bunting ideas, check out our roundup!
Holiday Topiary from Thrift Store Finds
[pinit]
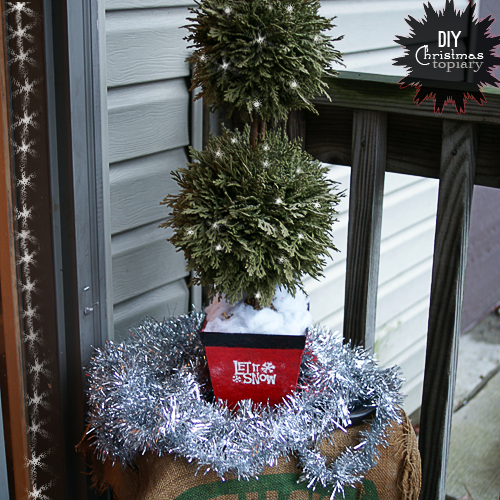
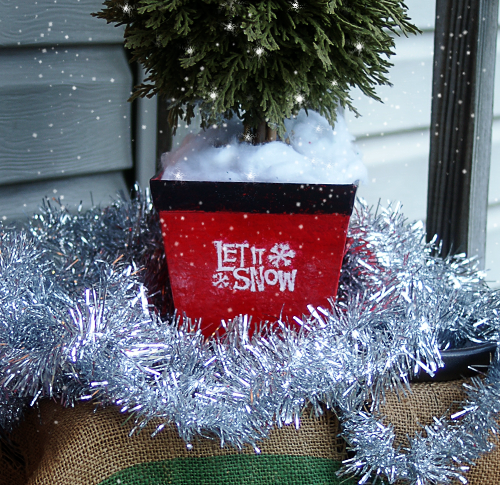
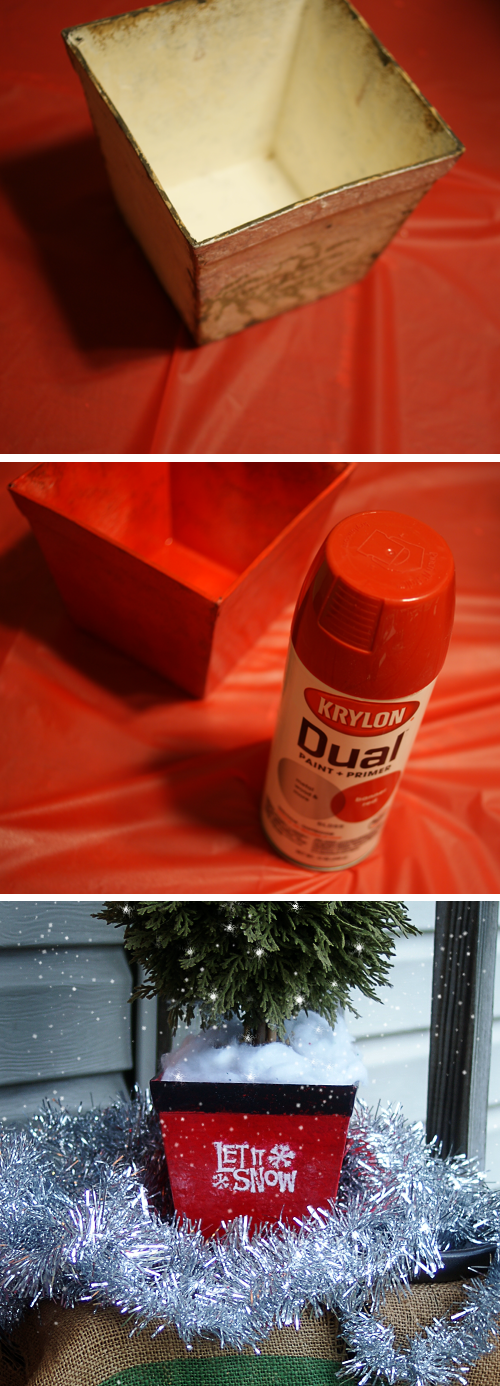
Today I want to share with you this festive “Let it Snow” topiary that I created in a few simple steps with some thrift store finds. I love how it turned out, and for under $4 at that. There is so much potential at garage sales and Goodwill with some spray paint and creativity. I rarely buy anything new because of it. It feels good to reuse what has already had a life, and to transform the discarded into the beautiful!
TUTORIAL:
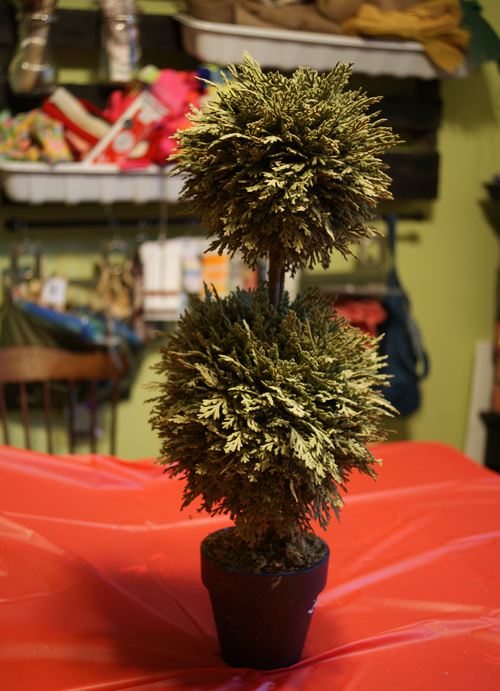
I found this topiary for $1, and some nested planters (5 for $2). One of the planters was the perfect size for the topiary, so I spray painted it red with Krylon Dual, painted the rim with black acrylic paint and stamped “Let in Snow” on the front. That was it. Topiary placed in updated planter and adorned with lights. Magic.
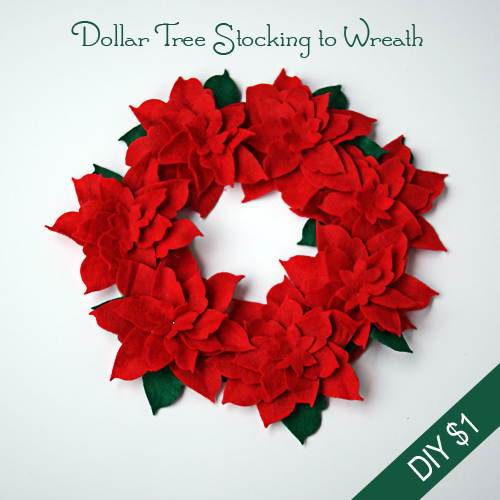
DIY Felt Wreath for $1
[pinit]
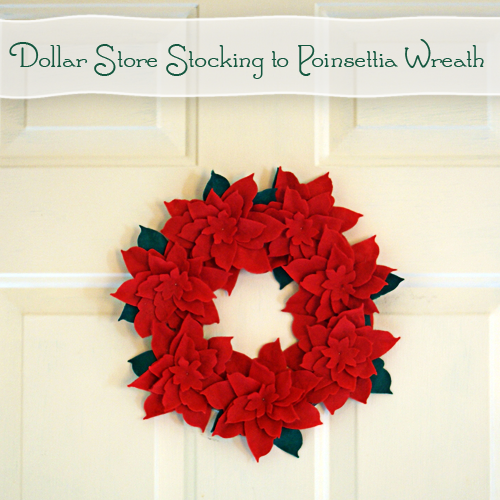
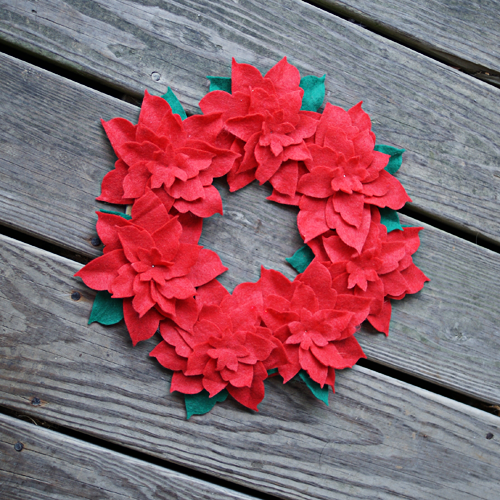
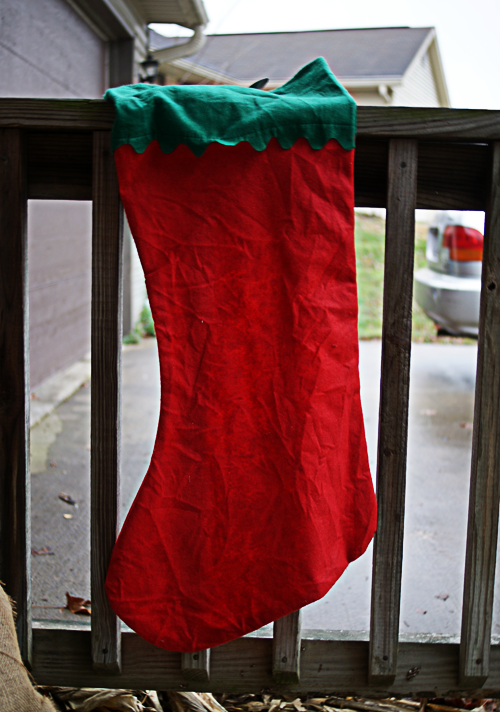
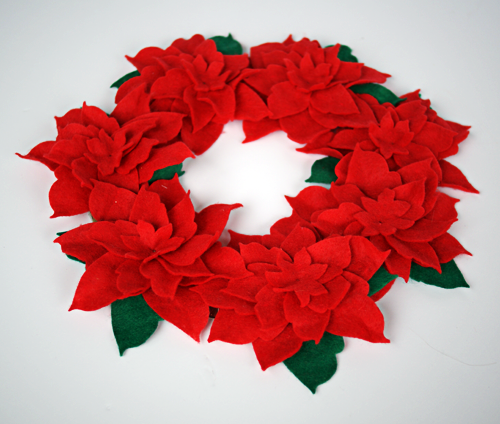
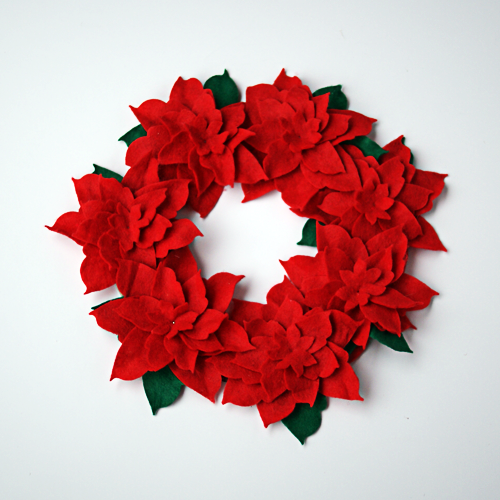
When I saw the huge red and green felt stockings at the Dollar Tree, I just knew I had to make another poinsettia wreath. This wreath was made with one stocking and a wreath form which I cut from a leftover box. So yes, it cost $1! Felt can be expensive, and this is a fantastic way to get a lot of it, in Christmas colors, for next to nothing. This particular felt makes a gorgeous flower. I bought three of the stockings and am busy making more of these gorgeous wreaths for Christmas gifts.
SUPPLIES:
Dollar Tree Stocking
Sizzix and Poinsettia Die
-OR-
Poinsettia template to cut felt by hand, like this free one from Eri Doodle
Straight pins
Wire Cutter
Cardboard box
2 circular items to trace onto cardboard to cut out a donut for your wreath form
Scissors
Pen or marker for tracing onto cardboard
Tape
TUTORIAL:
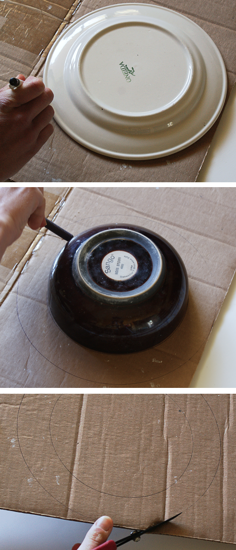
Trace plate or whatever circular items you have onto cardboard and cut out wreath form like I showed you previously:
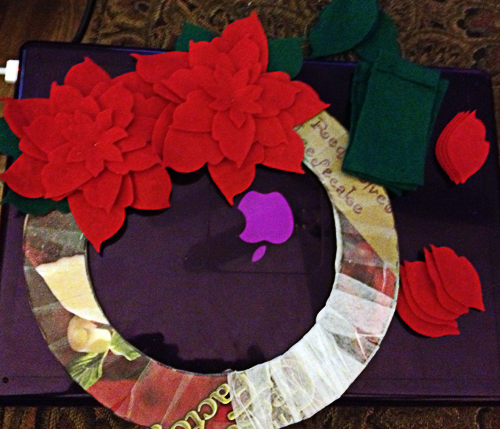
Wrap your cardboard donut with tape to reinforce and protect.
Cut your poinsettia petals and leaves with your die or template. Assemble flower and use straight pin to stick onto wreath form. For detailed flower assembly, see my paper poinsettia wreath post. The process for felt is the same, but you don’t fold and shape the leaves like you do with paper.
You will likely have excess straight pin sticking through the back of your wreath. Carefully trim flush with wreath form using wire cutters. Wear eye protection for this part!

