
Today is Day 1 of a week of guest posts here at SBLC. Starting the show is Katie, from Sew Woodsy. This creative friend knows a thing or two about decorating with washi tape. Today she is sharing an adorable fall sign, with a washi tape underlay. I can’t wait to try this project. Take it away, Katie! Thanks for sharing with us.
Hi everyone! I’m Katie from Sew Woodsy. My husband Jon (dubbed Mr. Woodsy on our blog) and I document our journey of homeownership one tutorial at a time. Sew Woodsy is a place where we share our love for renovating and decorating on a budget.
Thank you Johnnie, for inviting me to guest post for you today!
I don’t know about you, but I’ve fallen head over heals for washi tape this past year. I can’t get enough of this paper tape! I’ve been a cricut user for the past 3 years now and have fallen in love with the Cricut Mini and Cricut Craft Room. I upgraded to a larger machine for my birthday back in April, and just this month started playing around with it. Gah–why did I wait so long? It is amazing. This project utilizes the Cricut and Cricut Craft Room; however, if you have another die-cut machine I’m sure it will work just fine.
Supplies:
Cricut
Cricut Craft Room
Computer
(1) 8×10 sheet of recycled card stock
(1) 8×10 sheet of card stock
variety of washi tape
scissors
spatula
double-sided tape
frame

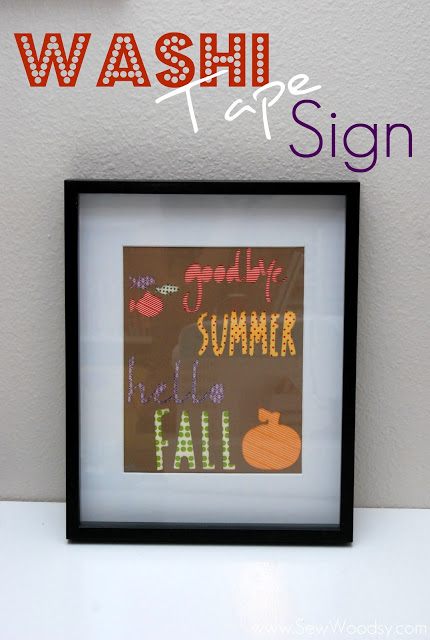
First step, design your cut-out for your sign. I wanted to make a sign essentially saying goodbye to summer and greeting fall! This is what my creation looked like in Cricut Craft Room. I used the Designer’s Calendar script font for both “goodbye” and “hello”. I used Designer’s Calendar basic font for “summer” and “fall”. I found shadow of the pumpkin in Designer’s Calendar and grabbed the fish from Life is a Beach cartridge. I scaled my cut-out so that it would fit perfectly on one 8×10 sheet of card stock. 
Once your cut-out is designed, it is time to cut it out using your Cricut.

This is what it looked like while it was being cut out.

Using a spatula, carefully peel the card stock off the mat.

This is what it looked like once it was pulled off the mat. I decided to keep the letters since you never know when you might be able to use the letters!

Next up, time to grab your washi tape and a piece of card stock that you’ll adhere all that washi tape, too.

I lined up the two pieces of card stock and light traced around the bottom layer. This will act as a guide when I begin to apply the washi tape to the piece of paper.

I started at the top with the fish.

All three fish are complete. It might not look like much, but once you put the top layer over the tape it will look fantastic!


After completing the fish I realized I should probably erase the pencil marks as I go. Some of the tapes can be transparent and the last thing I wan to see is pencil markings.

Added the red and white striped to the “goodbye”.

Next up, add another layer of washi tape to the bottom card stock. This will be for the word “summer”.

You’ll notice that the yellow and red polka dot tape started to go into the “L’s” from “hello”.

Time to do intricate cutting so that the yellow and red polka dot tape doesn’t show through.

Add a few rows of purple patterned washi tape!

On to another layer…

Last up the pumpkin!

This is what my sheet looked like after I was done. If the top layer wasn’t over it you would think someone was just having fun with washi tape.

Double check to make sure everything lines up.

I then placed a few pieces of double sided tape on to the blank areas of the bottom card stock. This will help keep the two pieces of card stock together.

Place your washi tape sign in a frame, display, and enjoy!
I hope you enjoyed our tutorial and visit us over at Sew Woodsy. Don’t forget you can always follow us on Facebook, Twitter, and Pinterest! Thanks again Johnnie, for having me over!
