Easy DIY Mother’s Day Gift Idea

[pinit]

teatime-totebag-723x1024

[pinit]

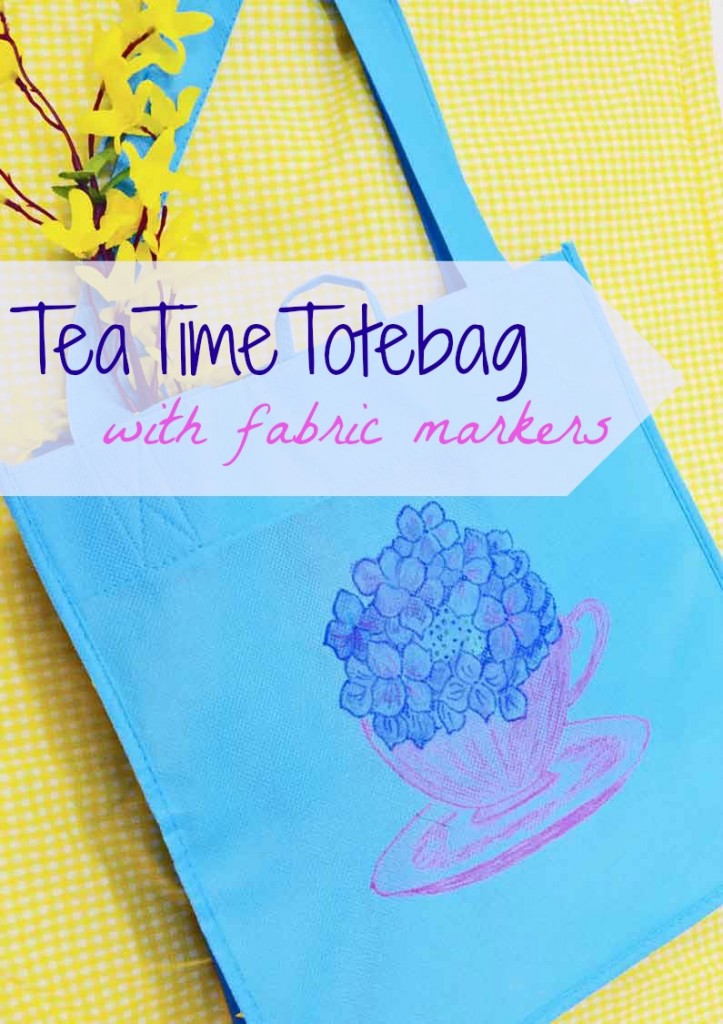
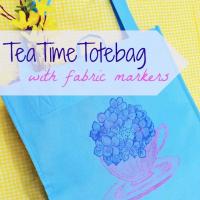
Hello! Colleen here, with a way to decorate a totebag that will make it worthy of gift-giving. You do realize that Mother’s Day is right around the corner, right? I know! With Easter being so late in April, we have to really move fast if we want to give any handmade gifts to the moms in our lives. No worries because this happens to be a fast project. And cute too.

tea-time-totebag

You only need a few supplies –

  • Tulip Fabric Markers (available at craft stores and Walmart)
  • a paintbrush
  • a totebag (this is a shopping bag from the Dollar Store)
  • a pattern
  • a piece of cardboard to fit inside the tote

While this tutorial is for a totebag you could also use the markers on almost any fabric. Tee shirts are cute too. However, I made this for my own mother who can always use another totebag.

I’ve provided the Hydrangea in a Teacup pattern for you to download. If you’d like, I have other patterns that are free to download too. Most of them would work fine for this project.
tea-time-totebag
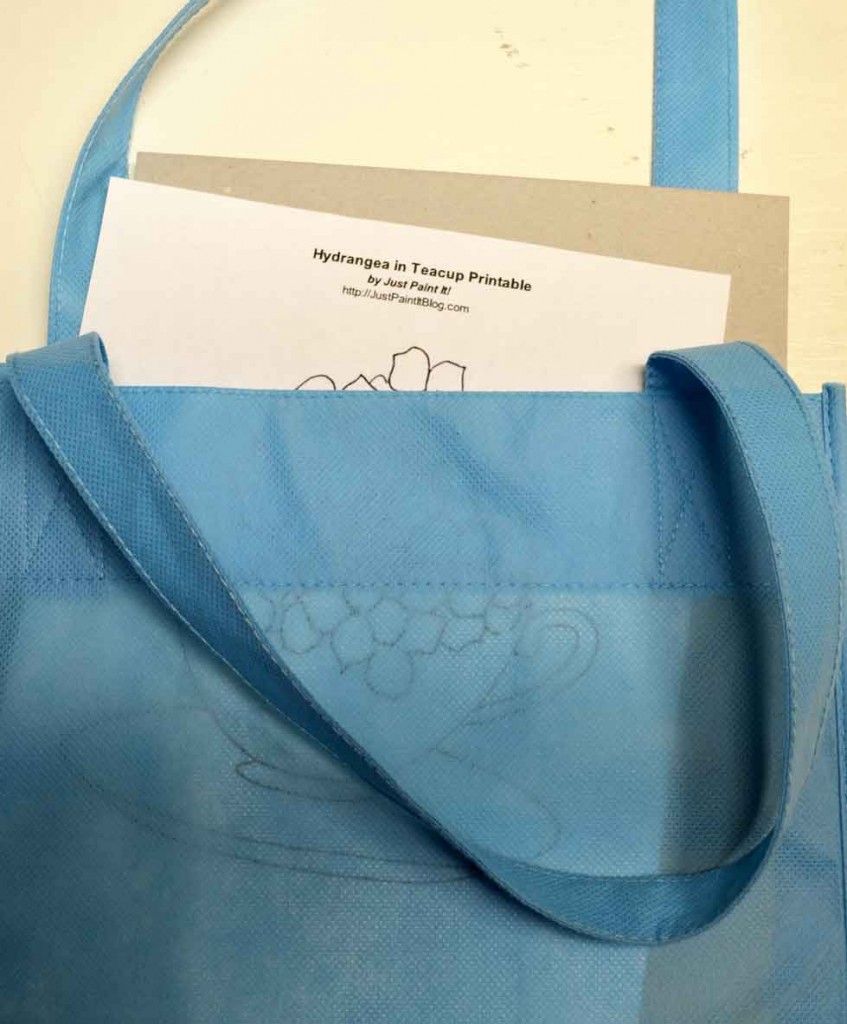
After you print your pattern, place it on top of the cardboard and slide it into the totebag. This prevents the markers from seeping to the backside as well as holds the pattern a little more stable.

You could also iron the pattern onto the shiny side of a piece of freezer paper, then iron that to the tote or tee shirt to prevent slipping. However, make sure you do a test for iron safeness on any shopping bags. The one I used above needed a press cloth between it and the iron.

tea-time-totebag

Now all you need to do is outline the pattern with your choice of colors.

tea-time-totebag

You can mix more than one color too.

tea-time-totebag

This was the finished design after outlining with purple, pink, and a few green dots in the center for the hydrangea buds.

tea-time-totebag

Dampen your paintbrush with a little water and go over the marker lines. The more water you use, the more of the markers will blend. The less water, the more defined the lines will be.

tea-time-totebag

You can do a little of both – leave some outlining and blend other parts. There is no right or wrong way to do this.

tea-time-totebag

You can fill in the pattern completely or leave spaces for the totebag to show thru.

It’s a great kids’ project too. If they’re too young to outline, they would still love to grab a paintbrush and “paint” a present for Mom or Gramma, wouldn’t they?

tea-time-totebag

Isn’t this a great craft for Mother’s Day? Or any other day, actually.

If you use the markers on a shirt, they’re washable after drying 24 hours. To be on the safe side, I think I’d heatset them anyway with an iron, although the instructions don’t mention that.

Have fun with this! I hope you’ll stop by Just Paint It and say hi one of these days. I’m always painting . . . or drawing with markers! You can also find me on Facebook, Google+, Pinterest and Instagram too.

Happy Crafting!

Colleen

More SBLC Mother’s Day DIY Inspiration!
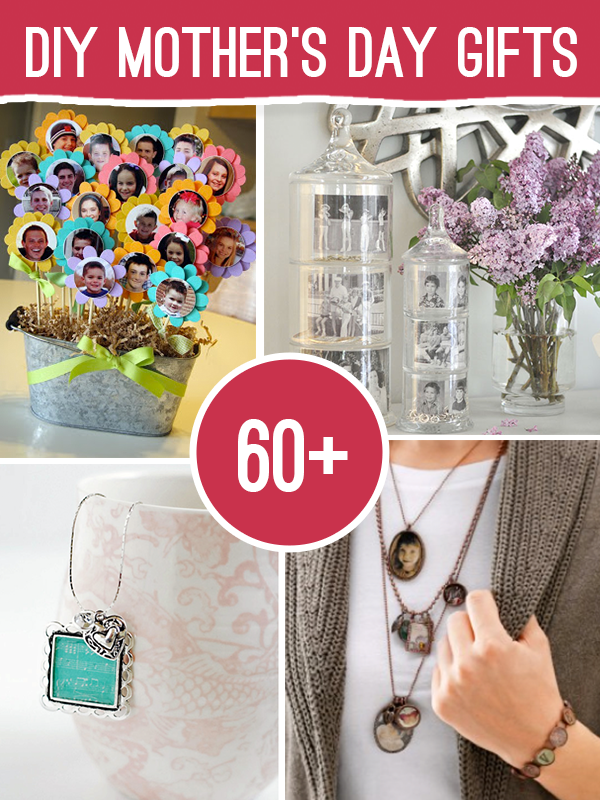
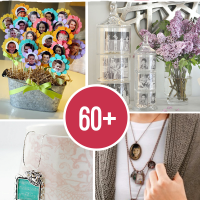
Over 60 Mother’s Day Gifts to make for Less than $10!!

60+ DIY Mothers Day Gifts for under $10

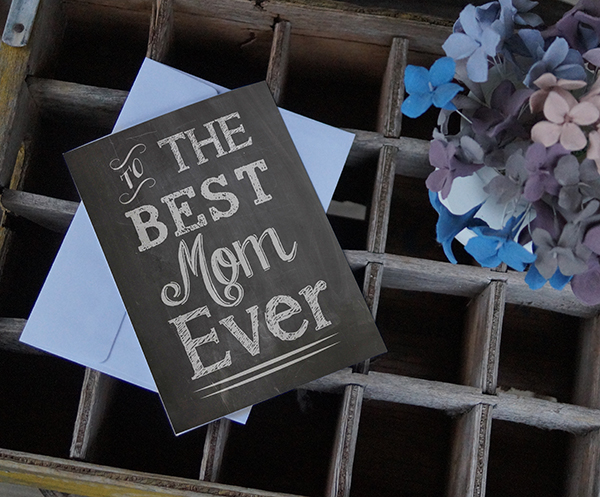
Free Printable Chalkboard Mother’s Day Set

[pinit]Mother's Day Free Printable Card by @savedbyloves[pinit]

Head over to Printable Decor for this exclusive Free Printable Chalkboard Mother’s Day Card Set for Mom, Grandma and Aunt!

DIY Mother’s Day Sign

Hello friends! It’s Barbara from Chase the Star, and today I’m happy to share another simple DIY project. Mother’s Day is almost here and Moms love it when we make them gifts, right? Well they did when we were kids, so why not continue the tradition?

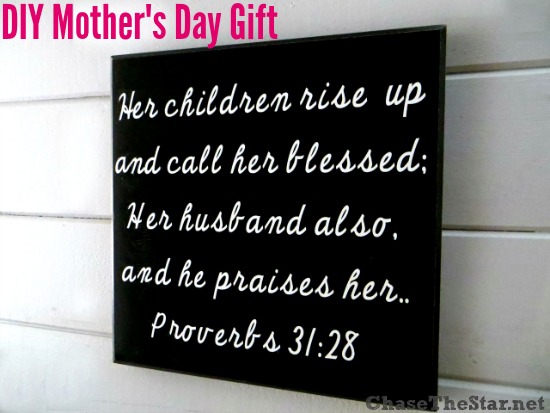
DIY Mother’s Day Gift

[pinit]

DIY-Mothers-Day-Gift-via-Chase-the-Star-for-Saved-By-Love-Creations-bibleverse-proverbs31-

[pinit]

I love Proverbs 31 and I think verse 28 is perfect for mothers as a reminder of how much she should be cherished and appreciated! Of course it would make a great DIY project, so I headed to the thrift store and picked up this picture:

DIY Mother's Day Gift..update a thrift store picture! via Chase the Star for Saved By Love Creations

It’s the perfect size and the back already has a hanger!

How to DIY a Sign

Materials:

Second hand sign (thrift store, garage sale, etc.)

Sanding block

Spray paint

Die Cut Machine (I used the Cricut Explore)

Adhesive vinyl / Transfer paper

Step 1: This picture is actually a sticker, so I wet the whole thing and peeled it off with a scraper. After it was dry I went over it with a sanding block.

IMG_4464

Step 2: Spray it in the color of your choice; I went with gloss black.

IMG_4468

Step 3: Create the verse on the cutting machine, cut it out, and adhere it to the painted wood (for instructions on how to do that click here). Instead of peeling the lettering and painting, I just kept the white vinyl on there.

IMG_4469

Step 4: Go over the whole piece with the sanding block, carefully! This step is optional but it will reduce some of the gloss (if you used gloss paint) and give it an overall ‘worn’ look.

Since the hardware is already on, all you have to do is wrap it up in pretty paper and give it to the Mom in your life!

DIY Mother's Day Gift Proverbs 3128 via Chase the Star

Play around with the fonts on your machine and choose the one that you like the best. I wanted my sign to be simple, so I went with cursive. I think I will make a few more so I can pass them out to friends, back to the thrift store I go!

For more creative DIY ideas stop by Chase the Star, and follow me on Facebook, Google+, Pinterest, and Instagram!

See you next time!

New Signature

More SBLC Mother’s Day DIY Inspiration!

Over 60 Mother’s Day Gifts to make for Less than $10!!

60+ DIY Mothers Day Gifts for under $10

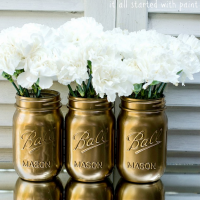
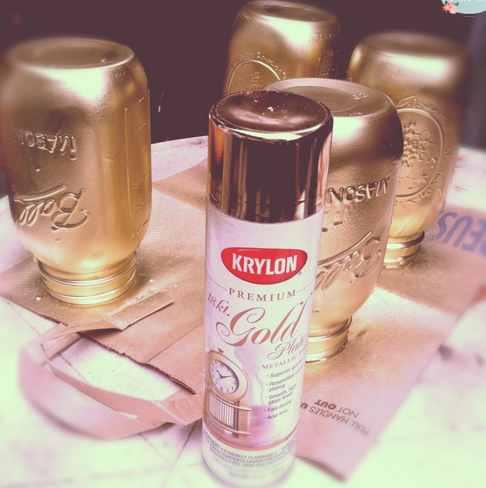
Make Metallic Mason Jars With Spray Paint

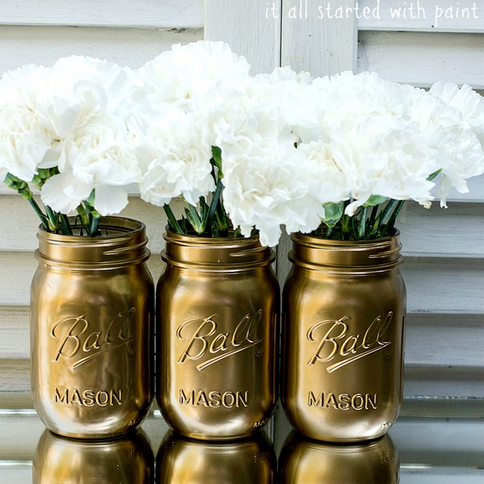
Spray Paint mason jars for a great vase!

Photo by It All Started With Paint

Mason jar decor is a huge favorite in this house.  Working on a paper bouquet for my grandmother for Mother’s Day, I have been trying to land on the perfect vase.  Recycled wine bottles, tin cans and mason jars always top my list of bouquet containers.  While searching for inspiration, I came across the pictured metallic mason jars by It All Started With Paint.  I am all about metallic spray paint, and really am kinda shocked I haven’t already done this!  You can order your own at the link above, or if you are a DIY kinda person, Lovely Little DIY’s gold mason jar tutorial will get you on your way!

DIY mason Jar Crafts

Photo by Lovely Little DIY

This is not the project I ended up going with for my grandmother’s vase.  That is for another post.  This did make my to do list and if you are looking for a quick vase for Mother’s Day, you still have time to make metallic mason jars that she will love!

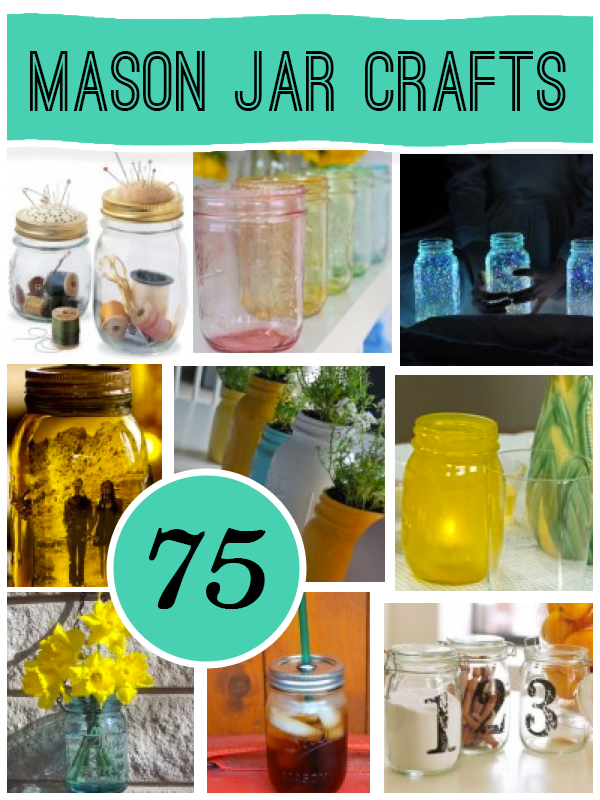
For more mason jar crafts, visit our frequently updated collection of the the world’s greatest Mason Jar ideas!

Make Easy Shrink Film Heart Earrings

[pinit]

How to Make Shrink Film Earrings @savedbyloves

[pinit]

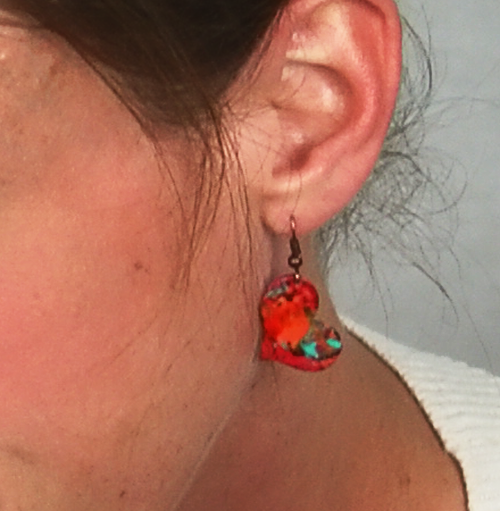
Mother’s Day is around the corner.  Are you ready?   If you need a last minute, handmade gift, today’s post is for you.  I am sharing with you a quick, cheap and simple pair of shrink film heart earrings you can make that any woman on your list is sure to love.  With just a few supplies and 20 minutes or less, you are on your way to making her smile.

How to Make Shrink Film Earrings @savedbyloves

SUPPLIES:

Matte Shrink Film

Heart Paper punch, template or die (I used Spellbinders Media Mixage Hearts One – the middle size die)

Ear Wires

Jewelry Pliers

Mod Podge Dimensional Magic

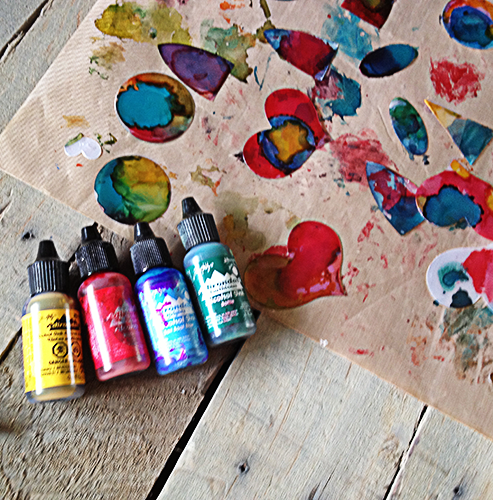
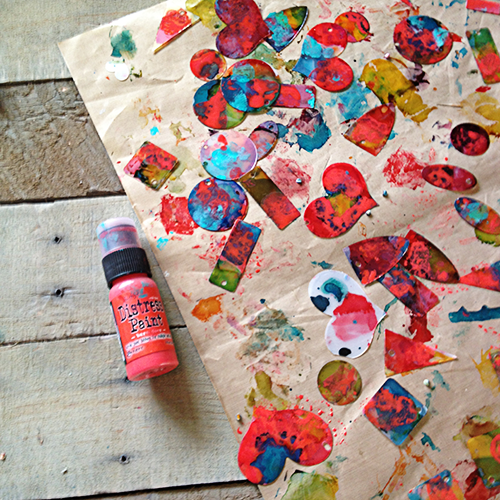
Alcohol inks and applicator

Distress Paints or other acrylics of your choice

TUTORIAL:

ShrinkFilmEarrings3

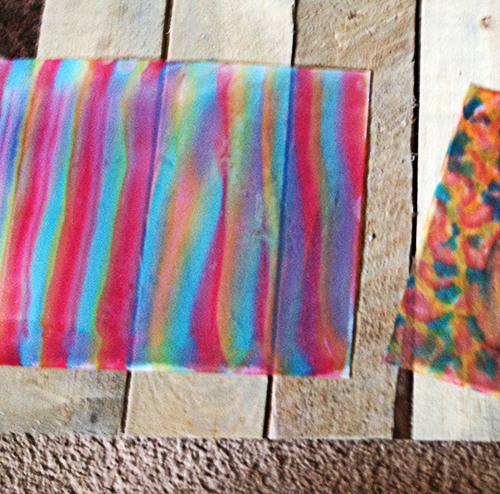
Ink your felt applicator and pull stripes (left) or dab color splotches (right) onto rough side of shrink film.  Cover entire sheet or just what you will use.  I made a bunch of shapes, so I covered the entire sheet.

ShrinkFilmEarrings4

Die cut, paper punch or hand cut out your shapes.  You can see the inks I used and how the pieces look before baking.

ShrinkFilmEarrings5

I wasn’t quite thrilled with the coloring after the alcohol inks, so I added Distress paint (barn door).  Punch a hole in your pieces where you want the jump ring to be and bake per shrink film instructions.

How to Make Shrink Film Earrings

Let cool, apply a coat of Dimensional magic for a gloss look.  When that dries, you may have to reopen your hole with a needle tool or awl.  Insert your jump ring and ear wire.

Most people would never guess these were made from shrink film.  I get tons of compliments every time I wear them!

How to Make Shrink Film Earrings

I have a charm bracelet on the work table using the rest of the pieces from this shrink film afternoon.

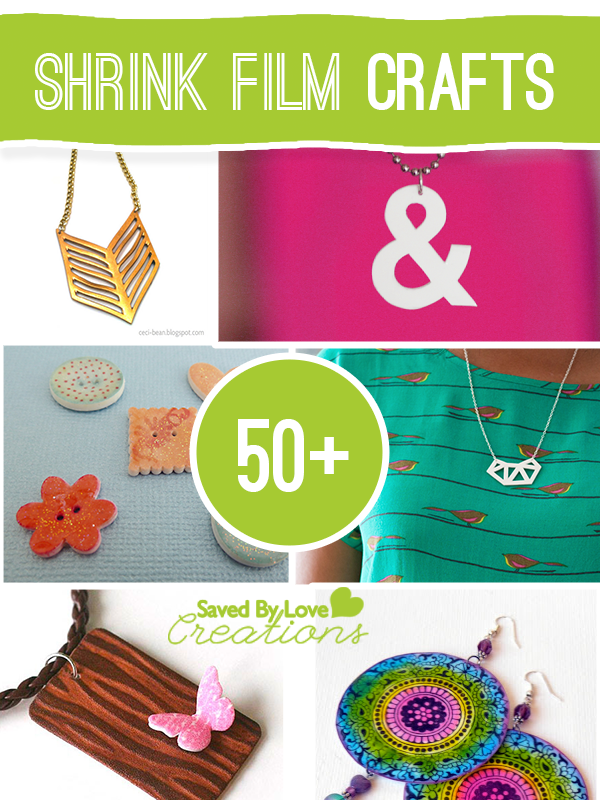
In the meantime, check out our 50+ shrink film projects roundup:

Projects to make from shrink plastic, #shrinkfilmjewelry #shrinkfilmcrafts

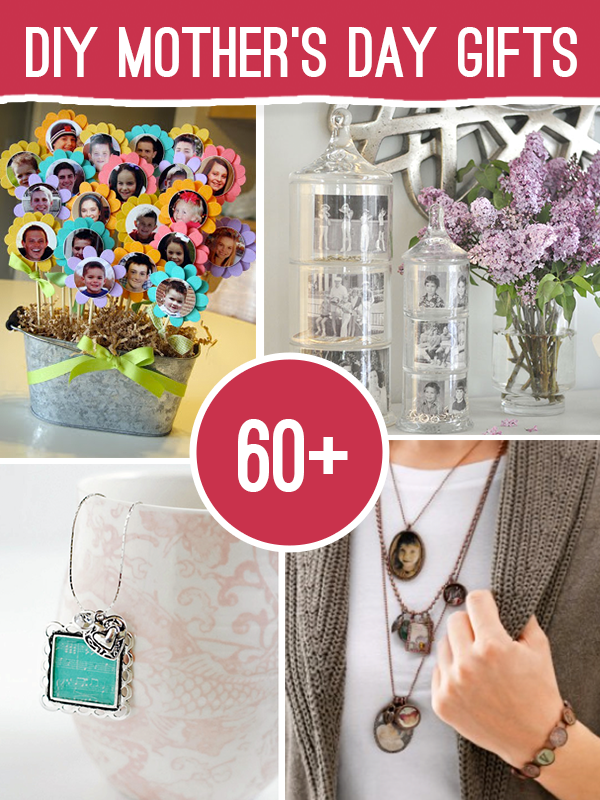
Need more Mother’s Day ideas?  We have you covered with 50+ Mother’s day handmade projects for under $10

Mother's Day GIfts #mothersday #diy to make for less than 10 bucks

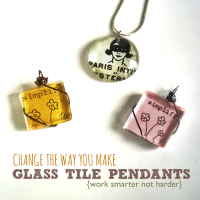
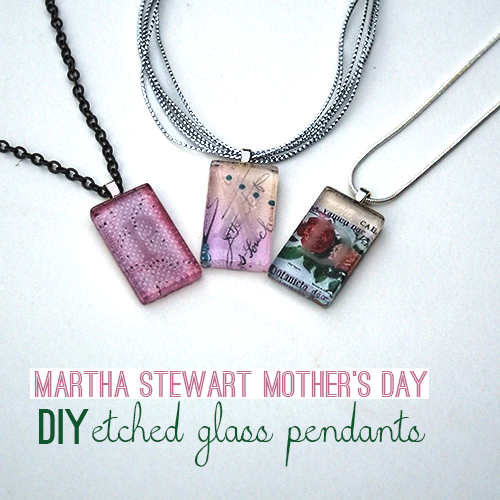
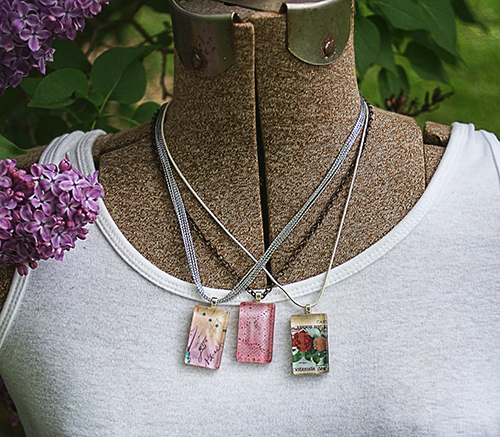
Martha Stewart Mother’s Day Etched Glass Pendants

[pinit]
@savedbyloves DIY Etched Glass Tile Pendant #MarthaStewartCrafts #mothersday
[pinit]


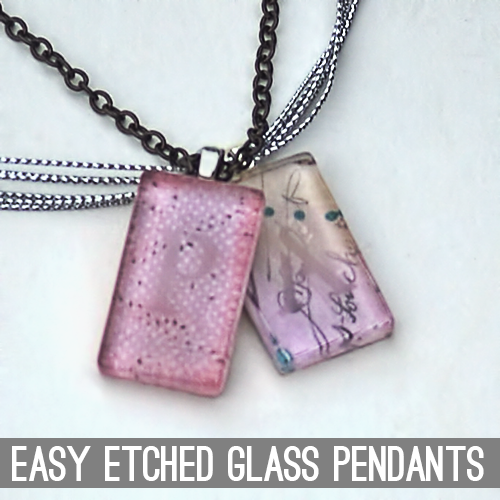
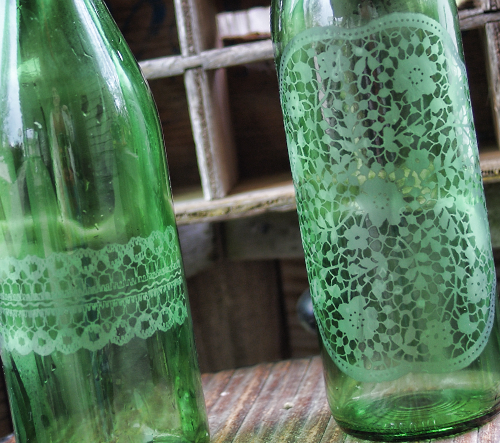
Today brings a fun, simple Mother’s Day gift DIY using Martha Stewart Crafts glass etching cream to create customized glass tile pendants!  As I mentioned Monday when I showed you my doily etched wine bottles, this etching cream is simply amazing.  No glass is safe around me now!  Read on to see how to make these lovely pendants in no time!

#marthastewartcrafts #mothersday

SUPPLIES:

#MarthaStewartCrafts

Glass tiles (I ordered mine on Etsy – size 1 7/8 x 7/8 inch

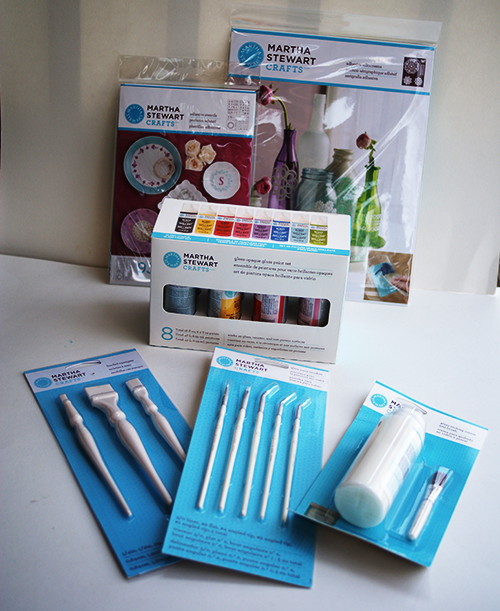
Martha Stewart Etching  Cream and included brush

Martha Stewart Adhesive Stencils

Rubbing alcohol

Pendant Bail (I use aanraku small silver bails from Etsy or Ebay)

Pretty Patterned Paper

Mod Podge Dimensional Magic and Antique (optional)

Sandpaper (150 grit)

E6000

Chain or cord of choice

Masking Tape

Protective gloves

TUTORIAL:

EtchGlassPendants7

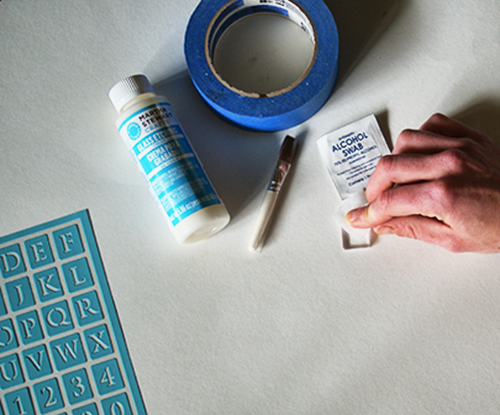
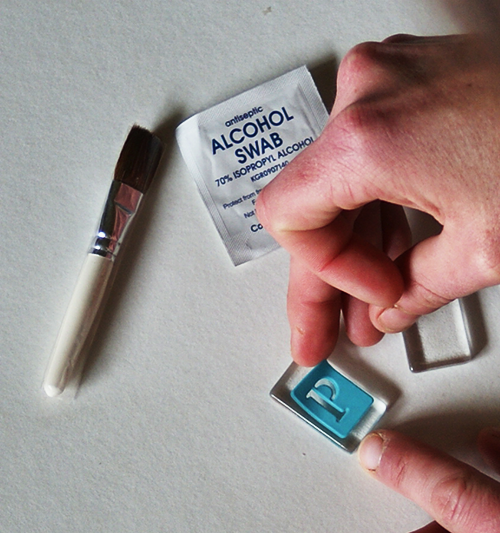
Clean glass tiles with rubbing alcohol.

#MarthaStewarCrafts #Mothersday

Place adhesive stencil.

#MarthaStewarCrafts #Mothersday

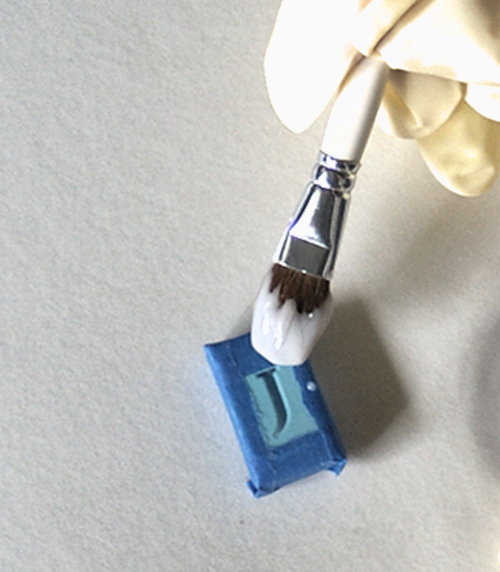
Tape off area you don’t want etched and apply thick layer of etching cream.

#MarthaStewarCrafts #Mothersday2

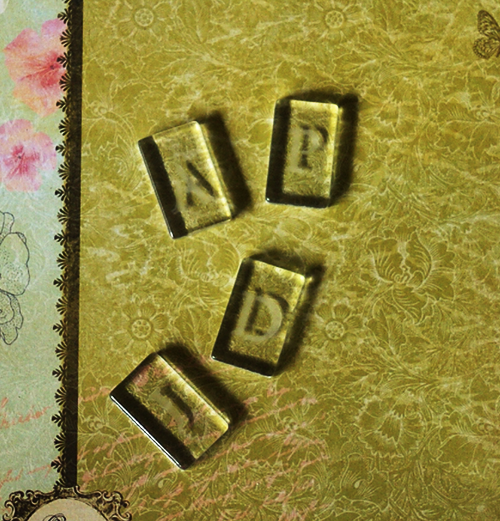
Wait 15 minutes and then rinse cream away under faucet.  Make sure to clean stencils well.

#MarthaStewarCrafts #Mothersday3

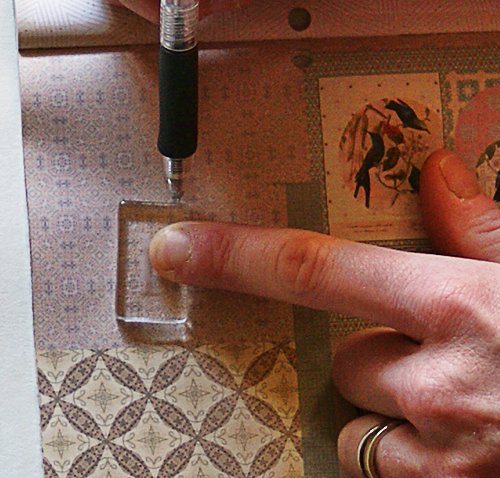
Find area of paper you want as background.  Trace pendant and cut out paper for backing.  Using double sided paper gives the back of your pendant a pretty, finished look.

#MarthaStewarCrafts #Mothersday4

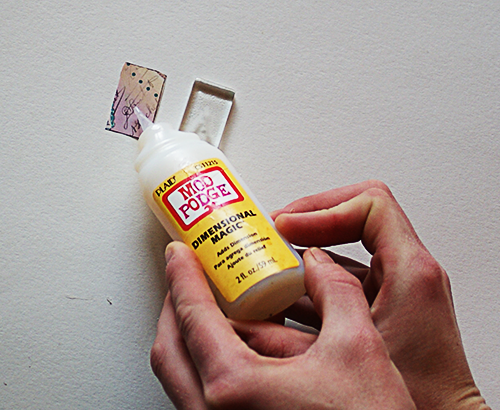
Use your favorite decoupage medium to adhere backing to tile.

#MarthaStewarCrafts #Mothersday5

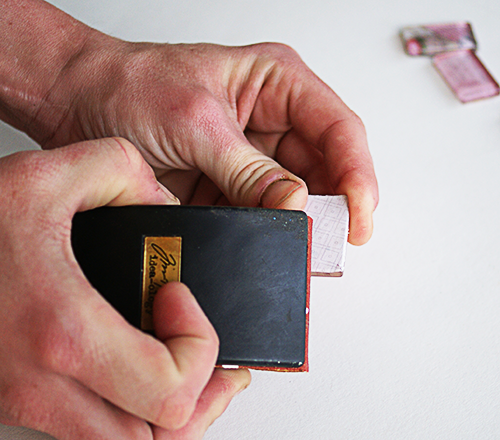
When that is dry, sand edges to even things up a bit.

#MarthaStewarCrafts #Mothersday7

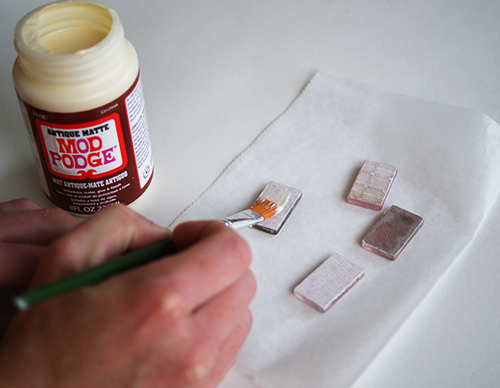
Seal paper backing with your favorite medium.  I love the antique Mod Podge.  Apply 2-3 coats, allowing 30 minutes dry time between each.

#MarthaStewarCrafts #Mothersday8

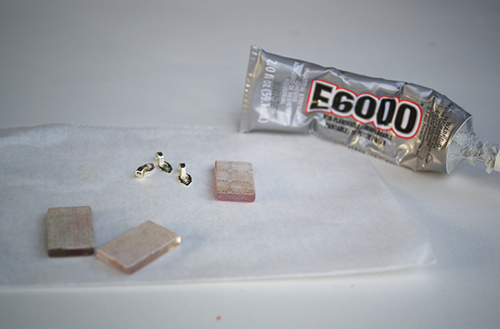
Adhere pendant bail using E6000 or other industrial strength adhesive.

@savedbyloves DIY Etched Glass Tile Pendant #MarthaStewartCrafts #mothersday

Let your bail set overnight and add your chain to finish!

EtchedGlassTilePendant4

I love them!  I made one for my grandma, mom and sister.  What a cool way to add a special touch to customize glass tile pendants.  Use a meaningful photo instead of scrapbook paper as an alternative.  Make them as wedding/anniversary gifts with the couple’s wedding date!  The possibilities are endless.

 Be sure to check out the other Mother’s Day and Father’s Day projects my cohorts are making with Marth Stewart Crafts in the list below this post.

FOLLOW PLAID CRAFTS WITH ME!!

Website :: Facebook :: Twitter :: Pinterest

Disclosure: I wrote this post as part of a sponsored campaign with Plaid and The Blueprint Social.  All opinions are honest and mine!


Privacy Policy