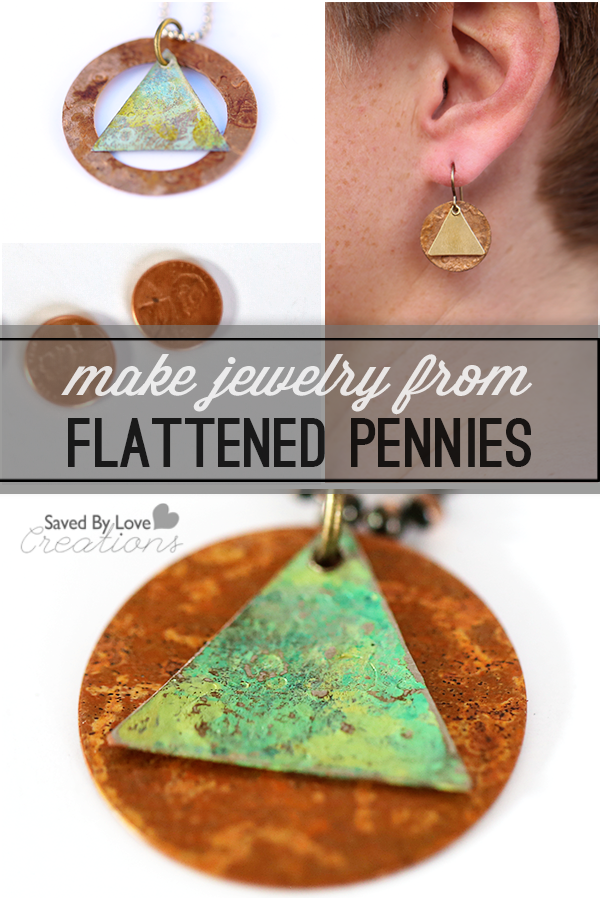
This post has been a long time coming. At this point, I can’t even recall what inspired me to smash pennies and turn them into jewelry, but something did and here we are. I will walk you through the interesting, not entirely legal process I used. Please note that in no way am I encouraging anyone to break the law, or to go anywhere near railroad tracks. The Midnight Rider controversy is no joke. While cute, this jewelry is not worth dying for, so be smart.
SUPPLIES:
Pennies or other coins
Clear masking tape
Jump rings
Jewelry Hole punch
jewelry rivets
Vintaj metal paints
Lisa Pavelka Resin Magic Glos
Magic Glos UV Resin, by Lisa Pavelka
Sizzix machine
Butterfly rings Sizzix Die
Media Mixage Triangle Dies
Media Mixage Circle Dies
Vintaj Vogue Stamping Blanks, Triangle 14mm
Your favorite embossing folders
eyelet setter
ear wire
Jewelry pliers (2 pair)
Paint brush or sponge dauber
1/4 cup white vinegar
1 teaspoon salt
Non-metal bowl
Paper towels
TUTORIAL:
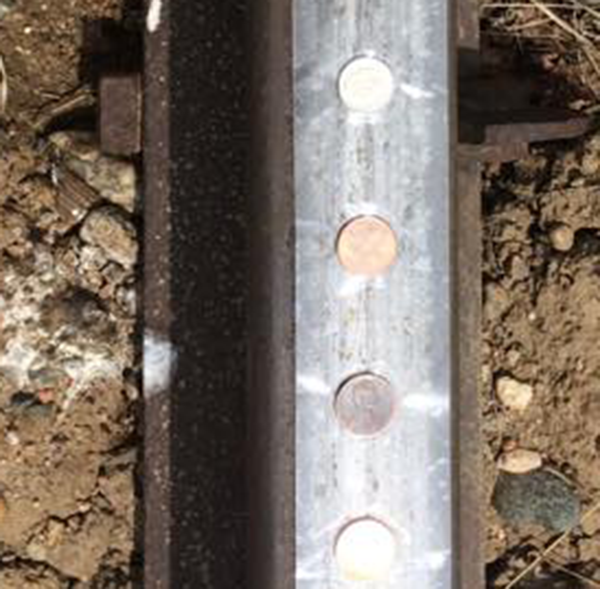
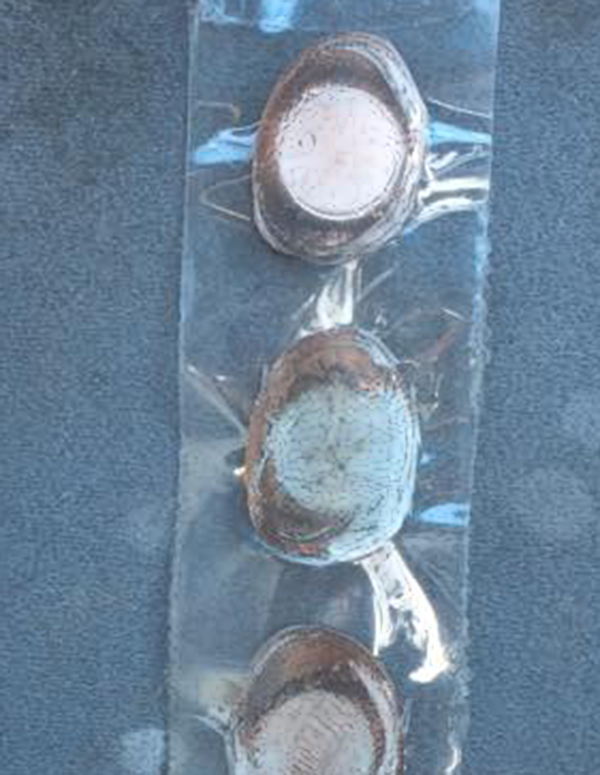
This is the sketchy part. SBLC assumes no responsibility for any injuries that may occur. That said, this is also the super fun part. Tape the coins to the railroad track as shown in the photo. Not taping them just means searching needlessly after the train has passed, since they get thrown from their original location during the process. The tape keeps them in place.
This is what y0u will have when you retrieve your now flattened pennies. Flat, but yucky, right? No problem. To clean the little guys, pour the vinegar into the bowl and stir in salt. Put about 5 pennies into the solution and let them soak for about 10 seconds. Use a toothbrush and running water to remove debris and rinse clean.
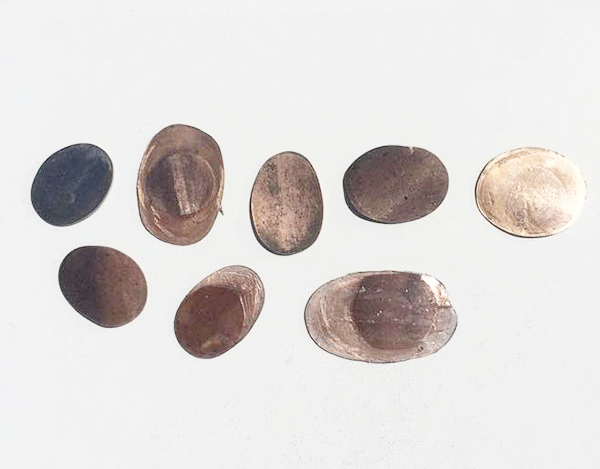
They don’t have to be perfect.
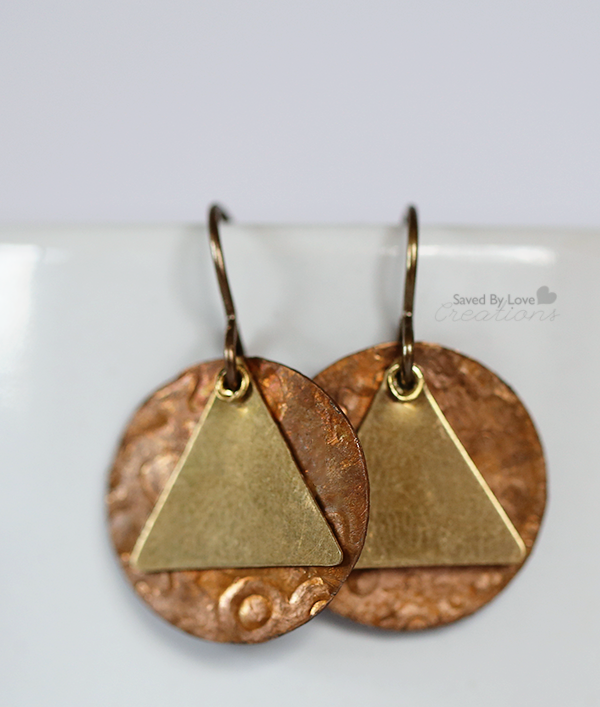
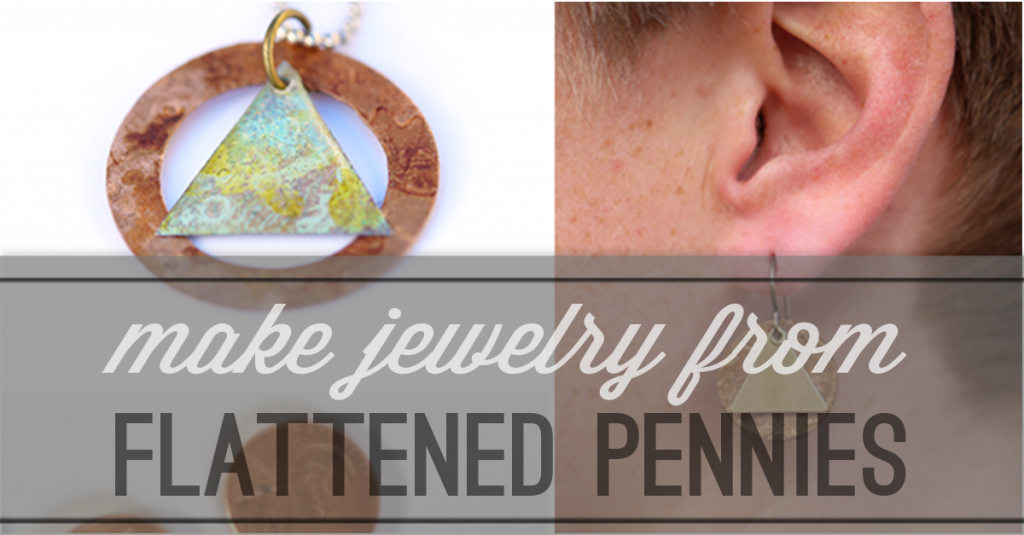
Emboss your pennies and die cut into jewelry shapes. Here i cut the flattened and embossed pennies into circles and attached Vintaj Vogue Stamping Blanks Triangle 14mm using a rivet. Just hole punch the penny circles, insert rivet through triangle and circle, set with eyelet setter and attach jump ring and ear wires. Done!
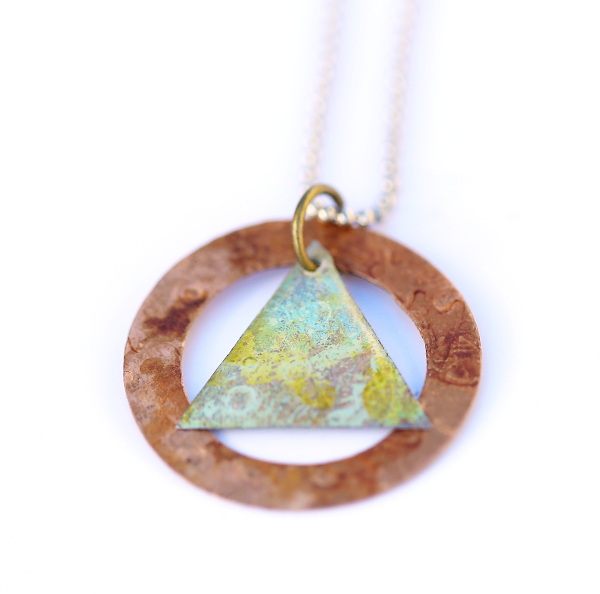
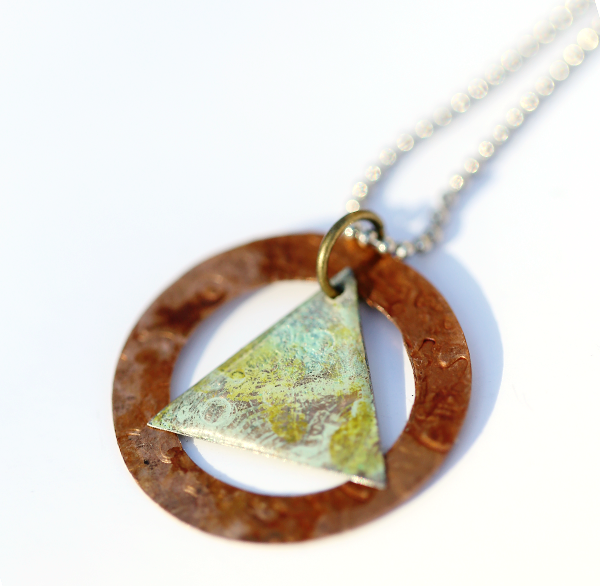
For this pendant, I die cut a ring with the Sizzix butterfly rings die – a favorite die of mine. I cut a triangle with another embossed flattened penny and painted it using vintaj patina paints for metal. Once the paint was dry, I applied Magic Glos UV Resin, by Lisa Pavelka. I love the domed resin look. You can put this in direct sunlight to cure, or cure it in 10 minutes using Lisa Pavelka’s UV light. I went the 10 minute route! It’s been awhile since I used that stuff, and I forgot how fun it is.
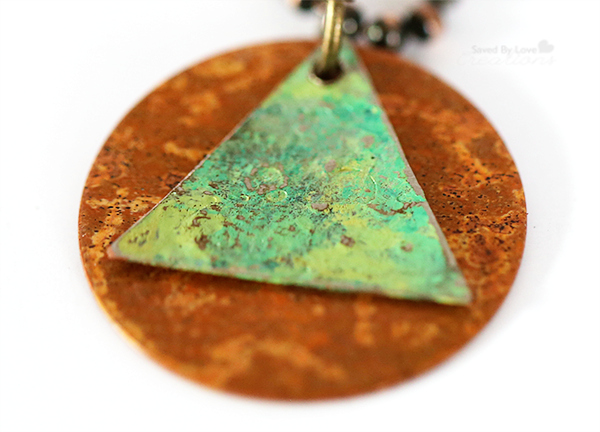
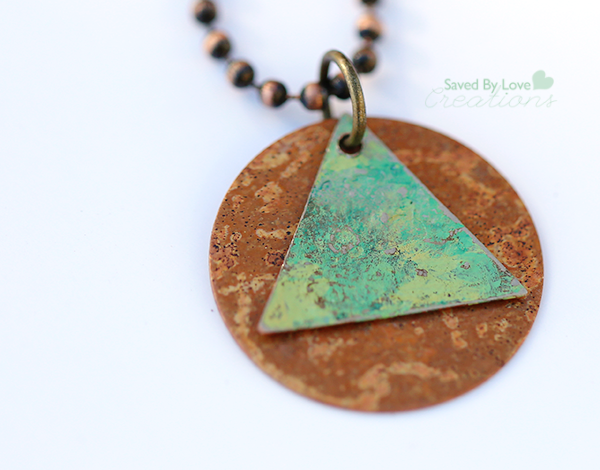
This piece is comprised of a Vintaj metal blank (the background circle) and a flattened penny triangle that I painted with Vintaj Patina. I didn’t seal it. I enjoy the simplicity of the circle/triangle, and love the colors together. After applying the paint, go over the triangle lightly with medium grit sand paper to reveal the raised areas created by embossing previously.
Visit here for more RESIN JEWELRY TUTORIALS
What do you think? Do you have a less illegal method for flattening pennies? Can your rope your husband into doing it for you, like I did?
You can use any coin, by the way. I just like copper.
I’d love to see what you can do with flattened coins. If you don’t have a die cut machine, you can cut shapes with metal shears or tin snips for your own custom creations! Happy crafting!

