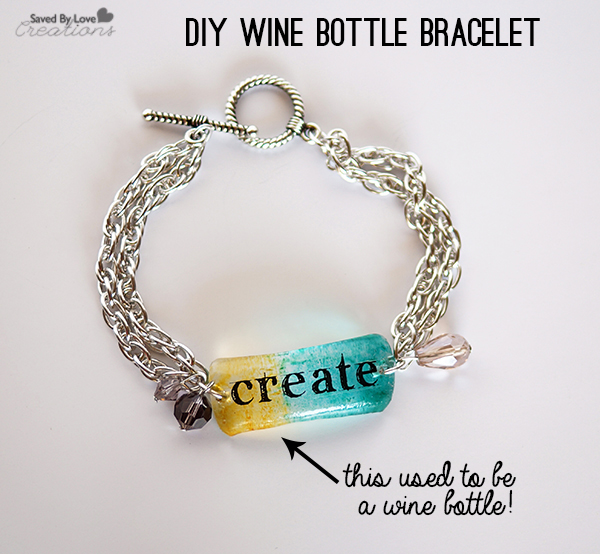
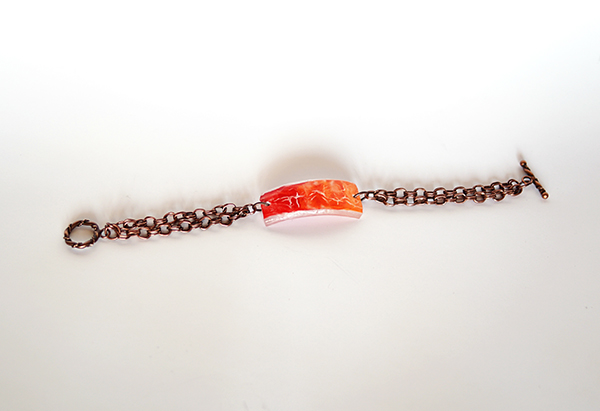
Your friends will be amazed when you tell them these bracelets use to be wine bottles! This project involves cutting glass and firing in a kiln, but you could do a version without the kiln too. Use rub on transfers and alcohol inks to create a piece of wearable art!
MATERIALS
-glass bottle label removing and cleaning supplies (see techniques)
-glass bottle cutting supplies (see techniques)
-stainless steel measuring cup
-kiln
-kiln wash
-glass drilling supplies
-jewelry chain
-jump rings
-toggle clasp
-two pairs of jewelry pliers; flat and or needle nosed
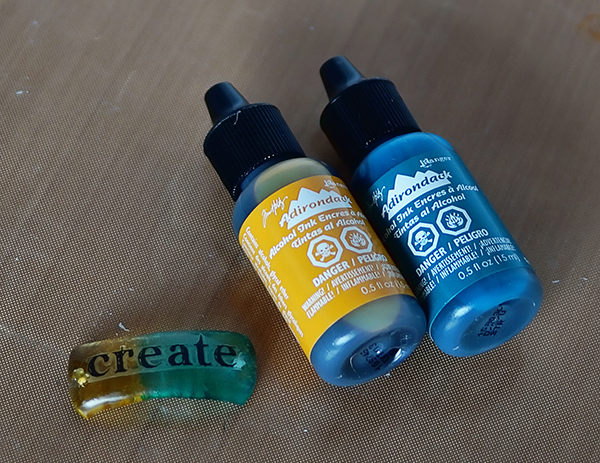
-alcohol inks and felt pad applicator
-non stick craft sheet
-rub on transfers
-beads and charms for embellishing as desired
-permanent marker
DIRECTIONS
1. Cut a ring from your chosen bottle (See How to Cut Wine Bottles)
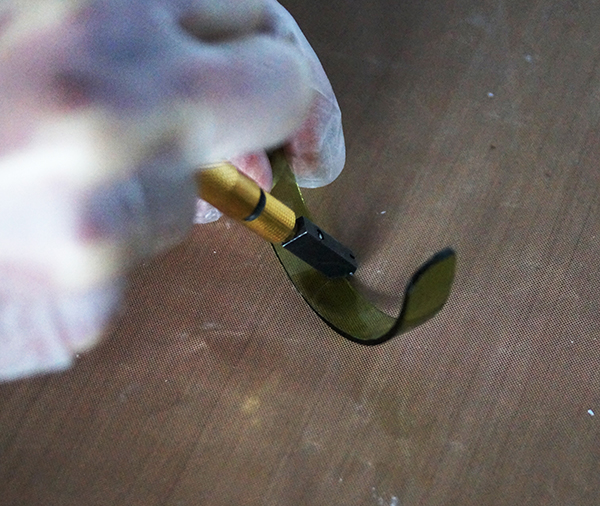
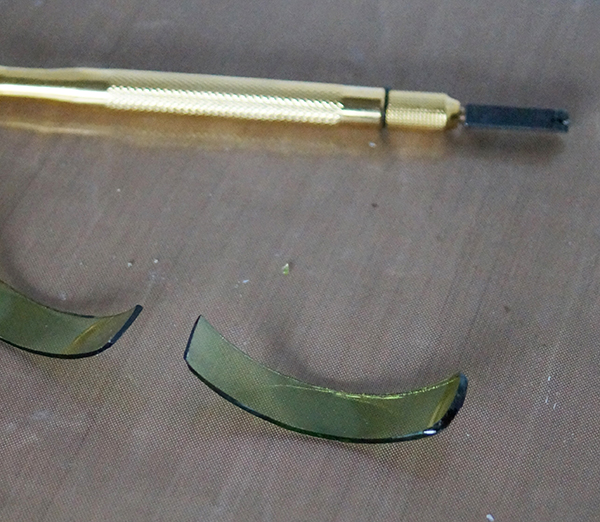
2. Carefully score ring with glass cutter and tap to break score, leaving you with a half circle. Score this to the size you would like your bracelet to be, about 2.5 inches.
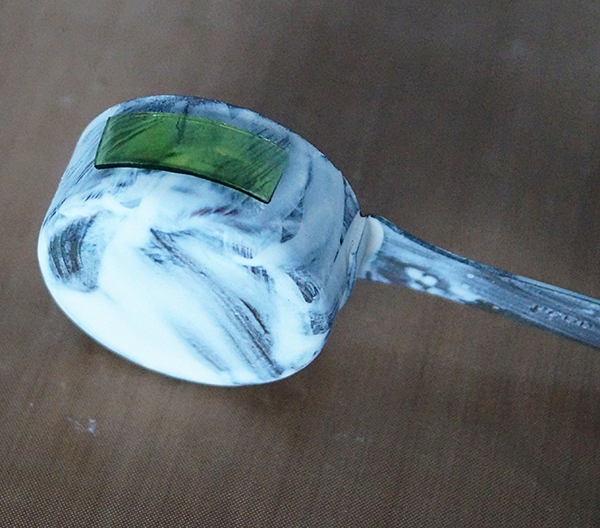
3. Place bracelet piece on kiln washed stainless steel mold or measuring cup as shown and fire to full fuse (see techniques).
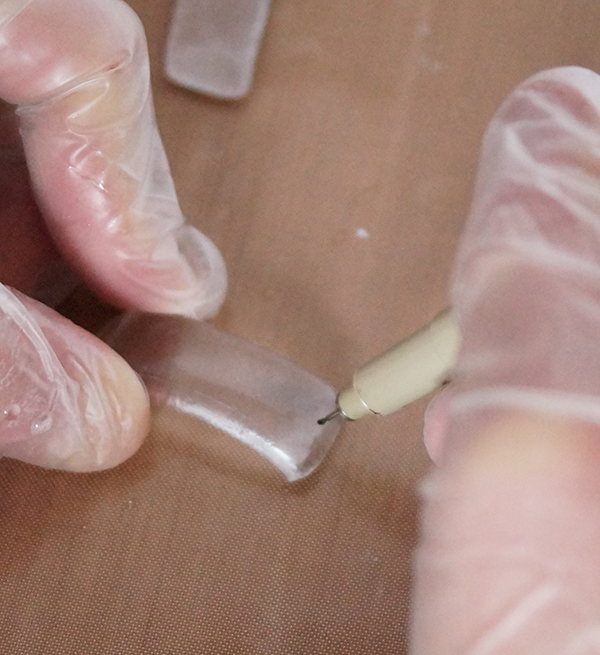
4. Once the bracelet is cool, remove it from the kiln. Mark for placement of holes where chain will be attached with a jump ring.
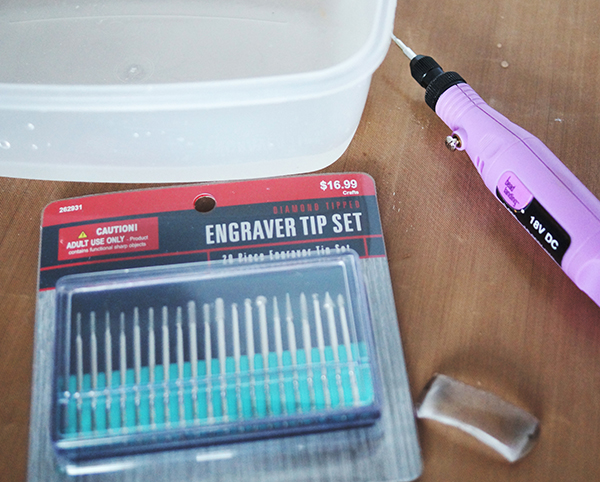
5. Drill the holes using small diamond bits (see How to Drill Holes in Glass). I use this diamond tipped micro engraving drill bit kit for my small holes.
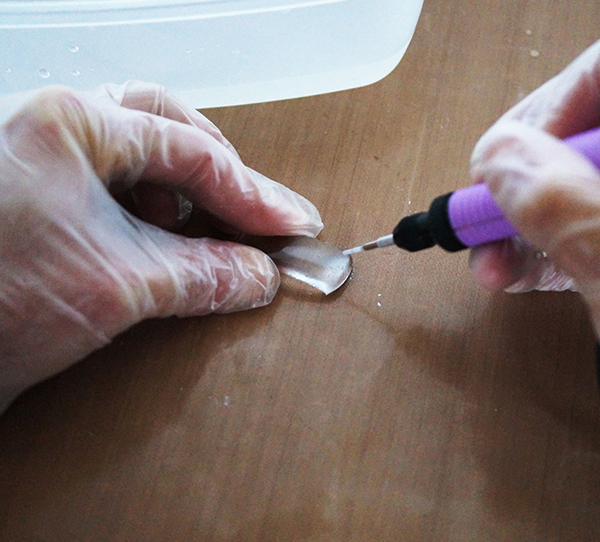
6. Begin drilling at the mark, coming in at an angle to start your hole, then moving to 90 degrees as described in the techiques. Make sure to cool the drill bit in water every 30 seconds or so to prevent glass from shattering due to heat.
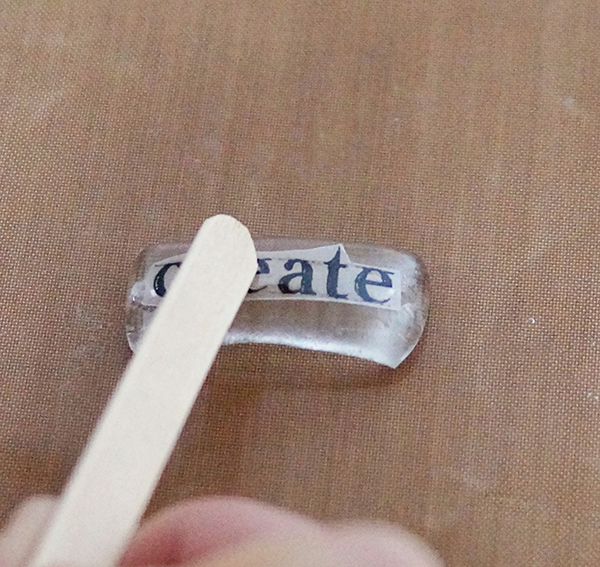
7. Apply rub on transfer per instructions to the front surface of the bracelet.
8. Use felt applicator or brush to apply alcohol inks to back surface of bracelet.
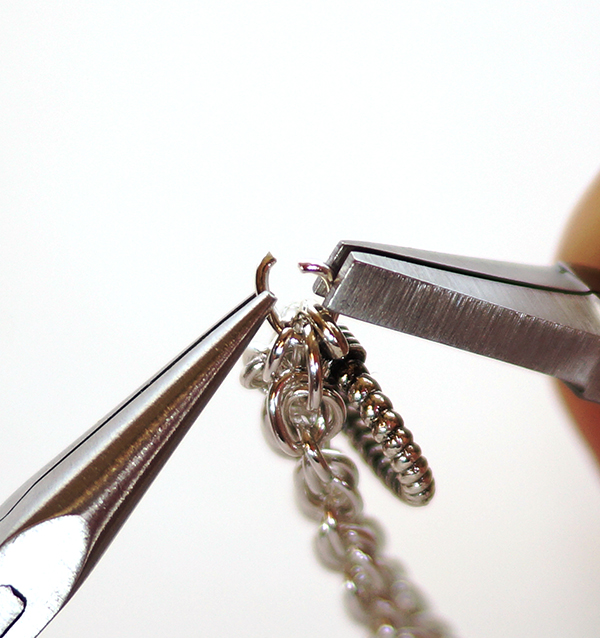
9. Open jump ring using two sets of pliers to twist each end in opposite directions. Do not pull ends apart to open, rather twist open as shown.
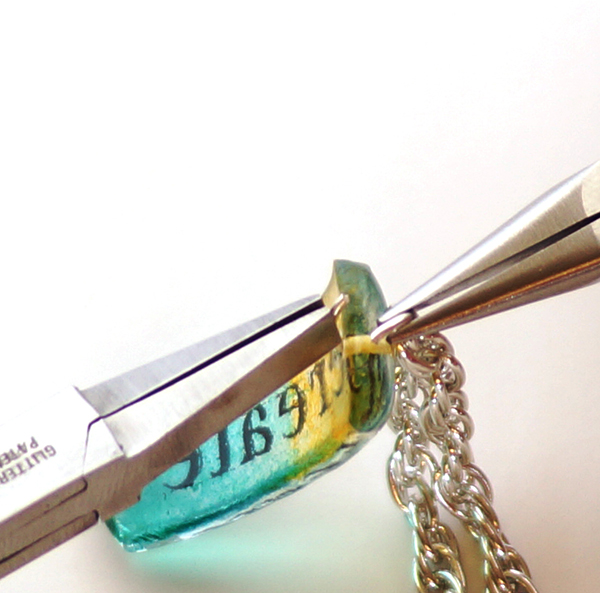
10. Attach the appropriate length of chain to get desired bracelet length and close jump ring by twisting ends back together. Keep in mind the closure will add about ½ inch to the length of the bracelet.
11. To finish, attach toggle clasp ring to one end and bar to the other, using a jump ring for each.
EXTRA TIPS
○ Create custom bracelets, earrings and pendants using this technique. Use blank rub on transfer paper made for inkjets to transfer your own designs to your recycled glass jewelry!

