
[pinit]
 [pinit]
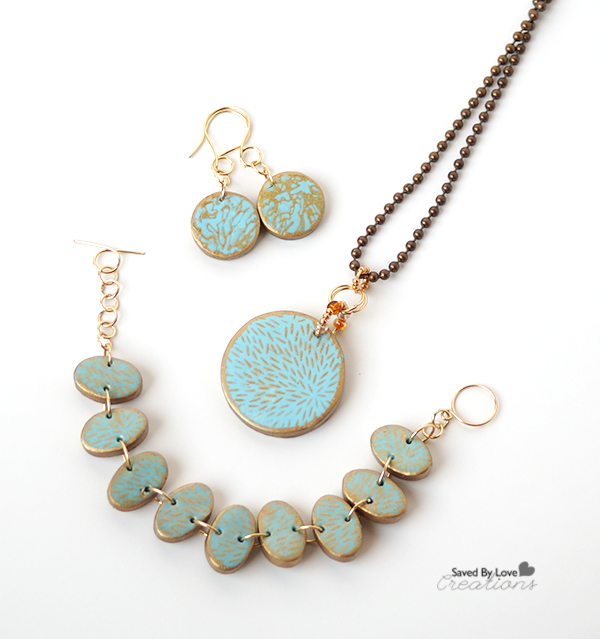
I haven’t had my hands on clay for way too long. The new Silkscreen Kit from Premo Clay was the perfect way to jump back into the medium. If you haven’t experimented with polymer clay, stop reading this and go find some. You will be amazed at the gorgeous pieces you can make right off the bat, from jewelry to home decor and more. It is a medium that is very forgiving, versatile, and doesn’t require a bunch of expensive tools and equipment to get started. Today I will show you how I made a lovely necklace, bracelet and pair of earrings that I kinda love a bunch. You can make your own art jewelry with just a few simple supplies. Let’s get started!
SUPPLIES:
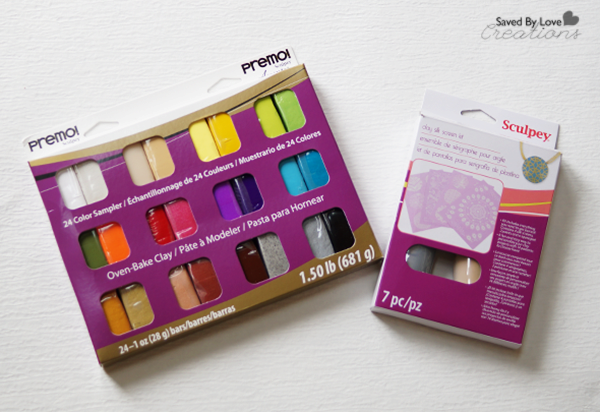
Premo Clay and Silkscreen Kit
Jump rings
2 Pairs of flat nose jewelry pliers
Toggle clasp
Earring findings
Necklace chain
Gold paint marker
Cookie cutters in circles and ovals
Bead reamer or toothpicks
Oven
Ceramic tile or flat baking pan dedicated to clay
Rolling pin or smooth bottle or glass
Protective gloves (these are optional but great for keeping clay fingerprint free)
TUTORIAL:
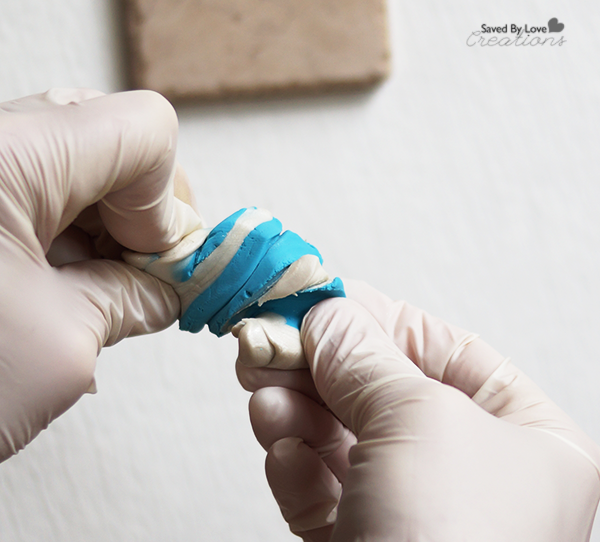
I began by mixing blue clay with pearly white to get my desired color. Just twist the colors together as shown. Continue twisting and kneading clay in your hands to mix the colors and warm/condition the clay. Conditioning is essential when beginning any clay project. It ensures the components of the clay are evenly distributed and the clay is soft and shapable. This clay was super easy to condition. I have worked with clay that is hard and brittle and takes forever to warm up, but this Premo was great! Continue until the clay is the color and shade you want.

I used my Sculpey Clay Conditioning Machine to get a flat even sheet. This costs about $20 and is well worth the investment if you are going to create with clay more than a couple of times. You can also use a smooth glass, rolling pin or bottle to smooth the clay out on a bake-able surface. I like to use tiles I pick up at Habitat Restore for a dime. I have tons of them on hand for just this purpose. Once the clay is rolled out, you don’t want to have to move it, as it will become distorted and uneven until it is baked and therefore hardened. Having it on a surface you can just stick in the oven is super handy.
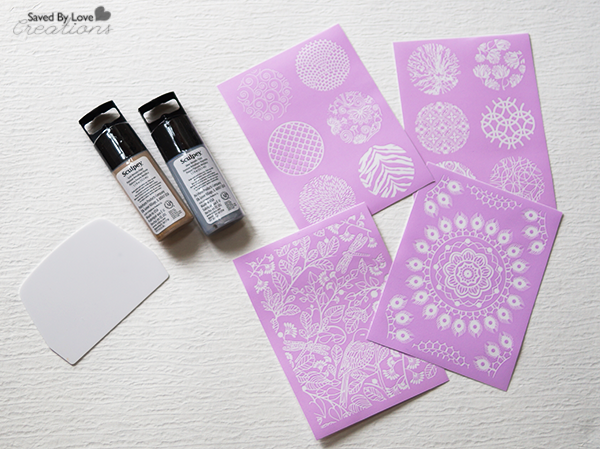
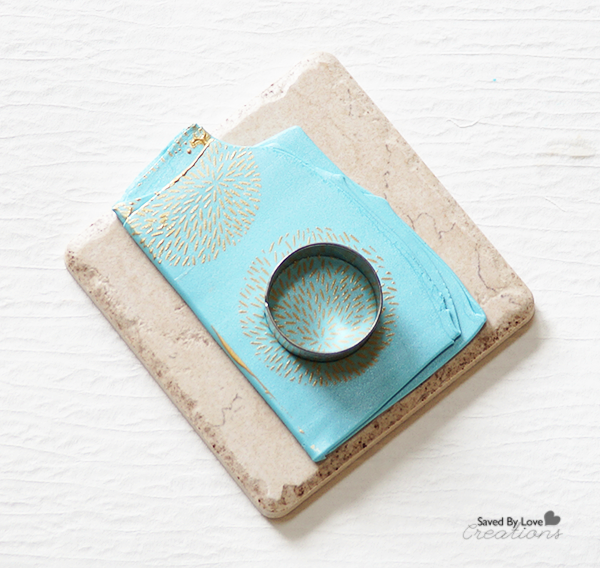
The kit comes with silver metallic paint, gold metallic paint, 4 reusable screens (totaling 2 large single patterns and 12 mini patterns) and a squeegee. Aren’t the designs so fun?!
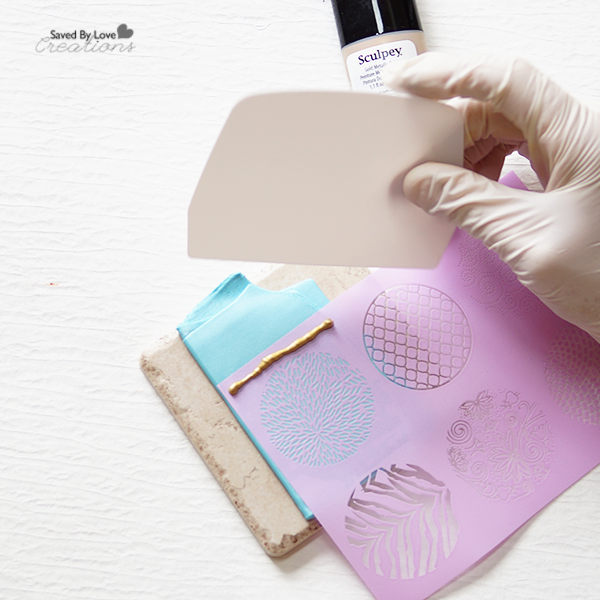
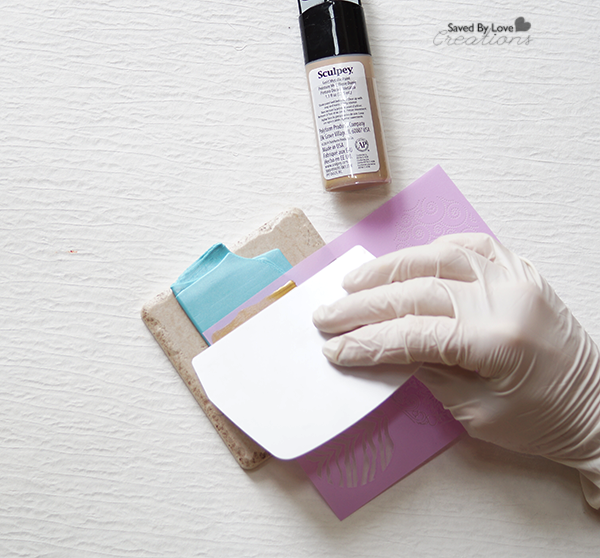
I choose my design, placed a thin line of gold paint, and used the squeegee to pull the color across the screen, lightly so as not to indent the clay.
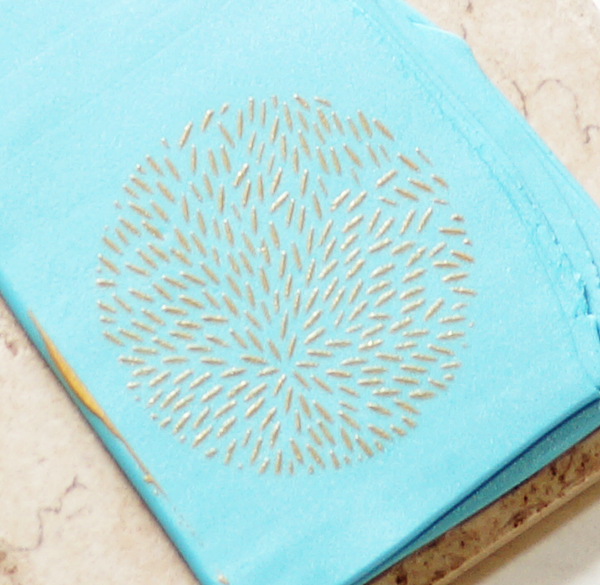
Here is what it looked like after the first try! So easy and pretty.
TIP: Make sure to immediately was the screen and squeegee so the paint doesn’t dry on them. You want to reuse them for as long as possible!
TIP: Spray armor-all onto the cookie cutter inner and outer edge so that the clay won’t stick to it and come up off the surface when you lift the cutter away after cutting.
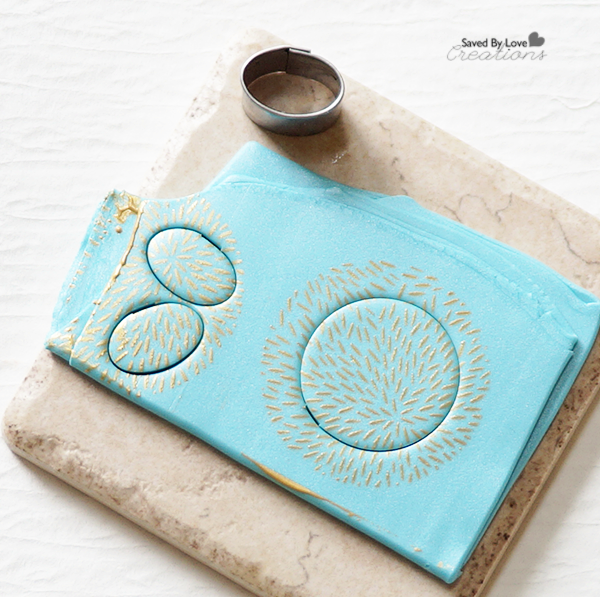
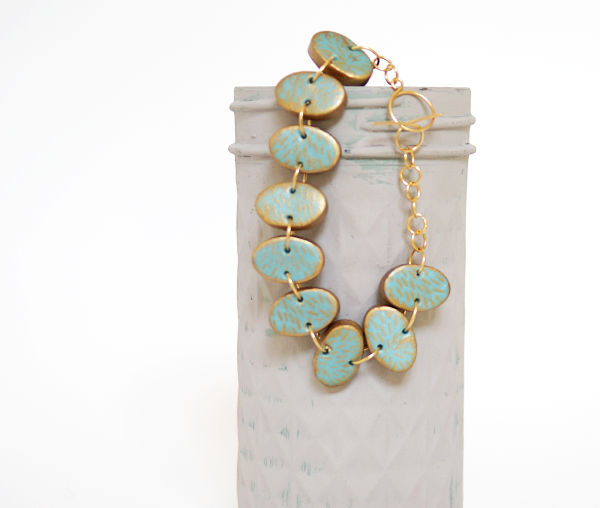
Choose an area and a cookie cutter and press it into the clay to cut shapes. I used circles large and medium for the pendant an earrings. For the bracelet I used a small oval cutter.
Pull the “scrap clay” away from the cut shapes and set aside. You can recondition it and reuse it, even if it has paint on it. Just mix it in by conditioning it with your hands or pasta machine.
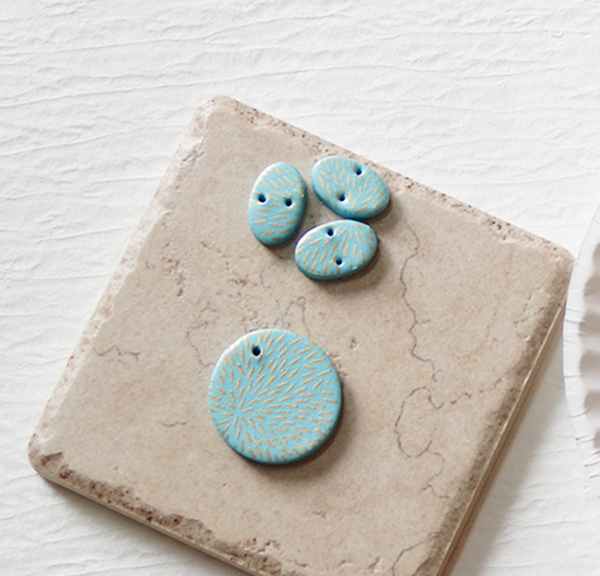
To create holes for jump rings in your pieces, you can use a toothpick while the clay is still raw, or use a bead reamer or drill after baking the clay. Manipulating the clay while raw always carries the risk of distorting it, so I usually wait until it is baked before creating holes. For this project I went ahead and made the holes while the clay was raw since I was going for an organic, imperfect feel.

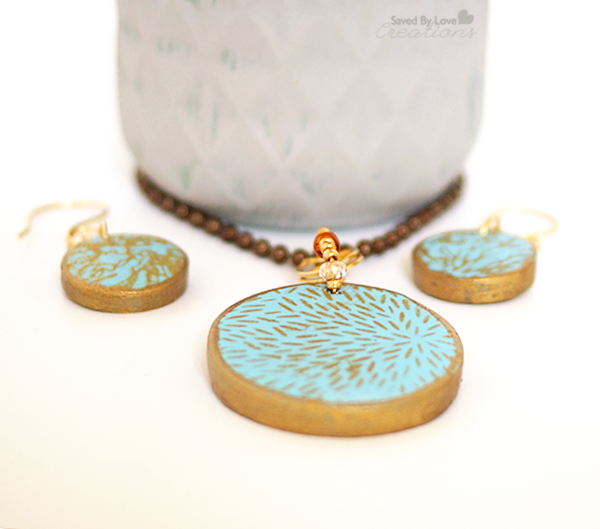
I baked my pieces at 260 for 45 minutes and let them cool. I painted the edges and back with a gold paint marker and sealed the pieces with Matte Mod Podge after the paint dried.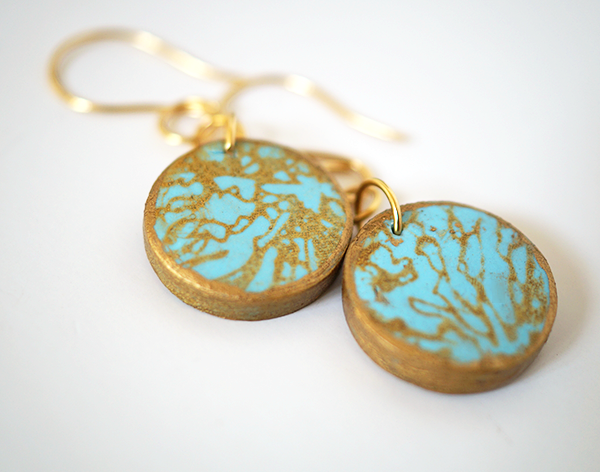
I used 2o gauge gold wire to create jump rings, earring findings and a toggle clasp for my finished pieces. You can save money and get a unique look to your pieces by making your own findings, or purchase pre made findings.
This new kit from Premo has ignited my clay jewelry flame once again! I have made several more pieces that you will be seeing in the future. I hope you are inspired to try some clay projects. It is so easy, inexpensive and you will be amazed at the gorgeous projects you can make from the get go.
Disclosure: I received product and compensation from Polyform and Blueprint Social in exchange for my campaign. All opinions are honest and mine, as always!
