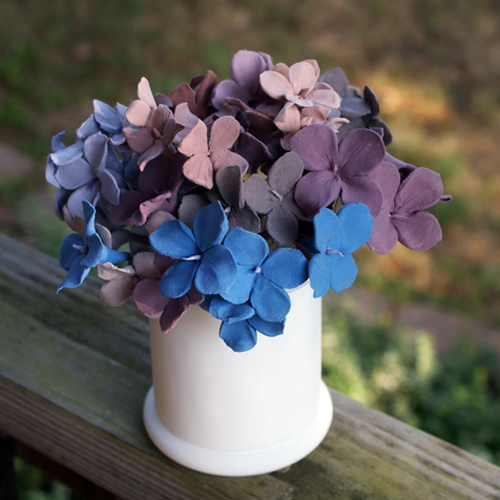
As much of a polymer clay fanatic as I am, I was a unsure how Martha Stewart’s Crafter’s Clay would compare. I finally got my hands on some, and I am loving the stuff.
There are several differences between this clay and polymer clay. Like polymer clay, this is pretty easy to use, and you can mix some amazing colors. It doesn’t fingerprint as easily as polymer clay, which is nice. You don’t have to condition it, so prep time is essentially zero. Just mix the color you want and start creating. It has a different, lighter, spongy kind of feel compared to polymer clay. One down side is that it starts to dry pretty quickly when exposed to air, even though the instructions say to let it dry for 24 hours. I would say the working time is about 25 minutes before it becomes to dry to shape.
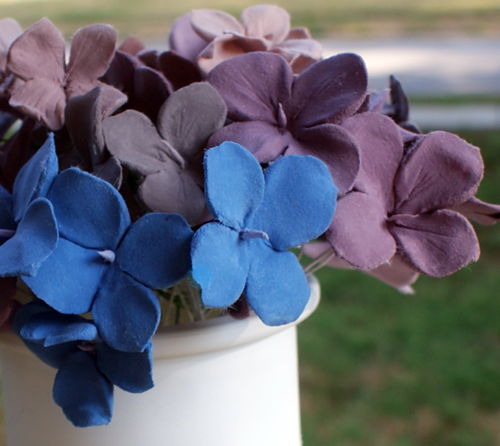
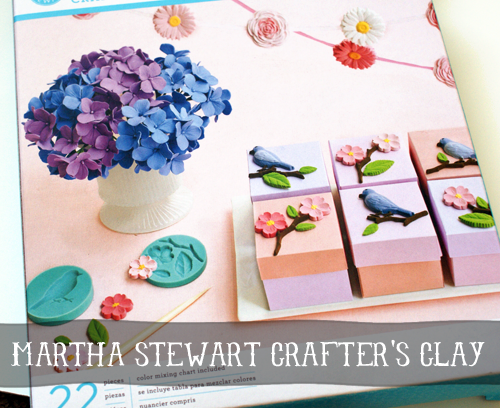
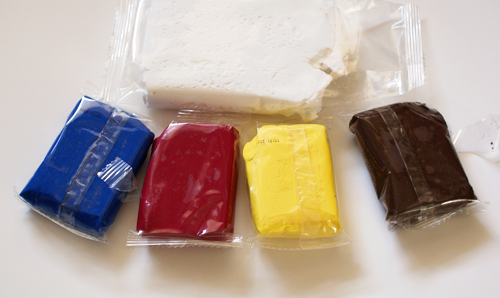
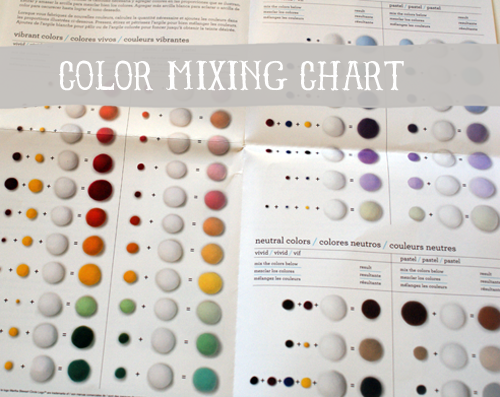
The kit I got came with instructions for making these lovely hydrangeas, a color mixing chart, crafter’s clay in white, brown, yellow, red and blue, detailing tools, 4 silicone molds, floral tape and floral wire. Read on to see how to make your own hydrangea bouquet.
Aside from what comes in the Martha Stewart Crafter’s Clay kit, you will need craft glue (I used Glossy Accents).
TUTORIAL:
I bunched my flowers into groups of 4 by wrapping the wires together and placed in a glass jar from Goodwill that I spray painted white.
If you get a chance to work with this, take it. You can easily make your own lovely bouquet. I got my kit from Michael’s recently, using my 40% off coupon.

