Search Results for: wreath

Make an Easy Photo or Placeholder

[pinit]

I have a great placeholder DIY tutorial for you today using just a few supplies.  These can be created in no time, and are perfect for holiday and party table settings, as well as photo or holiday greeting card display.  Change the add-ons to accommodate any occasion!  Add a meaningful photo and give as a gift that will be cherished. The base wire holder is super easy to make, and embellishing possibilities are limitless.

Creating the Basic Stand

SUPPLIES:

Wax or UTEE (ultra thick embossing enamel)

Ranger melting pot if using UTEE, double broiler if using candle wax (see this how to melt candle wax)

Silicone Cube Tray

18 guage craft wire

Wire cutters

Round mandrel or other object to form circle wire holder

    TUTORIAL:

The Wire

 Cut 10 inch segments of wire and wrap around mandrel or other round tube at one end.  Wrap wire twice to create the double circle that the card or photo slips into.
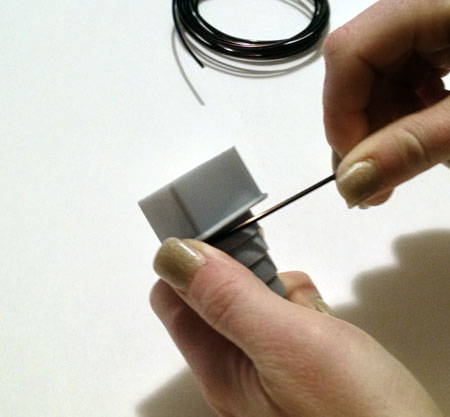
photo(16)

Bend wire at base of circle with your fingers as shown in photo .  Now it is ready to be inserted into the cube.

photo(6)

The Base

Melt your candle wax or UTEE per instructions, carefully pour into silicone square cubes and let harden.  UTEE sets up pretty quickly (just a couple of minutes), wax takes 15-20 minutes.

For this reason, if using UTEE, pour only 2-3 cubes at a time and insert the wire while base is still in tray.  You could also let it harden all the way, then pop it out and drill a hole in the center for you wire.  I prefer the in tray option (sorry no photo) since UTEE acts as a strong adhesive and will secure the wire without glue if placed before hardening.  Just make sure the wire doesn’t shift.  You may have to hold it in place for 1 minute.  If drilling, dip tip of wire in adhesive before inserting into drilled hole.

Here are UTEE cubes after hardening…

DIY place holder or photo display tutorial using wax and wire @savedbyloves

If using wax insert wire when wax is almost completely set.  This will be about 20 minutes.  Just insert the wire and make sure the wax is hard enough to hold it up.  Let harden fully, then remove your ready to embellish stand.

Thanksgiving Placeholders

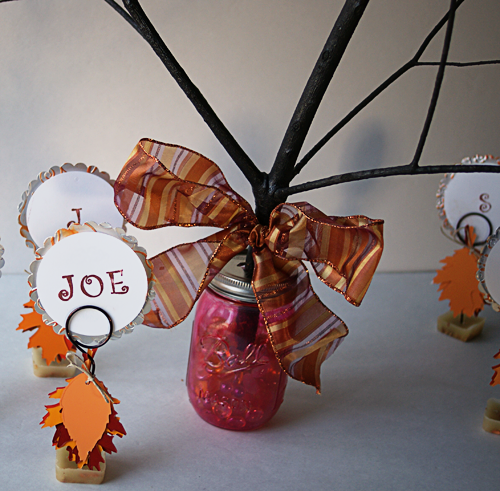
The idea for these stands came to me when thinking of our Thanksgiving table.  I wanted everyone to have leaves to write gratitude/blessings on, to add to a “thankful tree” centerpiece I threw together.

To make the tree:  I grabbed a mason jar I had painted red, removed the ornaments from my Halloween paper ornament tree and put the tree in a hole I cut in the jar lid, added some stones to hold the tree in place, and topped it off with a fall bow.

Placecard2

Thanksgiving Placeholders; I embellished my stands with leaves I die cut from paint swatches with my Sizzix.  I hole punched them at the base and tied them to the wire with leftover hemp cord from a prior project.  For the name cards, I stamped cardstock circles with monogram letters and mounted them on scalloped circles.

photo(2)

photo(4)

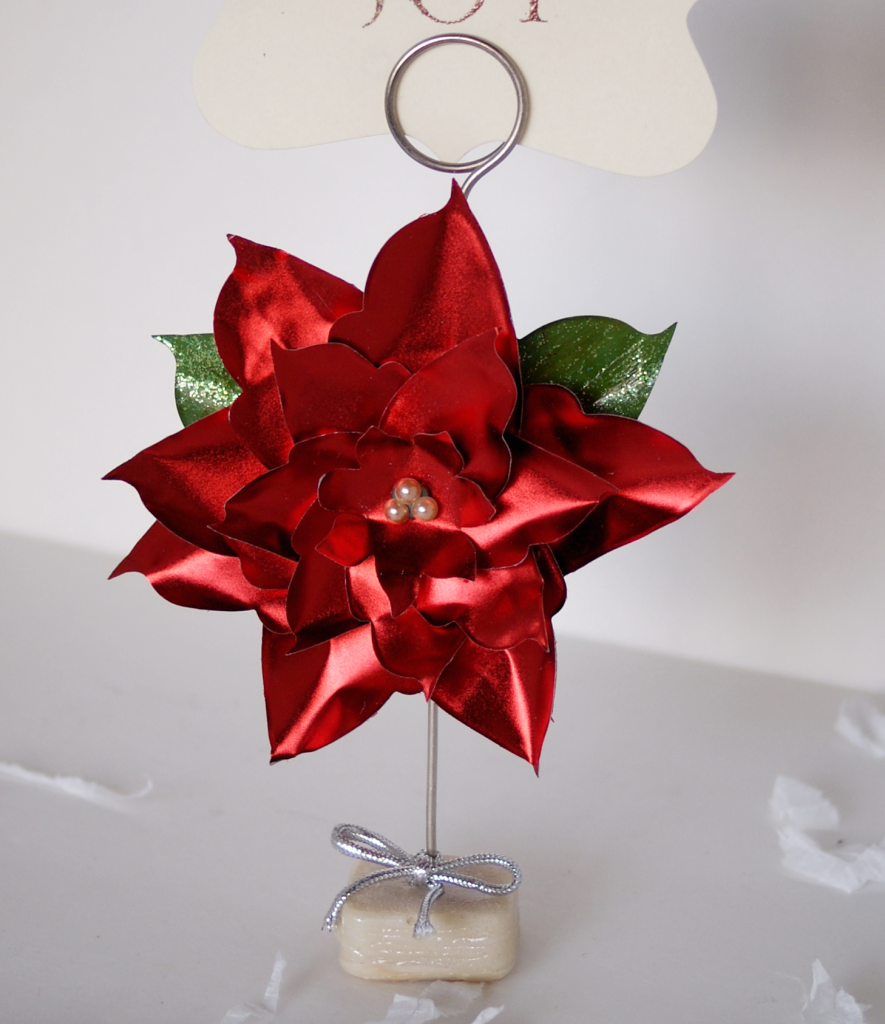
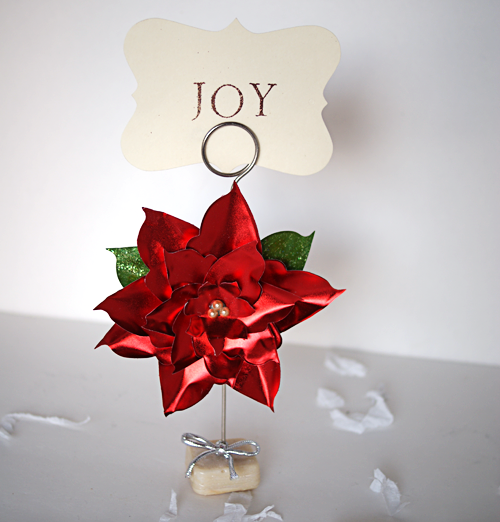
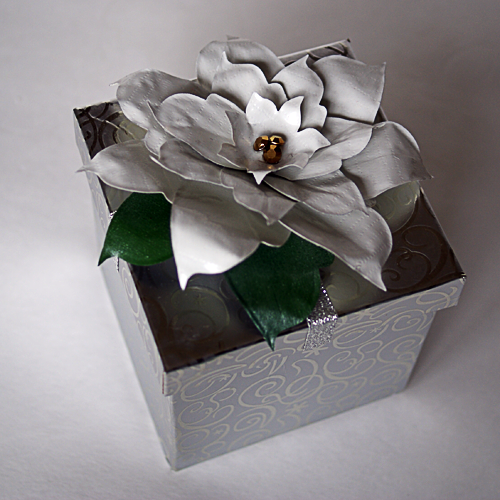
 For Christmas placeholders, I attached a foil poinsettia (tutorial here) to the base, and a shiny silver bow.  I used the interference blue UTEE to create the cube because it looks like snow.
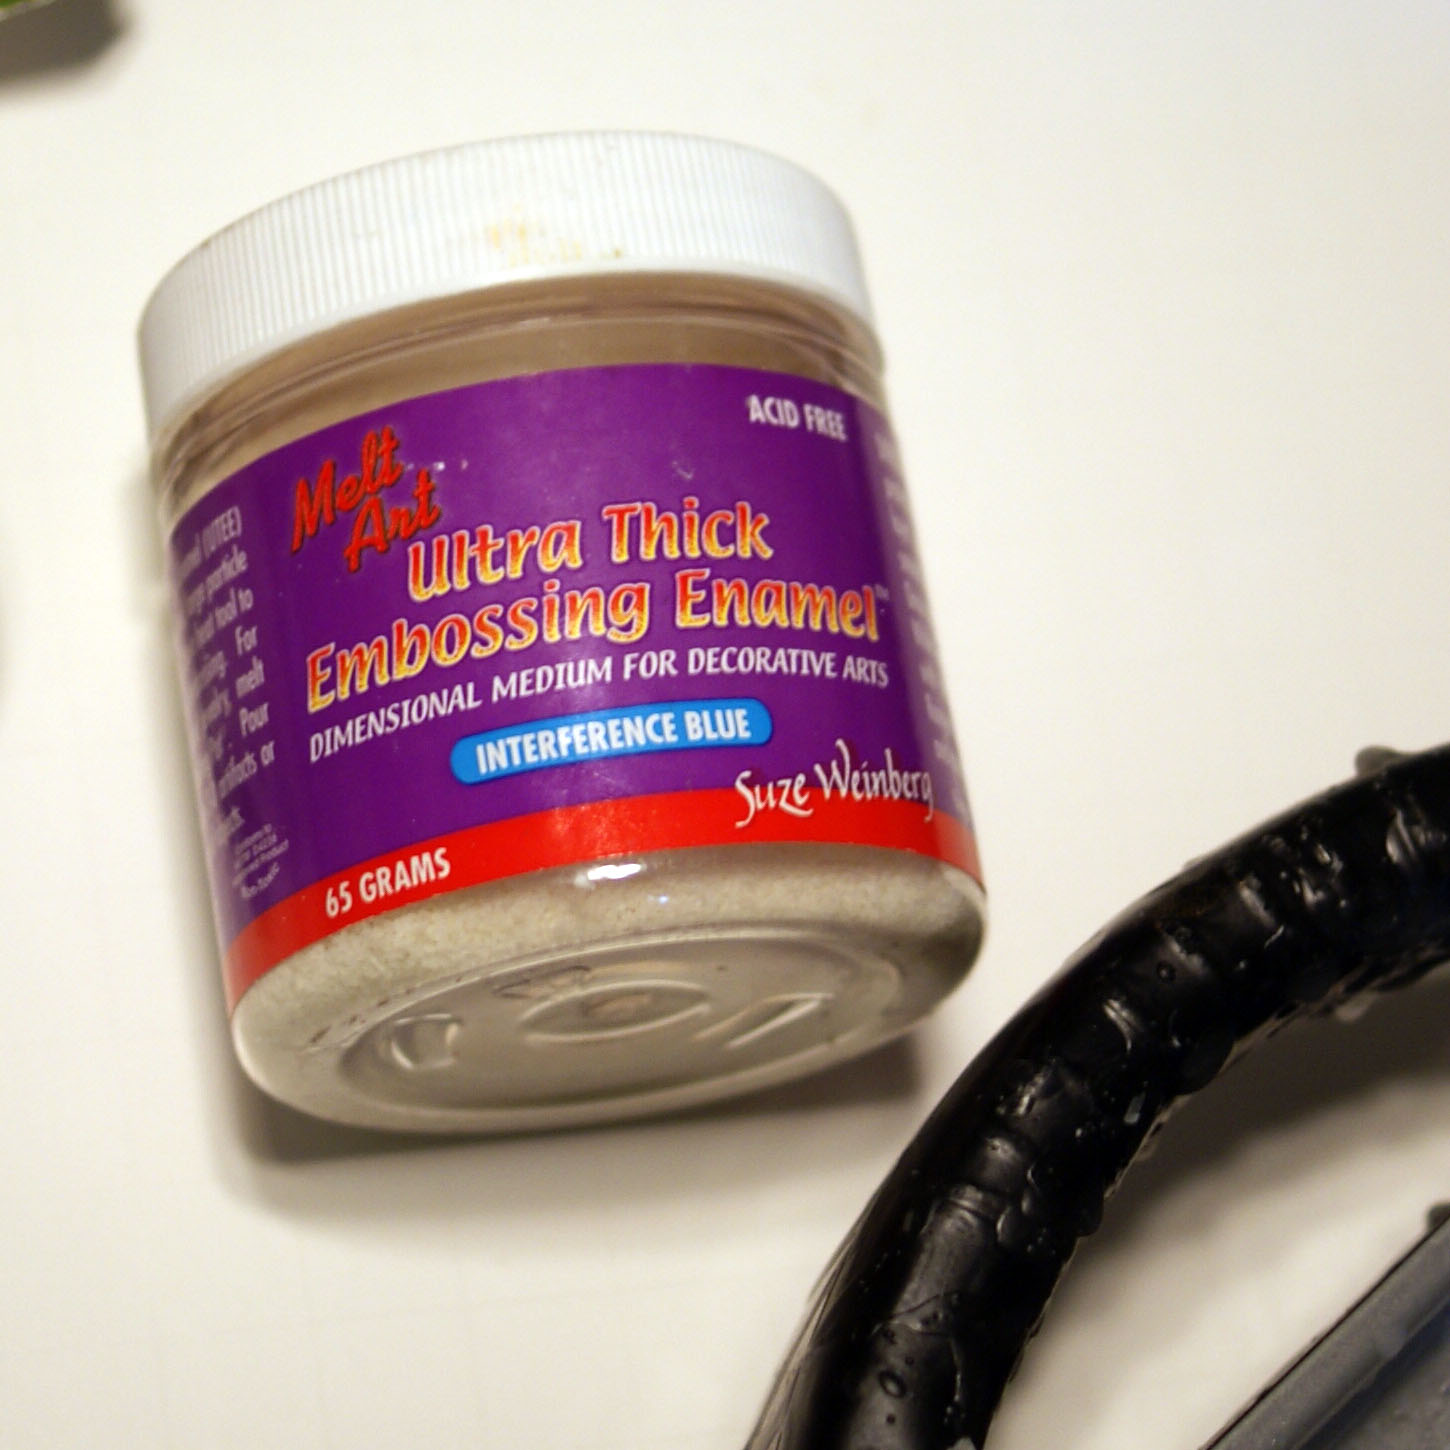
UTEE Ultra thick embossing enamel project tutorial

How to Make Place Cards


Duct Tape Poinsettia Gift Topper

[pinit]

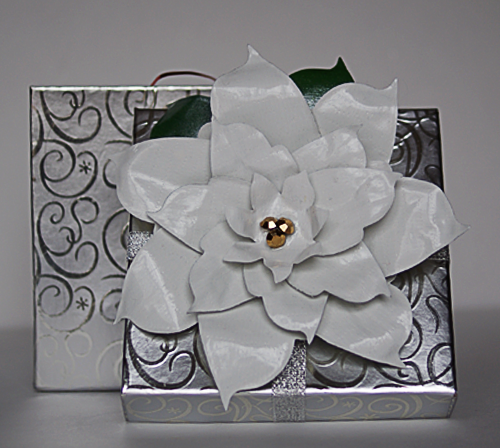
Duct Tape Poinsettia Gift Topper #Christmas #Repurpose #Christmas #DIY @savedbyloves

Duct Tape Poinsettia Gift Topper #Christmas #Repurpose #Christmas #DIY @savedbyloves

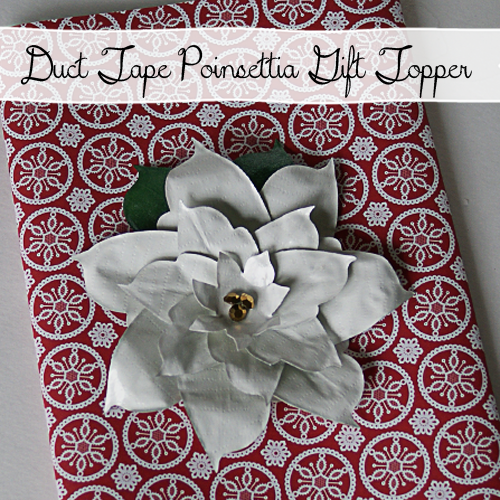
What can’t you do with duct tape, really?  Today, I have a great gift topper idea for your Christmas wrapping, using duct tape and a foil lid.  Make several and create a wreath, or garland.  This is a unique, inexpensive way to add a handmade touch to your presents this year.

I used my poinsettia Sizzix die, but I showed you in this DIY poinsettia wreath tutorial a great template for creating poinsettias by hand from Eri Doodle.  This can be done easily by hand.

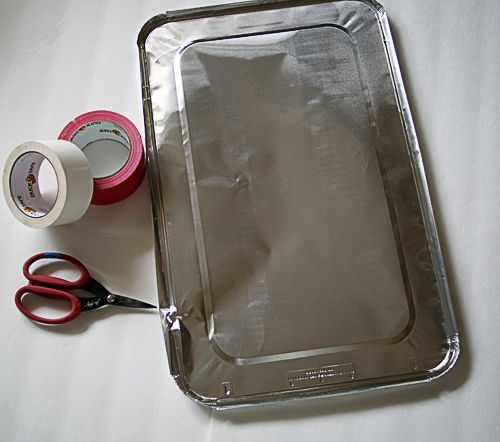
SUPPLIES:

Poinsettia die or template

Foil lid (available at Sam’s Club in 15 packs for $13)

Red and/or white Duct tape

Scissors

Green Acrylic paint and primer or green Duct tape

Hole punch

Brad

Gold or yellow beads for center

Clear, tacky glue

Duct Tape Poinsettia Gift Topper #Christmas #Repurpose #Christmas #DIY @savedbyloves

TUTORIAL:

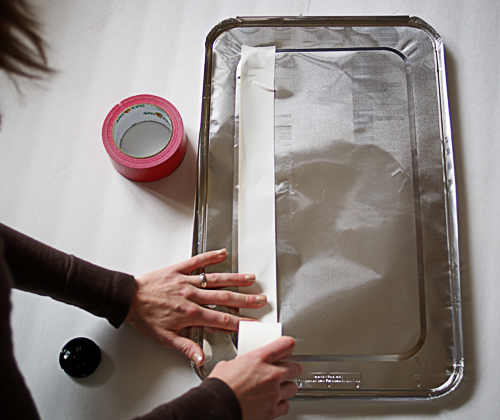
Apply strips of duct tape over the foil lid, making sure to smooth out any air bubbles as you go.  I use the flat inner section of the lid only.

Duct Tape Poinsettia Gift Topper #Christmas #Repurpose #Christmas #DIY @savedbyloves

Continue until entire flat part of lid is covered if you want to make several flowers, or just do 2 strips of duct for a single flower.

Cut out the duct tape covered area with scissors and either die cut or trace template with a pen and cut out petals by hand.  You will need 2 green petals for each flower for the leaves.  For this, primer the lid and paint with green acrylic paint (I used Martha Stewart Glitter paint in green) or just use green duct tape.  I wanted the glitter look, and wasn’t too thrilled with the shade of green duct tape in the store.

The purpose of the foil is so that you can shape your leaves by creasing them down the center and curling the tip under for a greater 3D effect.  This foil holds the shape great, but you still get the color and gloss of the duct tape.

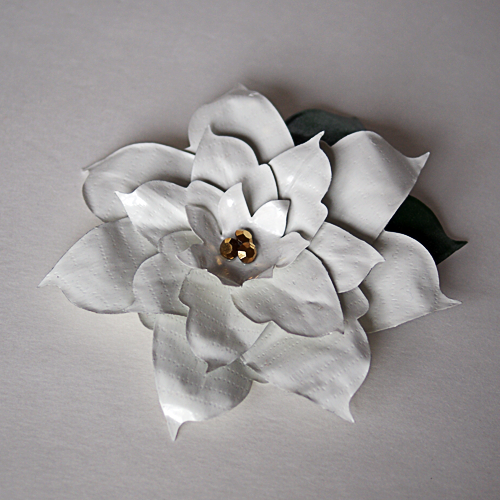
For flower assembly – Refer to the pic below for petal arrangement.  You can use glue like I did in the paper example pictured, but I prefer to punch a hole at the bottom of each petal (stack several petals and punch them at once to save time), and at the center of the central start, then put a brad through all the holes to connect the parts.

That is it.

Duct Tape Poinsettia Gift Topper #Christmas #Repurpose #Christmas #DIY @savedbyloves Duct Tape Poinsettia Gift Topper #Christmas #Repurpose #Christmas #DIY @savedbyloves

Thrifty Thursday Week 80


Welcome to Thrifty Thursday.  If you are visiting for the first time, take a look around at the awesome projects, and share your own.  If you are back, thank you for visiting again.  You are what makes this an inspiring DIY/craft project round-up!

It has been a Mod Podge project frenzy around here lately.  Check out all their new awesome products and what we have been creating with them here.

LINKY STUFF:

How it Works: No giveaways, shop or links to your main blog, please. That way we know when we come to Thrifty Thursday, we will only encounter DIY projects and not end up sifting through a bunch of other links. Entries not related, or to main blog pages/shops/giveaways will be deleted.
Other stuff:
*Please add a text link or my button to your post!
*A few projects from the previous week’s linky will be spotlighted, so let them know they ROCK!
*By submitting your project to Thrifty Thursday, you are giving SBLC/Decor 2 Adore{able} the right to feature the project with a photo, brief description and link back to you for full scoop.
*Please visit the at least the 2 blogs above you and shower them with comment love.
*I will choose 2 participants to feature the following Thursday, Please drop by and love on the features!
*Leave me a comment and let me know you were here. I love hearing from you.
*Have fun and be inspired!
*My friend Nikki knows how to throw a great party too. Be there…
thrifty decorating 019 button 3 Thrifty Thursday Week 78

FEATURES:

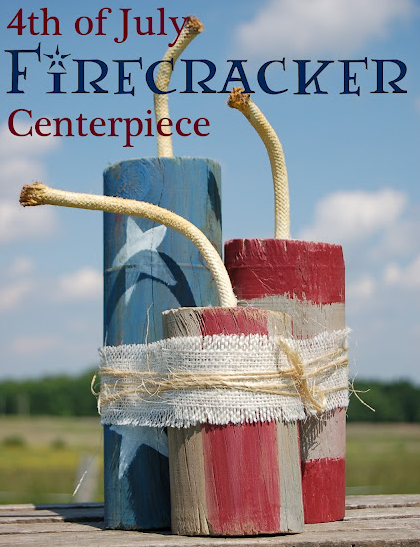
4th of July Fireworks Centerpiece

 How cute is this firecracker centerpiece from Chicken Scratch?

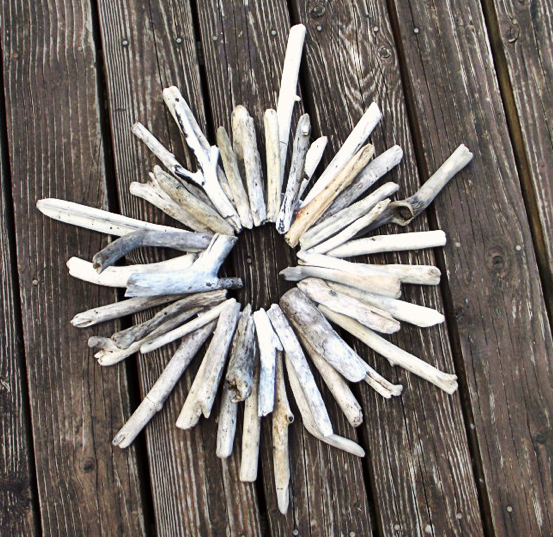
Driftwood wreath

I wish I had seen this cute driftwood wreath by Local Sugar before my beach trip last month.  Feel free to send me driftwood so I can make my own!

Show off time!!


Thrifty Thursday Week 77


Welcome to Thrifty Thursday!!!

If you are new, we are thrilled to have you.  Take a look around at the awesome projects, and share your own.  If you are back, thank you for visiting again.  You are what makes this an inspiring DIY/craft project round-up!

LINKY STUFF:

How it Works: No giveaways, shop or links to your main blog, please. That way we know when we come to Thrifty Thursday, we will only encounter DIY projects and not end up sifting through a bunch of other links. Entries not related, or to main blog pages/shops/giveaways will be deleted.
Other stuff:
*Please add a text link or my button to your post!
*A few projects from the previous week’s linky will be spotlighted, so let them know they ROCK!
*By submitting your project to Thrifty Thursday, you are giving SBLC/Decor 2 Adore{able} the right to feature the project with a photo, brief description and link back to you for full scoop.
*Please visit the at least the 2 blogs above you and shower them with comment love.
*Leave me a comment and let me know you were here. I love hearing from you.
*Have fun and be inspired!
*My friend Nikki knows how to throw a great party too. Be there…
thrifty decorating 019 button 3 Thrifty Thursday Week 76

Features:

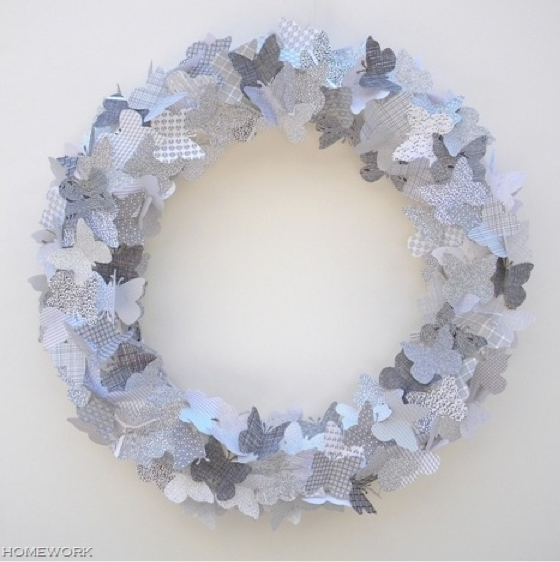
Paper Butterfly Wreath My friend Carolyn at Homework came up with this great security envelope butterfly wreath to bust her abundant paper supply.  My favorite thing about it, besides that it is beautiful, is that she used a pool noodle for the wreath form.  Genius.  Styrofoam forms are expensive.  No more!

Glitter Mason Jar DIY

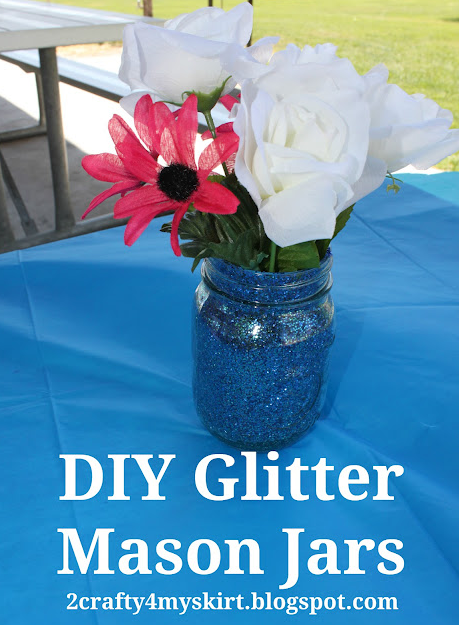
Check out this lovely DIY glitter mason jar tutorial at 2Crafty4MySkirt.

Thrifty Thursday 64

ThriftyThursday

Featured

follow on pinterest button Thrifty Thursday Week 63

LINKY STUFF:

How it Works: No giveaways, shop or links to your main blog, please. That way we know when we come to Thrifty Thursday, we will only encounter DIY projects and not end up sifting through a bunch of other links. Entries not related, or to main blog pages/shops/giveaways will be deleted.
Other stuff:
*Please add a text link or my button to your post!
*2 projects from the previous week’s linky will be spotlighted, so let them know they ROCK!
*Please visit the at least the 2 blogs above you and shower them with comment love.
*Leave me a comment and let me know you were here. I love hearing from you.
*Have fun and be inspired!
*My friend Nikki knows how to throw a great party too. Be there…
thrifty decorating 019 button 3 Thrifty Thursday Week 63

FEATURES:

Spring Wreath DIY

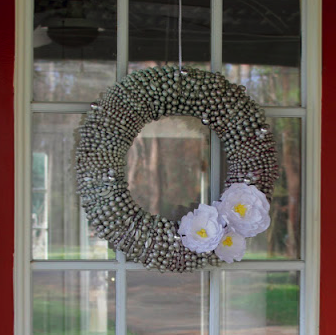
Amy from Aprons & Ambition made this resourceful spring wreath from Mardi Gras beads and paper flowers.  I love

the texture the spray painted beads give, and it is no secret how I feel about paper flowers.

Birdhouse Spring Decor

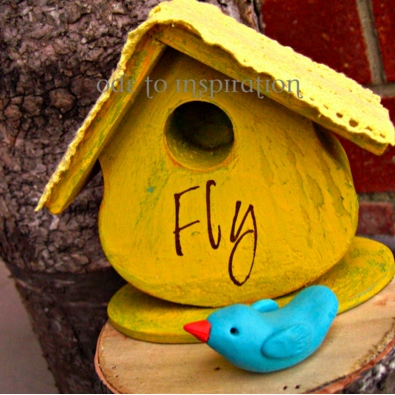
This rustic yellow birdhouse at Ode to Inspiration makes me happy.  Go see the full tutorial and

get your spring decor on.

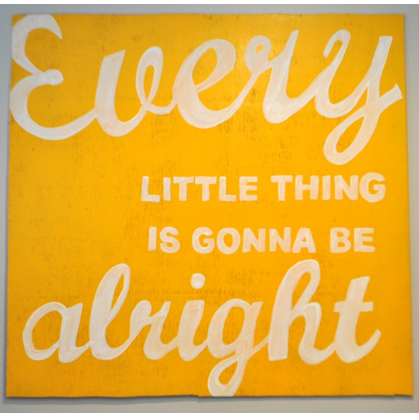
Spring sign DIYHow fun is this bright yellow sign by Natalie at Johnny In A Dress?  She pinned it and made it, and

I love it!

PARTY!!

Yarn Bomb Comes to Town

art with yarnHave you had the chance to see a yarn bomb in person?  I have been fascinated with these urban landscape upgrades since I first ran across a post about them, not only because yarn art is just beautiful, but because of the commitment involved in installing these things.  If you have knitted or crocheted, you know what I am talking about.  While it can be meditative and relaxing, lets face it, it is time consuming.  I admire the selflessness of someone willing to give themselves in this way to beautify their surroundings, fiber style.

How thrilled was I when on my visit to downtown, I parked my car next to this tree cozy on Friday?

yarn bombIt sits in front of a splendid local yarn store, Yarns Unlimited.  I decided to go inside, and see if I could locate those responsible for this particular yarn bomb, and wouldn’t you know it… there they were!

Yarns UnlimitedThe central knitting table was surround by six ladies, needles moving, conversation and laughter flowing.  “Did you do that?”, I asked pointing to the stylish tree.  They explained there were several contributors, each knitting a piece that was unique to their particular style.  One loves chunky yarn, so her contributions were thick and made with huge needles, another crocheted her part, and another used multiple colors.  Together they pieced their portions around the tree, commemorating their individual uniqueness and group unity, while brightening their community.

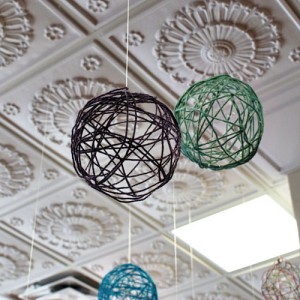
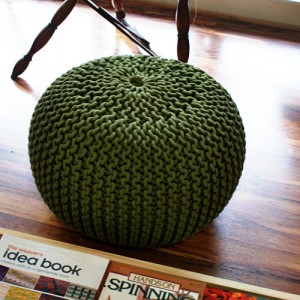
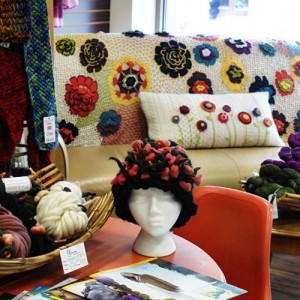
yarn bombBravo ladies!  How I would love to have participated.  I may just have to join their cozy table and hope they plan a 2nd bombing.  If you are local or ever in town, be sure and visit this store.  There are amazing pieces of fiber art, from footstools to wreaths, even wire crocheted pendants and hanging yarn globes… a definite yarn lover’s paradise.  They offer several classes, even some for free, so go on over and treat your creative self.   You know you want to see it in person.

hanging yarn globe

knitted footstool

fiber art

Thrifty Thursday Week 62

ThriftyThursday

Featured


Hope you all enjoyed your Valentine’s Day.  I am sure going to miss the heart themed projects.  Time to move into spring inspired creativity.  I can’t wait to see what you have been up to.  Thanks for stopping by Thrifty Thursday.  If we aren’t connected on Pintrest yet, we should fix that.  You can find me here…

Follow Me on Pinterest

LINKY STUFF:

How it Works: No giveaways, shop or links to your main blog, please. That way we know when we come to Thrifty Thursday, we will only encounter DIY projects and not end up sifting through a bunch of other links. Entries not related, or to main blog pages/shops/giveaways will be deleted.
Other stuff:
*Please add a text link or my button to your post!
*2 projects from the previous week’s linky will be spotlighted, so let them know they ROCK!
*Please visit the at least the 2 blogs above you and shower them with comment love.
*Leave me a comment and let me know you were here. I love hearing from you.
*Have fun and be inspired!
*My friend Nikki knows how to throw a great party too. Be there…
thrifty decorating 019 button 3 Thrifty Thursday Week 61 {Early Edition}

FEATURES:

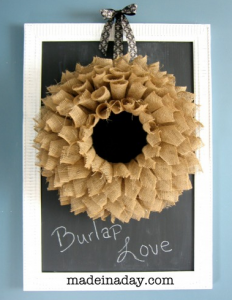
Burlap Wreath DIYKim at Made in a Day crafted this gorgeous wreath from burlap, inspired by the book page wreaths that have become so popular.  I love this version!

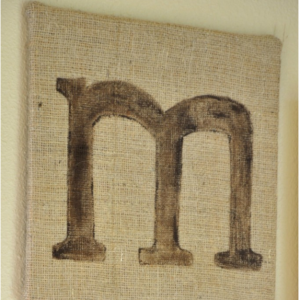
Burlap home decorBulldogs and Bullfrogs shared this lovely burlap wall art.  Check out the full tutorial there!

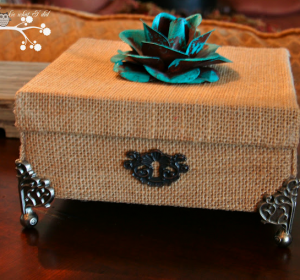
Burlap craftsMissy at Lookie What I did shared this burlap covered box, to keep with this week’s burlap love!  Great tutorial over there.

PARTY!


Thrifty Thursday Week 58

ThriftyThursday

Featured

Thank you for stopping by and partying here at Thrifty Thursday. If it is your first time, welcome. If you are back, you like it here.  YAY!

How it Works: No giveaways, shop or links to your main blog, please. That way we know when we come to Thrifty Thursday, we will only encounter DIY projects and not end up sifting through a bunch of other links. Entries not related, or to main blog pages/shops/giveaways will be deleted.
Other stuff:
*Please add a text link or my button to your post!
*I will choose 2 participants to feature the following Thursday, Please drop by and love on the features! Their links are in the post where their projects are featured.
*Please visit the at least the 2 blogs above you and shower them with comment love.
*Leave me a comment and let me know you were here. I love hearing from you.
*Have fun and be inspired!
*Stop by and say hello to my crafty friend Nikki and link up to her thrifty party too…
thrifty decorating 019 button 3 Thrifty Thursday Week 57

Faves from last week:

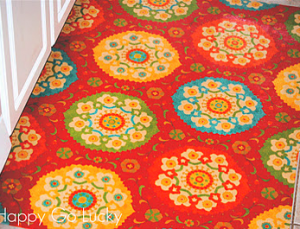
how to make a rugHappy Go Lucky shared this fabric and vinyl DIY rug.  How cool!  I must head to the fabric store soon.

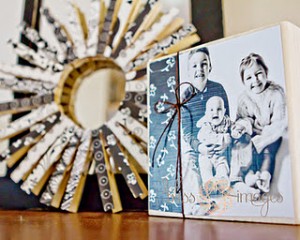
photo blockBliss Images and Beyond shared this photo block and clothespin wreath.  Quick and easy way to personalize and coordinate home accessories.

LET’S GO!

Thrifty Thursday Week 53


I am glad you took time away from Christmas preparation to stop by and  join us for Thrifty Thursday, where creativity is shared, DIY style.  Thank you for being here!

How it Works: No giveaways, shop or links to your main blog, please. That way we know when we come to Thrifty Thursday, we will only encounter DIY projects and not end up sifting through a bunch of other links. Entries not related, or to main blog pages/shops/giveaways will be deleted.
Other stuff:
*Please add a text link or my button to your post!
*I will choose 2 participants to feature the following Thursday, Please drop by and love on the features! Their links are in the post where their projects are featured.
*Please visit the at least the 2 blogs above you and shower them with comment love.
*Leave me a comment and let me know you were here. I love hearing from you.
*Have fun and be inspired!
*Stop by and say hello to my crafty friend Nikki and link up to her thrifty party too…
thrifty decorating 019 button 3 Thrifty Thursday Week 52

Featured Projects:

How to make Christmas Wreath

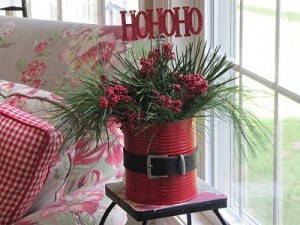
This funky wreath at Sassy Style immediately caught my eye.  Immediate Christmas cheer.

Handmade Christmas Decorations

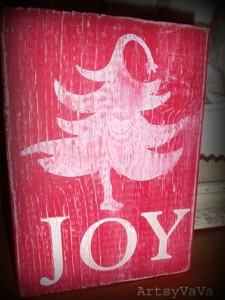
This simple, whimsical tree “Joy” block is a lovely way to bring in the holidays.  Check it out at Artsy Vava!

Lets get this thing going!


20 DIY Christmas Decor Ideas

DIY Christmas decorationsSew Many Ways

Handmade Christmas DecorThrifty Decor Chick

handmade christmas ornamentMy Life in Sketches

handmade Christmas decorWee Folk Art

Fabric Christmas OrnamentsSBLC @ Sew Woodsy

make your own Christmas ornamentsNest of Poisies

quilled snowflake ornamentAlways Springtime Flowers

Origami Christmas OrnamentToday is My Someday

paper Christmas tree52 Mantels

Coffee Filter WreathLove Sweet Love

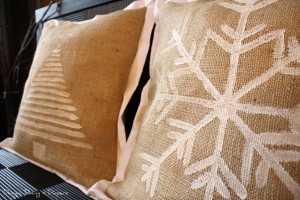
burlap pillow tutorialDesign, Dining and Diapers

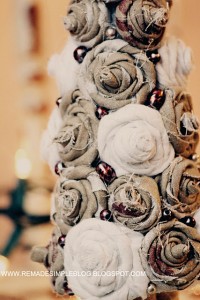
diy rosette christmas treeRemade Simple Blog

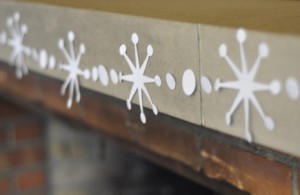
snowflake garland tutorialCurbly

burlap christmas decorationsThe Crafty Nest

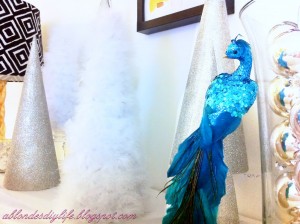
DIY Christmas DecorationsA Blonde’s Life

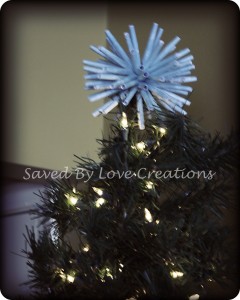
paper star tree topperPrintable Decor

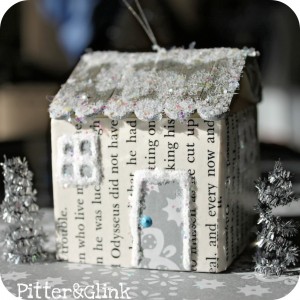
DIY Christmas OrnamentPitter and Glink

Mason Jar Snow GlobeBlissful Whimsy

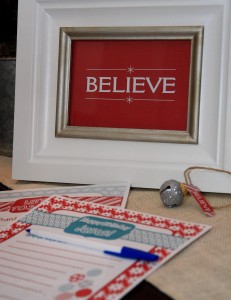
Believe Christmas PrintableA Simply Klassic Home

DIY christmas decorationsMandi Being Crafty

Privacy Policy