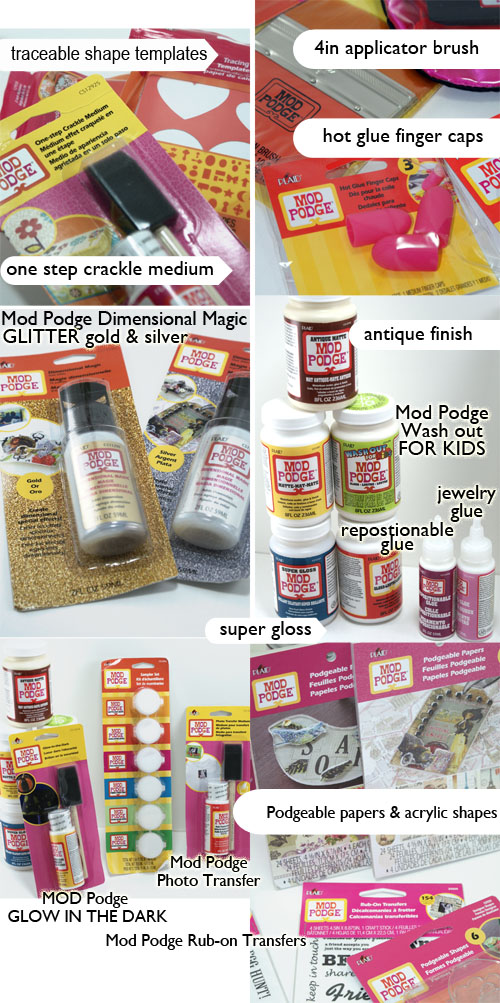
I have been busting at the crafty seams to tell you about this new product line from Mod Podge by Plaid Crafts. It includes Podgeable collage papers, Podgeable Shapes, a bunch of new Mod Podge formulations, finish sprays and tools! I could not believe when I opened the box and saw all of the shiny new supplies:
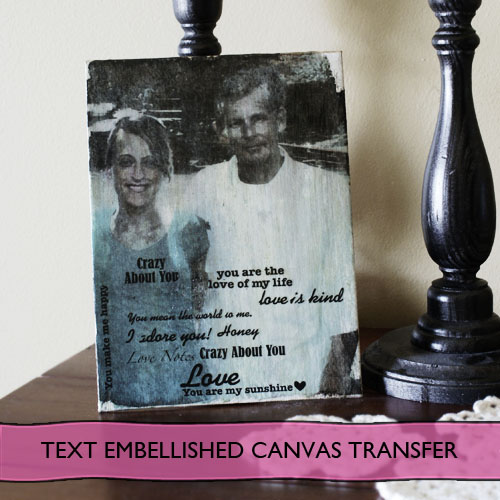
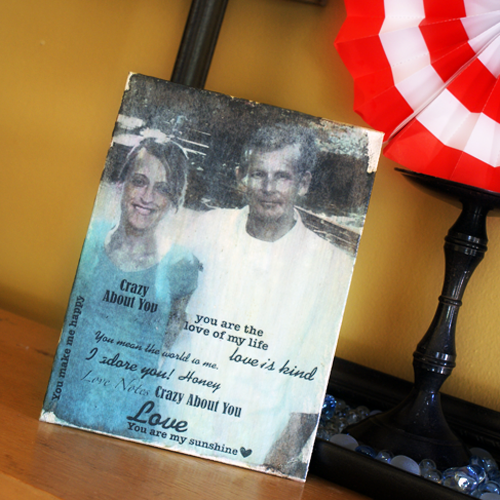
I have used many of the products since getting the package in the mail and will show you a round up at the end of this post. Today’s project uses the same image transfer to canvas I showed you last week, using Mod Podge Glossy for the transfer and Mod Podge Antique for the finish coat, with a couple of tweaks – I used Photoshop to create an Instagram effect on the photo before printing it for the transfer. After the photo transfer, I used Mod Podge Rub-On transfers to embellish the final canvas with text.
You will need:
- Your photo printed on laser jet
- Mod Podge Glossy Finish
- Mod Podge Antique Finish
- Mod Podge Rub on transfers
- Foam brush or other paint brush
- Canvas to fit your print (the print used here is 11×14)
- Bowl of water
- Dry towel
- Mod Podge brayer or squeegee
- Mod Podge Silicone mat, or other non stick work surface
Follow the instructions I showed you previously, using your photo. I used these free Photoshop actions by Daniel Box to edit my photos with Instagram effects in PS before having them laser printed at my local Office Depot.
Instructions:
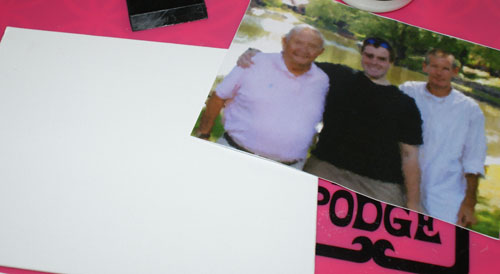
- Cut Photo to fit canvas, and coat canvas and photo with generous layer of glossy Mod Podge.
- Flip image (print side down) over onto canvas, making sure to center it where you want it before placing, and smooth out any air bubbles with Mod Podge brayer, squeegee or with your hand from the center out.
Let that dry for a minimum of 2 hours. I let mine dry overnight.
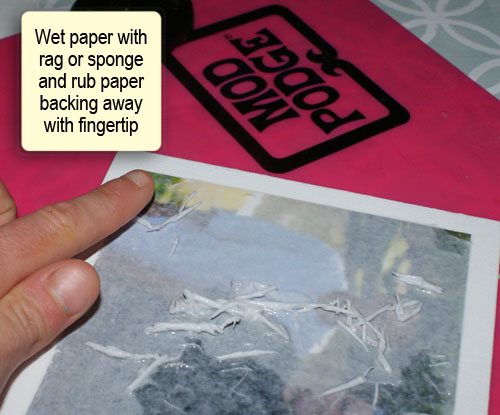
- You will may need to re-wet with a mister or sponge brush and continue rubbing away paper backing until you are satisfied with the image. It doesn’t need to be perfect. You are going for a vintage feel, and you are going to use Mod Podge Antique and rub-ons on top, so a distressed look is ok. Just try not to remove too much of your image when you are rubbing away the back.
- Once you are happy with your image, Coat with Mod Podge Antique, as many coats as you need to get the antiqued effect you desire. Let dry 30 min between each coat. I applied my the text after the first coat of Mod Podge Antique, then coated twice more to lessen the contrast between the rub-on transfers and the image. Apply Mod Podge rub on transfers per package instructions.
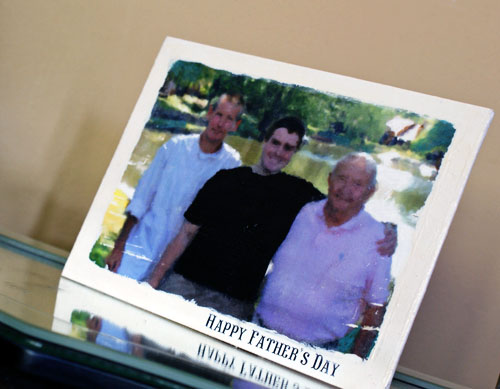
These are fantastic. They come in phrases for family, love, seasons, holiday, and pretty much anything you can think of. I used the love theme for the image of my husband and I. The Father’s Day theme was perfect for the picture of my husband with his father and son. Application was easy with the included craft stick.
- Here you can see the image for the Father’s Day Gift I used is slightly smaller than the canvas, giving a white border in my finished piece. I wanted that look, and I brushed around the edges with white acrylic paint.
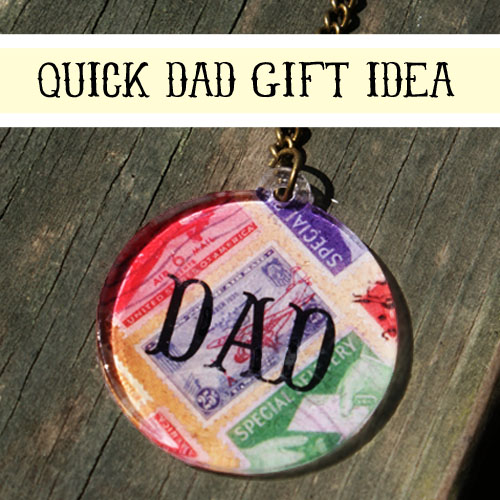
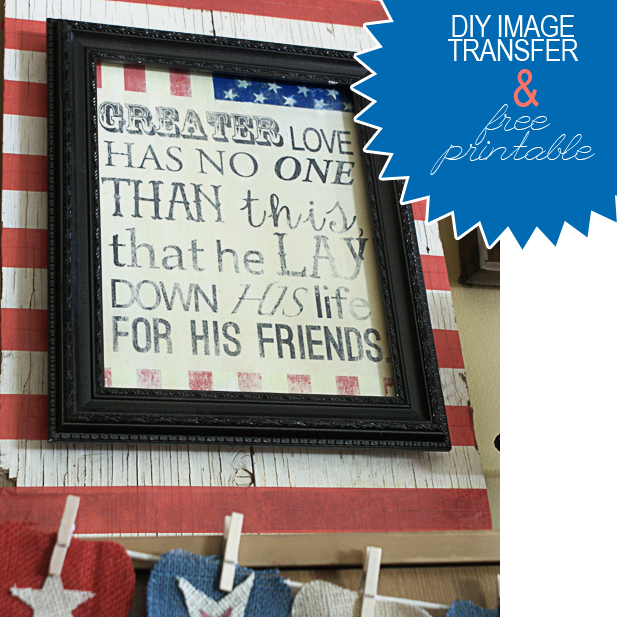
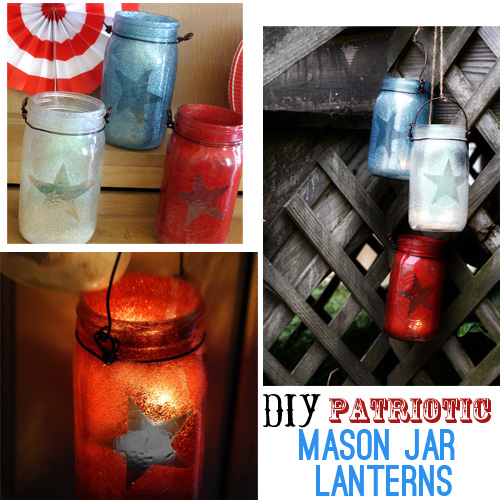
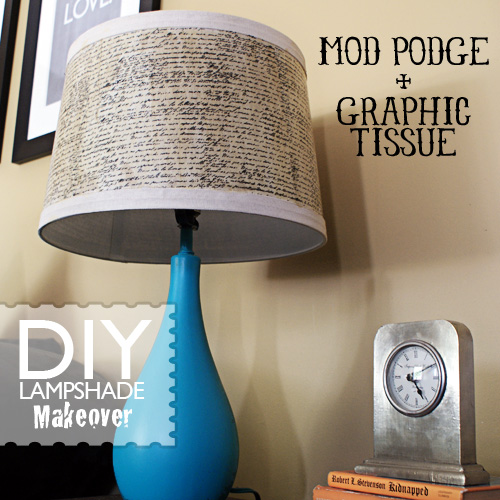
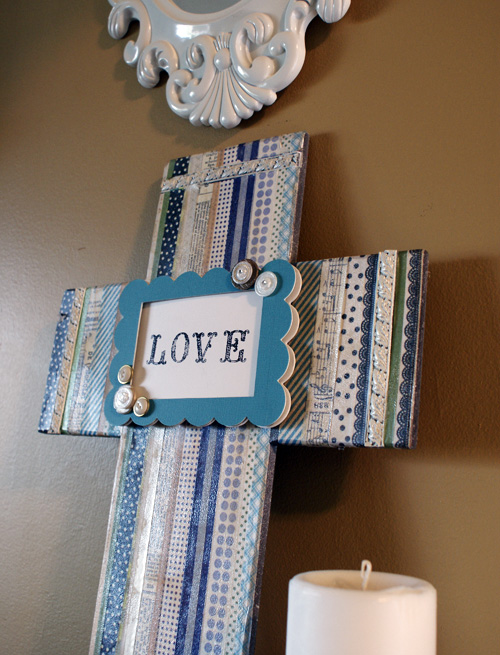
Here are all of the projects I have done with the new Mod Podge line, and which product I used in each (click images to go to full photo tutorials):
PODGEABLE PAPERS AND ACRYLIC SHAPES
MOD PODGE DIMENSIONAL MAGIC
MOD PODGE RUB-ON TRANSFERS
MOD PODGE GLOSS
MOD PODGE GLOSSY
MOD PODGE ANTIQUE
MOD PODGE TRACEABLE SHAPE TEMPLATES
MOD PODGE GLOSSY
MOD PODGE ANTIQUE
MOD PODGE PEARLIZED ACRYLIC SEALER
I am so excited about this line. Everything I have used has been wonderful. It is no secret I love me some scrapbook paper jewelry, and the Podgeable Papers are scaled to fit those clear acrylic Podgeable Shapes perfectly. I have big plans there. My favorite new product is the Mod Podge Antique. I love the effect, and that it is produced by a product that also seals. These products are now available at your Michael’s Craft Stores.
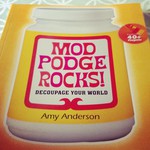
If you want to learn step by step how to use all of these different formulations, and be inspired by over 40 how to photo tutorials, make sure you check out Mod Podge Rocks, the book It is a steal on Amazon. I have it, love it, refer to it often, and reviewed it here.
Join me in keeping up with the exciting products and projects using them by following Plaid Crafts:
Plaid Crafts on Pinterest: http://pinterest.com/plaidcrafts
Plaid on Facebook: http://www.facebook.com/InspiredByPlaid
Plaid on Twitter: http://twitter.com/plaidcrafts/
Disclosure: I received product and payment for this post. All opinions expressed in this post are honest and mine.
Check out these amazing projects using this rockin’ line of Mod Podge products!

