[pinit]
I have a great placeholder DIY tutorial for you today using just a few supplies. These can be created in no time, and are perfect for holiday and party table settings, as well as photo or holiday greeting card display. Change the add-ons to accommodate any occasion! Add a meaningful photo and give as a gift that will be cherished. The base wire holder is super easy to make, and embellishing possibilities are limitless.
Creating the Basic Stand
SUPPLIES:
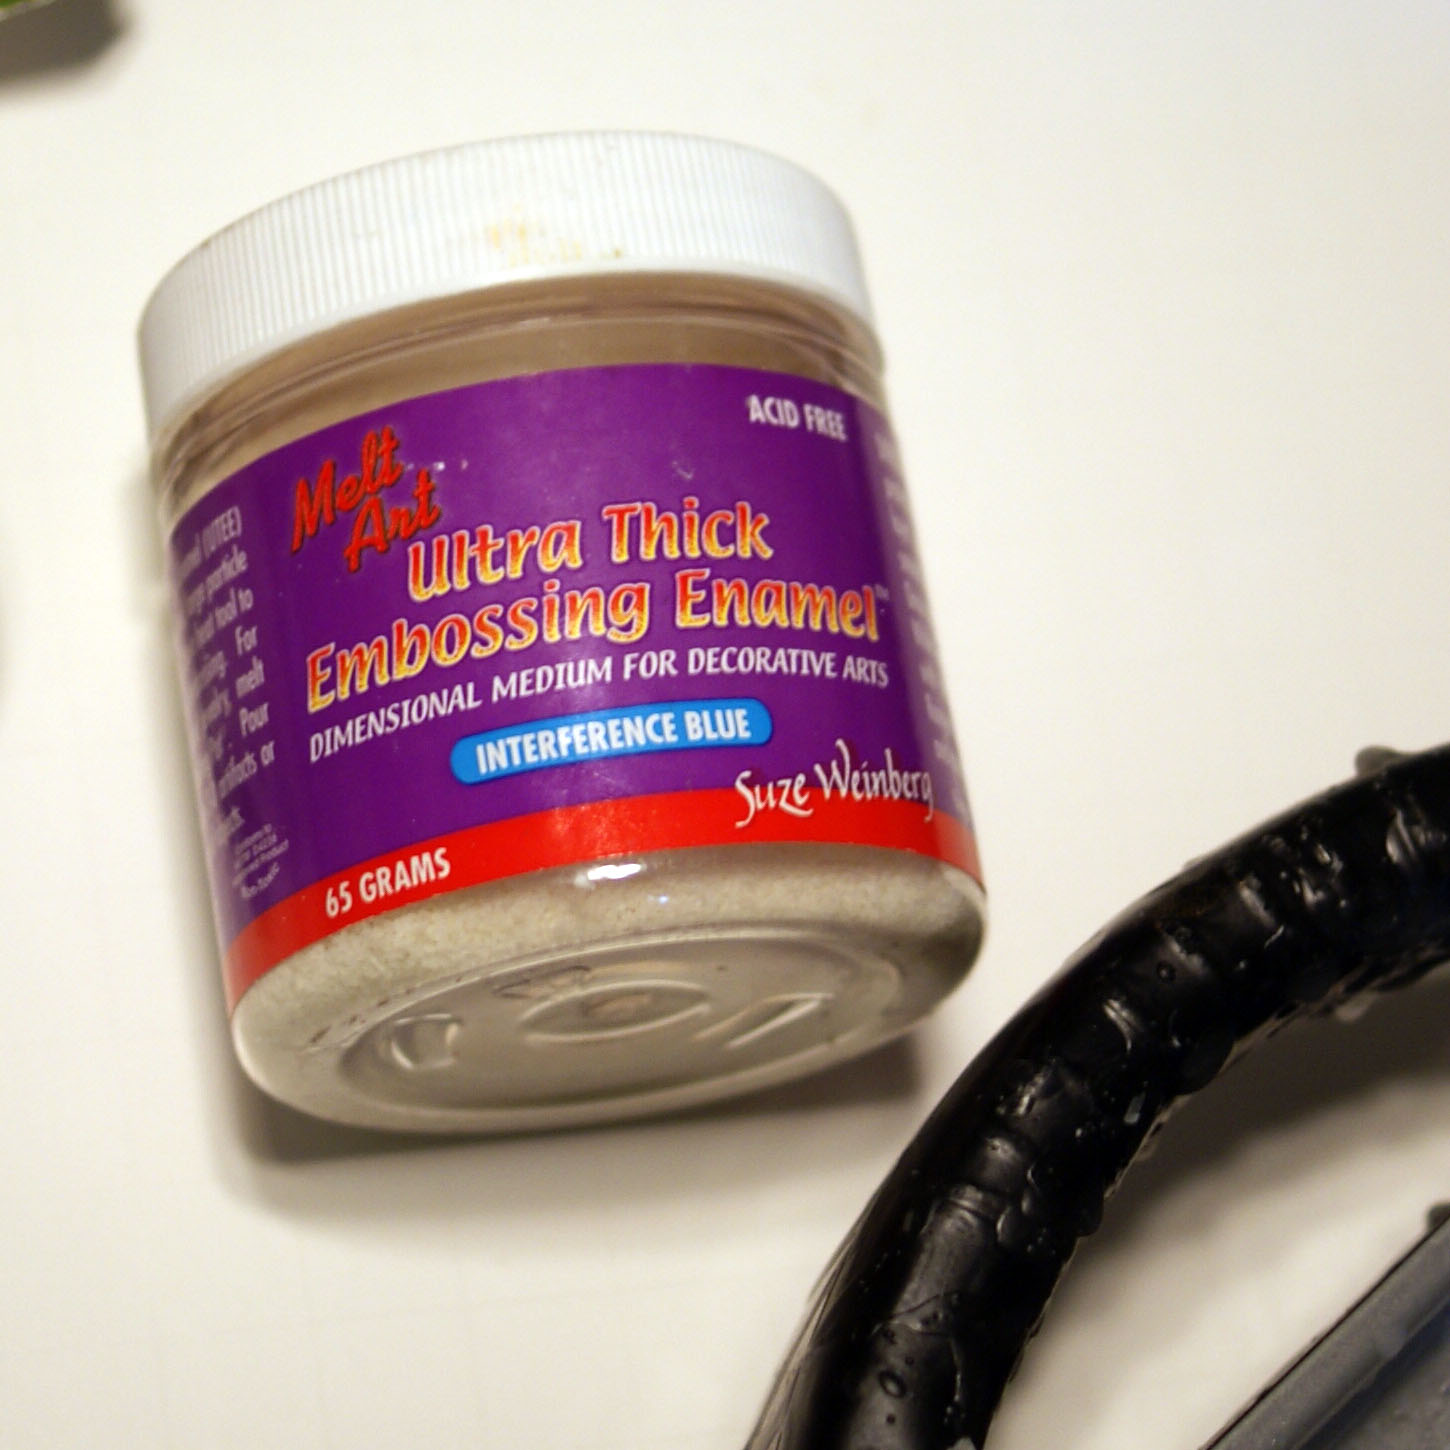
Wax or UTEE (ultra thick embossing enamel)
Ranger melting pot if using UTEE, double broiler if using candle wax (see this how to melt candle wax)
Silicone Cube Tray
18 guage craft wire
Wire cutters
Round mandrel or other object to form circle wire holder
TUTORIAL:
The Wire
Cut 10 inch segments of wire and wrap around mandrel or other round tube at one end. Wrap wire twice to create the double circle that the card or photo slips into.
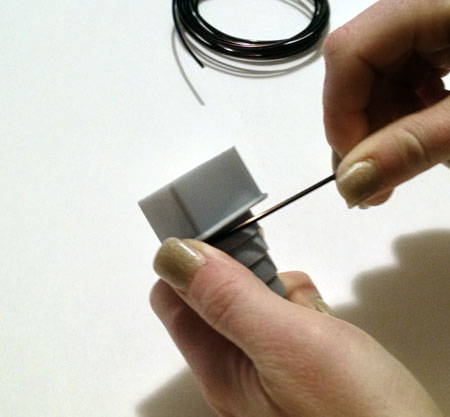
Bend wire at base of circle with your fingers as shown in photo . Now it is ready to be inserted into the cube.
The Base
Melt your candle wax or UTEE per instructions, carefully pour into silicone square cubes and let harden. UTEE sets up pretty quickly (just a couple of minutes), wax takes 15-20 minutes.
For this reason, if using UTEE, pour only 2-3 cubes at a time and insert the wire while base is still in tray. You could also let it harden all the way, then pop it out and drill a hole in the center for you wire. I prefer the in tray option (sorry no photo) since UTEE acts as a strong adhesive and will secure the wire without glue if placed before hardening. Just make sure the wire doesn’t shift. You may have to hold it in place for 1 minute. If drilling, dip tip of wire in adhesive before inserting into drilled hole.
Here are UTEE cubes after hardening…

If using wax insert wire when wax is almost completely set. This will be about 20 minutes. Just insert the wire and make sure the wax is hard enough to hold it up. Let harden fully, then remove your ready to embellish stand.
Thanksgiving Placeholders
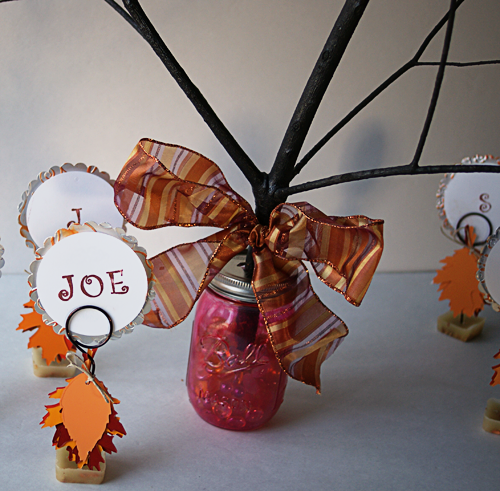
The idea for these stands came to me when thinking of our Thanksgiving table. I wanted everyone to have leaves to write gratitude/blessings on, to add to a “thankful tree” centerpiece I threw together.
To make the tree: I grabbed a mason jar I had painted red, removed the ornaments from my Halloween paper ornament tree and put the tree in a hole I cut in the jar lid, added some stones to hold the tree in place, and topped it off with a fall bow.
Thanksgiving Placeholders; I embellished my stands with leaves I die cut from paint swatches with my Sizzix. I hole punched them at the base and tied them to the wire with leftover hemp cord from a prior project. For the name cards, I stamped cardstock circles with monogram letters and mounted them on scalloped circles.


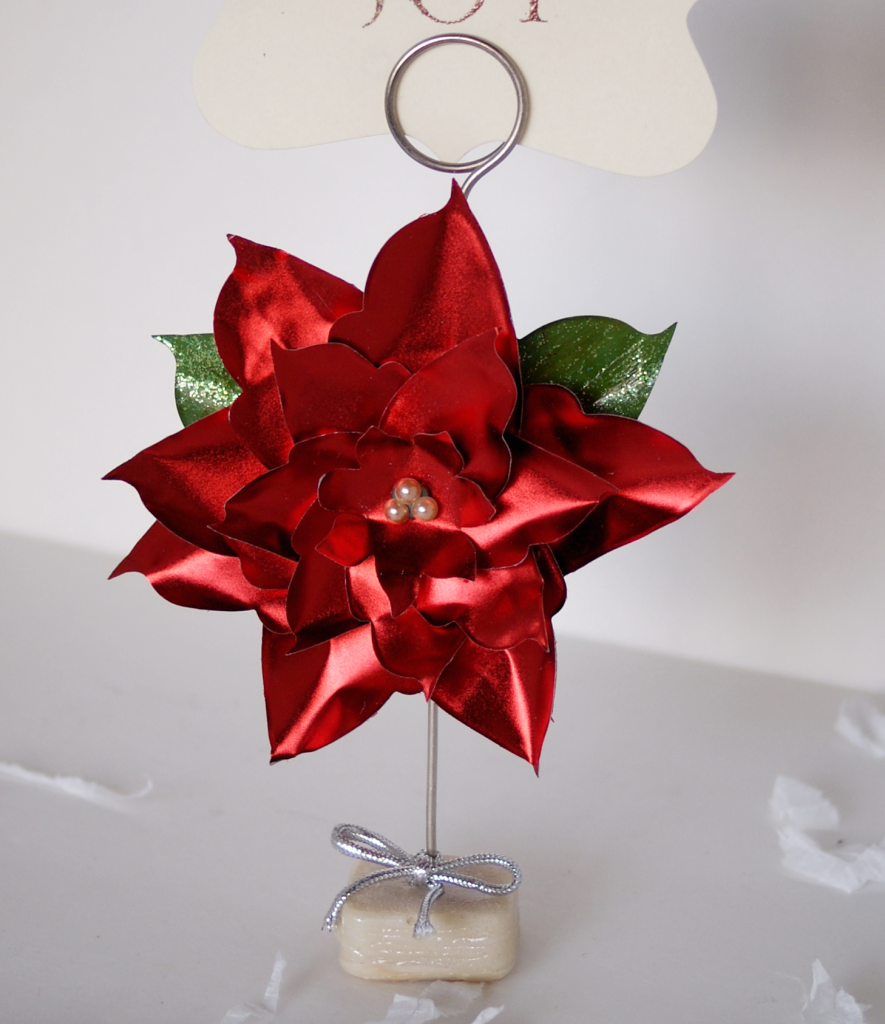
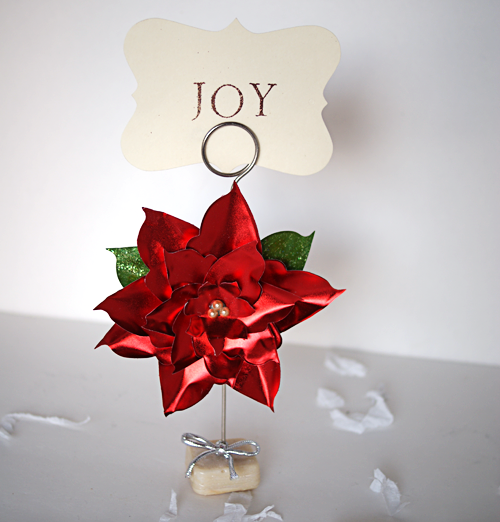
For Christmas placeholders, I attached a foil poinsettia (tutorial here) to the base, and a shiny silver bow. I used the interference blue UTEE to create the cube because it looks like snow.
