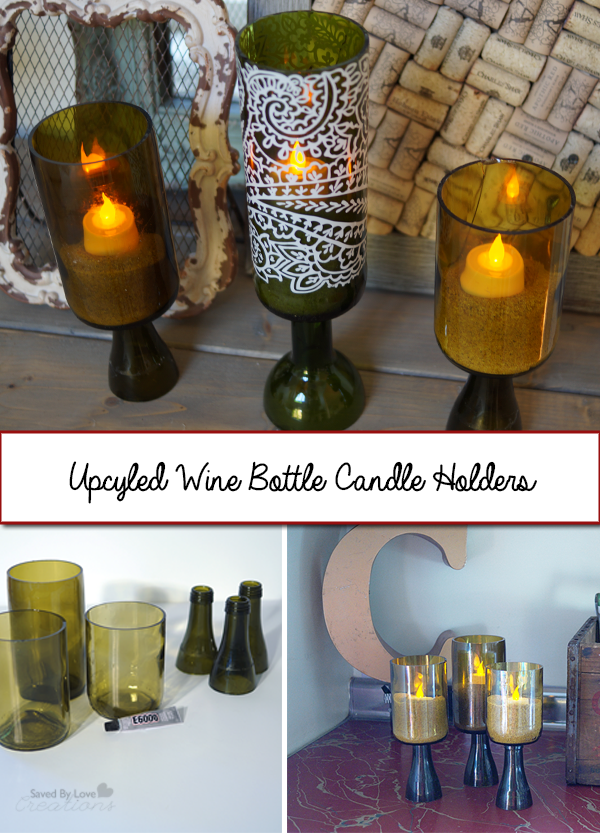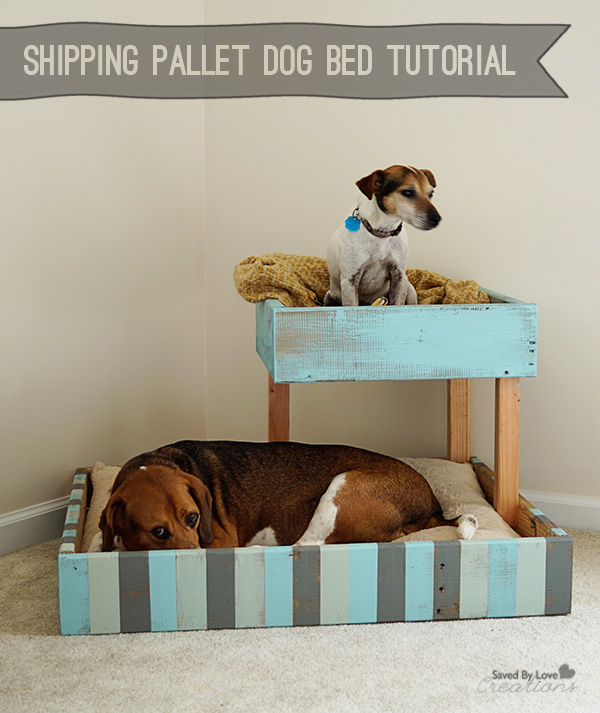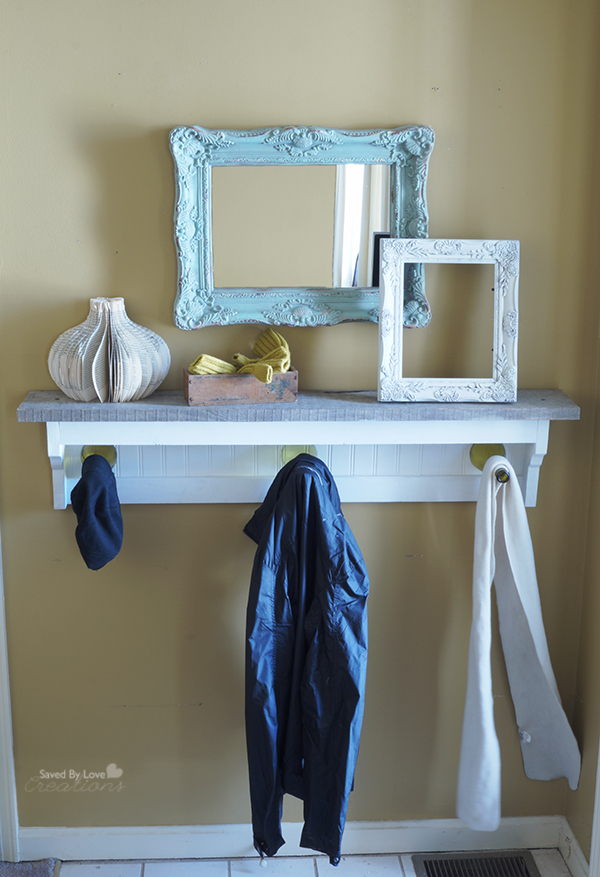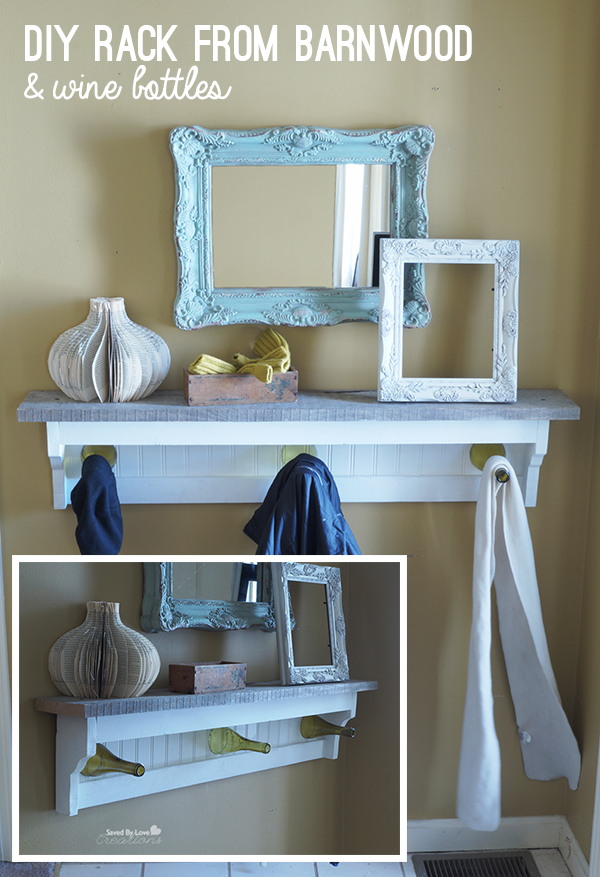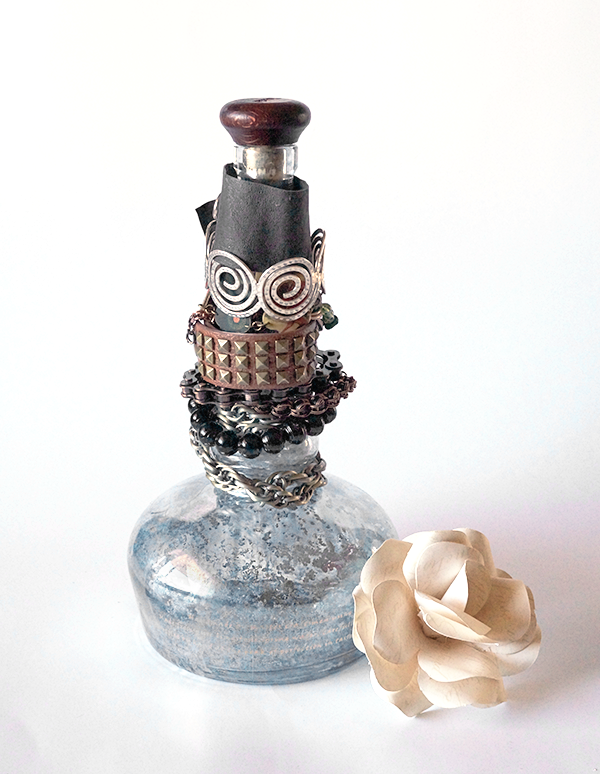
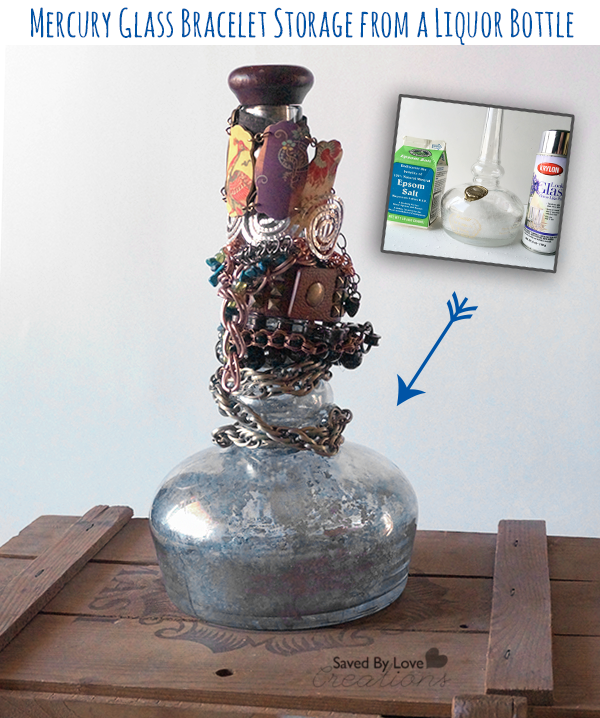
Bottle Bracelet Storage
I am always looking for unique and decorative ways to organize my jewelry. Pretty up a long necked bottle to suit your style and display your bracelets for all to see. It doesn’t get much more straightforward than this project!
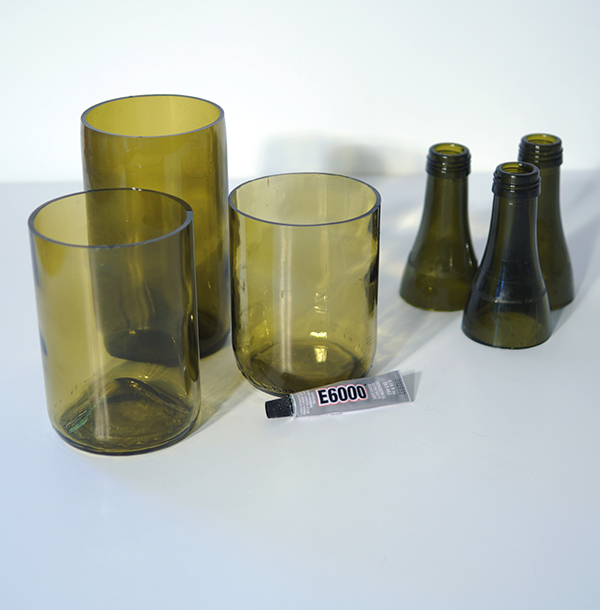
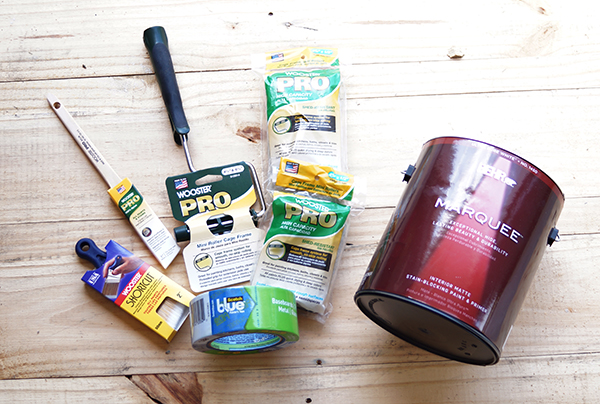
MATERIALS
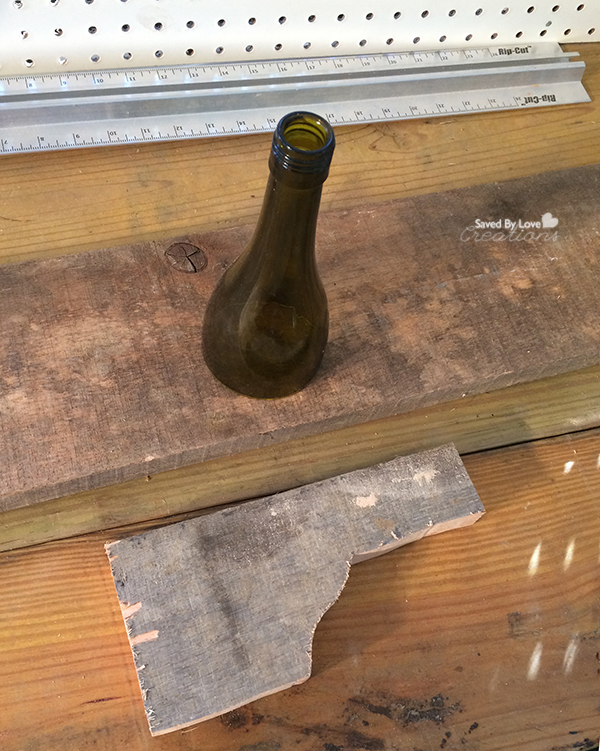
-Long Necked Bottle
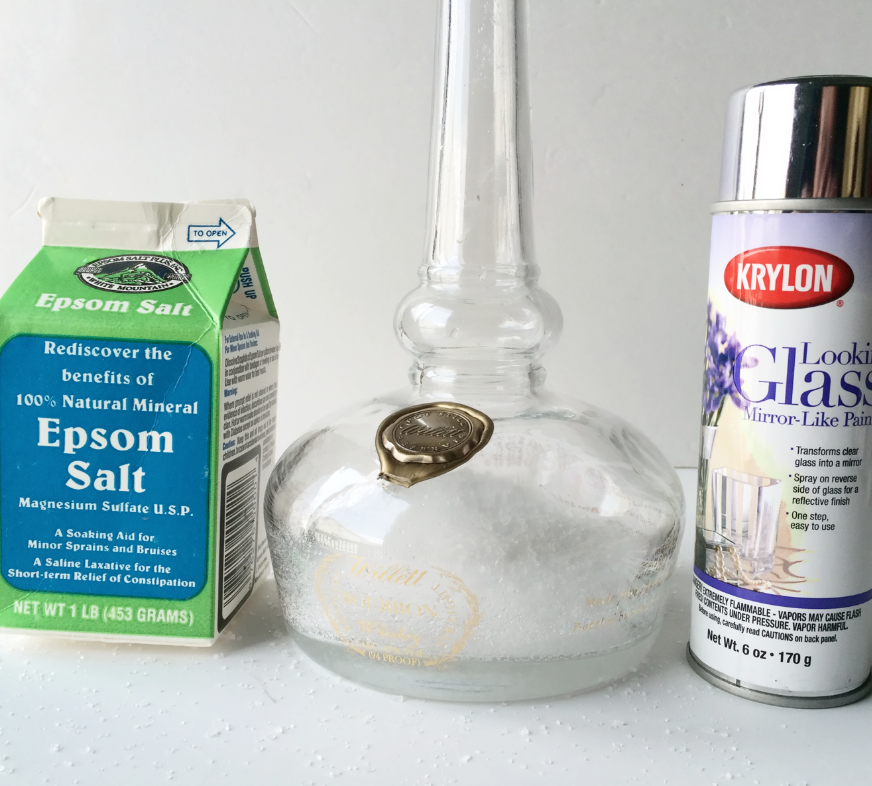
-Glass Bottle of your choice
–Krylon Looking Glass Spray Paint
–Krylon Spray Adhesive Remover
-Epson Salt
-Kraft paper, plastic or other work surface protector
Bracelets galore
DIRECTIONS
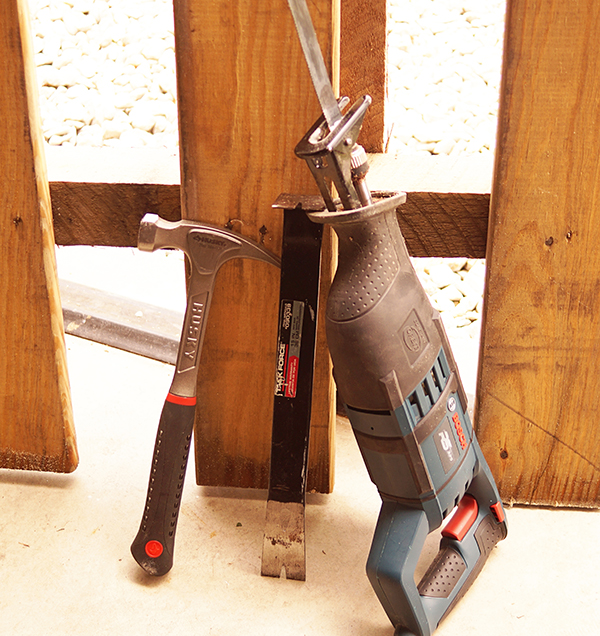
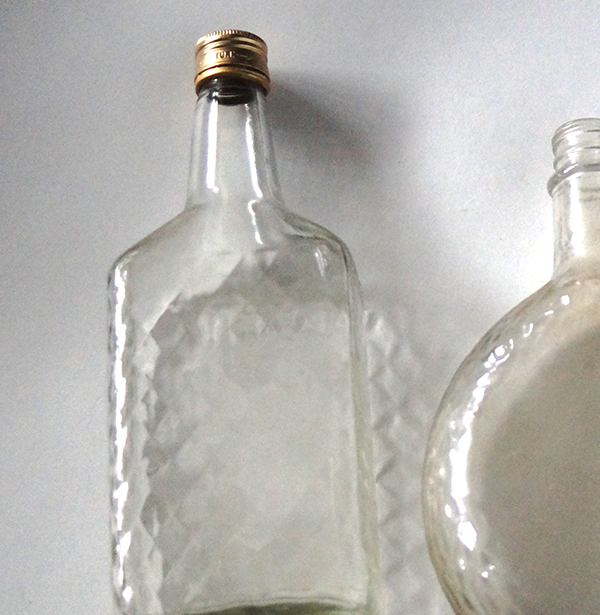
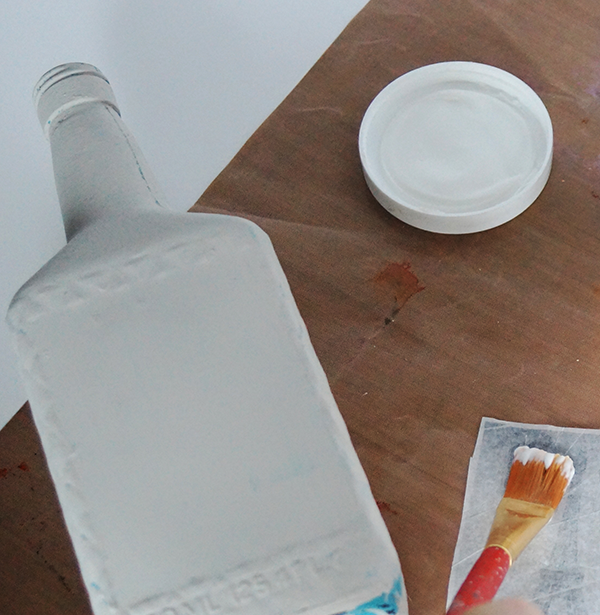
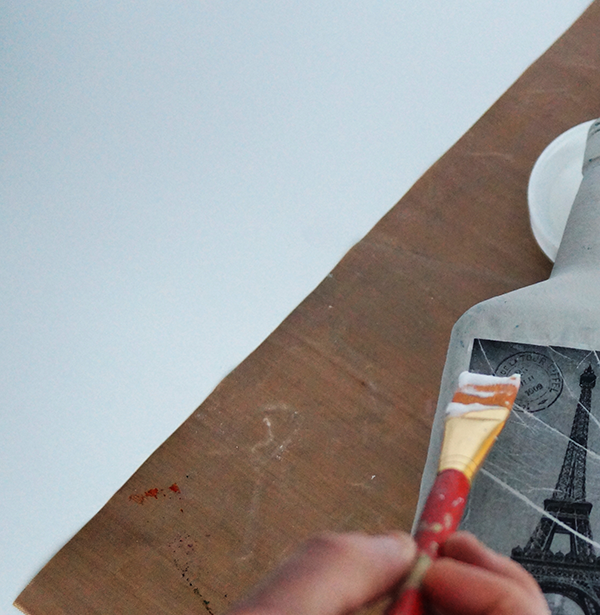
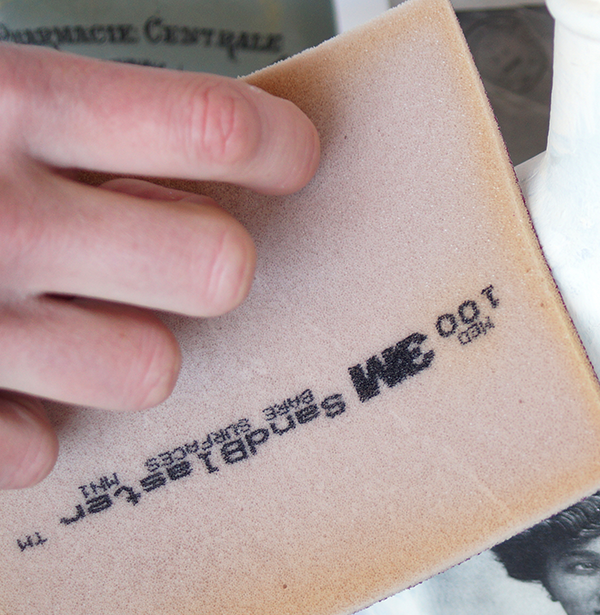
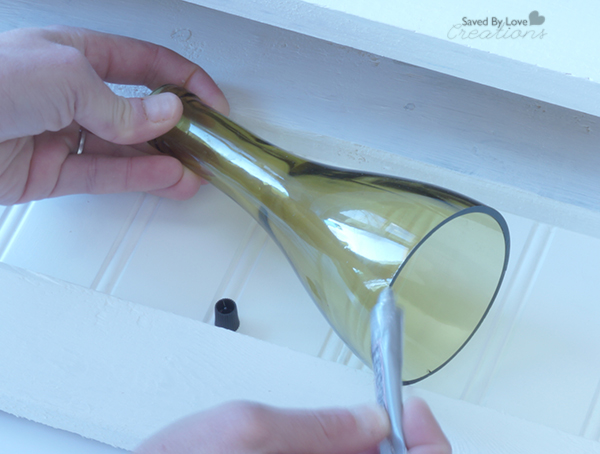
1. Remove any labels from your bottle with adhesive remover. I love Krylon’s Spray Adhesive Remover. Saves loads of time for wine bottle upcyclers like me!
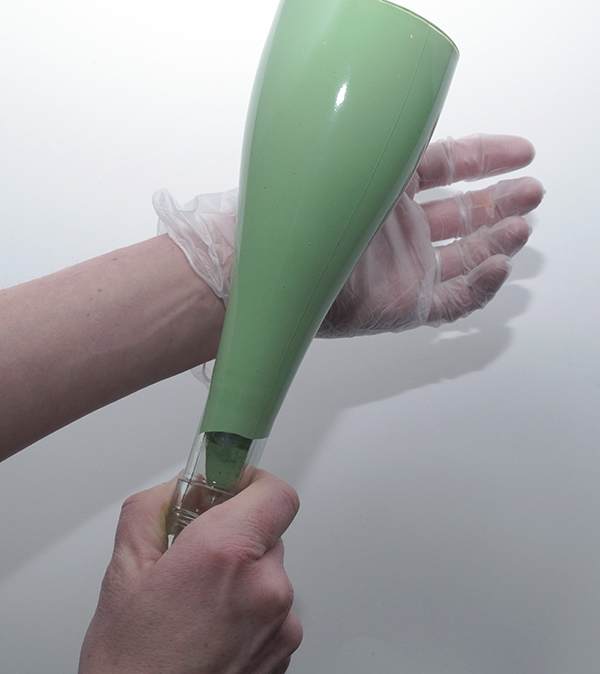
2. Pour Epson salt into bottle so that to about one inch from the bottom. If your bottle is smaller, you can use less. It is not important to be exact here.
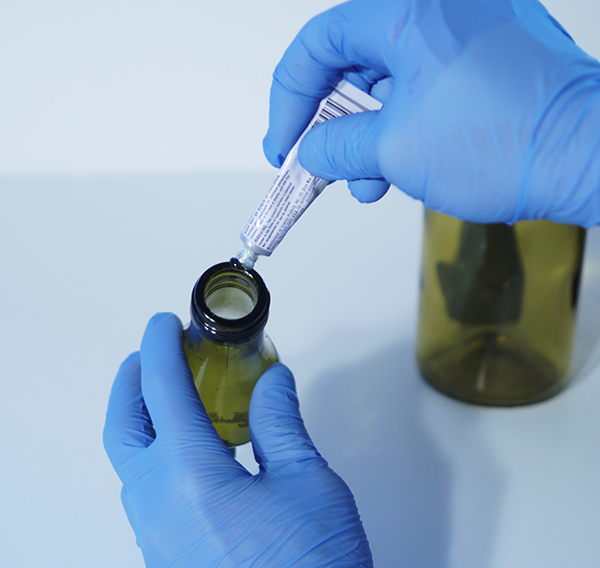
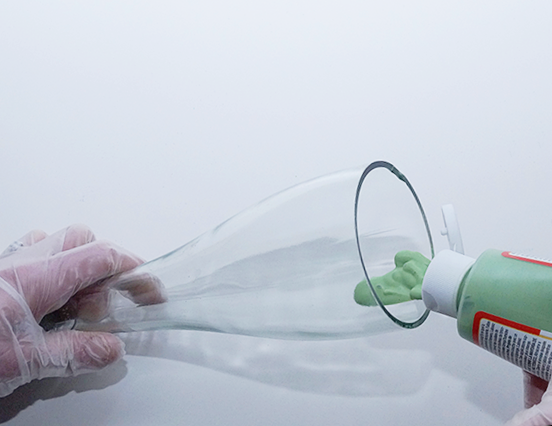
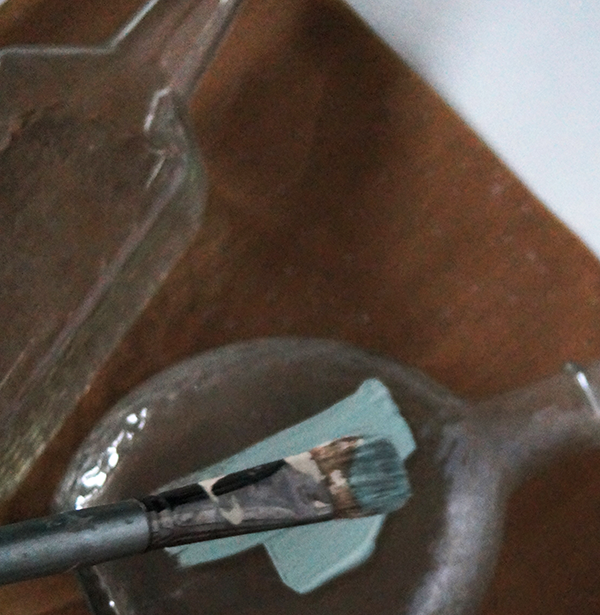
3. In a well ventilated area with protected work surface, spray looking glass paint into mouth of bottle. Make sure to follow instructions on label. You want to shake the can vigourously before using. If your bottle mouth is small in diameter like this genie bottle, you will have paint pooling in one spot and running down the neck. That is fine.
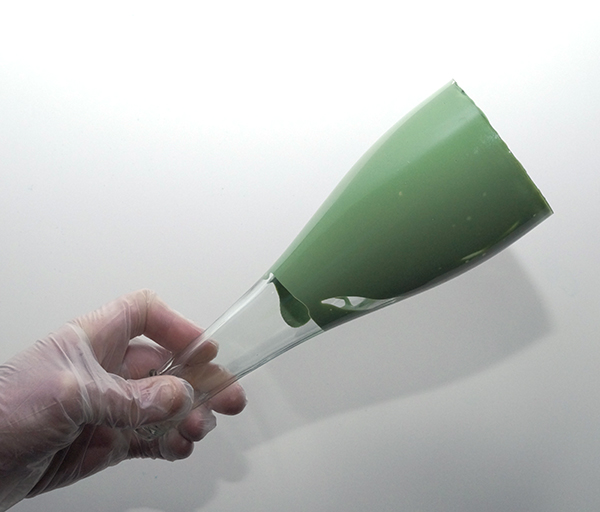
4. Shake the bottle like a snow globe, so that the salt grabs the paint and drags it around. This will create the mercury glass look.
Repeat steps 3 and 4 a few more times, allowing each coat to dry for about 5 minutes before applying the next. Stop when are happy with the look.
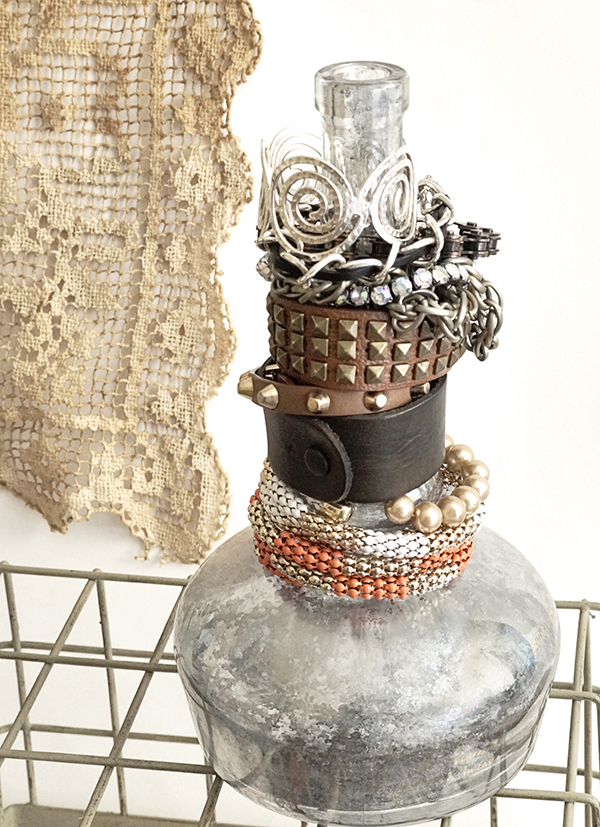
2. Place your bracelets and admire.
EXTRA TIPS
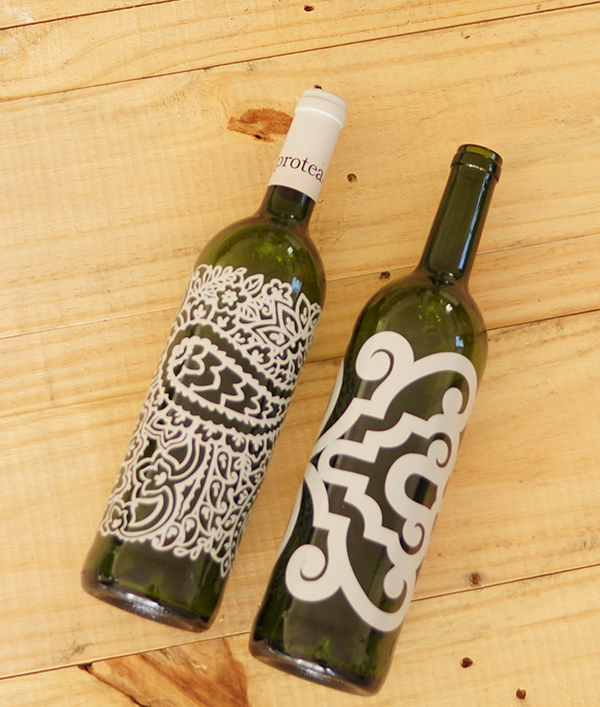
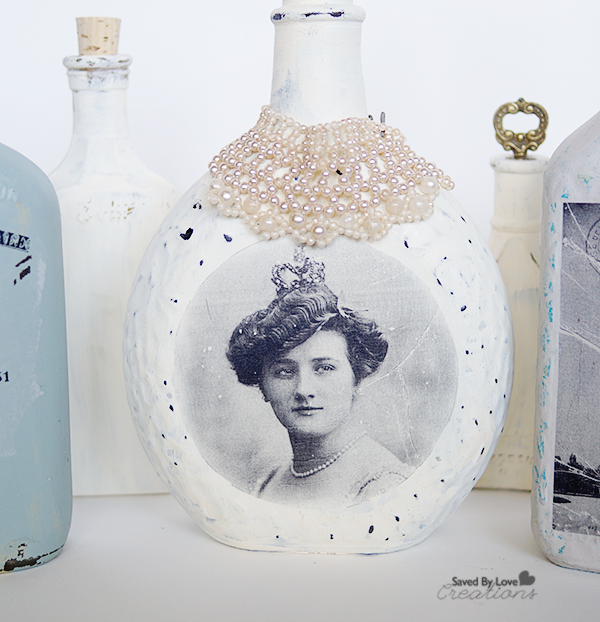
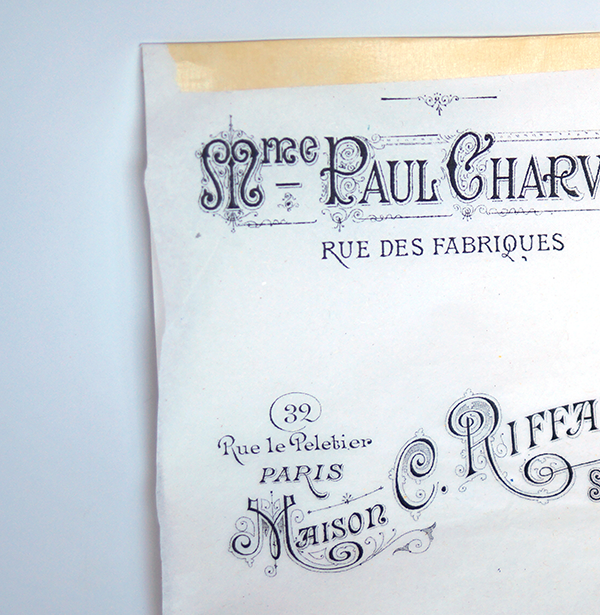
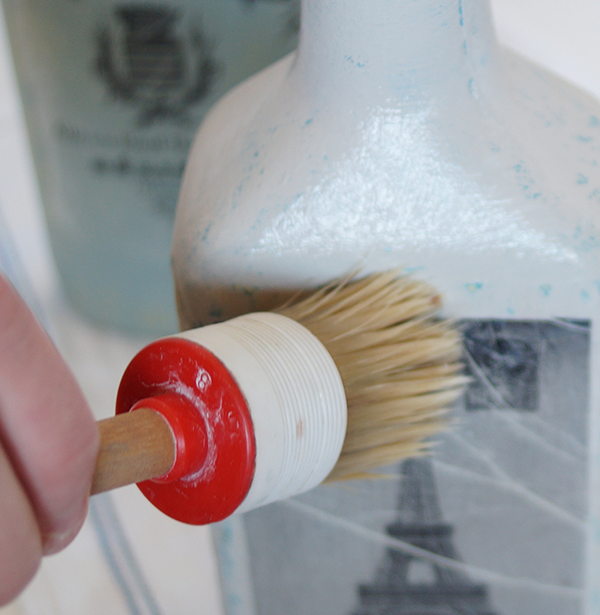
Decoupage the bottle or paint it with glass paint and stencils for a look other than mercury glass. The customization possibilities are infinite!
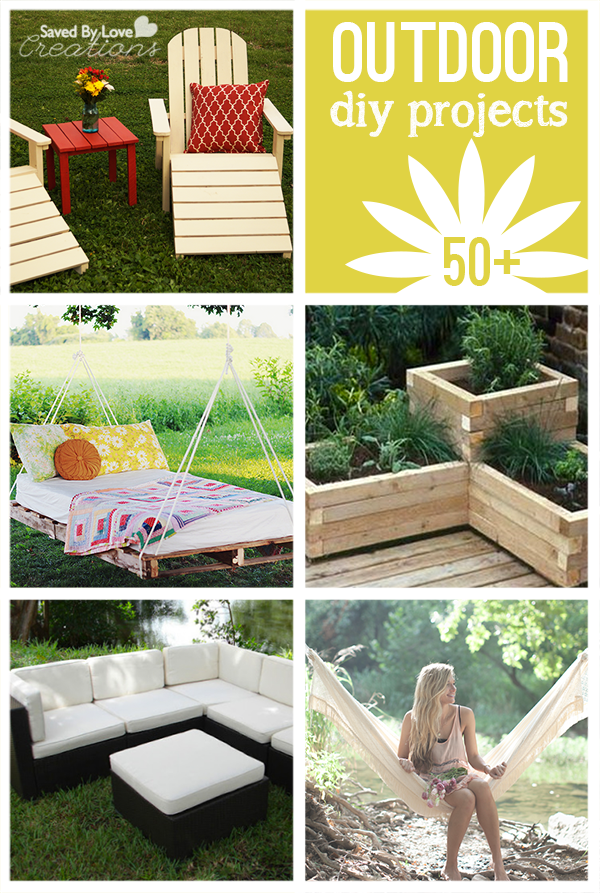
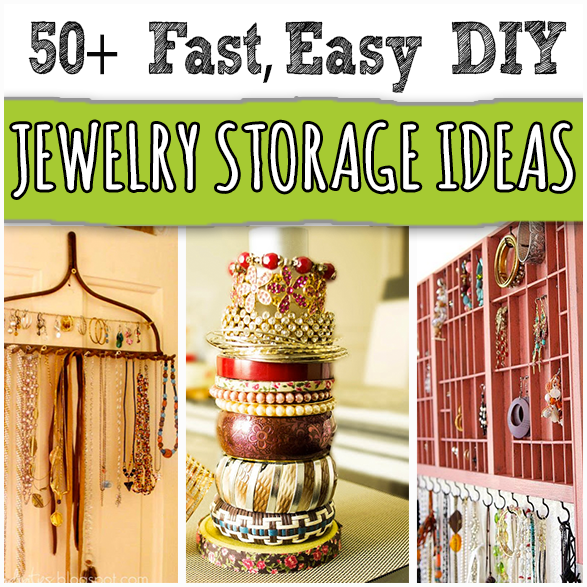
Does DIY Jewelry Storage excite you? Visit our 50+ Clever Jewelry Storage DIY Ideas!
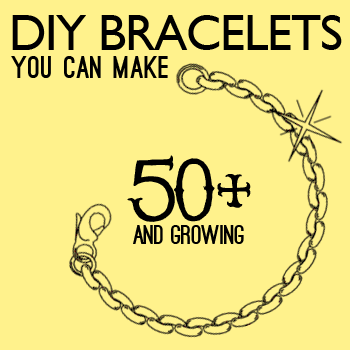
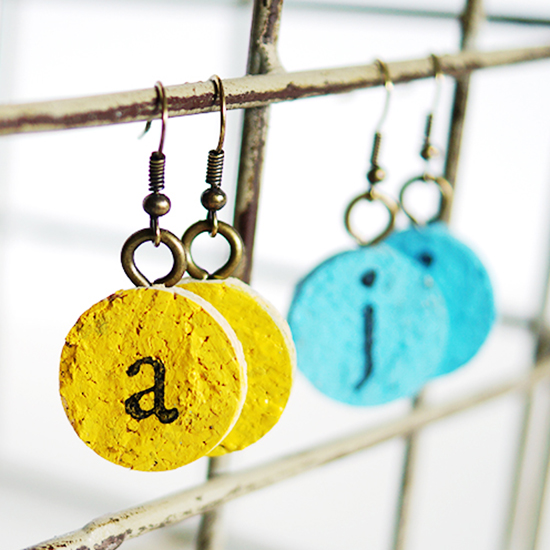
Need some bracelets now that you have a stylish, eco friendly bracelet display? We have you covered with 50+ DIY Bracelets to Make: