[pinit]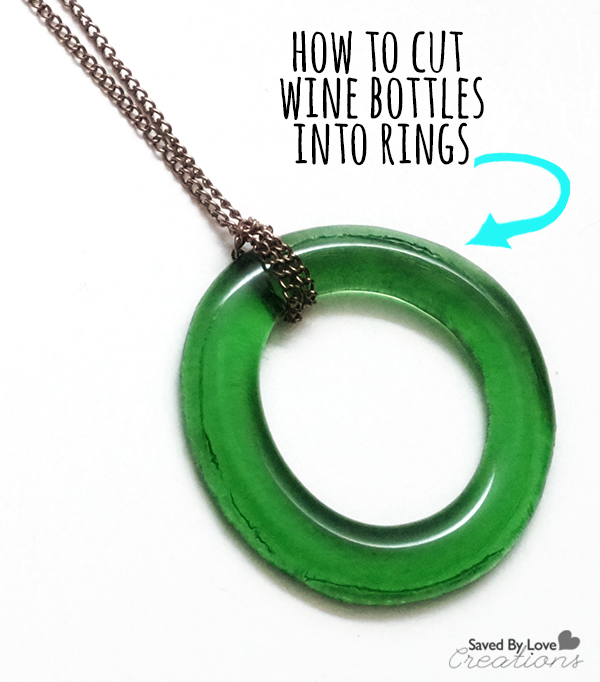 [pinit]
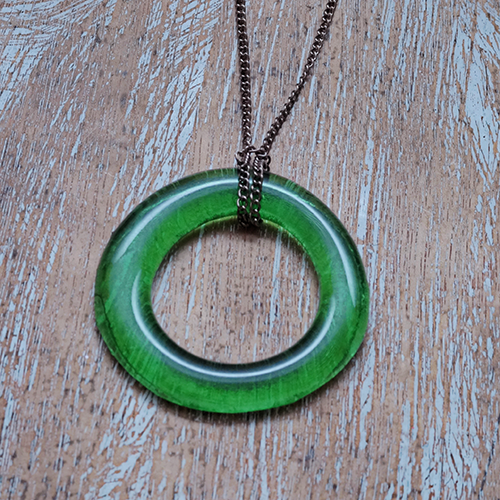
I am cutting the heck out of wine and beer bottles these days as I create recycled bottle art. There are several ways to approach this task. You can score the bottle with one of the many bottle cutting jigs available, or you can go the tile saw route. Today I am going to show you the best wine bottle cutter I have found, and how I separate the glass cleanly after making the score line. You will learn the best way to cut a wine bottle, as well as how I make the rings, then fuse them in my kiln to get the smooth “donut” like the one I made for the pictured necklace.

Creator’s Bottle Cutter
This is the cutter I use. I love it. I have tried several, and this one gives me the best score line with the least hassle.
PROS: It is easy to get an even score line all the way around the bottle since the bottle is supported well and you have both hands free to rotate it. It is great for cutting several rings of the same height from a bottle because you can easily adjust the blade location an even amount using the ruler on the blade guide.
CONS: I wish I could cut the bottle neck with this cutter, but sadly, I can’t. The blade doesn’t reach high enough for that.
This video from Delphi Glass shows you how easy it is to cut with the Creator’s Bottle Cutter. After making the score line, the video shows heat applied to the score line with a candle. I started out that way, but then found a quicker way that produces very clean breaks.
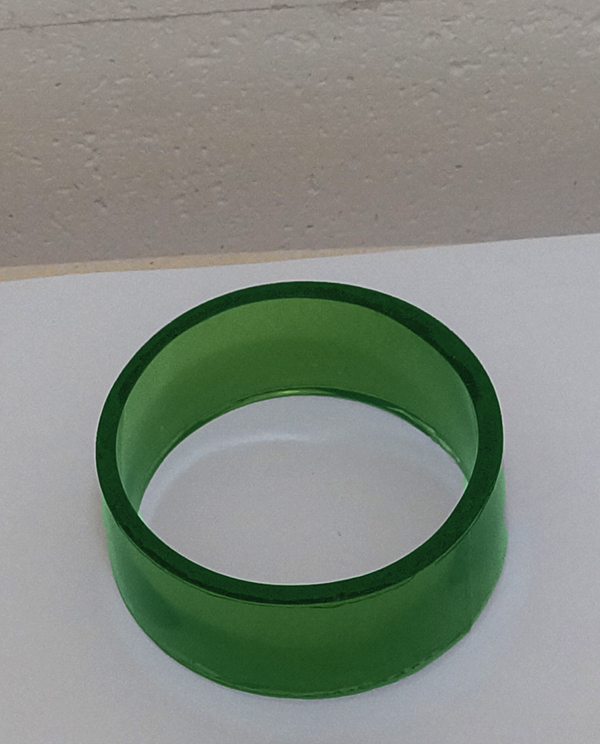
First make all of the score lines for getting several rings from one bottle. I like to make my rings 0.5-0.75 inches tall, so I just move the blade that distance for each line.
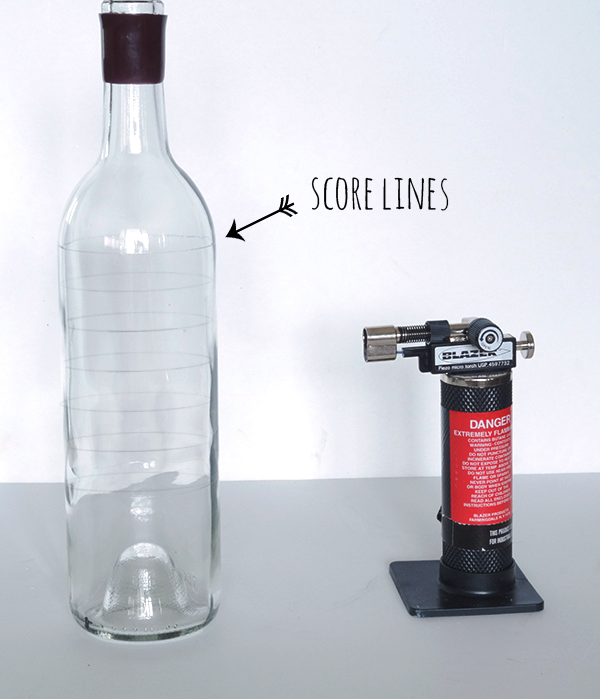
Once the score lines are made, I put the bottle back on the roller and heat the bottom score line. I hold the torch in my right hand and spin the bottle on the rollers with my left hand on the neck of the bottle. It is important to keep the bottle moving because applying the torch in one spot for very long will cause the glass to splinter and shatter.
Sometimes a few rotations with the torch on the score line will be enough to separate the glass. After 30 seconds of heat if the glass is still intact, I submerge in a bucket of cold water and that does it. Now the bottom is off of the bottle and I move on to the next score line. When it breaks, I have my first ring.
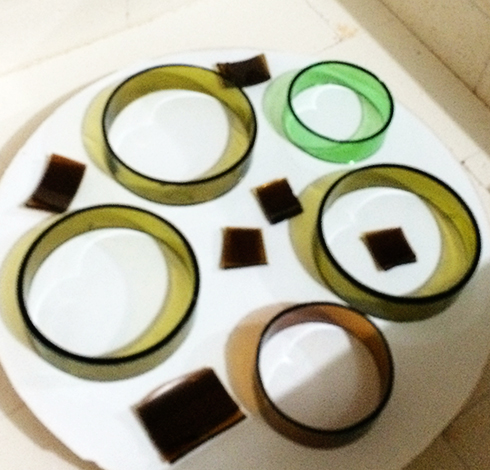
To get the smooth, flat ring shown in the beer bottle necklace, I put my rings in my kiln (I have a Paragon Fusion 14) and run to full fuse. You could do these one at a time in your a microwave kiln. That is how I started!
I showed you my first microwave kiln project here: