[pinit]
[pinit]
If you have ever thought it would be too hard to turn a bottle into a lamp, I am here to change your mind about that. Not just any lamp, mind you, but a sparkly, polka-dot spangled, fabulous lamp thanks to Mod Podge Rocks adhesive stencils from Amy Anderson and Plaid Crafts! Read on to see how you can make your very own in less than an hour. It is true.
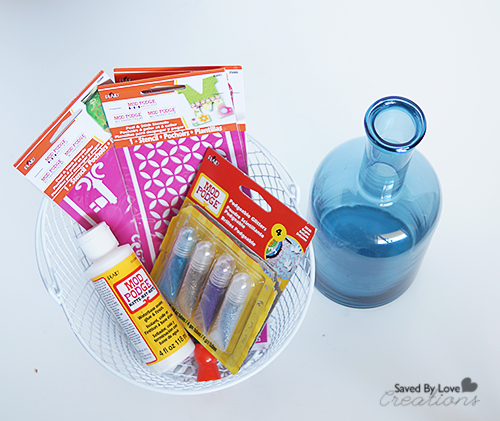
SUPPLIES:
Glass Bottle
Mod Podge Rocks Adhesive Stencils (Polka Dot Pattern)
Mod Podge Gloss Finish
Foam Spouncer
Podgeable Glitters
GE Bottle Lamp Kit
Lamp Shade
Light Bulb
Drill and 1/2 inch Diamond Hole Drill Bit
Lint free towel and rubbing alcohol
Dust mask
Protective Gloves
Protective Eyewear
Container of water with a a soaked towel or rag
TUTORIAL:
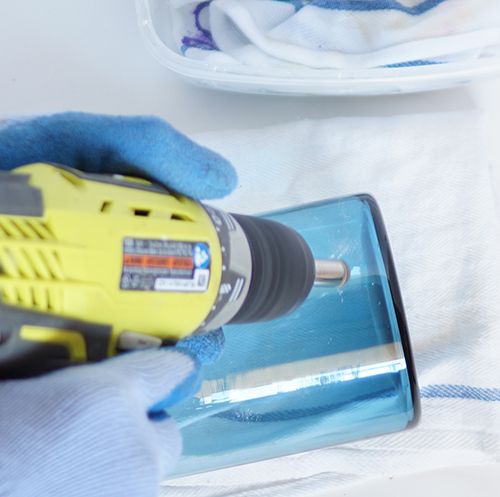
Wearing gloves, mask and protective eyewear, drill a hole in the bottle where you want the cord to exit your finished lamp (in the back near the bottom). You will be using a 1/2 inch hole saw diamond bit.
Come in at an angle to start the notch in the glass, then you will be able to come in at a 90 degree angle to continue drilling.
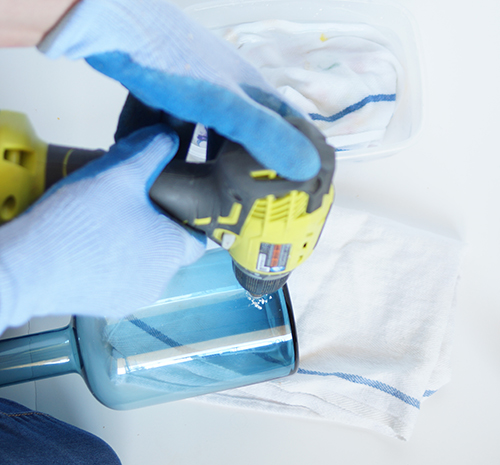
Here I am drilling at 90°. You can see the dust from the glass being drilled. About every 2o seconds of drilling, take the rag from the water and drip it onto the drilled area and the drill bit to cool things down and get rid of the glass dust.
* Some people do the entire thing in water, but I have found that to be inconvenient to pull off with just one person.
*Don’t press on the drill. Let the drill bit do the work or you risk breaking the glass. Don’t forget to cool things off with water. Again, the glass will break if things get to hot.
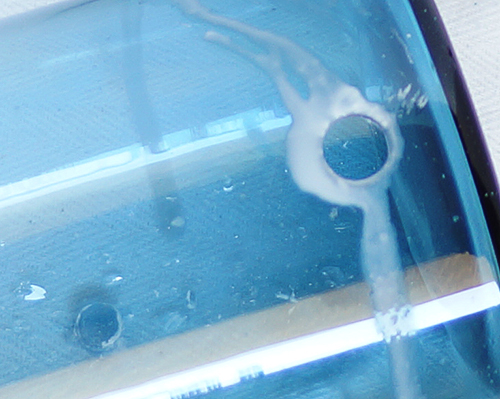
Here you can see the hole is complete, and the glass circle cut out is now inside the bottle (on the left). Clean away the debris.
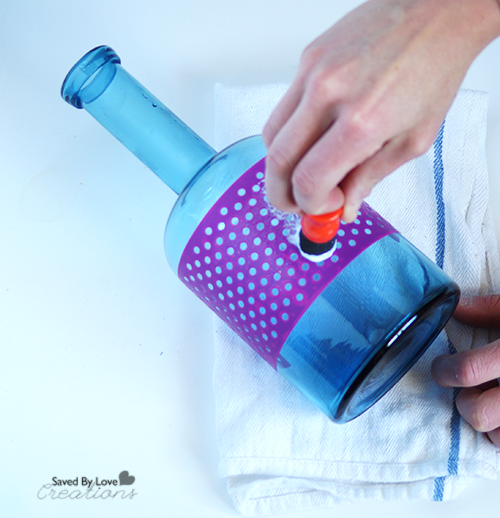
Clean the glass well with rubbing alcohol and a lint free towel before stenciling. Once it is dry, place stencil and apply Mod Podge Gloss generously with a foam spouncer.
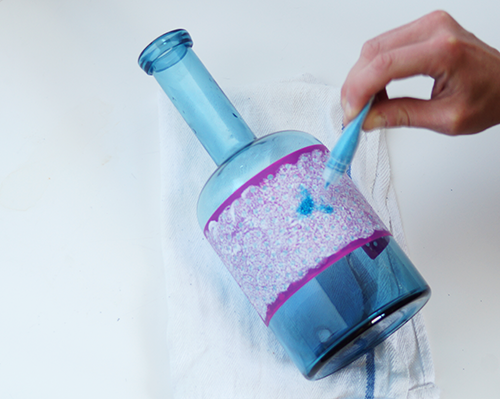
Apply Podgeable Glitter immediately after applying Mod Podge. Remove stencil and let dry!
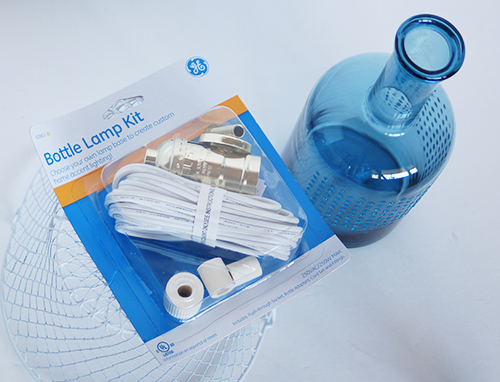
I picked up this kit at Walmart for I think $6.
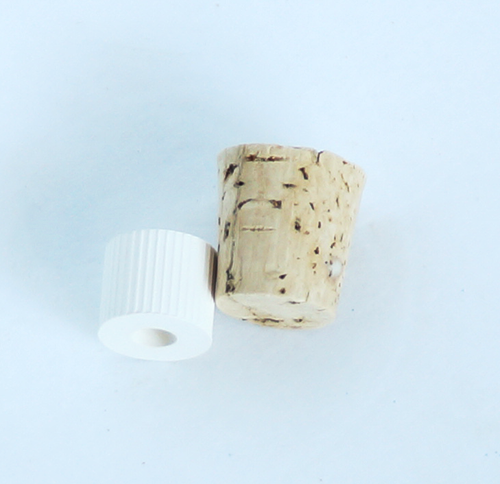
It comes with 3 different sized adapters for various bottle opening sizes. It turned out that all of them were to small for my bottle, so I dug through my stash and found a big cork that fit perfectly.
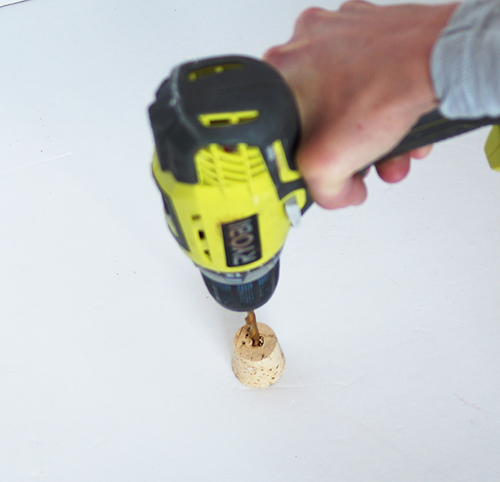
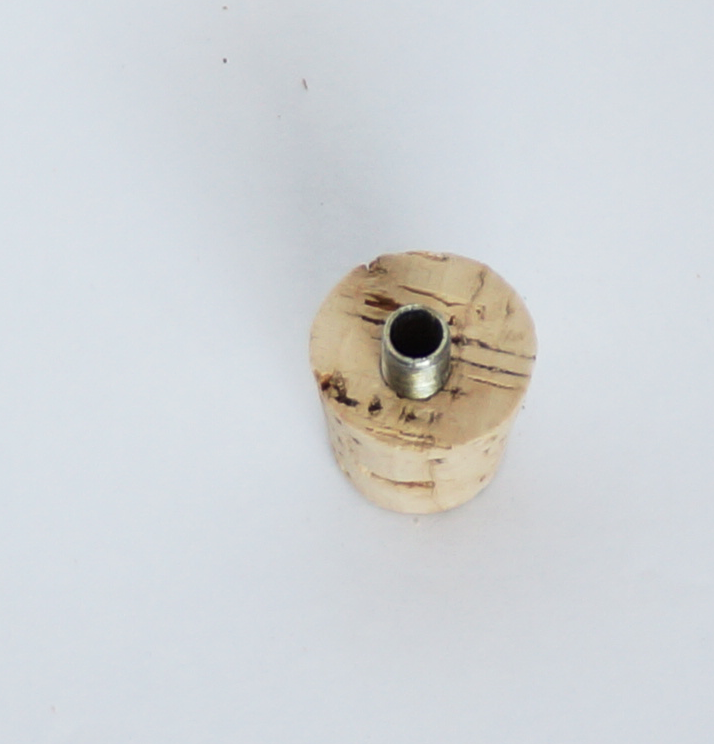
I found a drill bit just smaller than the threaded rod I needed to insert in the cork and drilled a hole for the rod.
I inserted the rod and assembled the lamp according to the instructions, running the wire through the hole drilled in the back of the bottle.
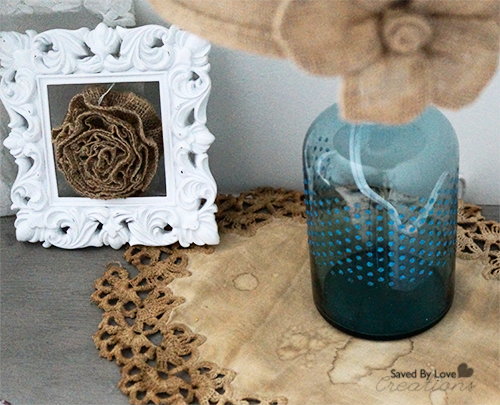
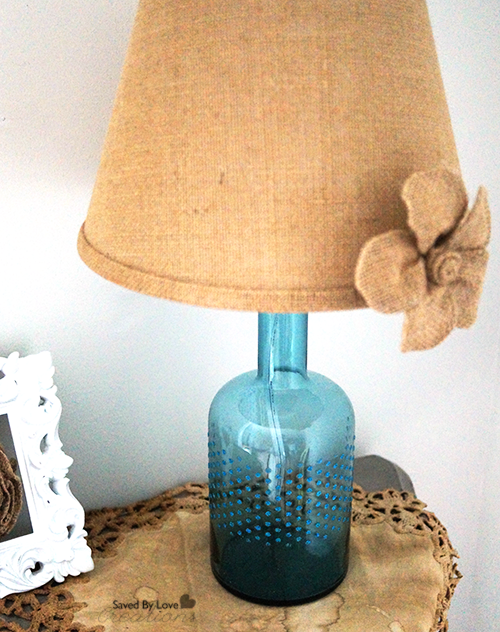
I found a burlap lampshade at Walmart as well. For this kit, you need one attaches at the base of the bulb (the lamp kit doesn’t come with a harp attachment). Mine was $8. I added a burlap flower to finish, and I am in love with my new lamp.
These stencils are so easy to use! They give great lines and come in 6 hip designs. Head to Michael’s to grab your own, or visit Plaid Online.
Here are more awesome projects using Mod Podge Rock Stencils. Enjoy!!


