Search Results for: mason jar

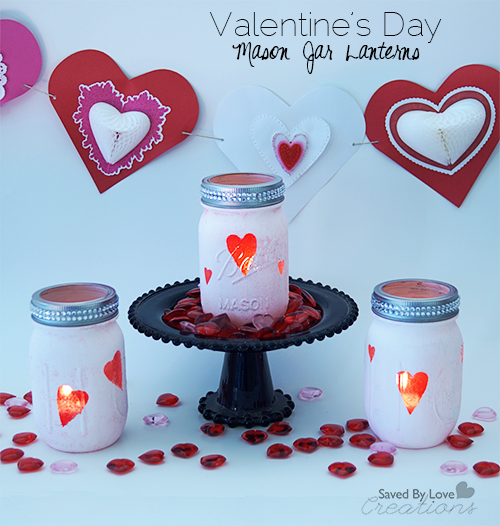
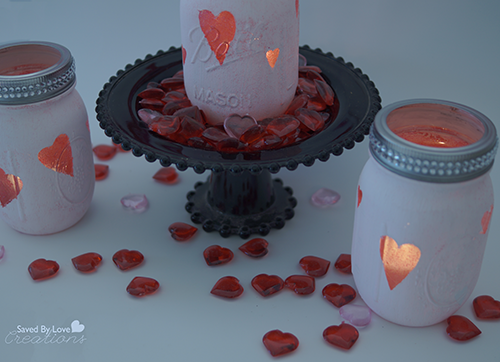
DIY Chalky Glitter Heart Mason Jar Votive Holders

[pinit]DIY Chalkboard paint Mason Jar Valentines Day Lanterns @savedbyloves [pinit]

Today I am sharing how to make these fun chalk and glitter paint mason jar lanterns.  They are super simple to make, and will compliment your Valentine’s Day decor perfectly.  Let’s get started!

Valentine's Day Mason Jars

SUPPLIES:

Mason Jars

Deco Art Chalky Finish Paint in Everlasting

Deco Art Crystal Glitter Glass Pain in Red

One inch paintbrush or foam brush

Adhesive Jewels

Heart Stickers or Cut out hearts from Foil tape with paper punch or Sizzix Heart Die

Rubbing alcohol

Lint free towel

TUTORIAL:

Mason Jar Lanters

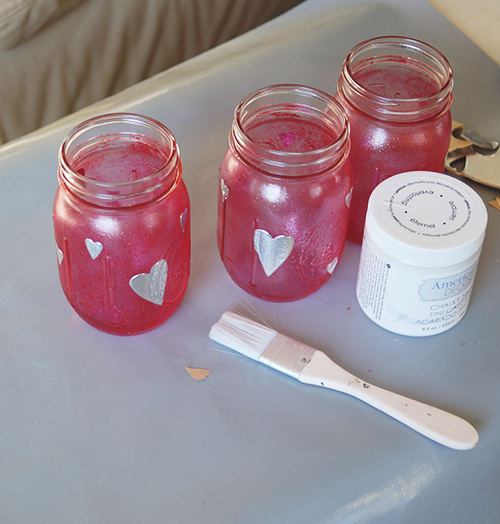
Clean mason jars with alcohol and lint free cloth, then paint with red glitter glass paint by DecoArt.  Let dry completely then place heart stickers where you want your hearts to be.  I used foil tape and my sizzix heart die because The foil sticks well and the paint won’t seep under in the next step.

How to Paint Mason Jars Chalkboard

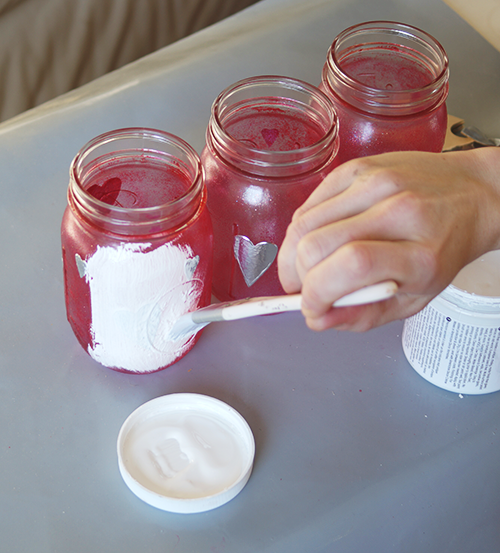
Use a soft brush to paint on chalky finish paint.  I liked the look of the red showing through a little, so I just did one coat, but you can let dry for 30 min and add another coat of you want a whiter look.  When you have painted on your final coat, use tweezers to carefully remove heart stickers after about 10 minutes.  You don’t want to let your project dry completely with the stencils still adhered.  If you do, you run the risk of peeling away adjacent paint when you remove them.

Mason Jar Valentine's Day Craft DIY

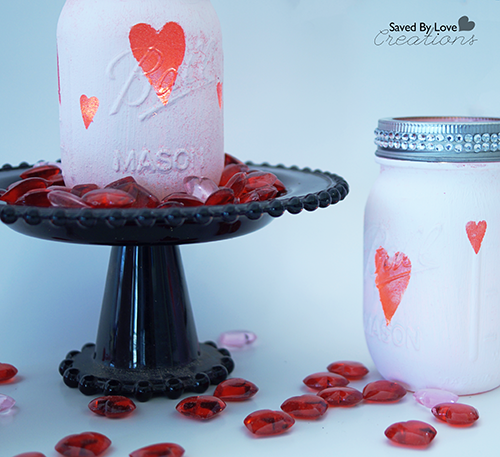
Apply adhesive rhinestones to jar lid as shown in pics, insert candle and that is the end!

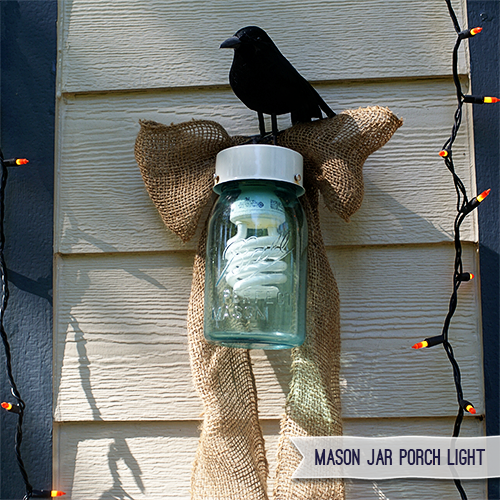
Easy DIY Mason Jar Decor {Porch Light}

[pinit]Mason Jar Craft Porch Light[pinit]

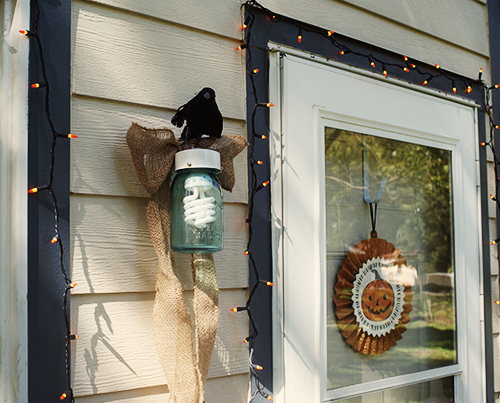
Today I have a quick, easy mason jar decor project.  From what I know about you, my lovely readers, you can’t get enough repurposed mason jar crafts.  You also like inexpensive decor solutions that can be executed in a snap.  You won’t be disappointed.  This whole project was less than $5 and took less than 5 minutes.  That’s the stuff.

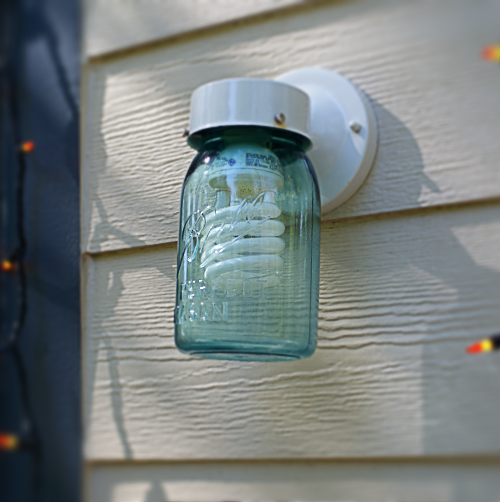
DIY Mason Jar Porch Light

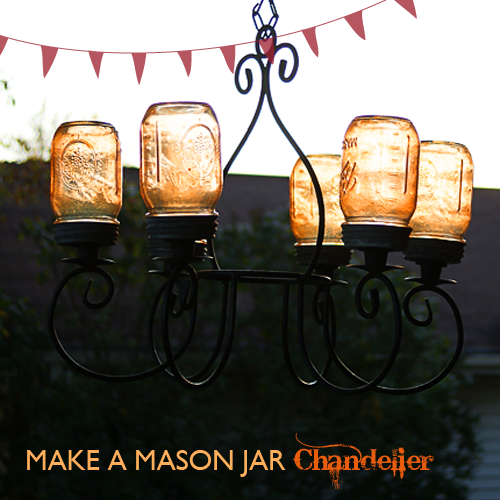
All I did for this was remove the original globe that came with the light and screw in the mason jar!  Make sure your jar lid fits over the light bulb (I know, I know… obvious,  but I had to say it).  If your light fixture isn’t magically the same size as a mason jar, run to Habitat Restore and nab a new one, or you could use metal snips to cut a hole big enough for the light bulb in the lid to the jar, then glue the lid to the light fixture.  Then you could screw the jar onto the lid, like I showed you in my Mason Jar Chandelier Project:

DIY Mason Jar Lamp

For more mason jar crafts, visit our Collection of 75+ Mason Jar Projects

Make Paper Mason Jar Garland

[pinit]Easy DIY Mason Jar Garland[pinit]

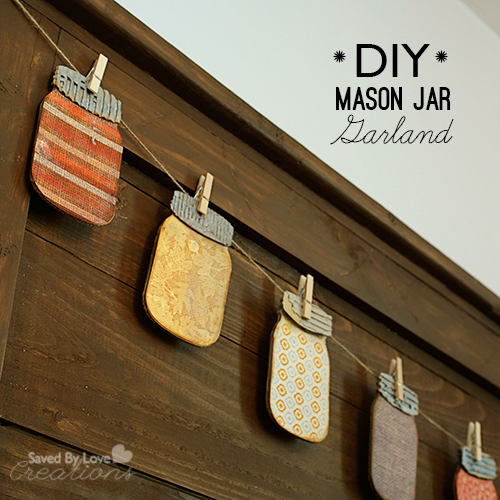
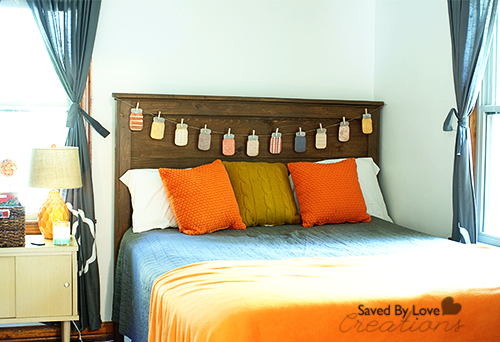
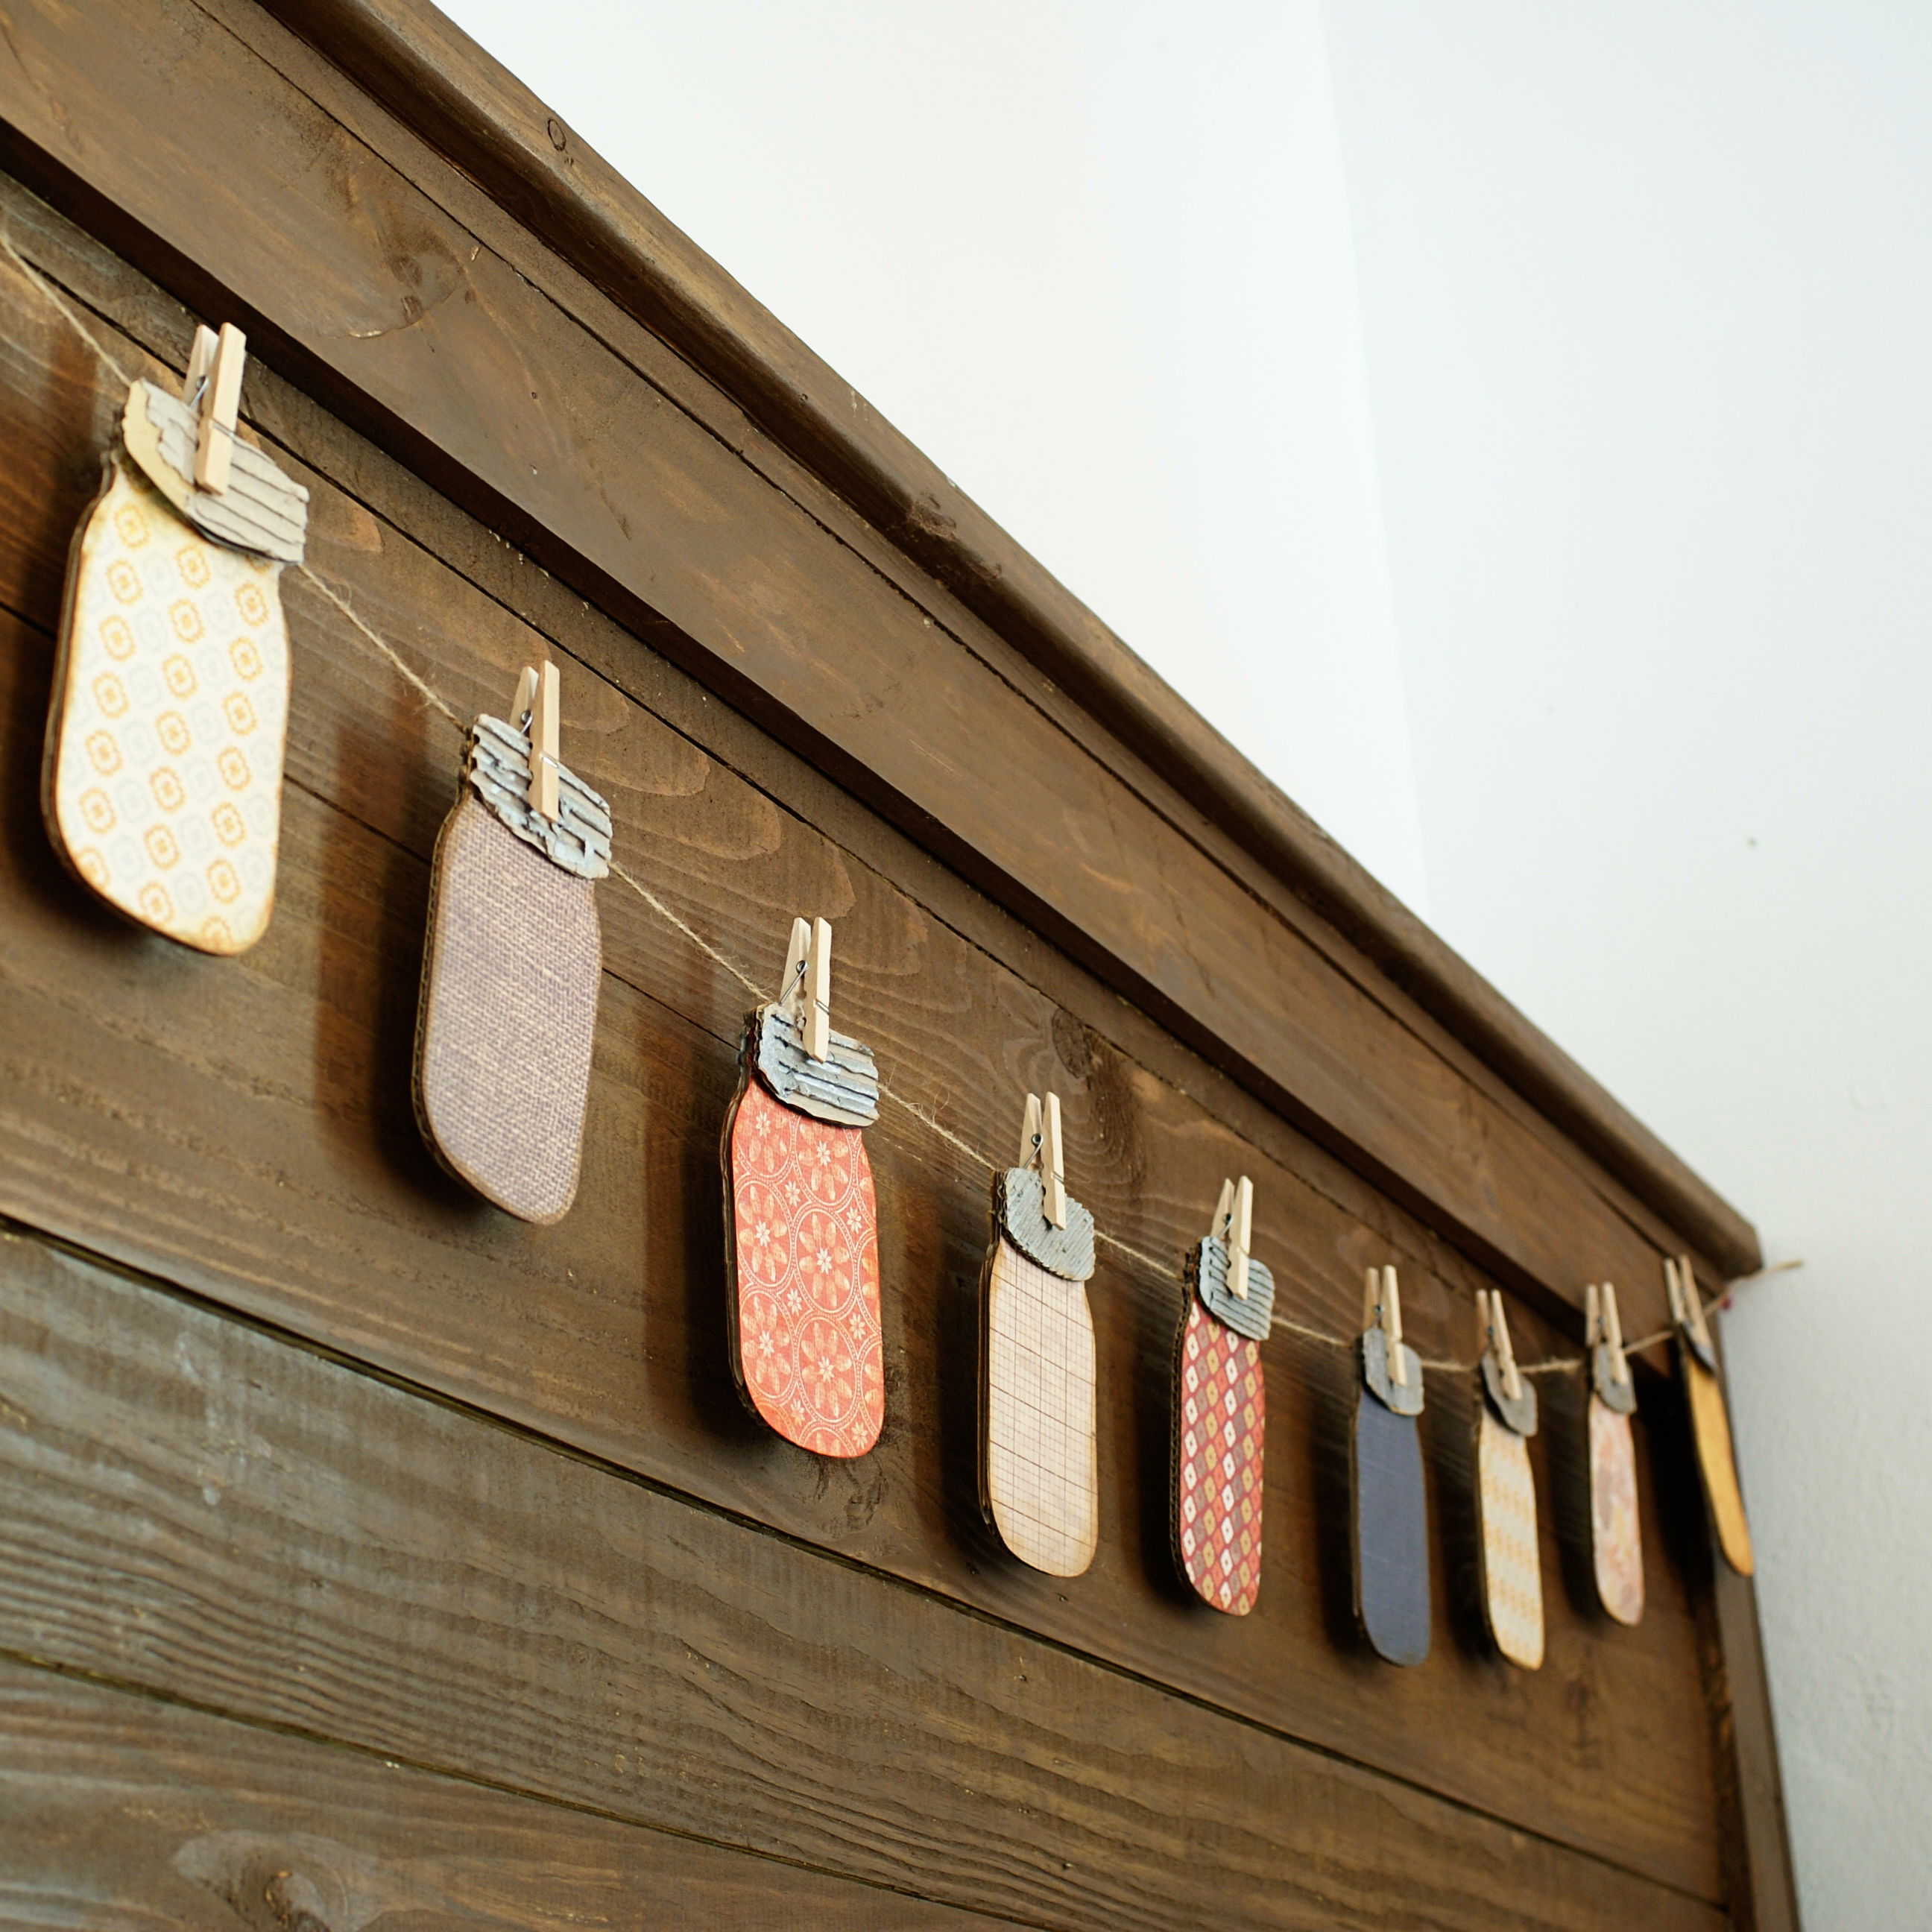
Mason jar crafts have become a phenomenon over the past 2 years, to say the very least.  I, for one, am a huge fan of incorporating them into my home decor whenever possible.  You combine mason jars with my papercrafting obsession, and it is almost more excitement than a blogger like me can withstand.  Well, those two worlds collided for me in this Sizzix Canning Jars Die by Eileen Hull.  Today I am sharing how I used it on some recycled cardboard and fall patterned scrapbook paper to make this fun garland adorning my headboard.

Mason Jar Decor

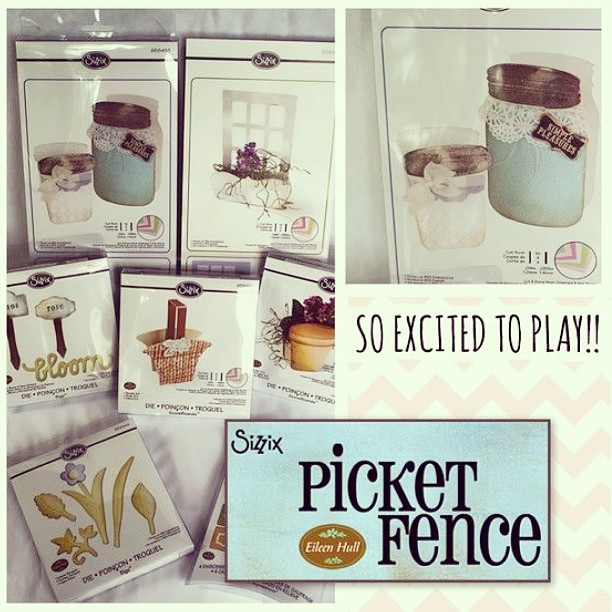
Eileen Hull Picket Fence

I told you about Eileen Hull’s Picket Fence Sizzix line a few months back, and am having as much fun with it as I predicted I would!
For this project, you will need:

Eileen’s Sizzix Canning Jars, 3-D

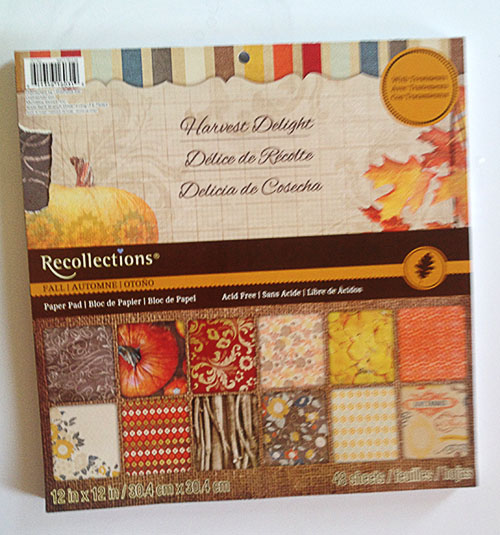
Harvest Deight Fall Paper

Fall or other patterned scrapbook paper; I used Recollections Harvest Delight

Corrugated Cardboard

Paper Cement

Jute or other twine

Mini Clothespins

Tim Holtz Distress paint Silver

Ranger Distress Ink Vintage Photo

3D foam adhesive squares

TUTORIAL:

Die Cut the larger jars out of paper and cardboard

Adhere paper to cardboard with Paper Cement or favorite adhesive

Cut tops out of corrugated cardboard and adhere to jars with 3D foam squares

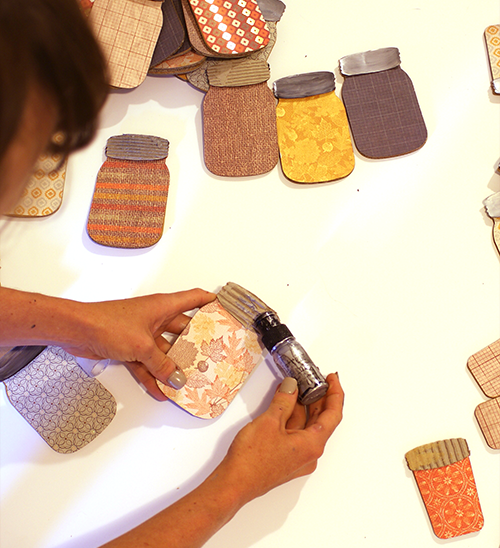
Paint mason jars with distress paint

Paint tops with silver distress paint, or leave as they are.  they look cool either way!
Mason Jar Garland DIY

Ink edges with distress ink on foam applicator and attach to twine with clothespins.

I love my garland, and have several more projects in mind for this die alone.  Make sure you visit Eileen at her blog for tons of inspiration!  You will want to set aside a chunk of time and be ready to watch your creative project to do list grow!

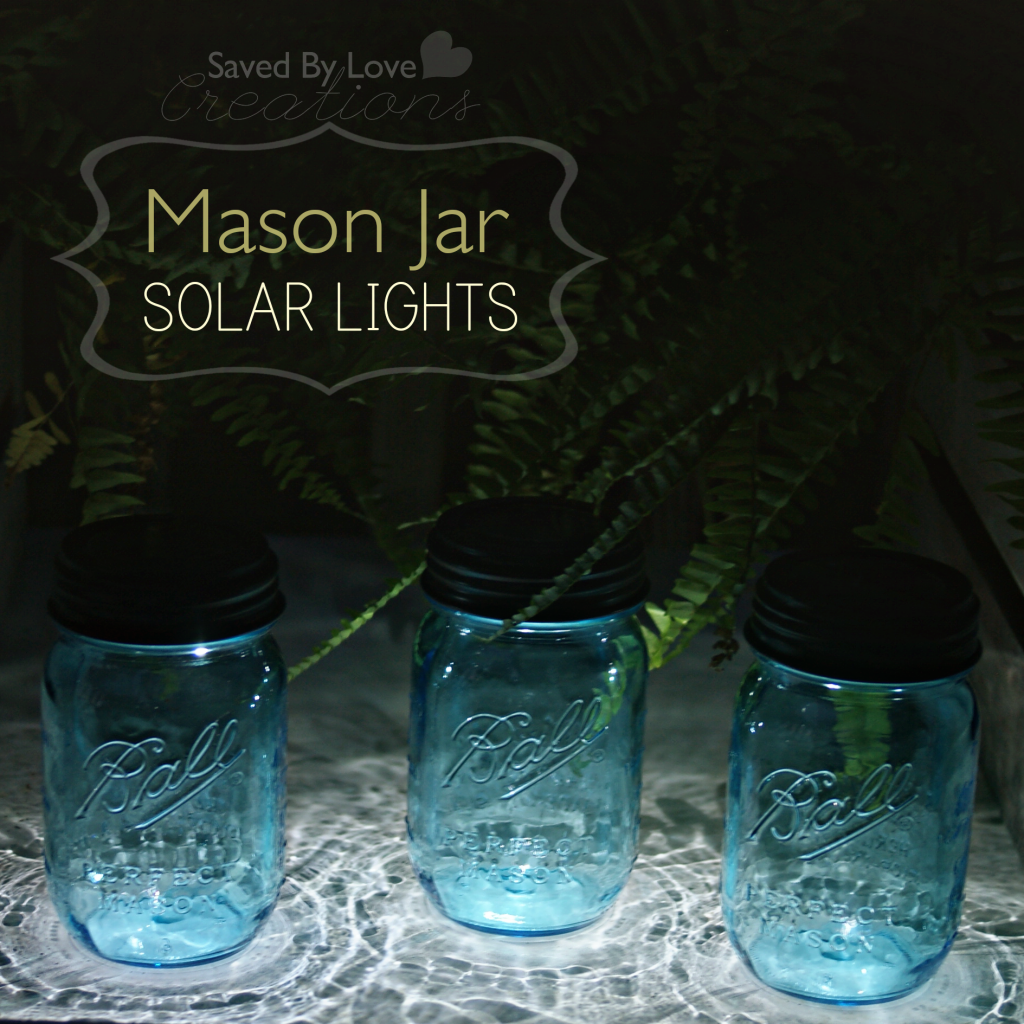
Easy Mason Jar Solar Lights

[pinit]
Mason Jar Solar Lights; Quick easy way to make luminaries @savedbyloves

 [pinit]

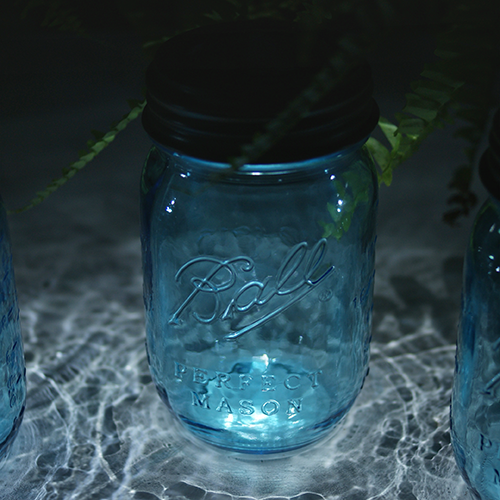
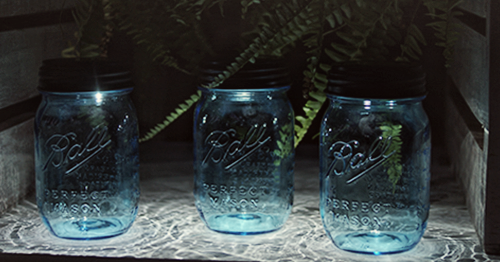
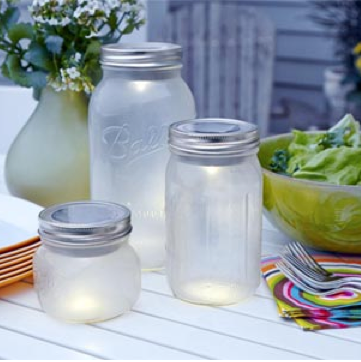
If you want your outdoor decor to reflect your love for mason jars, these easy mason jar solar lights are just the way to make that happen.  With all of the new glass paints and mason jar decor ideas out there, the style options are limitless.  They would be cute in red white and blue for July 4th, and can be customized to any occasion.

Mason Jar Lantern DIY Easy Mason Jar Decor

It took me 5 minutes to make eight of them by purchasing these Solar Mason Jar Lids.  I got mine at Rural King, and you can find them on Amazon by clicking the link.  I also bought the jars already blue at Rural King for $10/6 pack.  You can get regular mason jars cheaper and paint them with glass paint.  DecoArt glass stain would work great for this translucent effect, as would Martha Stewart translucent glass paint.  Some people use Mod Podge with food coloring, though I have never tried that.

Mason Jar Solar Lights; Quick easy way to make luminaries @savedbyloves

Find out how to paint your jars, and other Mason Jar Decor Ideas:

50+ mason jar crafts mason jar ideas to make

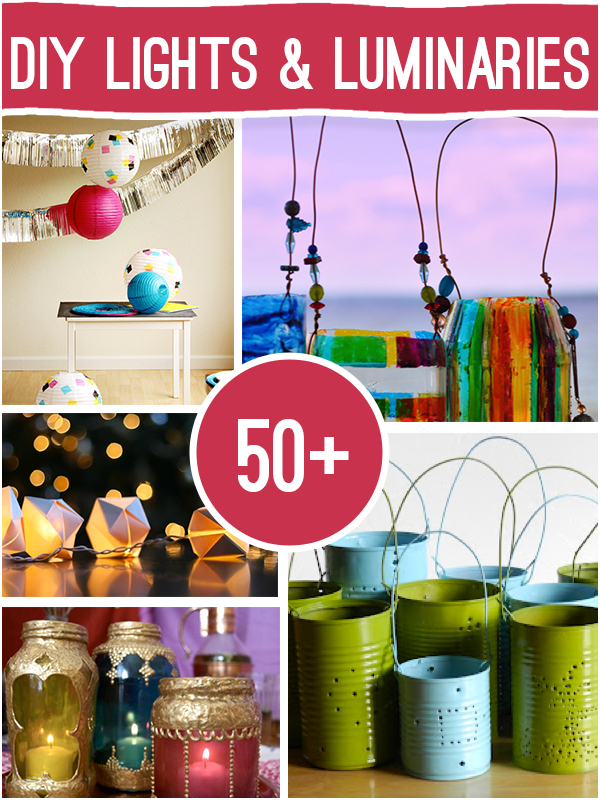
For other DIY Lanterns and Luminaries:

DIY outdoor lanterns and luminaries to make

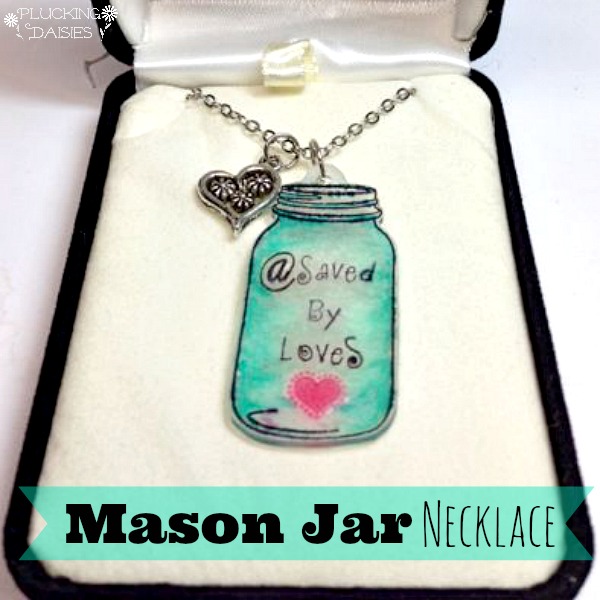
Mason Jar Shrink Film Necklace

Hello SBLC friends! Amy here from Plucking Daisies to share a Shrink Plastic Mason Jar Necklace tutorial. Shrink Plastic isn’t just for kids anymore. You may feel like a kid again when working on Shrink Plastic projects (it is oh so fun) but the end results are all grown up! Grab your favorite stamps and pre-heat that toaster oven, we’re about to make some shrink plastic jewelry!

[pinit]How to make a mason jar shrink plastic necklace and 50+ Shrink film crafts @savedbyloves

 [pinit]

There are many ways to use shrink plastic for jewelry making. You can make necklaces, earrings, charm bracelets and more! Believe it or not, aside from stamping there are a variety of ways to apply images and add color to shrink plastic creations. For more info and inspiration check out my latest Shrink Plastic Charm Tutorial.

Shrink Plastic Mason Jar Necklace Tutorial

I created this Mason Jar Necklace for Johnnie when we attended SNAP! together this past April. We all know that Johnnie is the Mason Jar Maven after all.

Inkadinkadoo Mason Jar Stamp

I found this Mason Jar Stamp from Inkadinkadoo (available at Michael’s) and thought it would be perfect for a shrink plastic necklace.

How to make a Shrink Plastic Necklace

You can create your necklace with any stamp your heart desires! Be sure to check the size of your image as it will shrink down to 1/3 of its original size. Not into necklaces? No problem! How about a pair of earrings, a pin, or charms for a bracelet? Be creative and have fun…it’s pretty hard not to when Shrink Plastic is involved 🙂

Supplies:

  • Shrink Plastic
  • Copic Markers (or other)
  • Favorite Stamps
  • Archival Ink (Black)
  • Embossing Powder (optional)
  • Hole Punch

STEP 1: Start by stamping your images on Shrink Plastic in Archival ink. I used the Mason Jar Stamp (inkadinkadoo), Collections from the Journey Letters (7 Gypsies), and Fanciful Swirl Alphabet (Hero Arts)

*TIP* You can “Try on” different stamp combinations by stamping on a piece of cardstock and laying a sheet of shrink plastic over top to see how it looks.

Shrink Plastic Mason Jar Necklace Tutorial

STEP 2 (optional): Sprinkle embossing powder over stamped image. I like using Ranger Holographic embossing powder for a hint of sparkle and shine.

Shrink Plastic Mason Jar Necklace Tutorial

STEP 3: Color your image with Copic Markers. If you used embossing powder don’t worry if some of it rubs off during coloring. Just do your best to avoid it if you can.

Check out the link below for an awesome Mason Jar coloring tutorial by Sweet November Stamp designer Amy Young

http://www.youtube.com/watch?v=aV_fRE5zxi0

STEP 4: Use a hole punch to punch a hole at the top of your image or wherever you want it to hang. Cut your image out leaving a wide band around the punched hole to prevent breakage when you add jump rings.

Shrink Plastic Mason Jar Necklace Tutorial

STEP 5: Bake according to package directions. One thing I learned by actually READING the directions for once was that you can press down on your shrink plastic piece while it cools (15 sec) with a piece of paper to get it really flat. *Beware if you used embossing powder you will need to press very gently on the raised portions so you don’t pull them up.

Shrink Plastic Mason Jar Necklace Tutorial

How cute is this? An itty bitty Mason Jar charm complete with a Twitter handle. Saved by Love Creations is where it’s @ in my humble opinion.

STEP 6: Just add Jump rings, chain, and some cute toggle clasps and your Shrink Plastic Mason Jar Necklace is ready to wear!

Shrink Plastic Mason Jar Necklace Tutorial

If you are planning on creating one of these fun shrink plastic necklaces for a gift why not up-cycle an old jewelry box and embellish it with a few pretty bits and bobs from your stash? Have some extra charms you don’t know what to do with? Add them to your necklace. There’s nothing wrong with throwing on a little “extra charm”.

Hope you all have fun creating shrink plastic jewelry for gifts or for yourselves! I wear my shrink plastic charms with pride…and I’m sure Johnnie does too. See you all next time!

Have a charming day!

Amy*

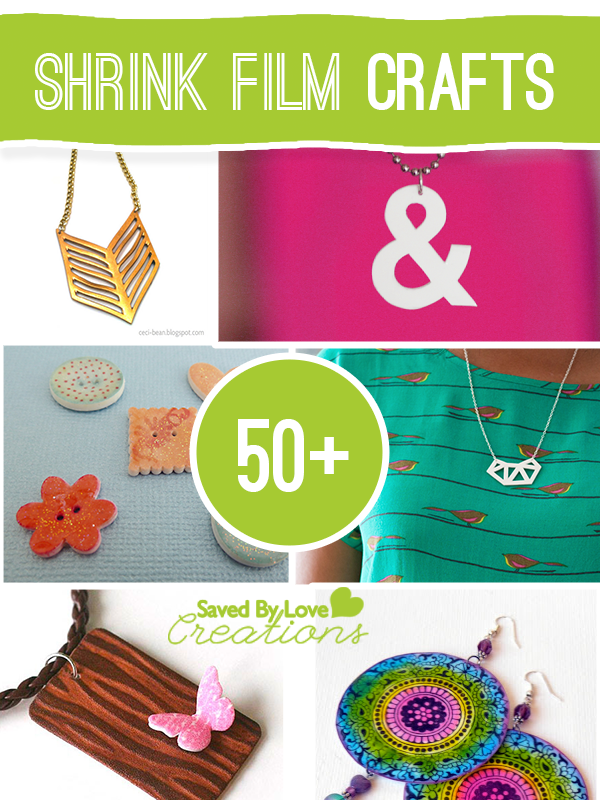
Want more Shrink Film Crafts?  Check out our 50+ Shrink Film Projects Round-up:

Make Outdoor Mason Jar Lights

[pinit]

Recycled Craft - Make Mason Jar Lights for the Outdoors on This Old House, featured @savedbyloves

[pinit]

It is finally consistently warm outside, and I am ready for the days of summer!  That is why I am so excited about this mason jar outdoor light tutorial found at This Old House.  You can make your own set of 3 for less than $30.  These would be great for outdoor parties, weddings and everyday outdoor decor.

Make a Paper Daffodil Bouquet and Mason Jar Vase

[pinit]
Learn to make a gorgeous Paper Daffodil Bouquet #sizzix and painted #masonjar vase

[pinit]

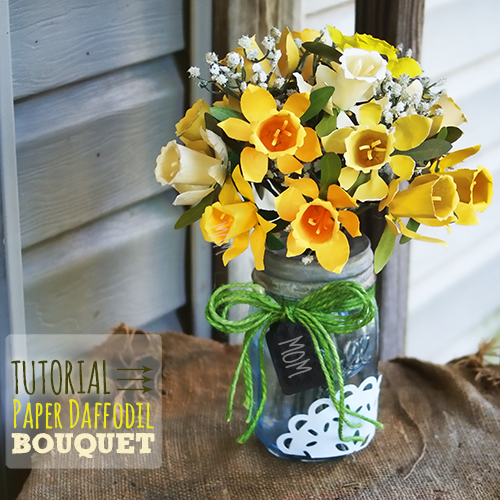
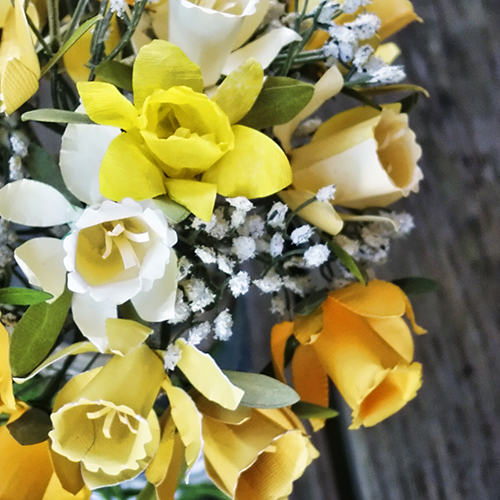
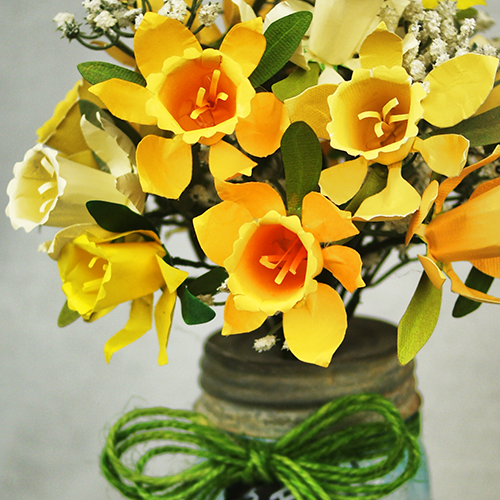
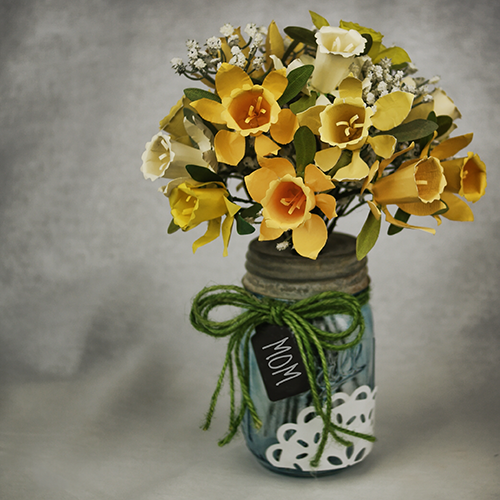
As soon as I saw the new daffodil Sizzix die by Susan Tierney Cockburn, I knew a bouquet was in my future.  Mother’s Day brought just the occasion.  Today I am sharing Susan’s video detailing how to make the flower, then how I added stems to make this lovely daffodil bouquet in a mason jar vase.

how to make paper flowers

You will need:

Yellow cardstock – I used Coordinations in various yellows and even tried a crepe paper daffodil which I found to be to annoying to do more than once.  You can see the lone crepe flower in the upper left of the above pic.

Sizzix Susan Tierney Daffodil die

 Daffodil Sizzix die by Susan Tierney Cockburn

Doily Lace Medallion Sizzix Die by Eileen Hull

Mason Jar with Lid

Craft Glue

Susan’s Garden Tool Kit

Floral wire

Green Floral tape

Hot glue gun

Flat nose or round nose Pliers

TUTORIAL:

Make each daffodil as shown in Susan’s video.  Don’t add the leaves just yet.

Adding Stem to Finished Flower

how to make a paper flower bouquet

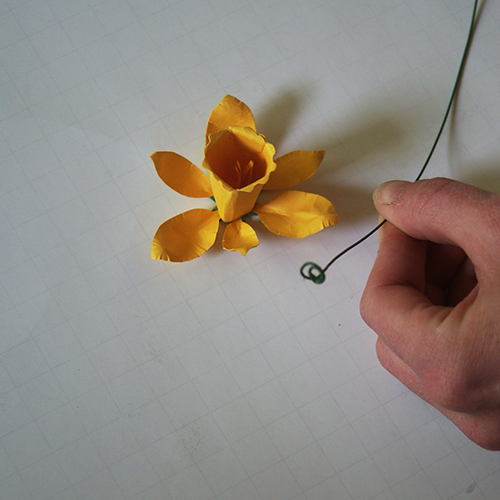
Bend wire to 90° one inch from the end with your pliers.  Then grab tip of wire with pliers and twirl inward to create a spiral.  It doesn’t need to be pretty.  You are just creating a surface for gluing the stem to the flower base.

PaperDaffodilBouquet3

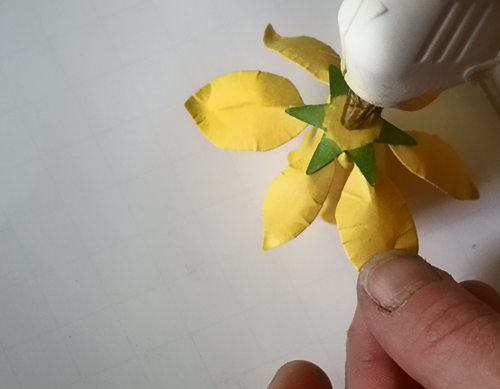
Place a dab of hot glue on the calyx at the base of the flower.

paper craft flowers

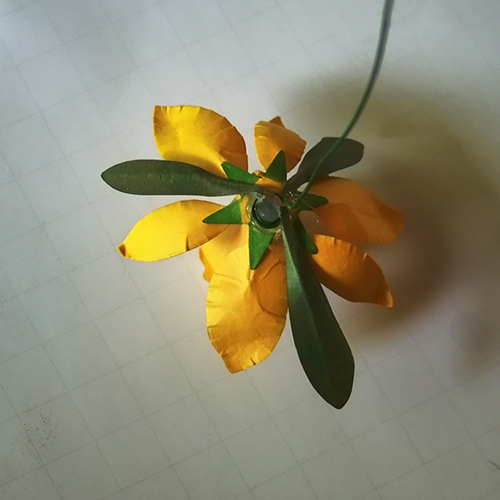
Press spiral into hot glue dab immediately and hold in place for 30 seconds until glue sets.  Add leaves last, using a dab of hot glue at the base of each.

Learn to make a gorgeous Paper Daffodil Bouquet #sizzix and painted #masonjar vase

To finish the flowers, wrap wire in green floral tape.  This is optional, but I think it makes the stems look way better than just the naked wire.  Cut stems to fit your jar (6-8 inches should work, but just put one into the vase to see how much excess wire you have).

Making the Bouquet

Arrange flowers into a bouquet: Hold a flower in one hand.  Add alternating shades of yellow daffodils to frame your central one, turning the bouquet each time. Point the blooms towards you as you continue adding around, creating a rounded shape.   When you are happy with the shape of your bouquet, secure stems with floral or a rubber band.

I added baby breath looking artificial flowers from the dollar store to fill in the spaces between my daffodils.  Wouldn’t hydrangeas be pretty with the yellow too?!

The Mason Jar Vase:  I painted my mason jar with DecoArt glass stain like I showed you in this Mason Jar Chandelier Tutorial.

Punch a hole in your mason jar lid with a nail and hammer, then pound away to make a hole large enough for the bouquet.

I inserted my bouquet and embellished the vase with green jute, a chalkboard tag and a paper doily I die cut from white cardstock using Eileen Hull’s paper lace medallion die.

PaperDaffodilBouquet6

She was overjoyed, and the piece became our Mother’s Day lunch table centerpiece!  This bouquet would be great for wedding centerpieces and bridesmaid bouquets too.

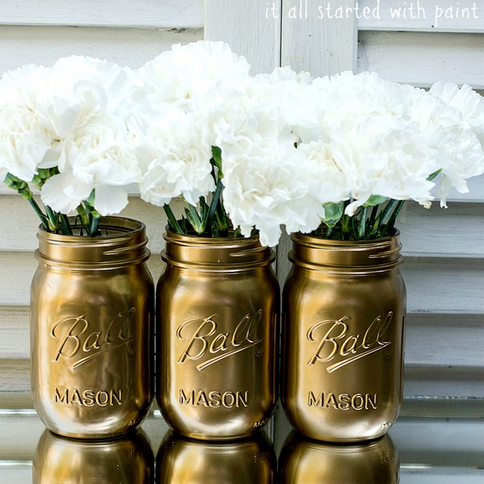
Make Metallic Mason Jars With Spray Paint

Spray Paint mason jars for a great vase!

Photo by It All Started With Paint

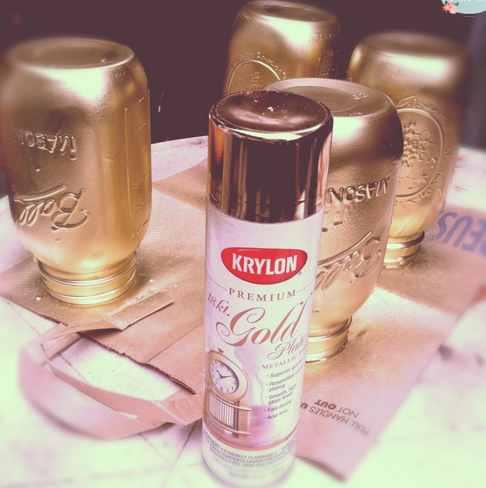
Mason jar decor is a huge favorite in this house.  Working on a paper bouquet for my grandmother for Mother’s Day, I have been trying to land on the perfect vase.  Recycled wine bottles, tin cans and mason jars always top my list of bouquet containers.  While searching for inspiration, I came across the pictured metallic mason jars by It All Started With Paint.  I am all about metallic spray paint, and really am kinda shocked I haven’t already done this!  You can order your own at the link above, or if you are a DIY kinda person, Lovely Little DIY’s gold mason jar tutorial will get you on your way!

DIY mason Jar Crafts

Photo by Lovely Little DIY

This is not the project I ended up going with for my grandmother’s vase.  That is for another post.  This did make my to do list and if you are looking for a quick vase for Mother’s Day, you still have time to make metallic mason jars that she will love!

For more mason jar crafts, visit our frequently updated collection of the the world’s greatest Mason Jar ideas!

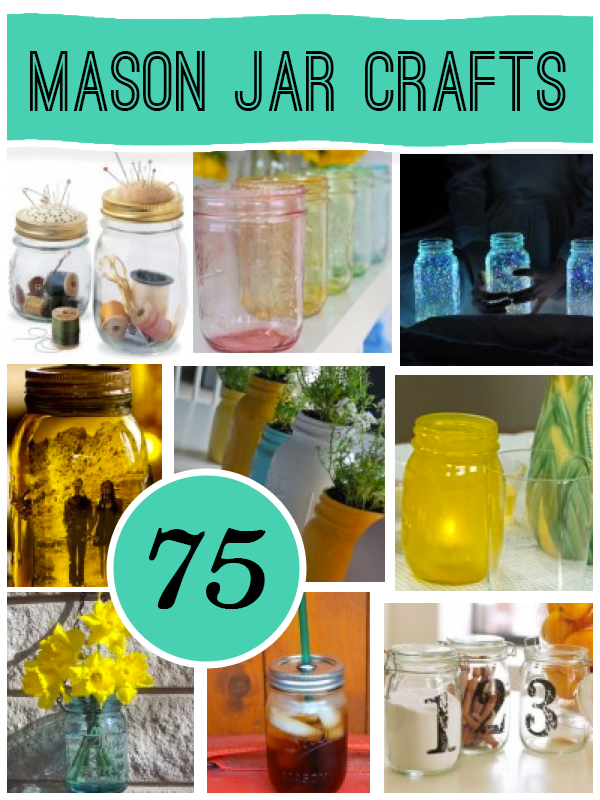
50+ Mason Jar Decor Ideas

Over 50 Ways to Use Mason Jars

[pinit]

75 Mason Jar Craft; The original roundup from @savedbyloves

[pinit]

Working on a summer wedding’s centerpieces has gotten me in a mason jar mood.  I hope you are as inspired by browsing this list as I was by making it.  I will never look at a jar the same again!  Enjoy…


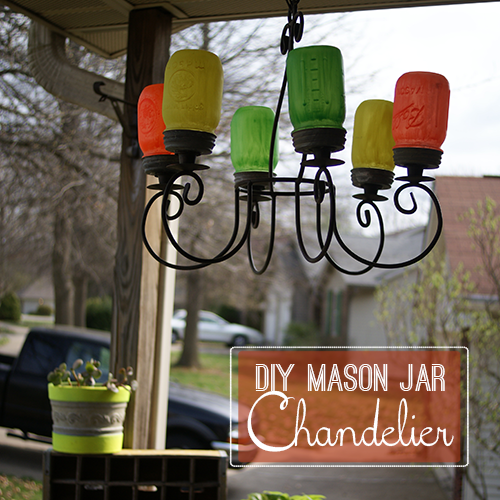
Spring Mason Jar Chandelier Update

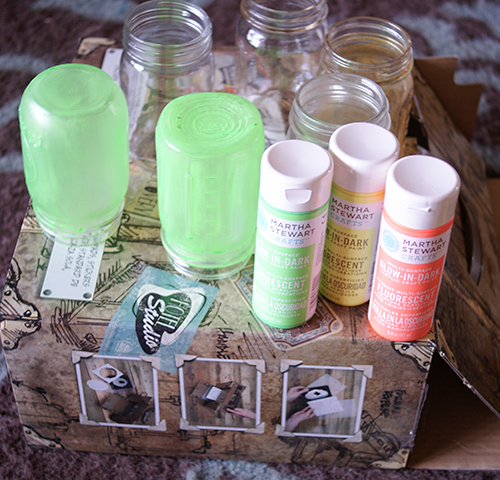
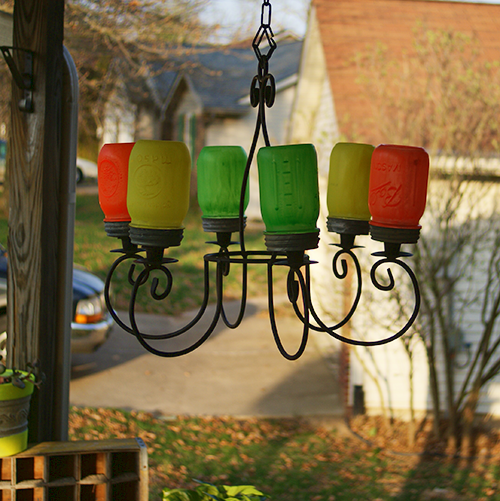
Mason Jar Chandelier with #MarthaStewart glow in the dark paint @savedbyloves


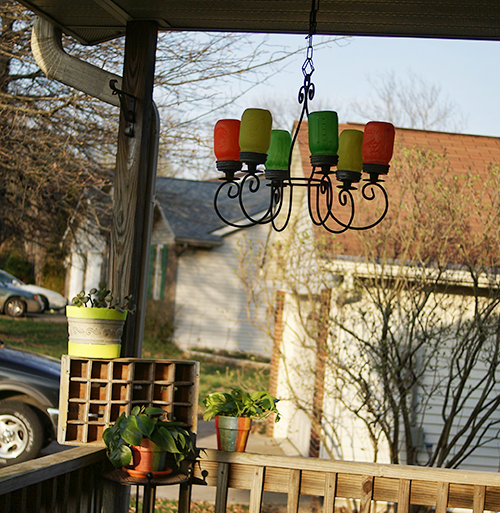
Remember my Mason Jar Chandelier tutorial I showed made awhile back?  It started rainbow colored, turned pumpkin orange in the fall, then went red glitter over Christmas and Valentine’s Day.  It was time for an update.  This time I went with Martha Stewart glow in the dark paint.  My porch is getting more colorful by the day!

Mason Jar Chandelier with #MarthaStewart glow in the dark paint DIY@savedbyloves

Mason Jar Chandelier with #MarthaStewart glow in the dark paint neon@savedbyloves


The paint is glow in the dark.  It really isn’t sitting in direct sunlight, so I am not sure how “charged” it will get during the day, but I am hoping it will glow in the evening!

Mason Jar Chandelier with #MarthaStewart glow in the dark paint @savedbyloves


Privacy Policy