It has been a rewarding first year of blogging. I have been exposed to such talented and generous fellow artsy bloggers. It would take me two lifetimes to do all the wonderful projects I have bookmarked. I love how supportive the blogosphere can be. As a thank you to all I have met, and all of my loyal followers, I have provided these prints I created for Valentine’s day.
Happy Valentine’s Day Free SBL Prints
Last Name Wall Art DIY
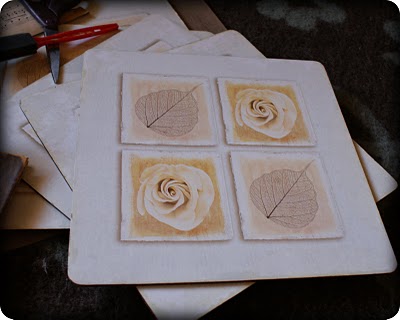
I saw these 6 rounded corner square pics at Goodwill and picked them up for a total of $3. It occurred to me in the store that my last name has 6 letters… perfect. I have been wanting to create thrifty last name wall art for awhile now. Check out the steps I took…”1. I lightly sanded the pics and cleaned away debris with a damp towel.
2. Cut scrapbook paper to size and adhere to surface using matte gel medium, mod podge or decoupage medium of your choice
3. Smooth paper to remove any air bubbles using brayer (This step is quite effective in getting rid of bumps).
4. To create the backgrounds: I did an acrylic wash using a dab of red “Golden” brand acrylic with water; let dry completely. I then stamped on the papers randomly with texture patterns in bright orange, painted white acrylic dots of varying sizes randomly, painted a white border with graphite pencil drop shadow, sprayed with shimmer mist and doodled starbursts and scratches…
5. The Name: Draw letters onto boards; I used vinyl stencils I cut out with my cricut and white acrylic paint to do mine. I outlined and blended with graphite pencil to make the letters stand out.
6. Seal with acrylic fixative
7. I adhered to wall using Command picture hanging strips…

That is all. Fun customized thrifty last name wall art! You can create some amazing effects with layering stamps, acrylic washes, doodles, textures, fibers, fabrics, tissue paper. My favorite thing about layering is you can feel free to try whatever you want, and if the outcome is not quite what you had hoped, just cover over the top with something different. This takes off the pressure I place on myself to make it perfect, and frees me to be spontaneous. You can do this on any surface. You may need to prime with Gesso first. I didn’t since I was using cardstock.Total cost: $3 + materials I had on hand. SCORE.
Cricut Helps Make Vinly Canvas Art!
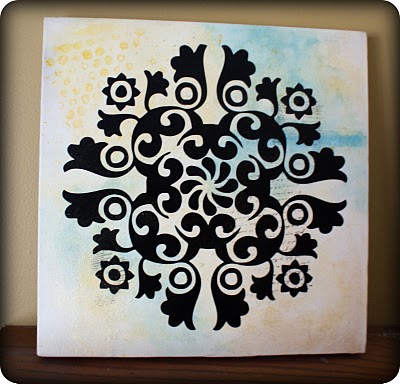
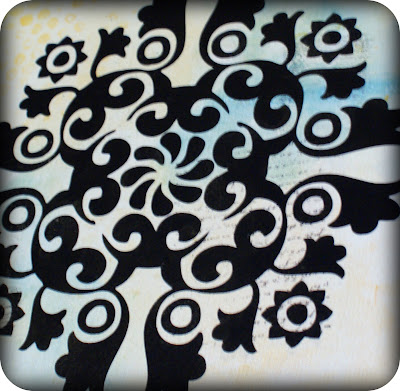
More altered art canvas, and exciting ways to use Cricut for your home decor projects!”For this project, I did some acrylic washes on a 12×12 inch canvas I bought from Joanne’s. I used a yellow and a blue, and once the washes dried, i stamped randomly on the background using a handwriting stamp and dictionary definition of gratitude stamp using black Staz On ink. On top of this, I did a wash of Golden iridescent acrylic paint. Once all dry, I placed the black vinyl design on top, which I cut out from my cricut. I am providing the .svg file for your free use: Please just give credit and linkback to my site if you use my files!Download
Cabinet Door Art Using Vinyl Cut Outs
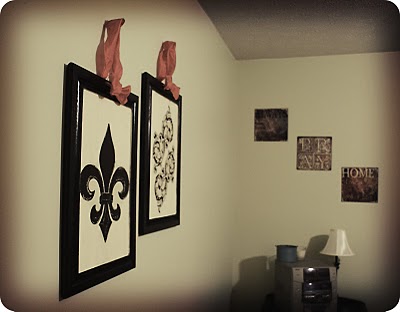 So I found these cabinet doors for a couple of dollars each at my local Habitat for Humanity Restore a couple of months back. I wasn’t sure what I would do with them, but I knew something would happen if I brought them home. I have run across several projects using cupboard doors, and have made a chalkboard from one in the past (here).
 After some black spray paint all over, I painted the inner rectangle with a few coats of folk art antique white acrylic paint. Once that was dry, I placed the black vinyl cutouts over the antique white. I smoothed out the air bubbles with a brayer.
 This is just another of the tons of projects you can create with the help of your Cricut Machine. You can custum design your vinyl cutouts to your liking. Don’t miss out on your chance to win your very own Cricut Create by entering my giveaway.

Awesome Acorn Wreath; Thrifty and SOOOO Cute


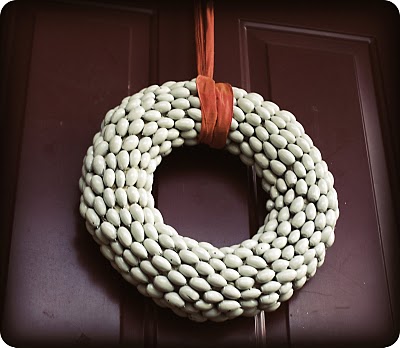
 I ran across this post by Dana at “Made”, and filed it under “To Do” right away. The following day, i scored a the above straw wreath at Goodwill for $0.99. It was meant to be. I went to the local dog park and found the perfect almond shaped acorns. Some of them I had to decapitate (remove their hats), but most of them were hatless.
Come, See Our New Bedroom!!
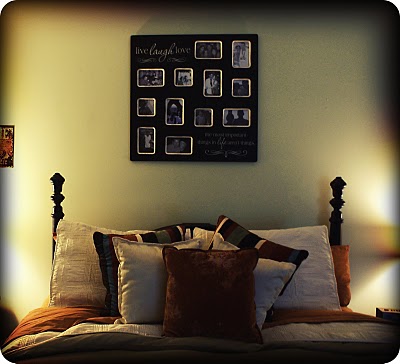
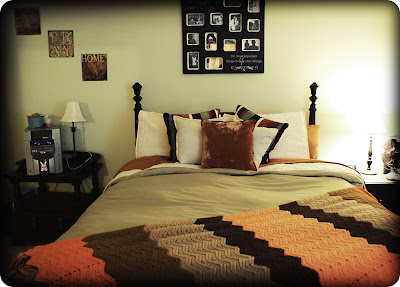

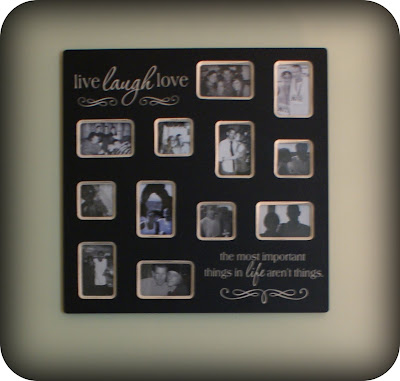

 So this post is about what I did today. I found the collage frame at Kohls, and spent the a large chunk of the day finding and editing my favorite pictures of John and me. Aside from painting the walls, I haven’t done much home decor since moving to Bloomington in July. I have been in a dark place and am just recently emerging back into my life and myself. It feels good to be inspired, and to be on the growth side of recent painful events. Vague take home message: Anything that interrupts my fellowship with God is not worth having. Ok, back to the decor…
Polymer Clay Day #53; Switch Plate Cover Tutorial!
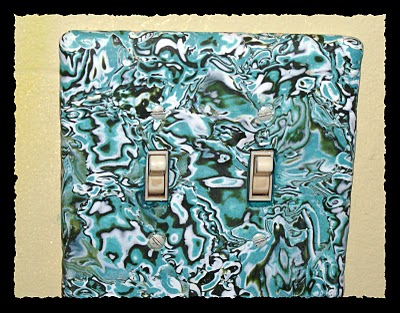 Thought I would switch (pun intended) things up a bit, and clay a home decor piece. Walking around my house, looking at all the uncovered light switches (we are painting all the rooms) it occurred to me to give switch plate covers a go. I love how it turned out, which means I am probably not going to stop until all my switch plates are clay-ified. 1 down, 53 to go. Yippie!
 I picked these three colors (since they rock) and used a polymer clay technique called mokume gane. It originated in chine in the 17th century and refers to a “woodgrain metal” appearance. It involves stacking alternating colors of clay and impressing them with some sort of texture tool. Here is a good tutorial on the technique. Mine was much simpler than the tutorial I linked, since I just used the clay straight out of the package, and didn’t paint or ink to get my colors. I used a rubber stamp sheet pictured below for the impression.
 Once you make your mokume gane block as outlined in the tutorial linked above, let the warm clay cool, then shave thin slices off for your switch plate cover and set aside.
 Make sure you shave off enough to cover the entire area of your switch plate.
 You should test your switchplate by baking it in the oven at the same temp as you will bake your clay to make sure it doesn’t bubble or melt. Some of the plastic ones can do that. You can also use metal, but it is more difficult to get the clay to stick to than is plastic. Clean your sand your switch plate to rough it up a bit for better adhesion (i used 120 grit, but it doesn’t really matter).
 Apply a thin layer of translucent liquid sculpey (for adhesion) with a paint brush that you don’t mind dedicating to clay (the brush will never be the same again).
 Then roll out a background sheet of clay to cover the plate. I used scrap clay that was light in color (darker colors will affect the slices of mokume gane and alter their tone). I conditioned it in my pasta machine on #3. Then I laid it on the switch plate with the TLS layer. I had to use 2 pieces of clay to cover the whole thing. I got rid of the seam by lightly rubbing with my finger, but I wasn’t too particular about it since I knew I would be covering the background sheet with cane slices.
 Turn the now covered switch plate over and trim away the excess clay.
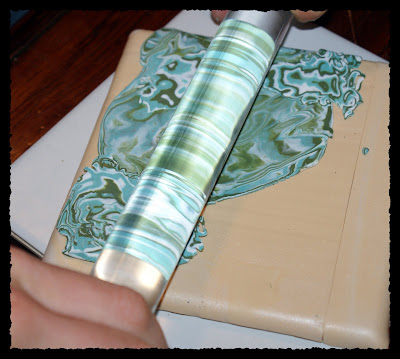 Place your slices on as desired and roll to smoothen.
 Once the plate is covered to your liking, use a craft knife to cut openings for the switches, and a needle tool to poke through where the screws will go. Bake as instructed on clay package (mine was 265 degrees for 2o min). Remove it from the oven and let it cool before handling. I use a toaster oven and baked this right on the tray in the oven. You can use a glass baking dish, or a cermic tile, etc…
Polymer Clay Day #6, Wall Plaque

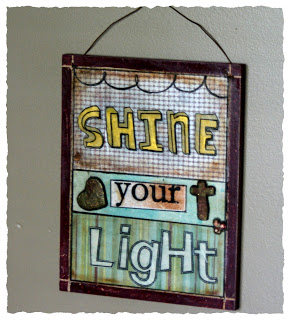
 Woohoo. It is day 6 and I am posting my first non jewelry clay project. If you remember from day 1 when I set out the rules, I stated 100 consecutive days of creations at least involving clay. While this wall plaque is mostly… not clay, the cross and heart are indeed. It counts.
Wooden Monogram Shabby Chic Polymer Clay
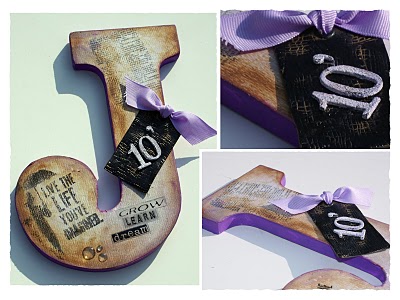 I can’t stand that I haven’t posted for a few days. Good to know my type A personality is alive and well. This is a monogram project for a friend’s daughter, who is graduating next week. I used scrapbook paper and embellishments to beautify an all white wooden “J” I got at Michael’s. Used Adirondack paint dauber for the purple sides. I made the tag out of clay, yes out of clay – which inspired my new blog theme for the next few months… 100 days of polymer clay. Everyday will be a post with a project that uses polymer clay in some fashion. I hope to learn a lot, and to post with greater regularity. Clay is quickly becoming my favorite medium. Day 1 down (the tag). I will have to take a break June 5-11, as I will be on a trip, and my husband won’t let me drag along the toaster oven. Boo.
Fun Spring Frugal Sparkly Home Decor Loveliness – Go Cricut
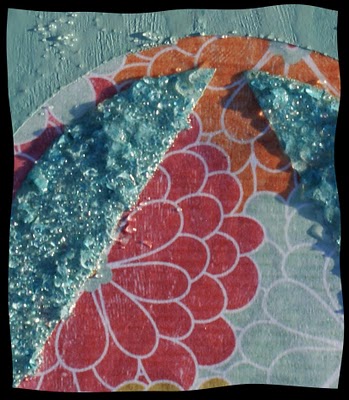

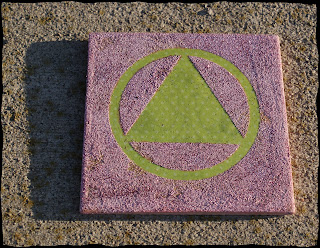 I found ugly all tiles with metal hanger on back – $1 each. 4.5×4.5 in. I knew cricut needed to get ahold of these potential hip art tiles. Me, paper, inks. powders, a heating tool and cricut.


