

Who doesn’t love a good curbside rescue?! A friend and I were driving to have dinner when I saw this dumpy chair in my periphery, pulled over and heaved it into the back seat. I knew it was a good find by how heavy and solid it felt. With a little love and a lot of hot pink, it has been transformed into the perfect accent for my stepdaughter’s recently made over bedroom. Check out my first rendezvous with chair reupholstering!
Supplies:
- Old chair
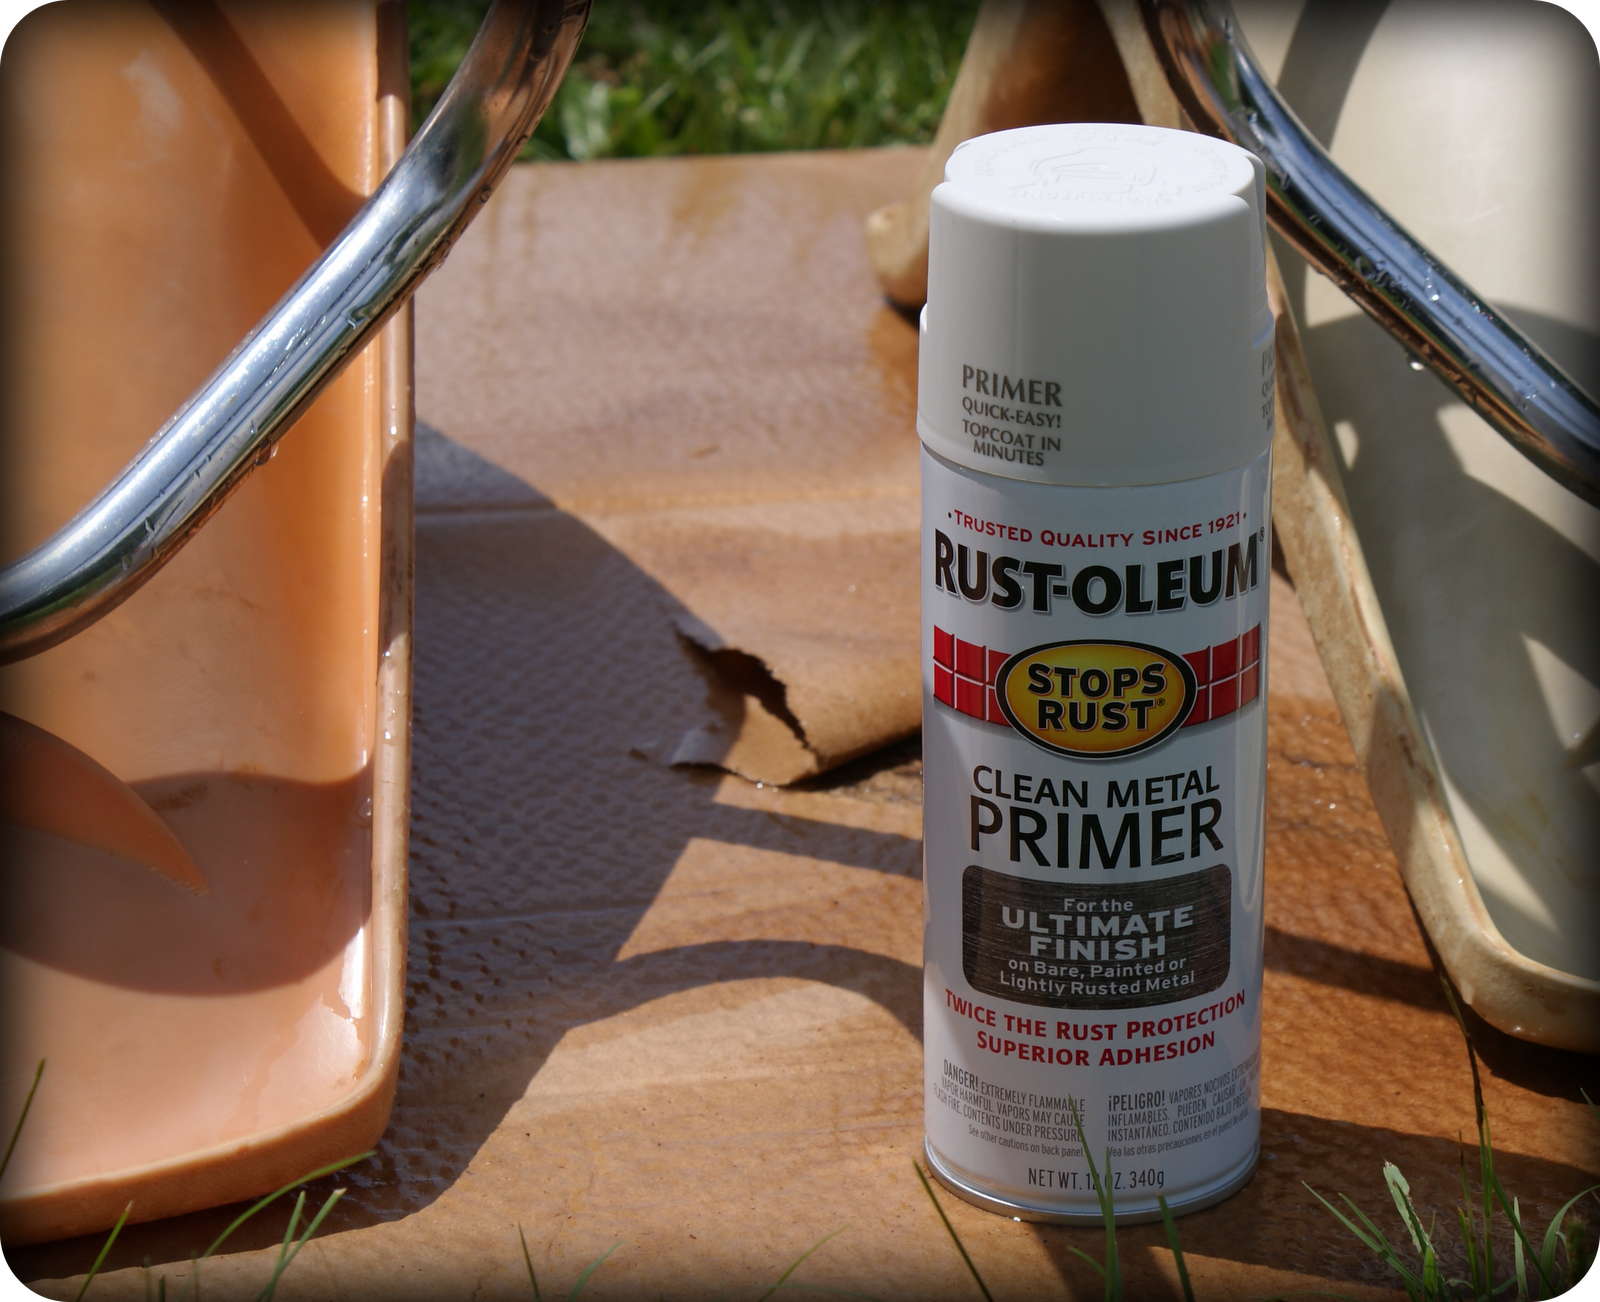
- Primer
- Acrylic paint in color of your choice for chair frame and cushion stenciling
- sand paper medium grit
- canvas drop cloth
- stencil
- stencil brush
- paintbrush


Instructions:
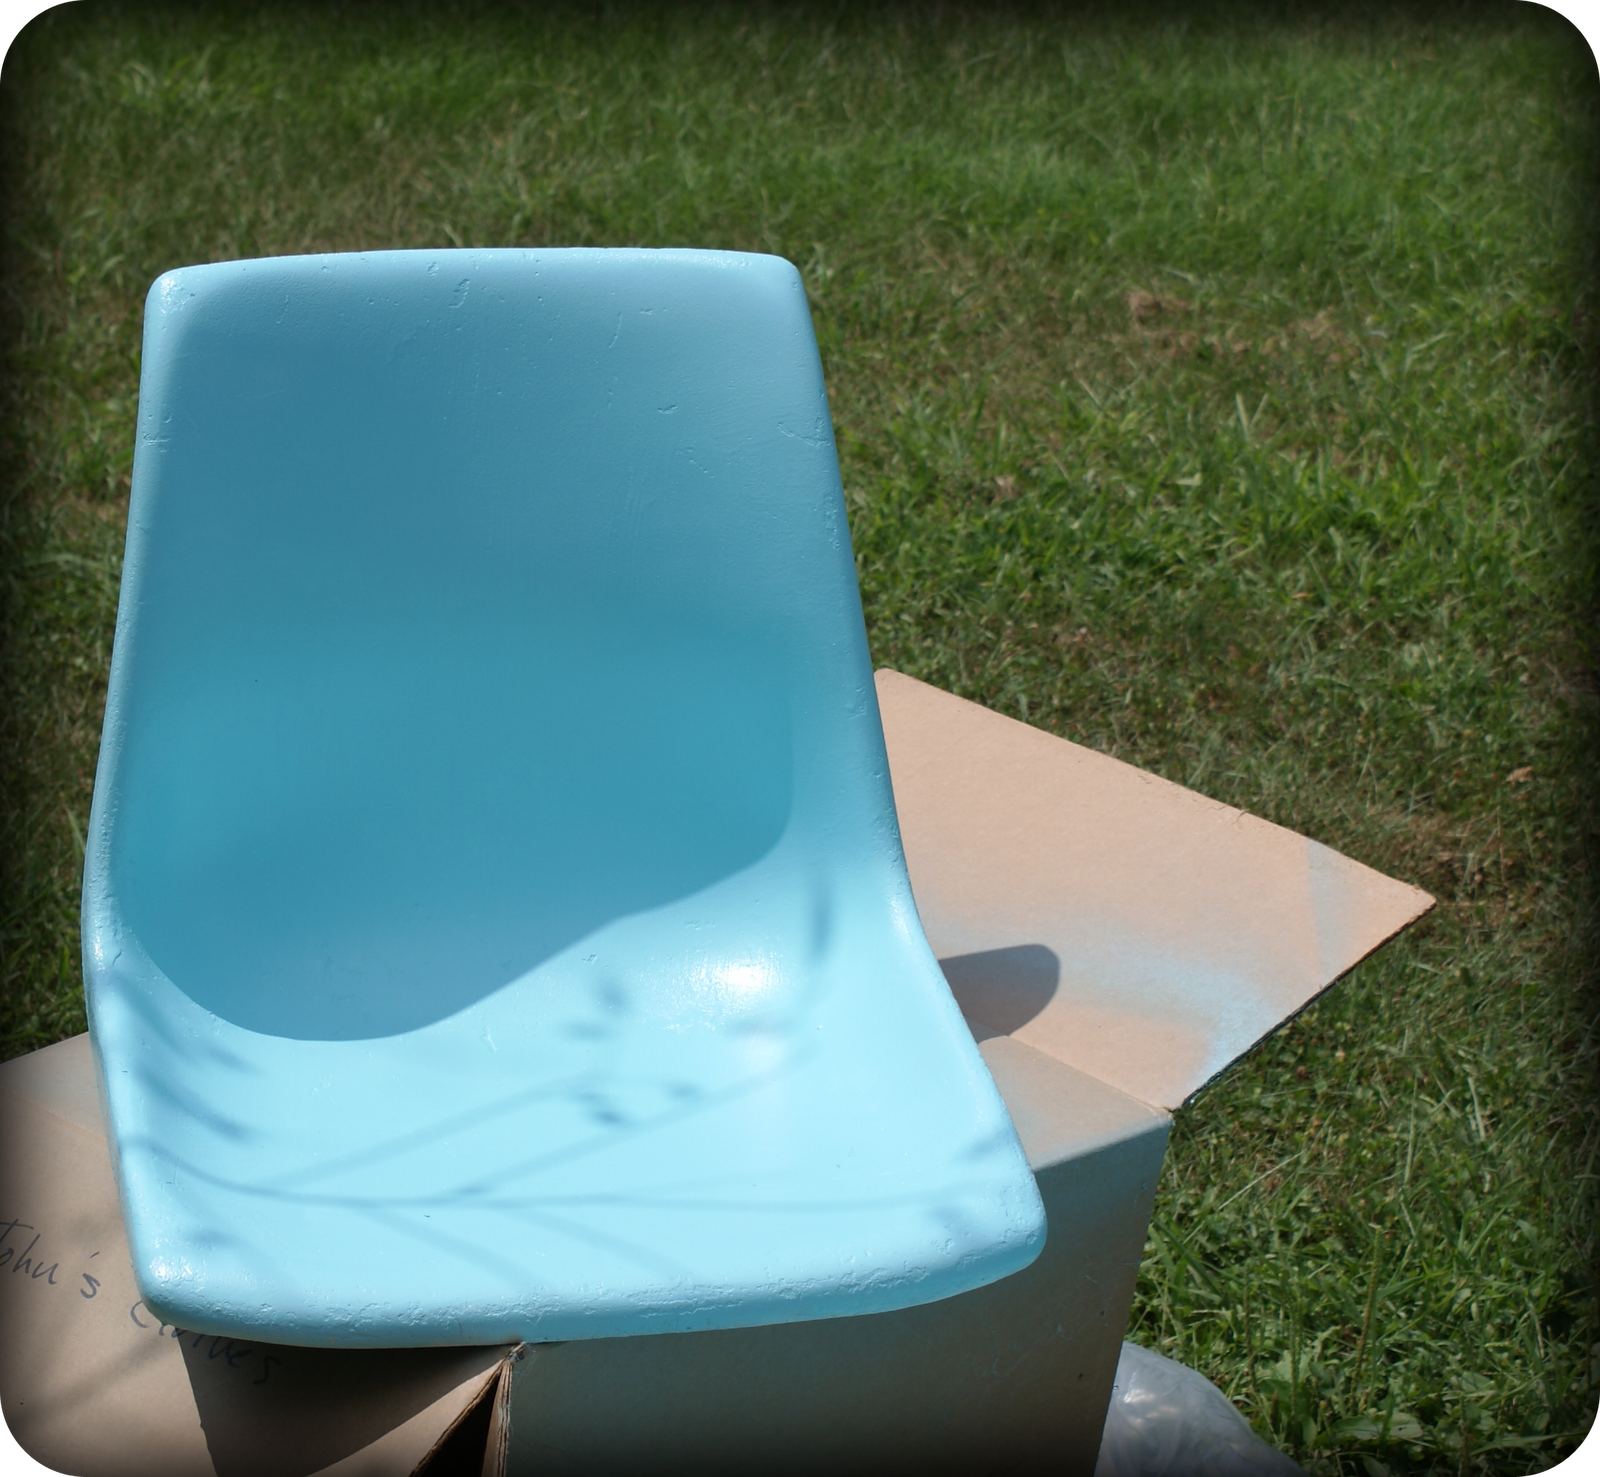
- Turn chair over and remove screws holding the seat down. Remove seat from frame and take off fabric and padding. Depending on the condition of the padding, you can either replace it or reuse it under the new fabric. Here it is after I took off the fabric.

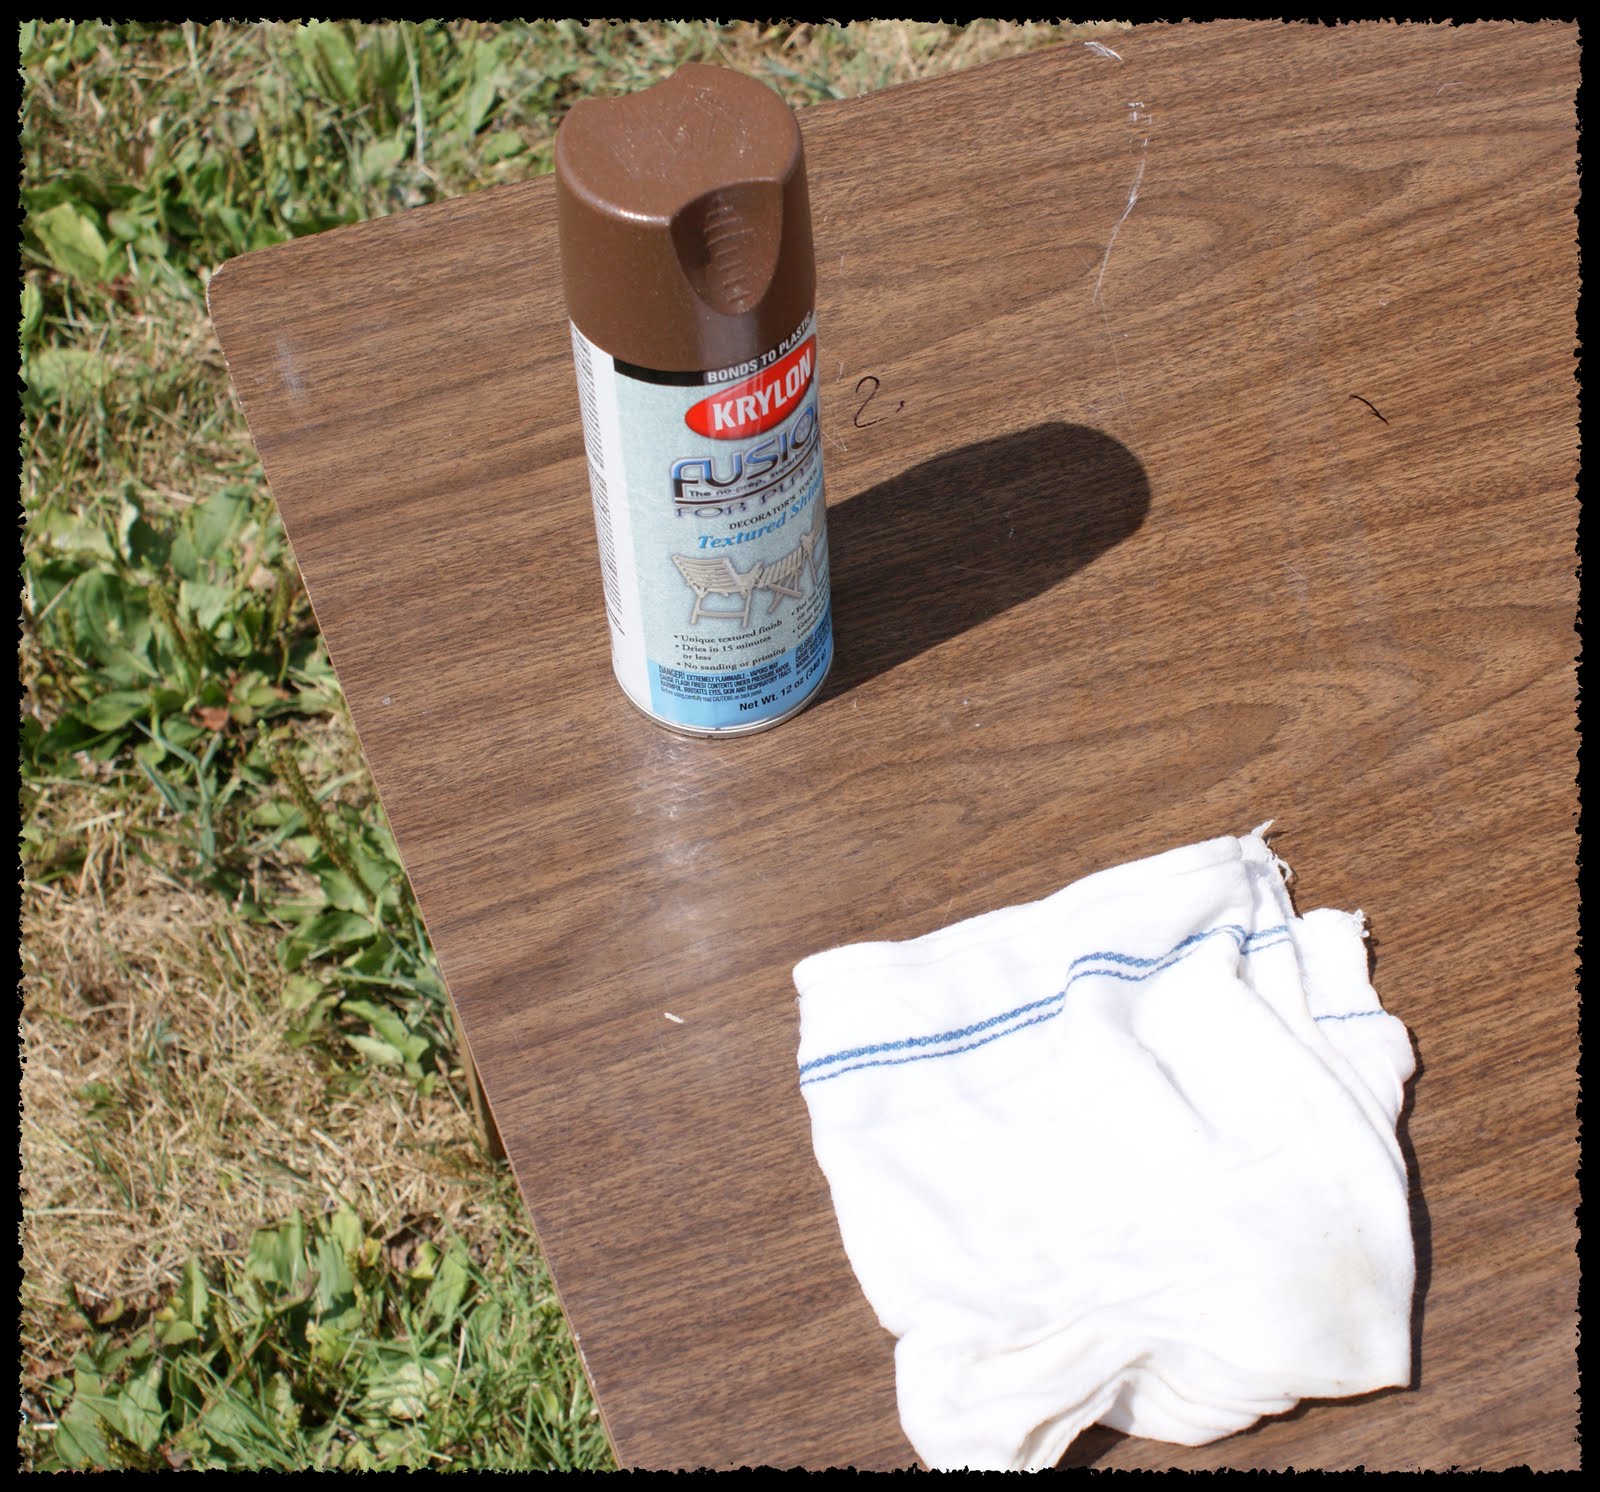
- Lightly sand the chair and wipe away the debris with a damp, lint free cloth
- Primer and let dry per instructions. I left mine to dry overnight. You could just spray paint and skip the primer step, but I wanted to take my time with this one. It was worth waiting.

- While that was drying, I cut the fabric from a canvas drop cloth I picked up at Lowe’s for $5. I just put the seat form on top of the fabric and traced around it, allowing about 5 inches all around to account for the padding.

- Using a plaid stencil I picked up at Michaels, I stenciled the cut piece of fabric. I used spray adhesive and a stippling brush.

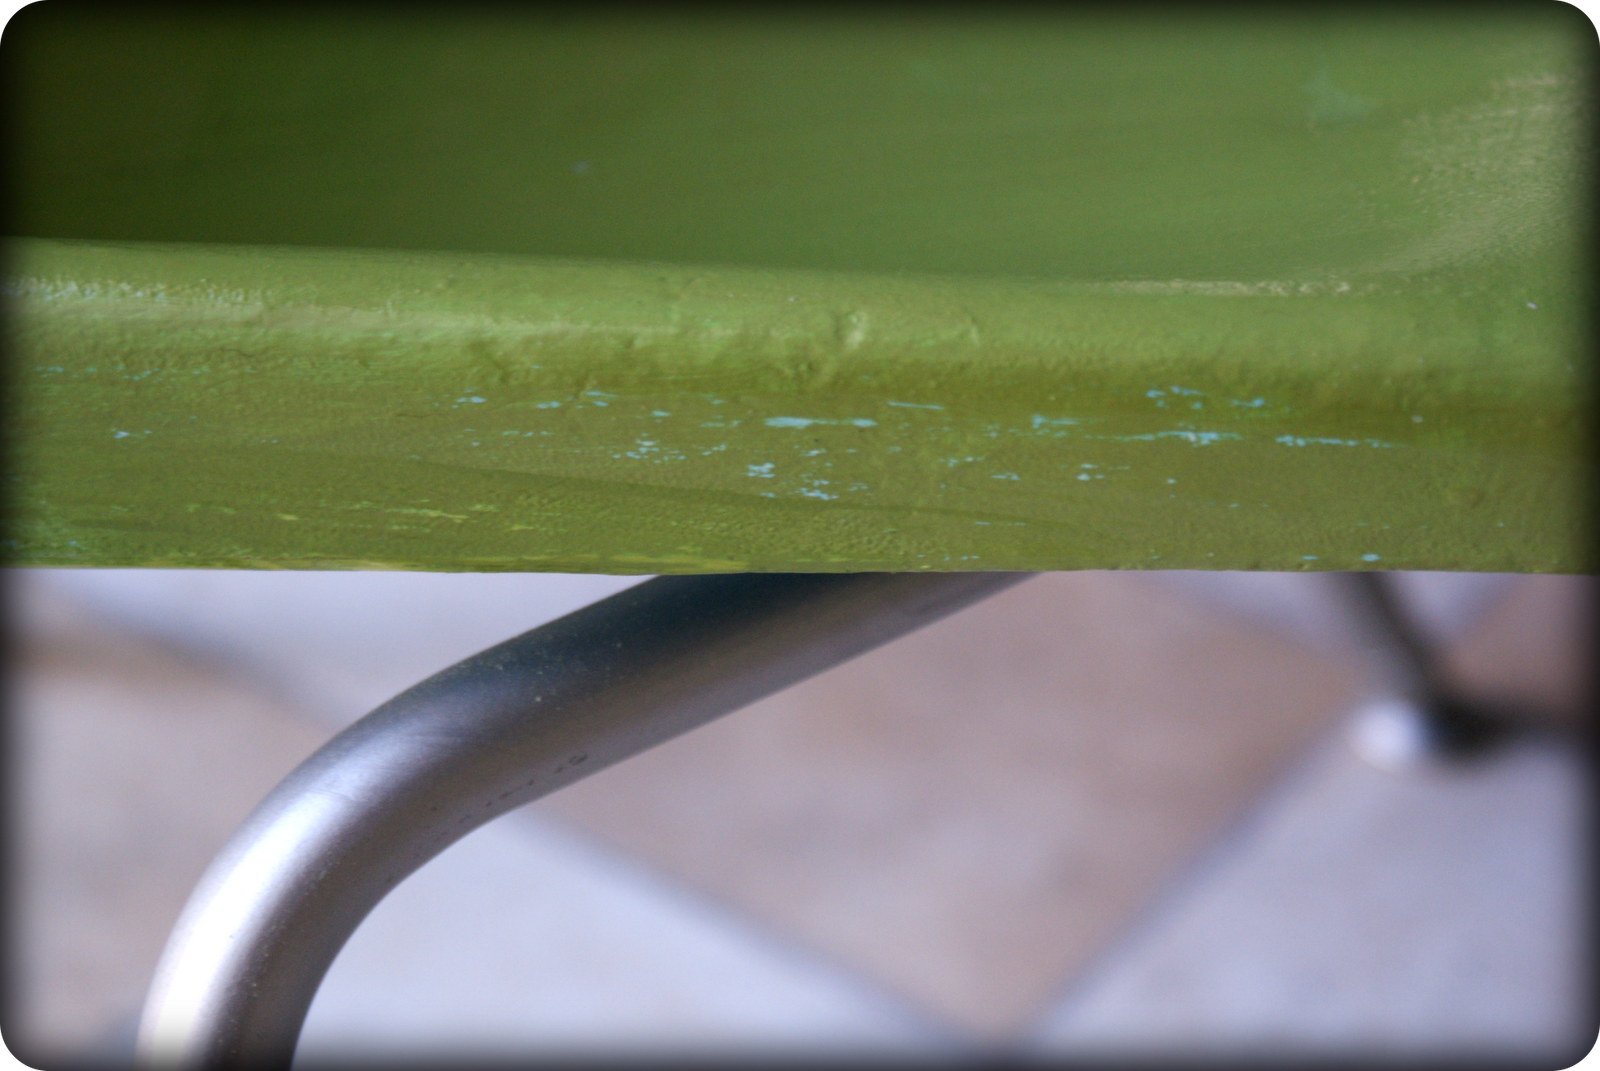
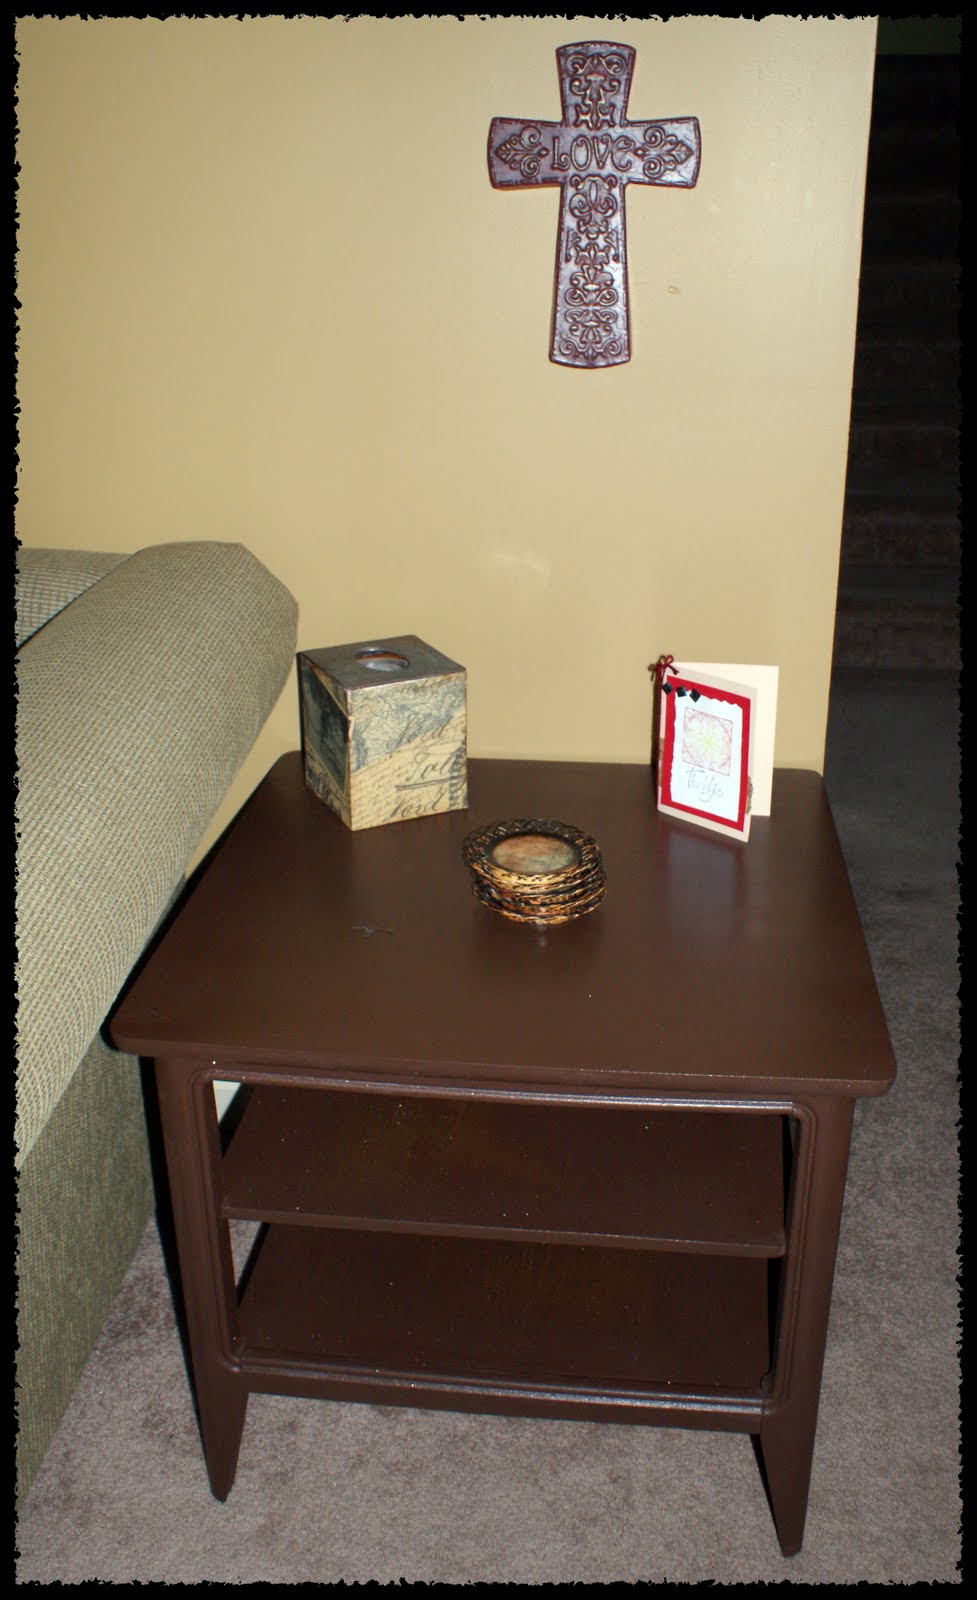
- I painted the frame with Martha Stewart’s new craft paint in Raspberry Ice and sealed with Krylon spray matte finish.
- Cover the seat with the newly stenciled fabric by stapling one side over the padding and seat form, then pull it tight and staple the other side. Finish by stapling all around , tucking in the corners like you are wrapping a present. That is it!


What do you think? Not bad for a curbside find! I can’t wait to submit it to the new site, Roadkill Rescue!


