Search Results for: upcycle

DIY Wood Pallet Dog Feeder

Dog-Feeding-Station-from-Wood-Pallet copy

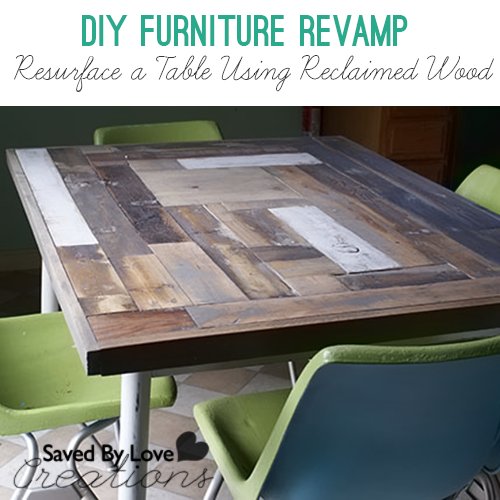
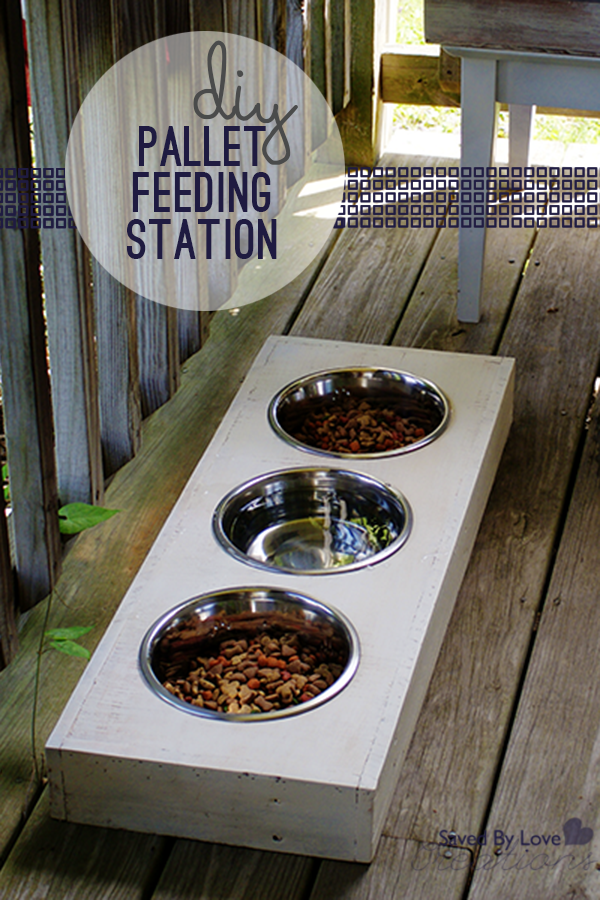
Today I am sharing with you a quick and easy reclaimed pallet wood dog feeding station.  You can make this piece in an afternoon and for little to no cost.  The only thing I didn’t have on hand and had to purchase were the bowls, which I found for $2 each at WalMart.

DIY Wood Pallet Projects

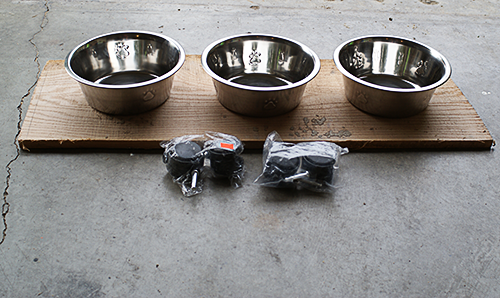
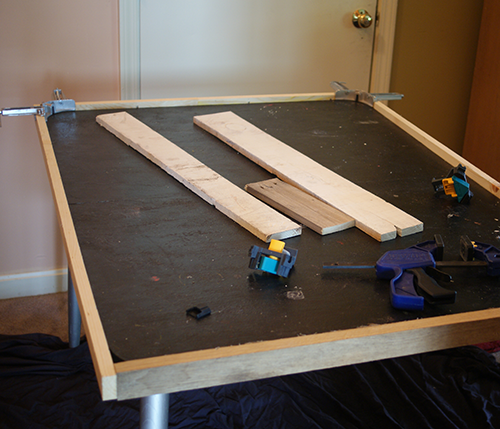
I started with a piece of wood I got from a friend that was wide enough for the diameter of the bowls.  My bowls are 9 inches in diameter, the wood 11.5.  You see casters pictured, but I decided not to use them.

DIY pet projects

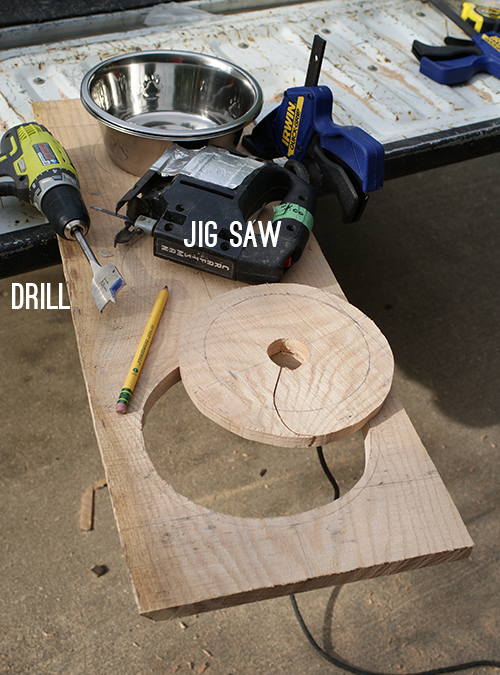
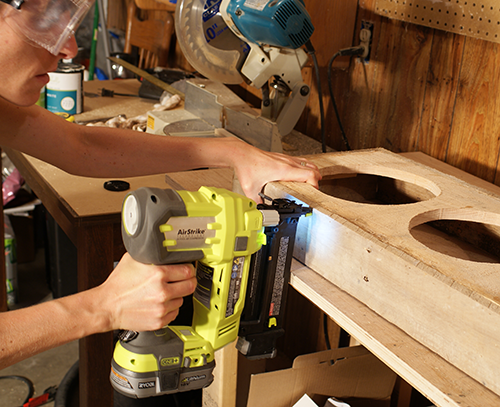
I eyeballed this whole deal by Just placing the bowls upside down, evenly spaced on the board, then tracing them with a pencil.  I drilled a hole inside each circle to insert the jigsaw blade, then cut to the circle outline and all the way around it to create the hole for the bowls.

DogFeedingStation3

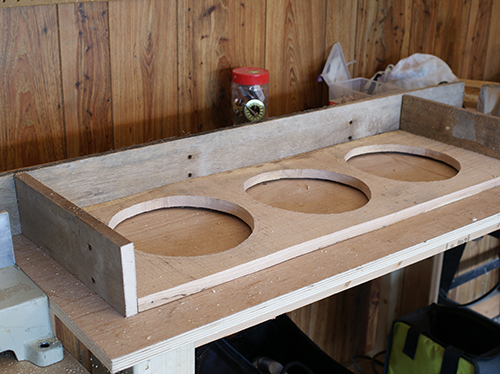
Using wood from pallets I had broken down previously, I cut the sides and front/back to size.

DIY Reclaimed Wood Project #upcycle

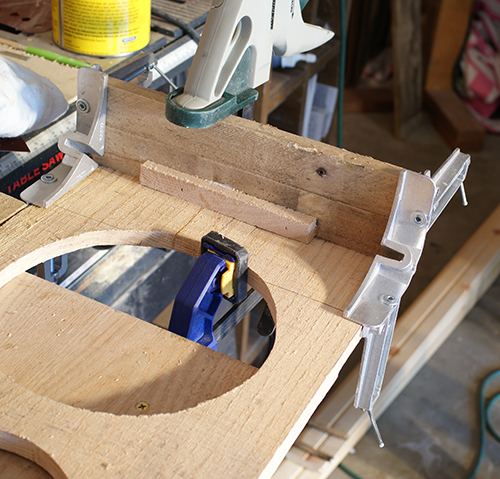
I used a small support as pictured, and attached with wood glue and nails (see below), holding square with corner clamp.

@RYOBIpowertools air nailer

@RYOBIpowertools air nailer

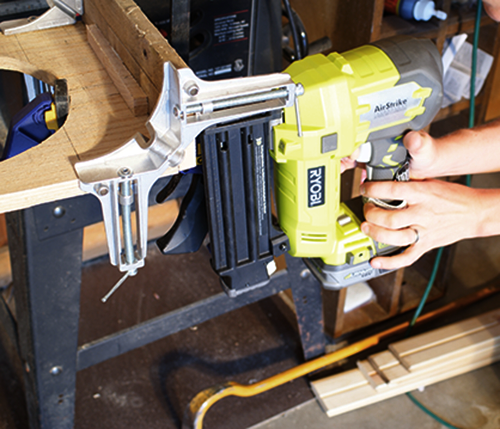
This Ryobi AirStrike has my heart.  Cordless, lightweight, powerful, it really doesn’t get any more convenient.

Sanding distressed piece

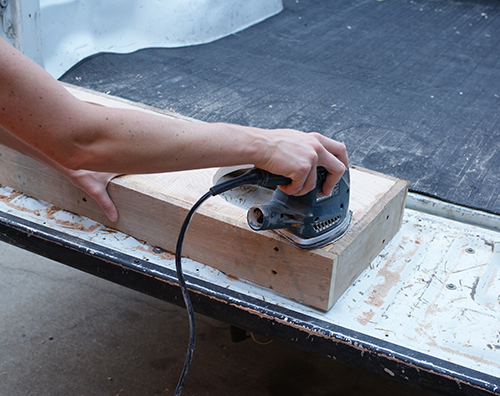
After it was all constructed I sanded with 80 then 120 grit paper.

CeCe Caldwell Chalk Paint Project

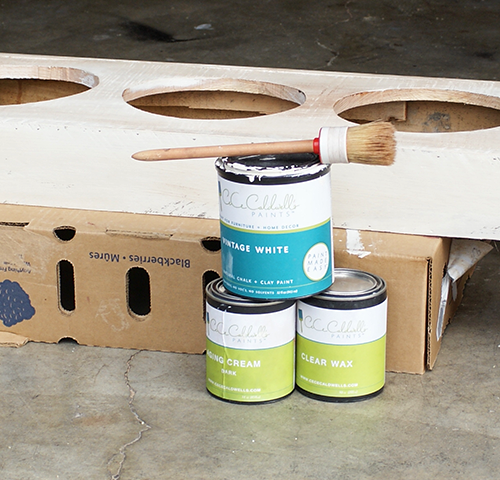
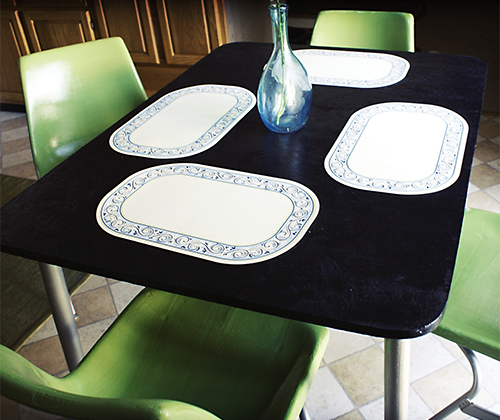
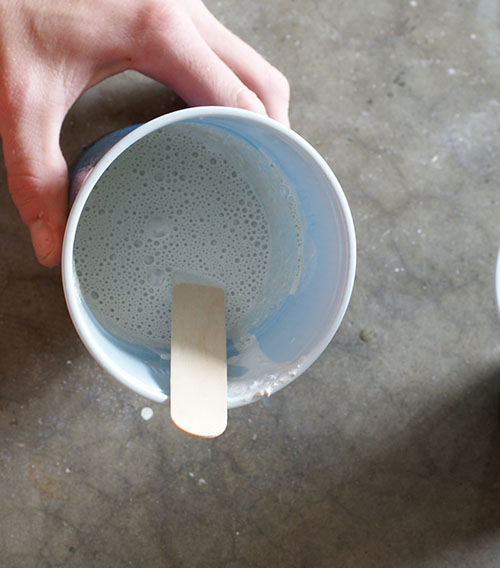
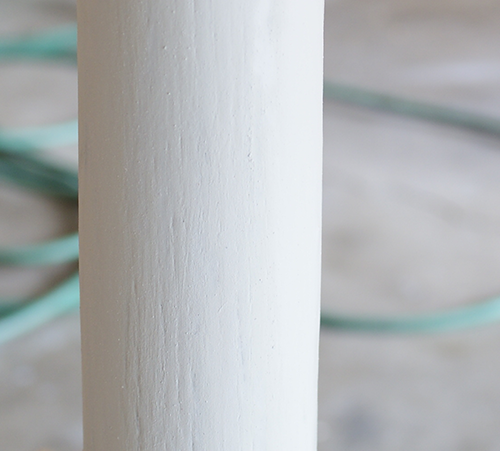
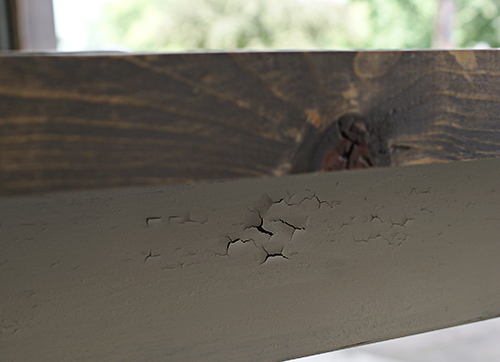
I used CeCe Caldwell Chalk & Clay Paint to finish.  First I painted Vintage White Chalk & Clay Paint then coated Clear Wax followed by Aging Cream Dark.

DIY Dog Feeding Station from #woodpallets #reclaimed #upcycle #chalkboardpaint

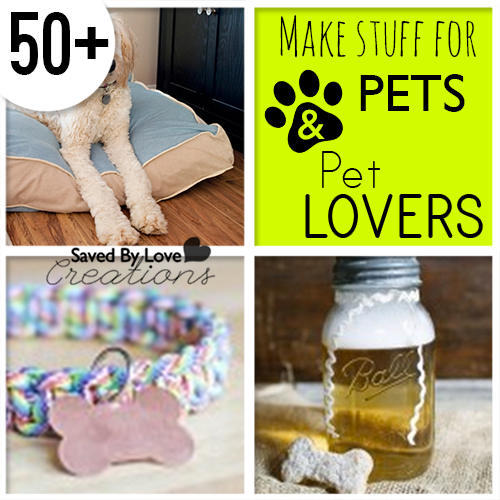
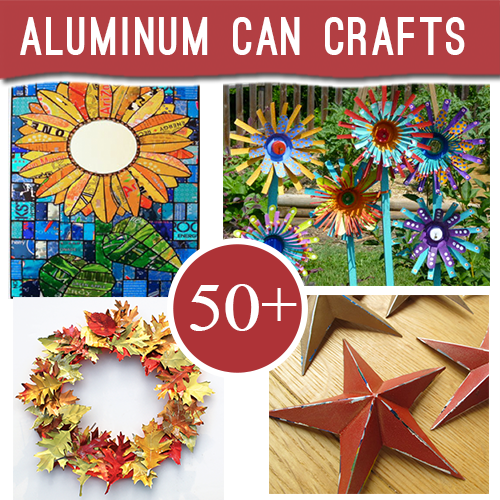
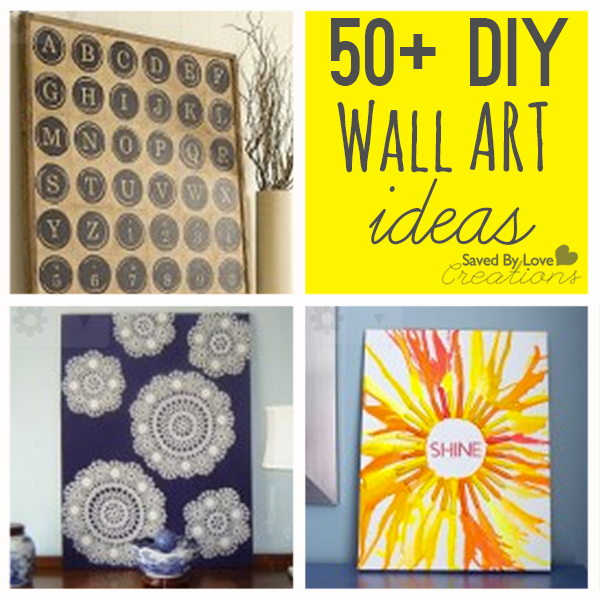
Want more DIY pet projects?  Check out our 50+!!

Mosaic Frame From Recycled Gift Cards + Free Printable

[pinit]
How to Make a recycled gift card Mosaic frame, + cool free Psalm 56:3 scripture verse printable from @savedbyloves

[pinit]

Hi Saved By Lovies!  Today I am sharing with you a fun project you can make for next to nothing using recycled gift cards/credit cards.  It has all my favorite components, and if I know you at all, yours too.  It is a great upcycled craft project, lending to a unique piece of home decor that will leave your friends saying “You made that from what?”.  Oh yeah, and since I created a printable to go inside of my new frame, you get that too.

Are you ready?  Let’s do this.

Recycled gift card mosaic picture frame tutorial #upcycled #recycledcrafts

Supplies:

Sizzix home decor project #Sizzix #recycled

Old Gift/Credit Cards (I have had everyone under the sun keeping these for me for months and months)

I used my Sizzix machine and the Squares #3 Die (which is on sale over there for $8.79), but you can use cut squares from your credit cards with hefty scissors, like Tonic Studios Tim Holts Scissors

Craft Glue like Crafter’s Pick, which I use for just about everything.  It is non toxic, strong as can be and is great for metal, paper and more

Frame to mosaic

Acrylic paint for tiles if you don’t want to use them as they are (I used Tim Holtz Distress Paint because I am head over heels in love with it)

Free Scripture verse Printable Psalm 56:3

If you want to use the printable I created from Psalm 56:3, just right click the above thumbnail and the full res version will magically appear.  Save it and have it printed your preferred way, or print from your computer.

This verse is coming up all over the place for me, and I use it whenever life hits to remind me that I am held.  I created the printable in Photoshop specifically for this frame, so I went simple black and white since the credit cards have lots of color.  I used Gill Sans, one of my go to fonts.  The lovely crown and design element at the bottom come from Karen at The Graphics Fairy.  What would I do without her library of images??!

Find them at the following links to use in your own creations:

Free Vintage Crown Graphic

Free Ornamental Graphic Separators

TUTORIAL:

CreditCardFrame2

Cut and paint squares from gift cards into the size you want for your mosaic surface.  I used the small and next up size from the Sizzix Square Die.

How to Mosaic a Frame

Lay out your “tiles” to get the design you want before you begin gluing.  Trust me.  Do that.

How to glue on Mosaic Tiles

Once your tiles are dry, adhere them to the surface of your frame using craft glue.  I put some craft glue in a cupcake wrapper and applied it to my tiles with a scrap piece of plastic.  You can use a popsicle stick, paintbrush or whatever.  Use a thin layer of glue so that if you move your nudge your tiles to get the spacing you want, you won’t have bleeding out from the edges.

How to make upcycled home decor; DIY mosaic picture frame from recycled credit cards

Let the glue dry so the tiles are secure and add a photo, mirror, or even leave empty as a design element all in itself!

Upcycled gift card home decor; How to Make a Faux Mosaic Picture frame

If you like this project, check out the 20+ Gift Card Projects to Make at Totally Green Crafts

20 Ways to Upcycle Gift Cards

DIY Recycled Can & Plastic Bag Flower Pendant

[pinit]
Make #upcycledjewelry from #recycledaluminumcans &#plasticBagCraft @savedbyloves

 [pinit]

Recycled crafts are a favorite of mine, especially upcycled jewelry.  Today’s project brings these together in flower pendant made from recycled aluminum cans and plastic bags.  It’s true.  I used a combination of techniques I have shown you in the past; dissecting aluminum cans and fusing plastic bags, both to be die cut with my Sizzix.  This project is fast, simple, eco friendly, and pretty awesome.

SUPPLIES:

Sizzix Die Cut Machine

Flower Layers #2 Die

Soda can

Metal snips

Chain for stringing pendant

Hole punch or hammer and nail to punch hole

Eylet and Eylet setter – I use Crop-a-dile

Paint for petals or you can use the color of the can – I used Vintaj Patina Antiqued Copper

Plastic Bags

Copy paper

Iron

Ironing board

2 pairs of chain nose pliers

Aluminum Can Crafts #recycledcrafts #upcycledjewelry Pendant tutorial

TUTORIAL:

The following video shows how to prepare the can and die cut the flower petals.  You will use the Flower layers die instead of the rose die in the video.

*If you don’t have a Sizzix, you can still cut the can with paper punches like I showed you in this

As you can see in the pendant photo, you need 2 of the larger petal layer cut from aluminum cans.  Paint them if you are going to.  It would look cool with a fun color/patterned can too!  If you are painting them, use alcohol inks, Vintaj patina or spray paint for metal.  Acrylic paint won’t stay put.

Now to cut prepare the plastic bags for cutting with the Sizzix, you need to fuse them as I showed you in this Recycled Plastic Bag Bracelet Tutorial

Die cut the two smaller flowers from your fused plastic bag material.

Now you are ready to layer your petals.  Hole punch the center of all 4 layers then, arrange them in a staggered fashion and insert and set eyelet.

Shape the aluminum petals with round nose pliers or a bamboo stick for dimension.  The plastic you can just fold into position with your fingers.  It won’t bend and hold shapes like the aluminum, but you can cup it some.

CHECK OUT 50+ MORE ALUMINUM CAN CRAFTS WHILE YOU ARE AT IT:

Aluminum can crafts

Over 50 Easy Wall Art DIY Ideas You Can Make


[pinit]Wall[pinit]

Today’s 50+ round-up is all about wall art you can make yourself.  This is one of the first things I got into creatively.  I would cover old canvases with fabric, stapled to the back and make cheap wall art.  From there it exploded, and I tried several of the projects collected here today. You will see lots of upcycled, recycled materials used, as well as designer knock off wall decor.  I hope you are inspired to try a few yourself.  Please share if you have a worthy project to be considered for this roundup!


How to Resurface a Table with Reclaimed Wood

[pinit]
reclamiedwoodtable8[pinit]

Are you tired of your table, but not in a spot to spend money on a new one?  Do what I did and cover your worn out kitchen table with reclaimed wood from pallets, fences and whatever scraps you have on hand.  This project was fast, easy, cheap, and I am in love with the new look.  I used milk paint for the legs, a first for me.  I finished with CeCe Caldwell wax and aging wax.  Read on for the full scoop from planning to finish!

25centChairs11 copy

I told you about this table/chair set I got at Habitat Restore for $6 and revamped a couple of years back.  I spray painted the table top black and the legs silver, the chairs blue and green and this has been our kitchen table since 2010.

Make a table from reclaimed wood #upcycle #woodworking #reclaimedwood

I measured the table’s length and width and cut 1×2 pieces I had on hand to frame the it.

Connect frame with Kreg Jig Pocketholes

I connected the sides to each other with  wood glue, a Kreg pockethole and 1 1/4 inch Kreg screws and held them together with corner clamps while the glue dried..  I glued the frame to the table sides with wood glue and 2 inch brad nails, holding in place with clamps until glue set.

For the boards on the top, I just placed them and marked where I needed to cut the ones that stuck over the edge.  I cut them, glued the boards in place, and used my nailer to nail some down for added security.  I let that dry overnight, planed and sanded the top, stained with weathered wood from Minwax.

How to use milk paint, distressing furniture with milk paint

I used this milk paint, which comes in a powder that you mix with equal parts warm water.

SONY DSC

milk paint on table legs

This is after one coat.

Reclaimedwoodtable8

This is after the second coat with 1 hour dry time between.

Reclaimedwoodtable14

I love where this chippiness happened!  I wanted the look everywhere, but it happend where it wanted.

Reclaimed wood resurfaced kitchen table diy #furnituremakeover #woodworking @savedbyloves

I painted a few of the boards with the leftover milk paint.  I distressed the legs with my hand sander in some spots.  To finish, I sealed with a coat of CeCe Caldwell clear wax, followed by aging wax all over.

Resurface a table with Pallet Wood

50+ Things to Make From Picture Frames

[pinit]

50+ Creative Things to Make From Picture Frames #repurpose #upcycle #diy @savedbyloves[pinit]

Did you know that there are loads of ways to use picture frames other to displaying pictures?  If you love to think outside of the box like I do, you are going to want to check out these projects. Today’s collection is packed with creative ways to repurpose picture frames into storage, home decor, furniture that looks designer, costs way less and puts discarded frames to great use.


How to Make a Paper Feather Wreath

Learn how to make this paper feather wreath by Lia Griffith, featured @savedbyloves

[pinit]

This paper feather wreath by Lia Griffith is just the accessory to top off your summer home decor.  Lia used 36 paper feathers and a 12 inch wreath form to make this beauty.  Head over to her post for the link to the leaf template and create your own inexpensive, fabulous wreath in colors that scream you.

To make it even cheaper, check out this aluminum can leaf wreath post where I showed you how to make your own wreath from from cardboard.

Speaking of paper feathers, check out how to make these earrings I shared recently.  Might as well cut 38 instead of 36, right?!

50 Plus Top Patriotic Projects to Make

[pinit]
The 50+ best Patriotic Crafts in the world @savedbyloves

[pinit]

Today I am excited to share 50+ of the best patriotic projects on the web.  It is time to get the red, white and blue going.  Summer is here, fourth of July is right around the corner.  This round-up has home decor, jewelry, upcycled projects and more, all with an American flare.  Enjoy!


50+ Creative DIY Jewelry Organizers

[pinit]
Over 50+ Creative DIY Jewelry Storage, Organization, Display @savedbyloves

[pinit]
If you are like me, the organization of your jewelry is… well, not good. It is a problem. Think outside of the jewelry box with these creative organizers you can make yourself in a jiffy. You probably have materials on hand for several of these. My personal favorite is the old rake. How about you? Have you conjured up a way to make your own display? Do share! We would love to include yours.

The 50 Plus Best DIY Summer Centerpiece Ideas

50 plus Gorgeous DIY Centerpieces FB

UPDATED!! A great centerpiece is really all you need for your decor to look fabulous. Whether for your wedding, summer parties, or other special occasion, having gorgeous centerpieces doesn’t have to break the bank.  Getting creative with recycled cans, bottles jars and crates can keep the budget low.  Making your own flowers from paper saves cost and lends to a piece that lasts forever!

#diywedding #centerpiece

This stack planter centerpiece adorned the tables at SNAP! 2013.  It makes me think of other objects to stack for an interesting, upcycled centerpiece.  You will find a tutorial in the roundup below if you want to take a crack at making your own.


Here are the best DIY centerpieces on the planet! Enjoy.

50 plus Gorgeous DIY Centerpieces

Privacy Policy