[pinit]
I am super excited to have Angie here from Country Chic Cottage. She is one busy lady, coming up with great projects and tutorials that you can do yourself, on a budget even! Angie knows me well, and my readers too. That is evident by the fact that she created a duct tape craft to share with us. Thank you Angie!
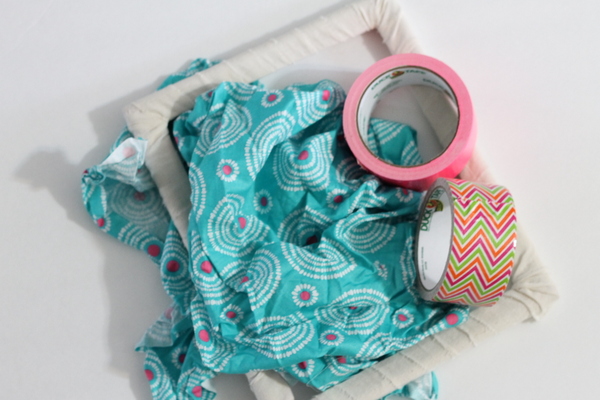
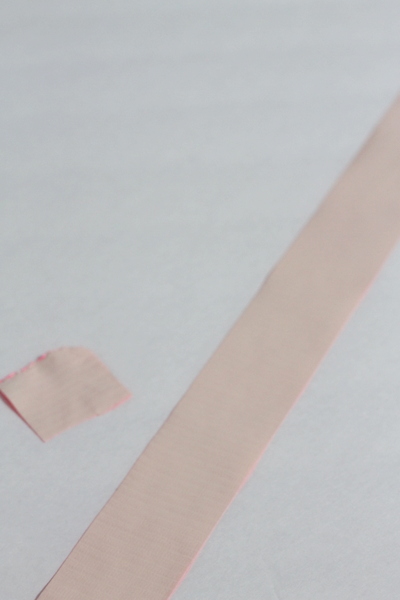
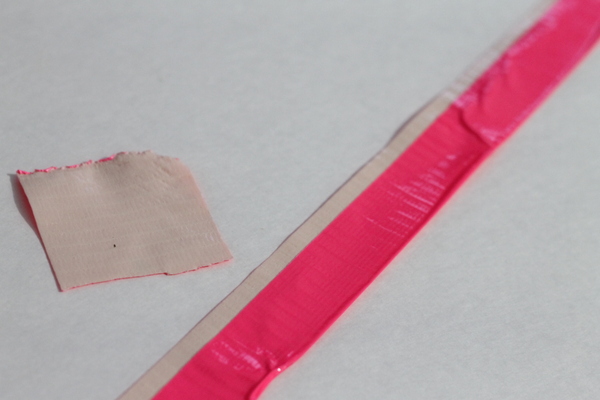
Now it is time to break out that duct tape. We are going to start by making a duct tape flower. You will need a small square of duct tape plus one long strip.
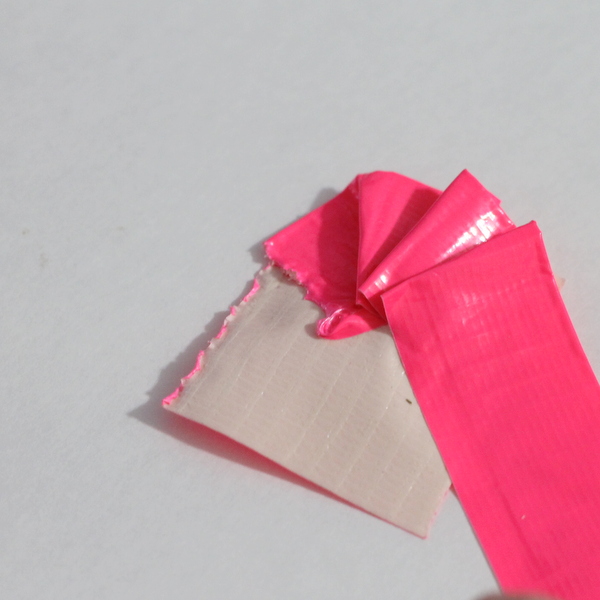
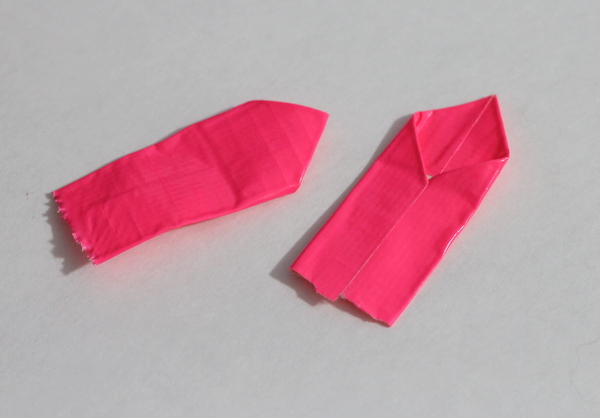
Fold your long strip over about 2/3 of the way as shown below. Also as shown below, it does not have to be perfect. 🙂
Gather your long strip onto your square as shown below. Continue wrapping around and around until you run out of strip. The longer the strip, the closer to the outside of the square you can start, and the larger your flower will be.
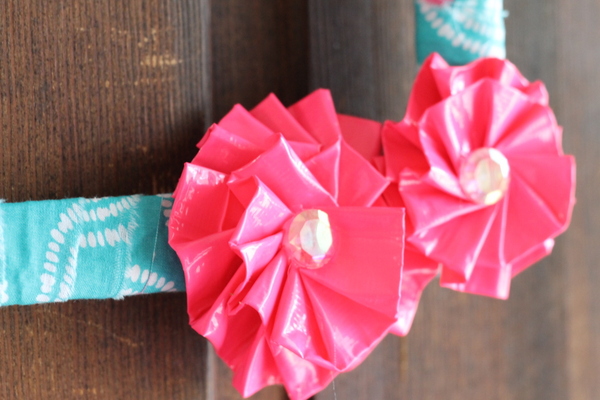
You will end up with a gathered flower something like this.
The back does not look as pretty but we are not worried about that! Note that if any of your “square” peeks out around the edge of your flower, just fold under to hide it.
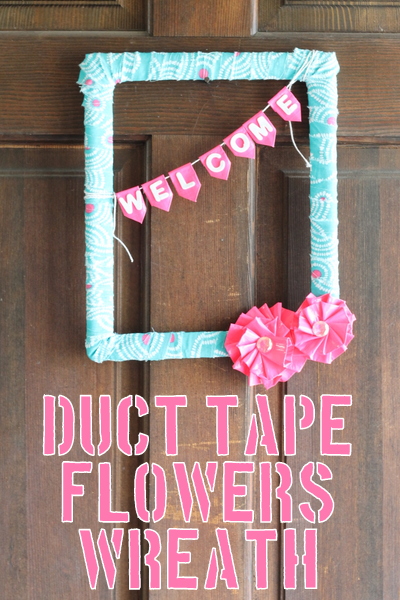
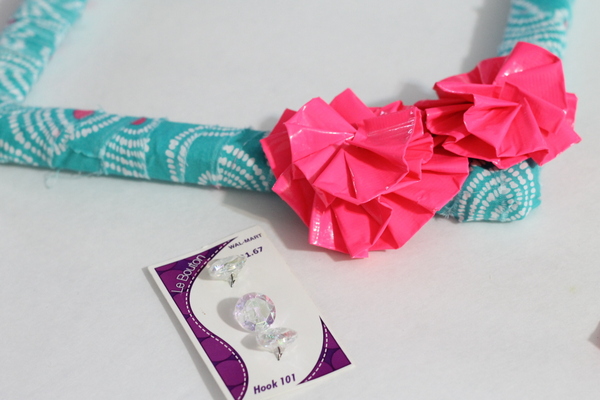
Now attach those flowers to your wreath with hot glue.
I also added a couple of buttons to the center of my flower. They added just the right amount of bling.
Now we need to make that duct tape “Welcome” banner. You will need string (I used baker’s twine), duct tape, and foam letters.
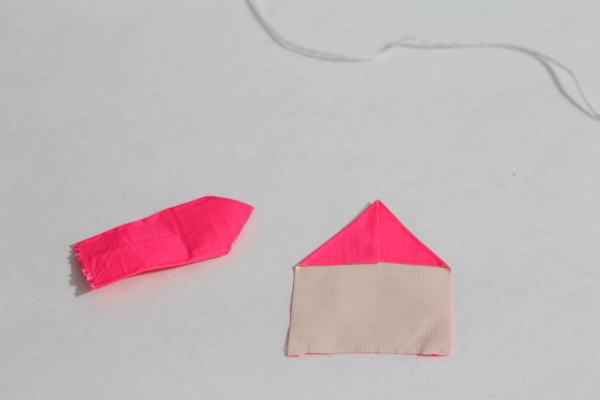
Start with a square of duct tape and fold it into a point as shown.
Then fold the sides of your square in to make a mini pennant flag.
Add your foam letters to each pennant flag.
Tie the baker’s twine onto your wreath. Add the flags by folding the duct tape over the baker’s twine and securing the flap with hot glue.
It is really that simple! Add a cheerful touch to your front door with this duct tap flowers wreath. You know you could use a little cheer during these dreary months.

