How to Make Charms

how-to-make-charms-beauty-chick-text (1)

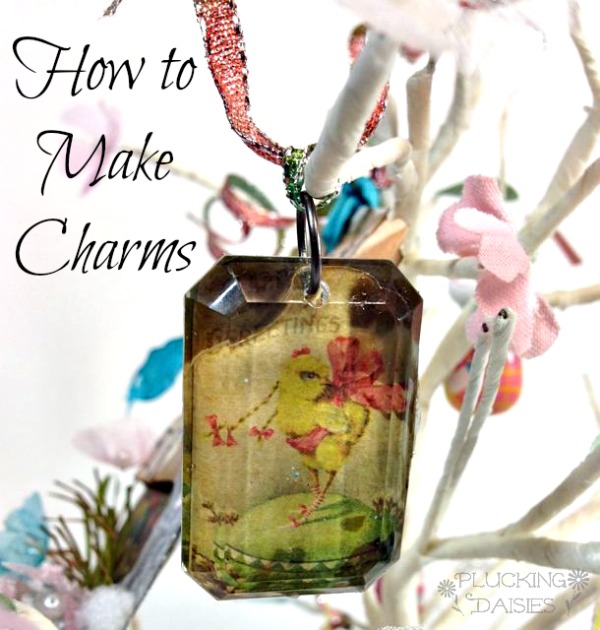
Happy spring time SBLC friends! Amy here from Plucking Daisies to share with you how to make some sweet springtime charms. These charms are super easy to make and use for a variety of crafty ventures! You can use them for custom jewelry pieces, ornaments or even wine charms for your Easter Brunch or spring celebrations!

I used my charms to decorate an Easter Bunny Tree. They are a lovely addition to my spring table decor and oh so charming!

How to make Charms | @PluckingDaisy #RangerInk

How to make Charms

You can make your own charms for adornments, jewelry, gifts and pretty much anything you can dream up. Grab your favorite images and prepare to be “charmed”!

Supplies:

Tim Holtz Idea-ology Facets or Fragments

Glossy Accents

Images or Photos (copies NOT originals)

Ribbon or Chain

Alcohol Ink

Ranger Foil Tape Sheets

Adhering Images to Charms

You can select any image you like to use when making your charms, a favorite photo (color copy), old greeting cards, a childs artwork…the possibilities are truly endless! For my charms I used these delightful vintage Easter Images from Tim Holtz Seasonal Paper Stash.

STEP 1: Apply Glossy Accents to the back of your charm and press down onto image.

STEP 2: Flip paper over and use a credit card or craft scraper to press out any air bubbles.

How to make Charms | @PluckingDaisy #RangerInk

STEP 3: Allow to dry for several hours then trim off excess paper.

Create Metal Backing for Charms

To finish and complete the look of your custom charms you can easily create a metal backing with Ranger foil tape sheets. Not only will the foil tape enhance the look of your charms, it will also smooth any rough edges and ensure your image stays put.

STEP 1: Ink a sheet of Ranger Foil Tape with Alcohol Ink. I used: Shell Pink – Salmon – Citrus – Aqua

How to make Charms | @PluckingDaisy #RangerInk

STEP 2: Emboss Alcohol Inked foil tape with Sizzix Embossing Folder. *I used Sizzix Dots and Flowers set A2

How to make Charms | @PluckingDaisy #RangerInk

STEP 3: Peel away the backing of your embossed foil tape and press cut out charms onto it. Cut around the charm leaving a slight edge all the way around. Fold edges over onto charm to secure your image.

Hanging Charms

Now that your charms are complete you will need to hang them. Whether you will be using them for jewelry, gift wrap or decor you can customize how you hang them just as easily as you made them!

STEP 1: Add Jump Rings

STEP 2: Reapply Alcohol ink to blending tool and stamp (DON’T swipe) onto Metallic ribbon.

How to make Charms | @PluckingDaisy #RangerInk

Use your stamped ribbon to create pendants, ornaments or “Charming” gift toppers!

How to make Charms | @PluckingDaisy #RangerInkI hope you enjoyed this little lesson in Charm making and will take what you learned to make some “Charming” gifts, jewelry and decor! Thanks for having me back at SBLC! Until next time…

Have a Charming Day!

Amy*

American Chocolate Week: Walmart Bakery + Starbucks = #DeliciousPairings

American Chocolate Week #DeliciousPairings #Starbucks #WalMart #StarbucksMocha Bakery at Walmart


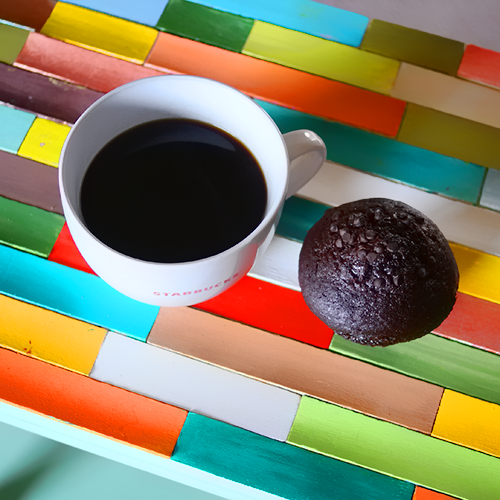
We are in the middle of marathon training in this house, which means there is a lot of tired and hungry.  When things get tough, it helps to reach for some of my favorite things – enter coffee and chocolate.  Coffee is a must in my daily routine all year round, but especially during training.  My chocolate consumption increases too.  It is a fantastic fuel source and I feel like I deserve it with all the running.  This is one of the great perks of being a runner, after all!  Plus it is American Chocolate Week.  I have a patriotic duty to partake.

American Chocolate Week #DeliciousPairings #Starbucks #WalMart #StarbucksMocha Bakery at Walmart

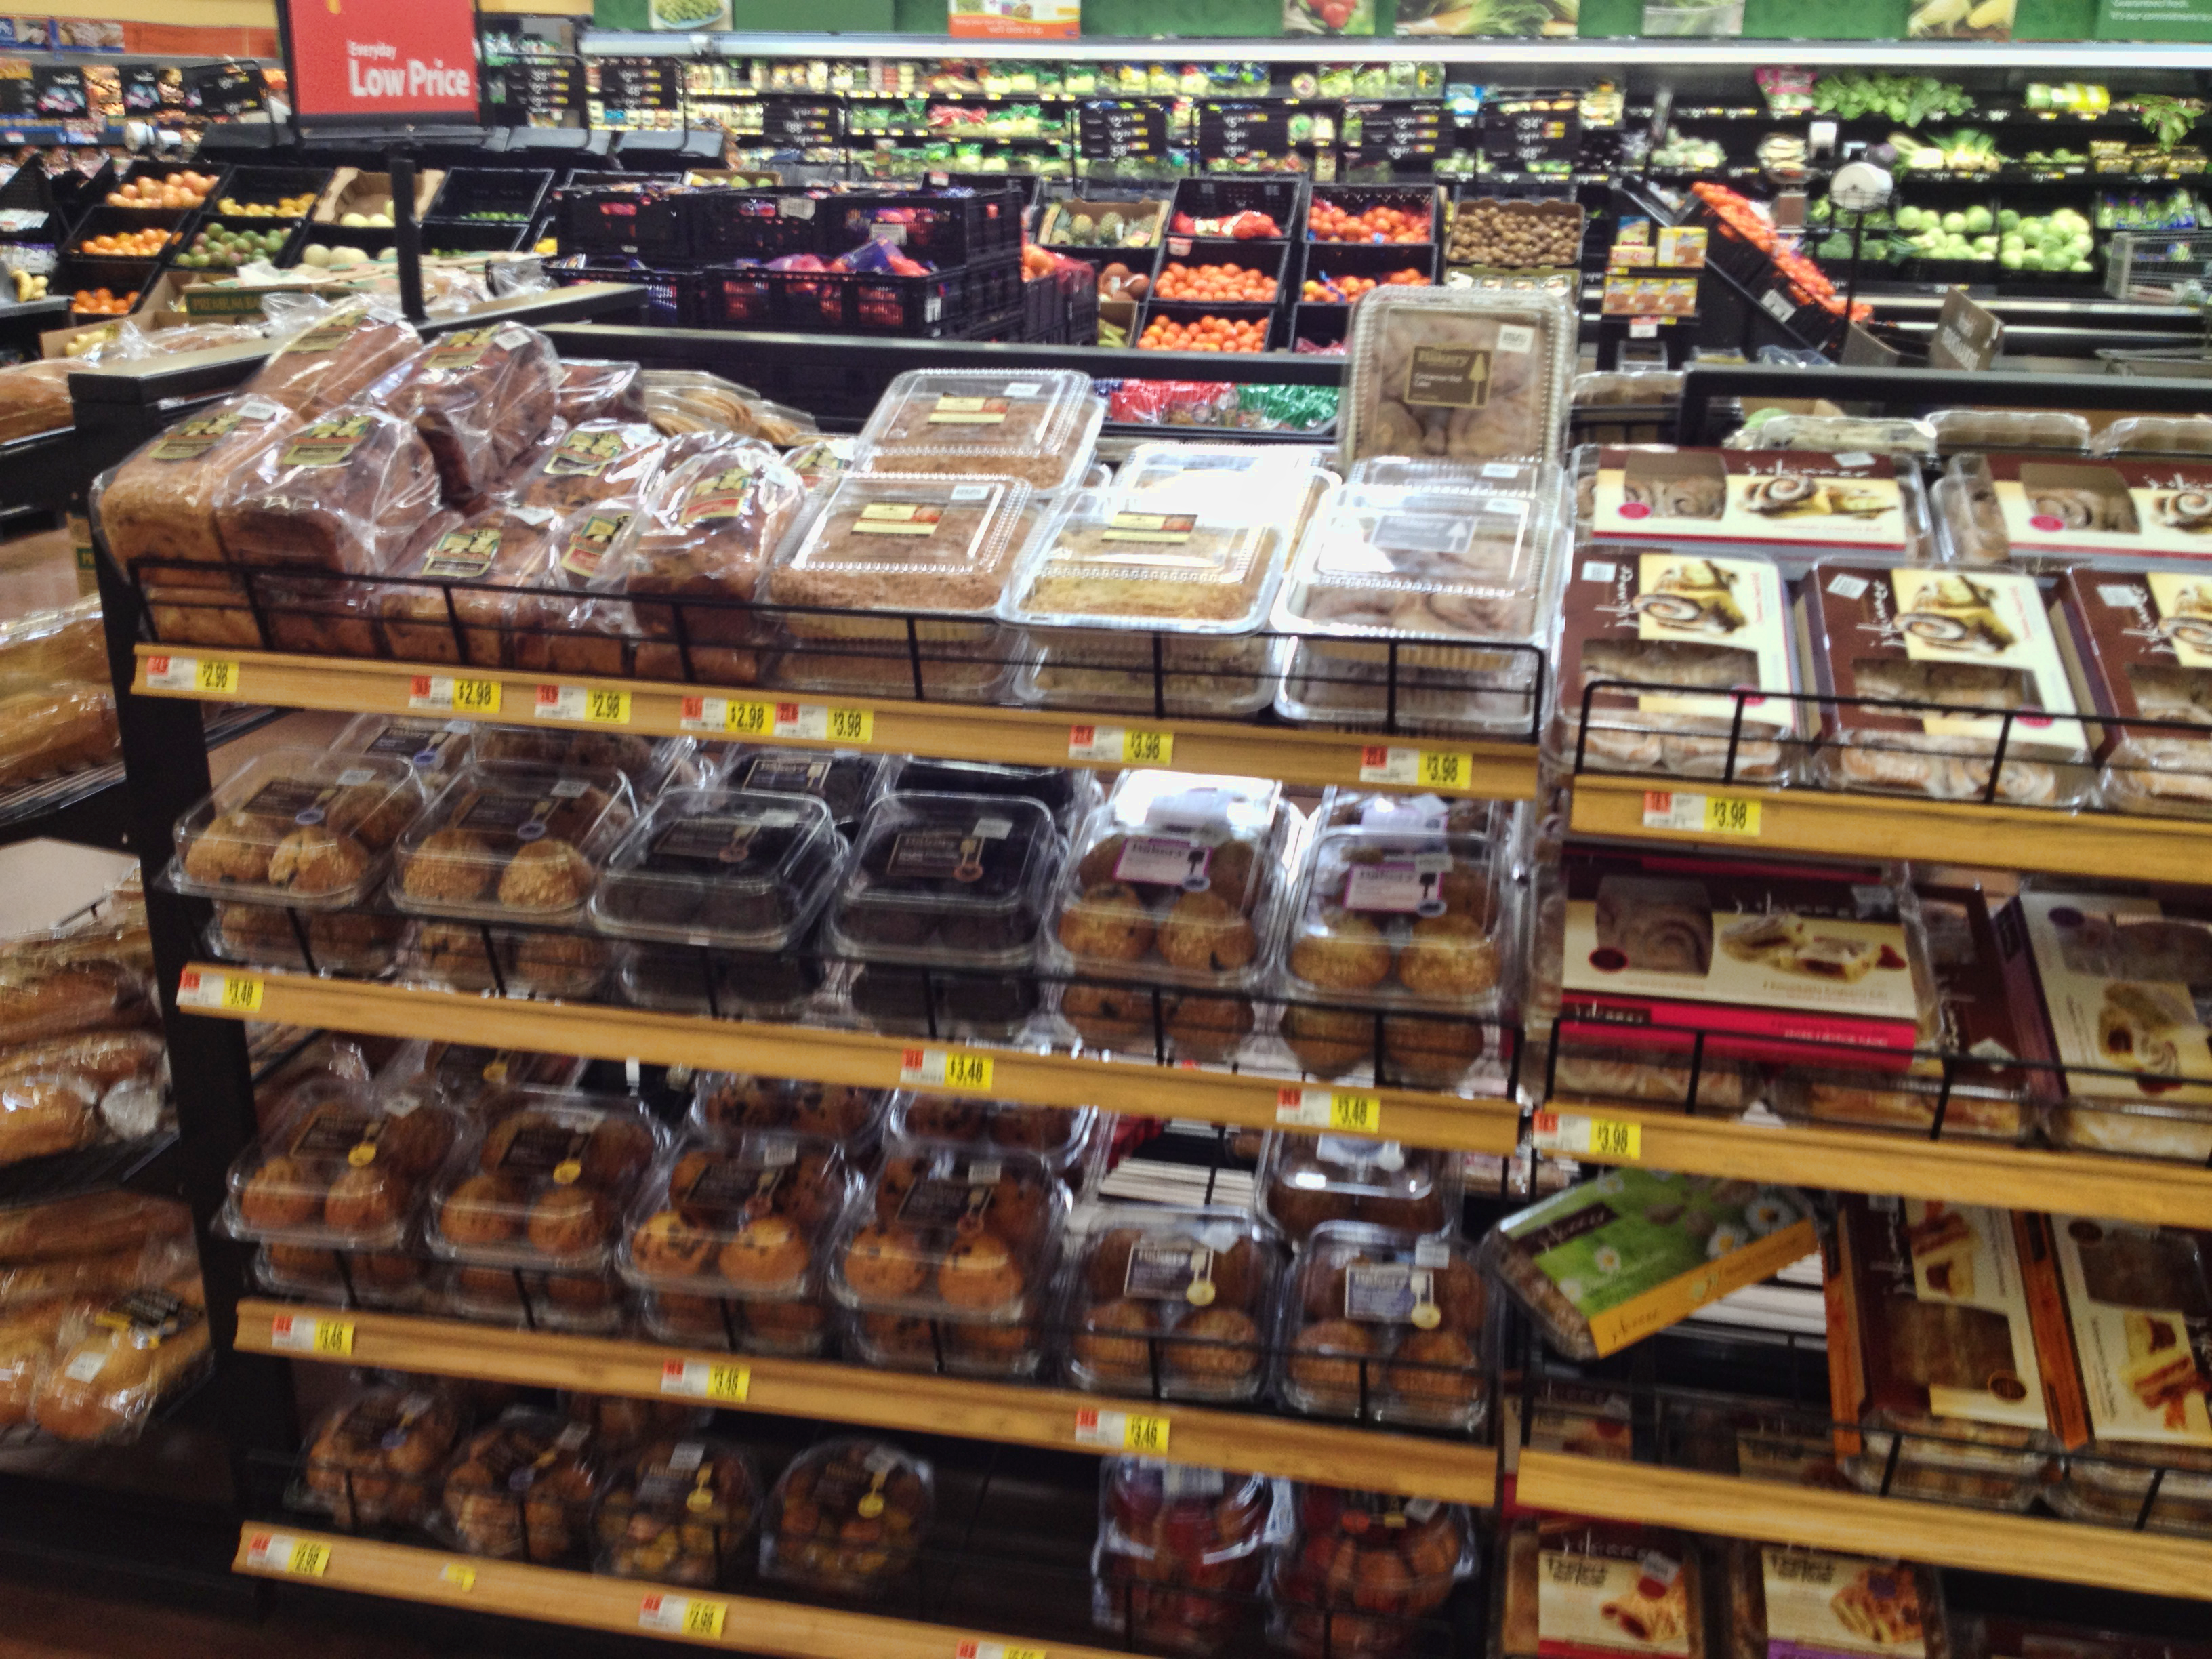
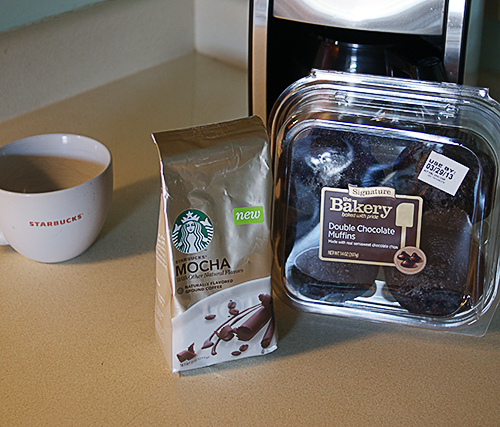
With American Chocolate Week in mind, we took a trip to Walmart over the weekend, visiting the in-store Starbucks Mocha demo.  I am a huge Starbucks coffee fan.  I visit the stores when out and about, but more often brew at home with Starbucks whole beans from the grocery store.  In Walmart stores nationwide you can find Delicious Pairings display to help you pair various Starbucks coffee blends with different bakery goods, creating deliciously paired breakfast or treats to savor.  At the demo, we learned that pairing Starbucks Mocha blend with a chocolate treat really compliments the flavor of the coffee.  This was enough of a reason for me to purchase the Starbucks Mocha Grounds in the coffee aisle, and The Bakery at Walmart Brand Double Chocolate Muffins in the bakery…

American Chocolate Week #DeliciousPairings #Starbucks #WalMart #StarbucksMocha Bakery at Walmart

American Chocolate Week #DeliciousPairings #Starbucks #WalMart #StarbucksMocha Bakery at Walmart

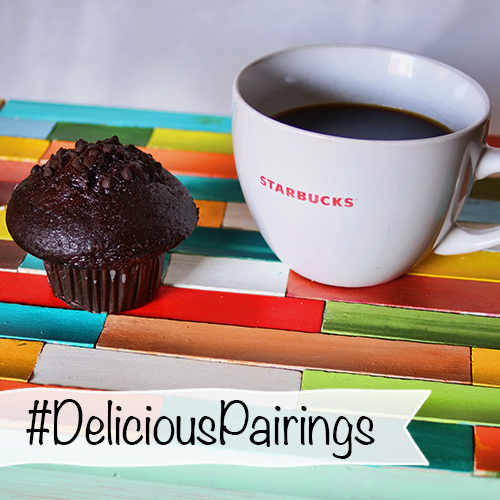
I brought my goodies home and brewed a pot of the new Starbucks Mocha.  I tried the coffee black, which is not my usual.  I am a cream and sweetener kind of coffee drinker.  It was actually pretty good.  The Mocha flavored coffee is made with a light roast bean, so I could take it black without protest.  The flavors were strong and pleasant, but after a few sips, I was ready for something to take the edge off of the bitterness.  I took a bite of the double chocolate muffins with a sip of the coffee… BLISS.  The coffee bitter notes were subdued by the chocolate, and the chips melted on contact with the hot liquid for a delightful celebration of American Chocolate Week in my mouth!   The flavors complimented one another for a duo worthy to be called a delicious pairing. I can see this becoming a regular happening!

American Chocolate Week #DeliciousPairings #Starbucks #WalMart #StarbucksMocha Bakery at Walmart

To learn more about the Mocha Roast and Double Chocolate Muffins, visit the links:

Starbucks Mocha Ground Coffee

The Bakery at Walmart Double Chocolate Muffins


I am a member of the Collective Bias® Social Fabric® Community. This shop has been compensated as part of a social shopper insights study for Collective Bias™.   All opinions are my own.  #cbias #SocialFabric


Cute DIY Button Wall Art

Make Button Wall art By Decor and the Dog, featured @savedbyloves


Today I am sharing with you a great project for decorating your craft room walls.  Michelle Decor and the Dog created this button wall art as part of a Pinterest Challenge.  Isn’t it so cool?  The color palette is calling my name too.  Go over and see how she made it happen!

Love Buttons?

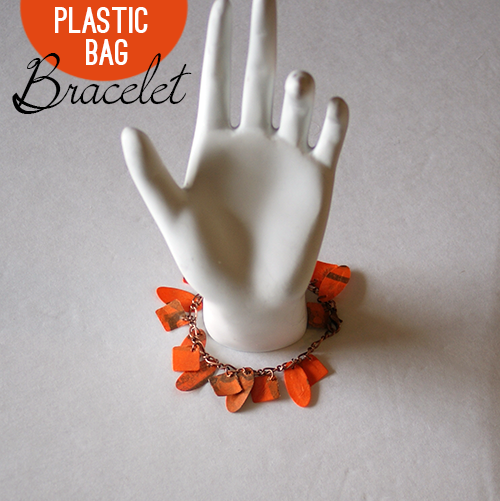
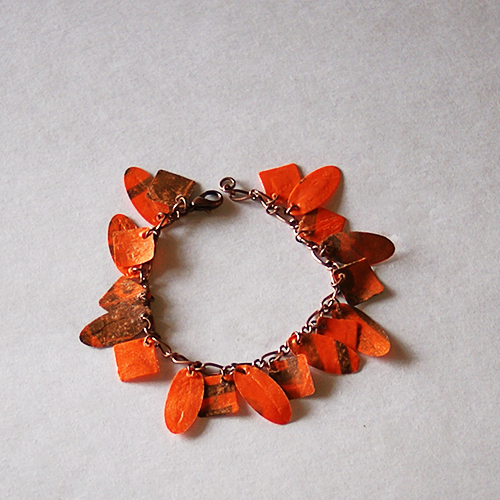
Make an Upcycled Plastic Bag Bracelet

Make an #upcycled plastic bag bracelet @savedbyloves #recycledcrafts

[pinit]

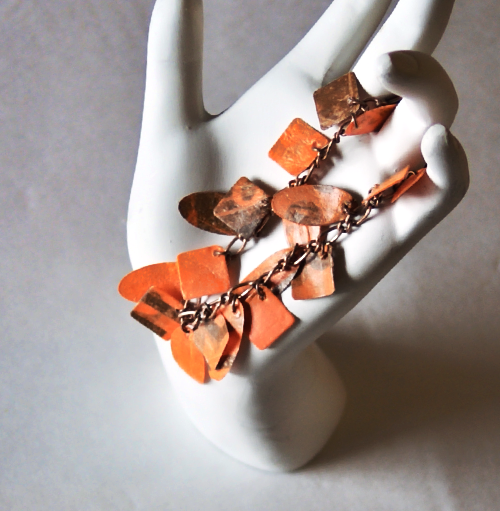
Today’s project is a fun plastic bag upcycled bracelet!  Fusing plastic bags creates a fabric that can be stitched, die cut, painted and embossed for some cool effects.  The possibilities are endless.  Keep your eyes peeled for brightly colored shopping bags and start hoarding!

SUPPLIES:

Plastic Bags

Copy paper

Iron

Ironing board

Chain Bracelet

Jump rings

Jewelry Hole Punch

2 pairs of chain nose pliers

PlasticBagBracelet3

TUTORIAL:

Turn iron onto Setting 4

To create the “fabric”  cut the handles from the bags and cut rectangular sheets smaller than your copy paper.  Layer 5-10 sheets and sandwich between the 2 sheets of copy paper

Iron 30 seconds (continuously moving iron to avoid melting plastic), flip sandwich over and iron other side for 30 sec.  Let cool 15 sec and check.  If plastic is not completely fused into one sheet (air bubbles and crackle sounds), repeat ironing and check again.

Die cut or hand cut small ovals and squares.  Hole punch and attach to bracelet chain with jump ring.  Alternate ovals and squares.

PlasticBagBracelet5

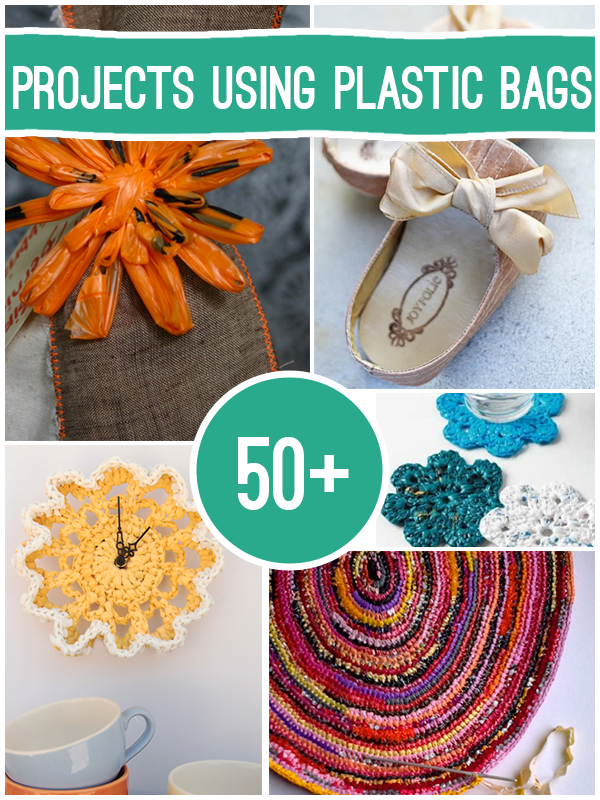
For loads more plastic bag creations to make, visit our 50+ roundup!

50+ projects to make using #recycled Plastic bags #upcycle #repurpose #DIY @savedbyloves

Easy DIY Paper Daisies

Paper Daisy DIY #Sizzix #papercraft @savedbyloves

[pinit]

Paper Daisy DIY #Sizzix #papercraft @savedbyloves

[pinit]

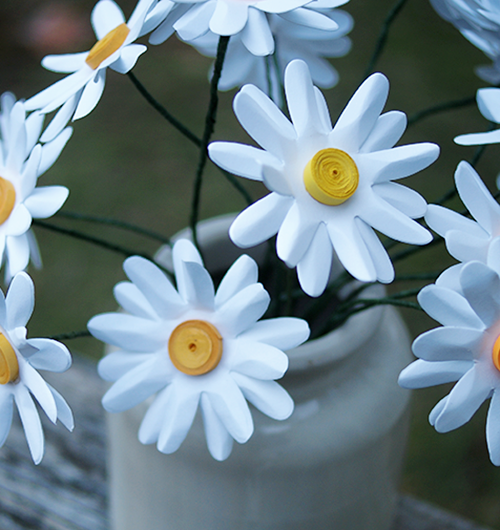
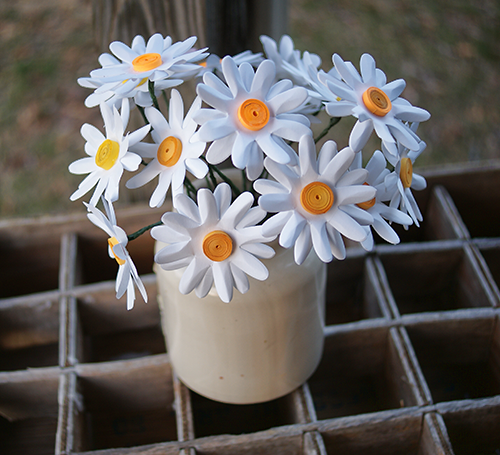
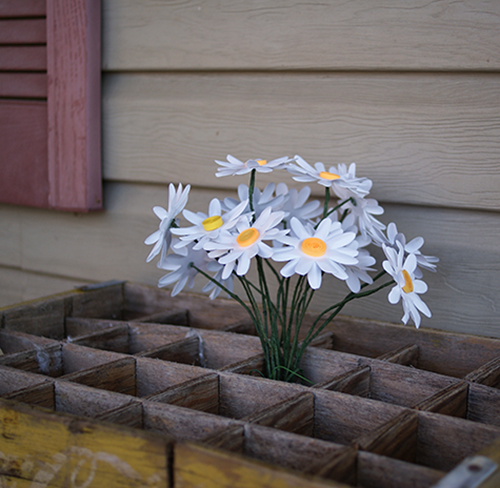
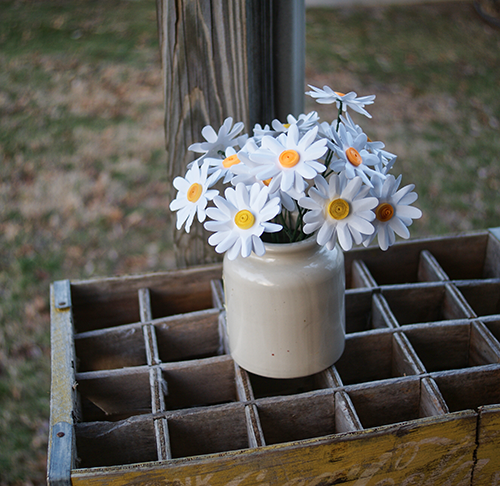
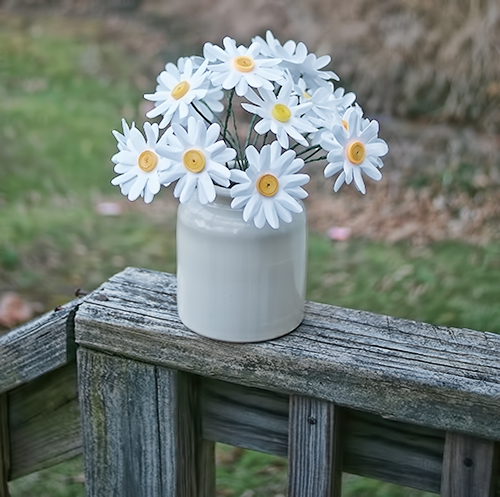
It was time for some new paper flowers to usher in the spring around here.  If you have been here long, you know I am a fan of making paper roses.  I decided to switch it up a bit and create daisies this time.  For a cheap, simple and beautiful DIY spring decor idea, look no further.  These would be great for weddings and other centerpieces too!

For this project, you don’t need much.  I used my SIZZIX machine and a flower die, but a die cut machine is not necessary.  You could easily do this with a paper punch too.

Supplies:

 Sizzix Flower Layers and Leaves Die

White Cardstock

Yellow Quilling paper

Paper quilling tool or toothpick

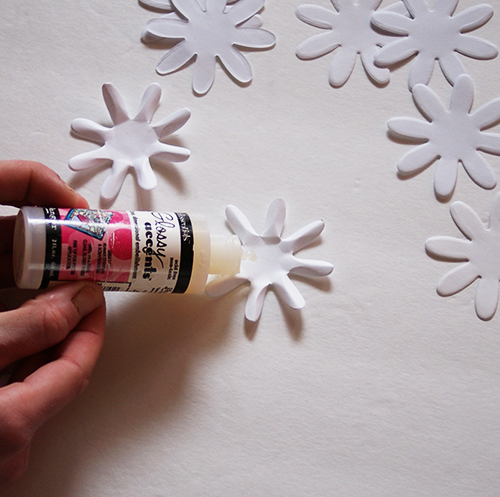
Craft glue (I use Glossy Accents for paper to paper since it dries in 5 sec and holds great)

Floral wire

Floral tape

Hot glue gun

Tutorial:

Paper Daisy DIY #Sizzix #papercraft @savedbyloves

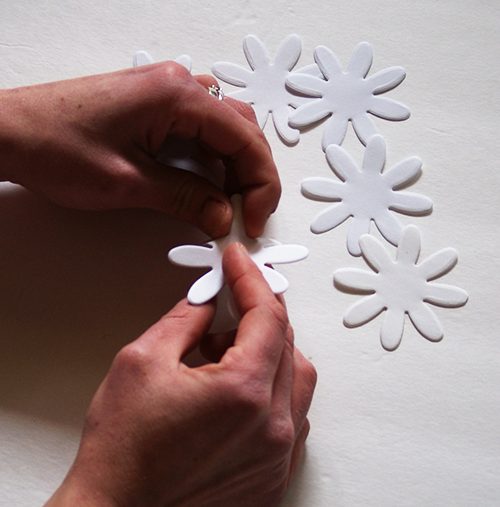
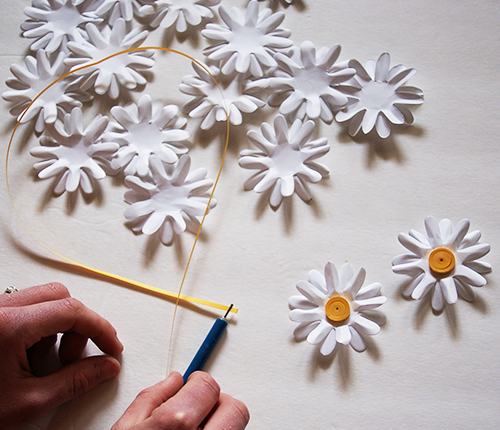
Cut several 8 petal flower shapes, either from a paper punch or die.  You will use 2 of the shapes per daisy.

How to make paper daisies

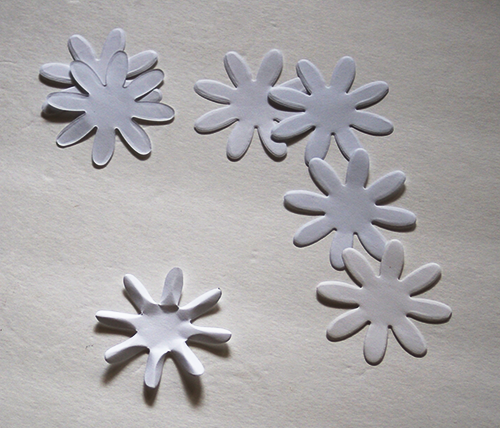
Fold each petal lengthwise, as close to the center as you can get.

Make a paper flower bouquet

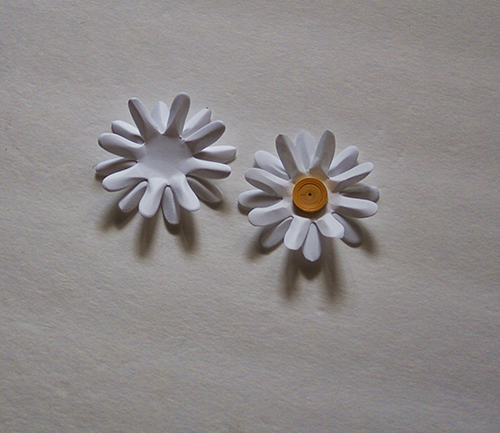
Once your petals are folded, stack one flower shape on top of another, adhering with glue, such that the petals are alternating (see pic below).

Paper Daisy DIY #Sizzix #papercraft @savedbyloves

Paper Daisy DIY #Sizzix #papercraft @savedbyloves

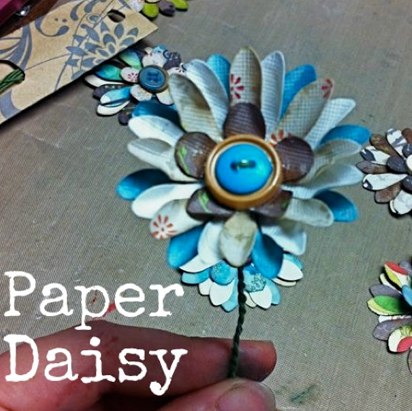
For the center of the flower, coil yellow quilling strips using a quilling tool or toothpick.  I used 2 strips of quilling paper for each flower center.  When one ends, just glue the second there and continue coiling.

Glue flower center in place.

Paper daisy tutorial

#Papercraft #paperflower #DIY #weddingcenterpiece #DIYwedding

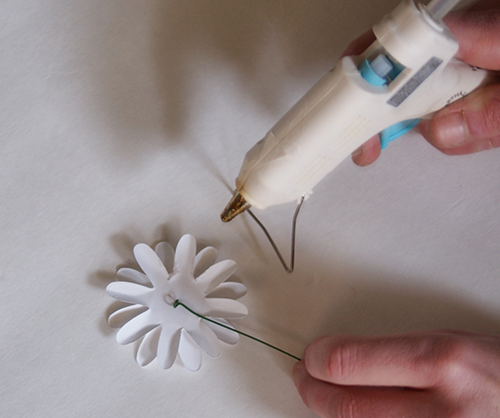
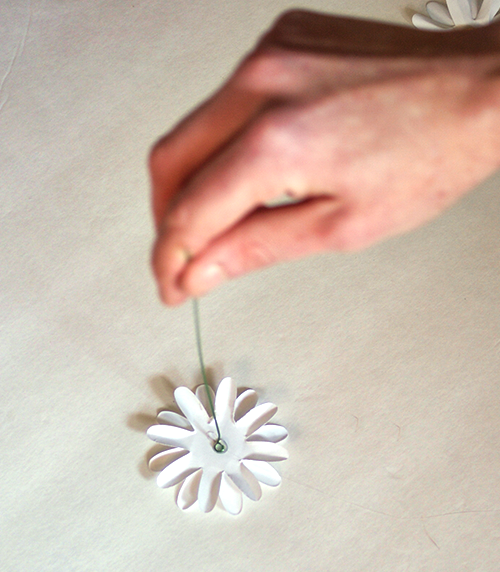
Make a bend in the end of your floral wire to create surface for hot glue to grab and glue wire to flower back.

To finish, I wrapped my wire with floral tape.  This is not essential.  I just like the look of the wrapped wire better.

#Sizzix #paperflowers

Paper Daisy tutorial #DIY #weddingDIY @savedbyloves

Paper quilling tool

If you love paper daisies, check out the crazy awesome project Amy from Plucking Daisies shared with us awhile back:

50+ Ways to Upcycle Plastic Bags

[pinit]

50+ projects to make using #recycled Plastic bags #upcycle #repurpose #DIY @savedbyloves[pinit]

Today I am going to blow your mind with over 50 things to make using plastic bags. You know, the kind that are piling up in trash cans landfills in an epidemic fashion? Turns out you can make some amazing jewerly, home decor and other accessories with this abundant and overlooked resource!


Repurpose Fan Blades to Dragonflies

#DIY #Repurpose fan blades to Dragonflies @savedbyloves

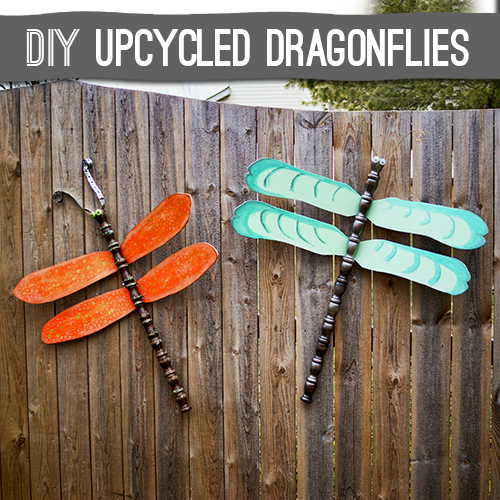
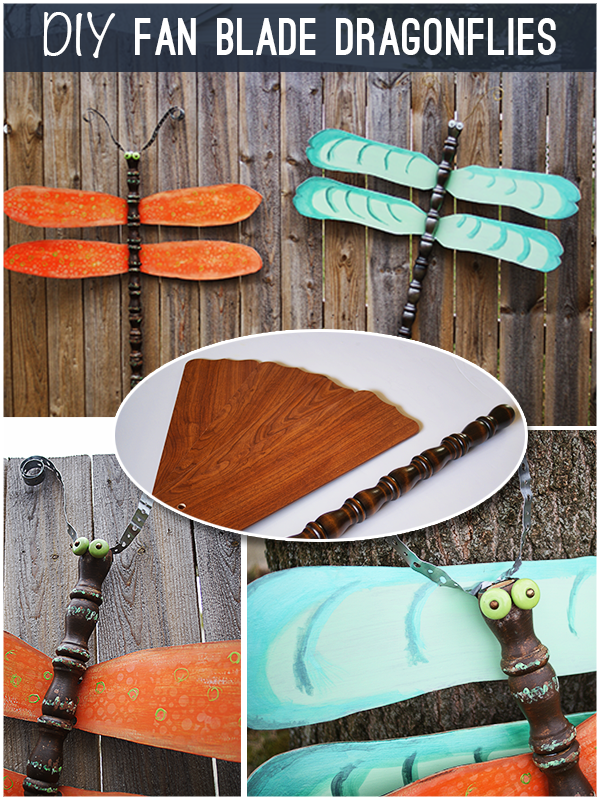
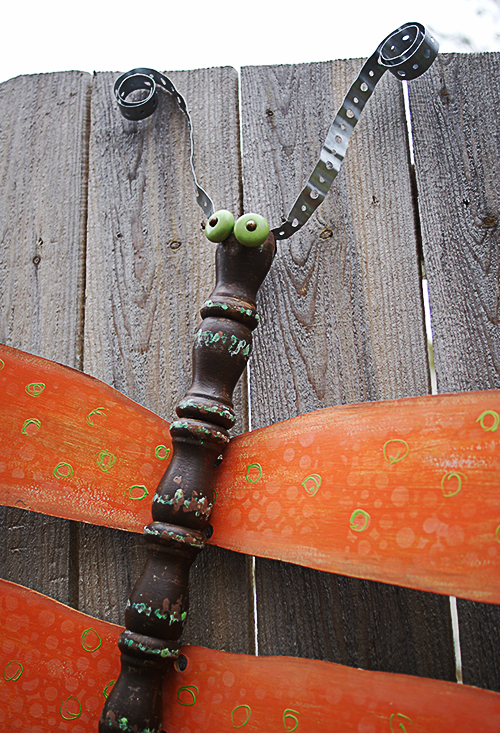
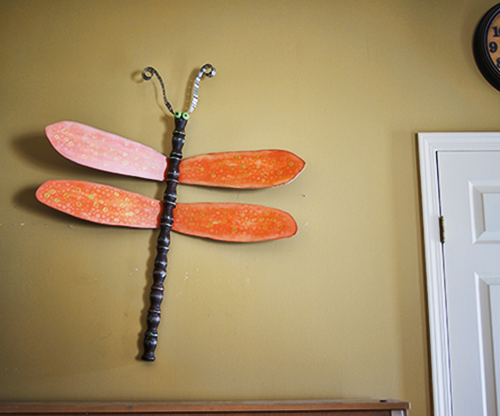
Since the first time I saw Lucy’s fan blade/table leg dragonflies, I have been dying to make my own.  Today, I will show you how I used ceiling fan blades and spindles for this fun, cheap, and easy to create upcycled decor project.

[pinit]

Make #upcycled dragonflies from fan blades #tutorial @savedbyloves

[pinit]

SUPPLIES:

Dragonflies8

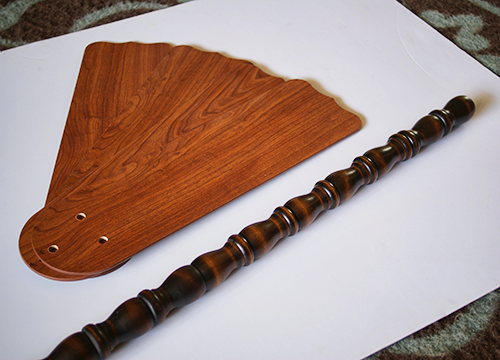
Fan blades (I found some at Goodwill and Habitat Restore for just a few dollars)

Table leg or spindles for body (I found a box of these at Habitat Restore and snatched them up, knowing I would find a use for them)

Sandpaper

Lint free cloth

2 hinges per dragonfly

Hardware for eyes and antennae

Paint in colors desired for wings and body

DIY #upcycledDecor

  TUTORIAL:

How to repurpose fan blades

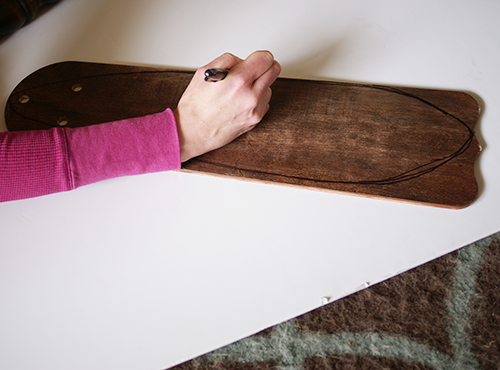
Lightly sand your fan blades and body (table leg, spindles or whatever you find).  Use a permanent marker to draw the shape you want on your wings.


Scroll Saw DIY project

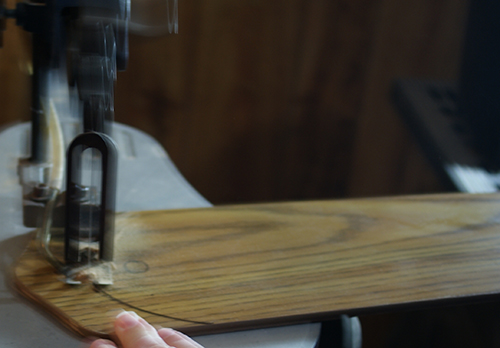
Cut along line with scroll saw or jig saw.  Clamp 2 or more fan blades together to cut more than one wing at a time if you want them all exactly the same.


#Recycledcrafts, upcycle project idea

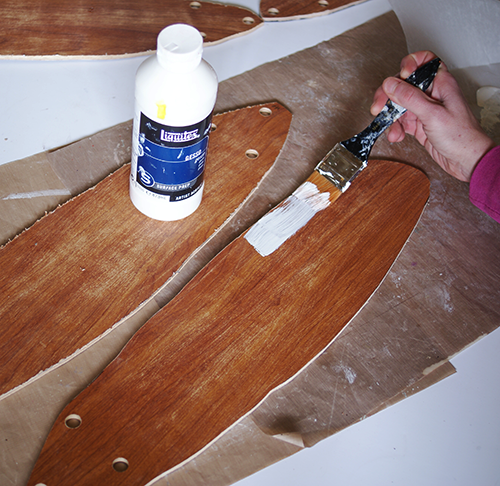
Wipe the debris and dust away from blades with damp cloth.  Let dry and apply coat of gesso or primer.


Martha Stewart Craft Paint project

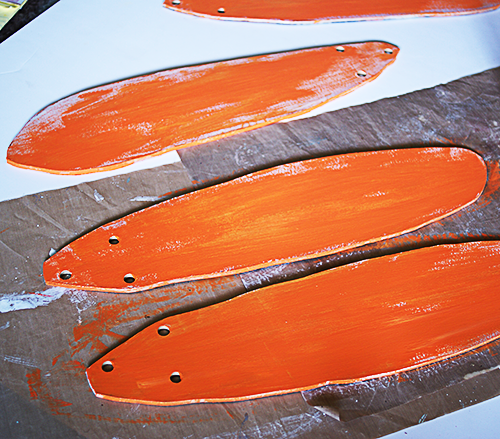
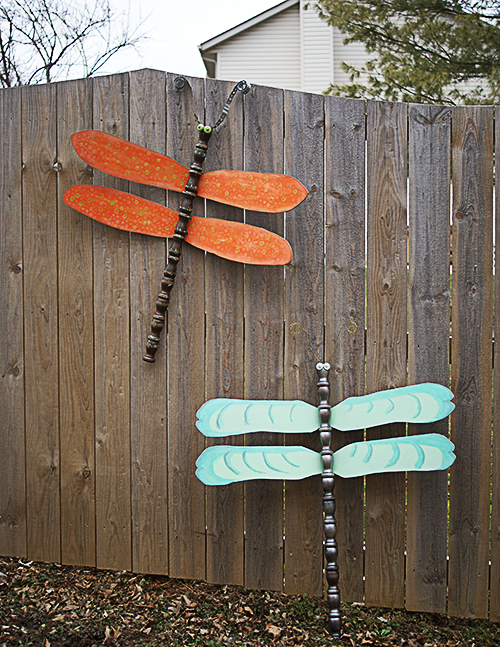
After gesso dried, I painted Martha Stewart Craft Paint satin finish, color Carrot.

I painted haphazardly to let the gesso show through on purpose.  This dragonfly was going for a distressed look.


Color Box pigment ink

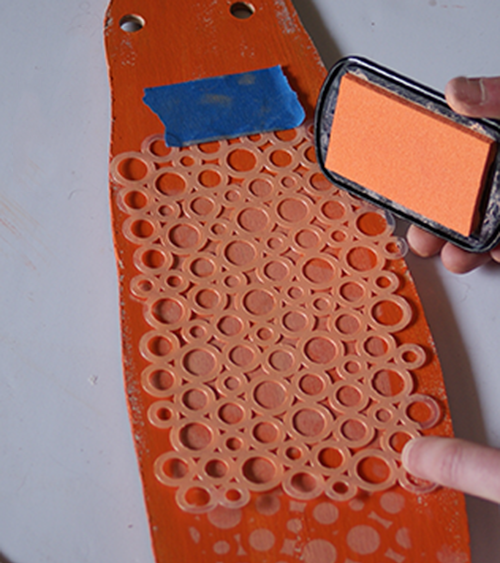
Using Color Box pigment ink, color sweet melon, I stamped over The Crafter’s Workshop Cosmic Bubbles template to create the design on the wings.

I went around the wing edges with the sweet melon ink pad and blended the stamped design into the edges with my finger.

I used my heat tool to dry the pigment ink, then sealed the wings with Mod Podge Clear acrylic sealer.


DIY upcycle crafts

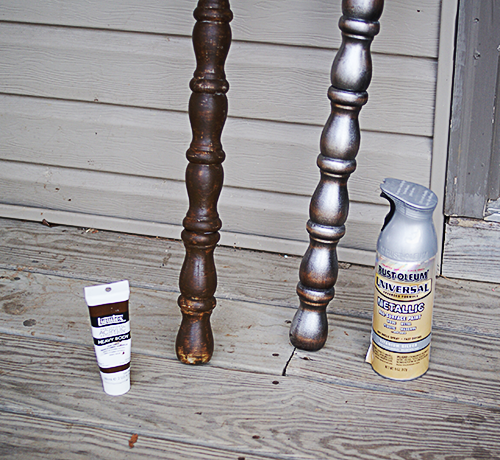
I used Liquitex heavy body acrylic paint in raw umber for the base
coat on one body, dry brushing lime green acrylic paint and aqua acrylic paint randomly for  a distressed feel.   The other body was sprayed with Rustoleum in metallic silver.


Make #upcycled dragonflies from fan blades #tutorial @savedbyloves2

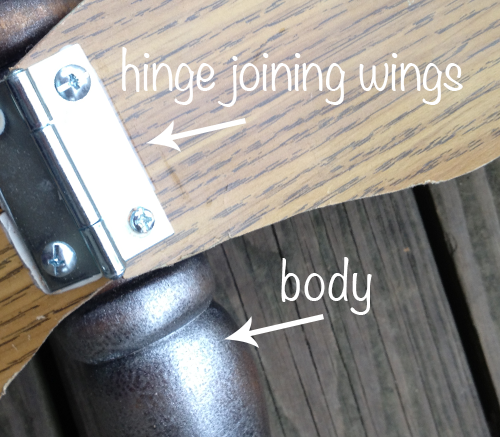
I used a hinge to join the wings to each other, and to the body.


Dragonflies4

Make #upcycled dragonflies from fan blades #tutorial @savedbyloves


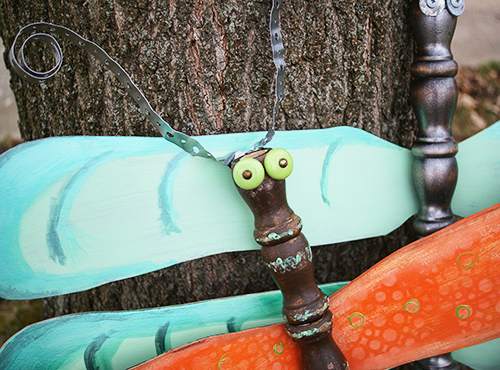
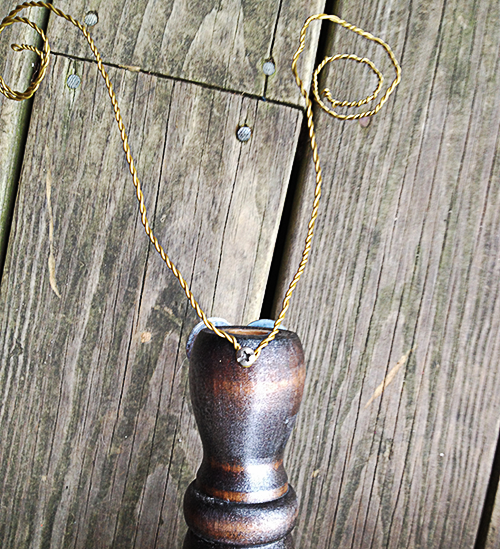
 The eyes are drawer pulls on the orange dragonfly, and washers with screws on the blue one.  Leftover antenna strap from my hubby’s stash and craft wire were used for the antennae.


DIY #outdoordecor repurposed dragonflies


 Hang them inside or outside!

#Upcycle #repurpose

What do you think?  Do you have any fan blade repurpose ideas?

Glow Paint Rocks

#DIY illuminated pathway with rocks and glow paint, @savedloves

[pinit]

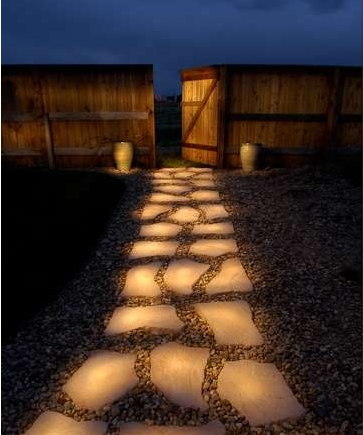
If you are looking to create an amazing outdoor space, this illuminated pathway spotted at Sublime Decor is a perfect starting point.  They painted rocks with Rustoleum Glow in the Dark brush on paint.  The sun charges them up during the day so that they shine at night.  How cool, and easy!

Crochet Ombre Coasters

#Crochet Ombre Coasters by WInk, found at Craft Tuts+, @savedbyloves[pinit]

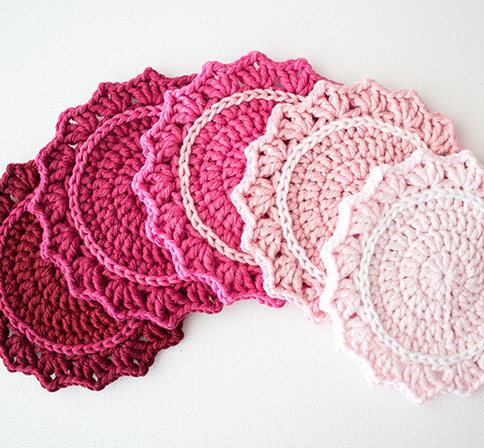
Are you ready to add a quick, gorgeous splash of color to your home decor, and welcome in the spring?  These ombre crochet coasters are just the project.  Wink shares the easy crochet pattern at Craft Tuts+.  I am in the middle of a crochet chevron blanket I started like 8 thousand years ago, and just can’t bring myself to finish.  It is going to take so long.  That is why I love quick, gratifying projects like this.  Sometimes crochet home accessories can look hokey, but these I would proudly display.  Pick your favorite color in various shades and join the ombre craze!

More Ombre, you asked?  Sure…

50+ #OmbreCrafts to make from @savedbyloves

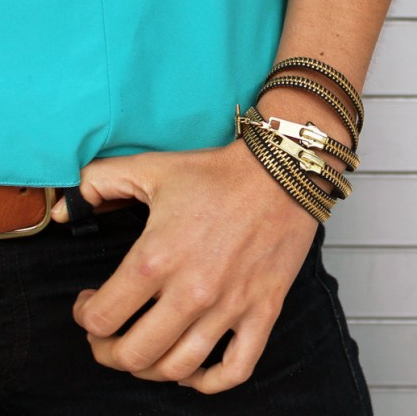
Make Cool Upcycled Zipper Bracelets

Make #Upcycled Zipper bracelets 5 ways at Brit + Co, featured @savedbyloves

[pinit]

Did you know there are at several ways to upcycle old zippers into chic, eco-friendly bracelets?  It is true.  Brit + Co shows you how in 5 Ways to Turn Zippers into Awesome Arm Candy.  The black and gold above is my favorite.  Head over for the rest.  This is the perfect project for a quick, inexpensive gift or accessory for your own wardrobe.

For plenty more DIY bracelets, see SBLC’s bracelet tutorials, and our 50+ bracelet roundup!

Privacy Policy