Paint Stick Table Top

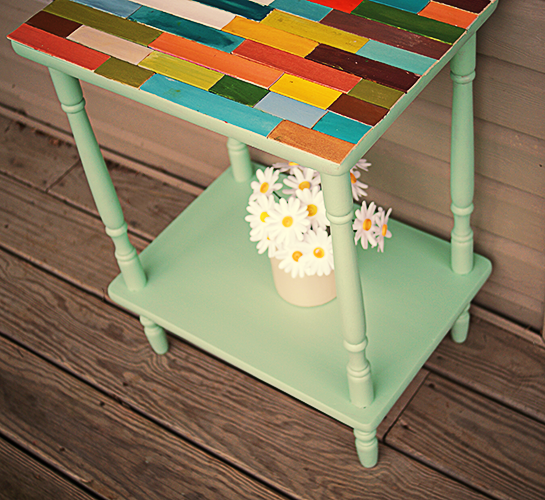
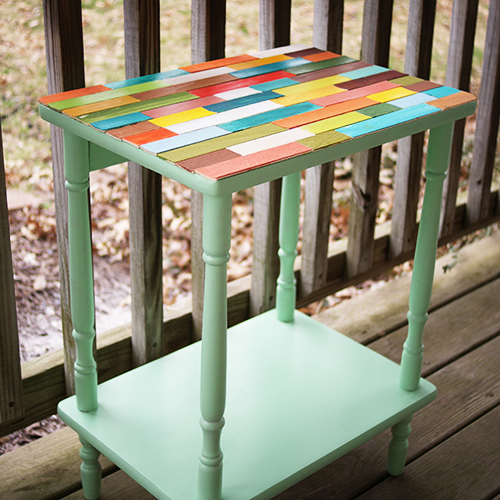
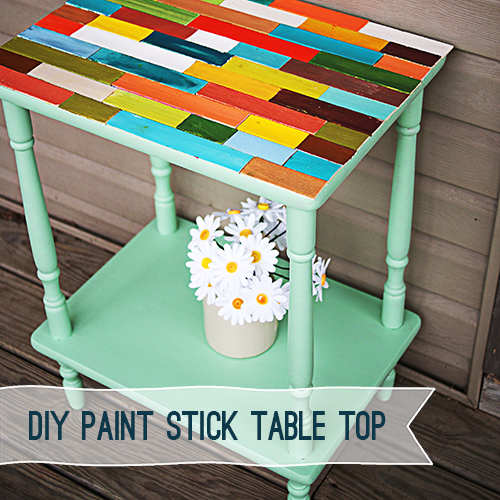
How to make a paint stick table top from @savedbyloves #DIY #Tutorial One of my favorite things to do is find curbside “trash” and give it love, transforming it into something unique.  My friend Beckie calls this whole process “Roadkill Rescue” and even has a website devoted to showcasing the web’s best of such transformations; RoadkillRescue.net. Today’s project is my latest rescue.  See how I took a discarded side table and turned into a fun and colorful accent with chalk paint and paint sticks!

PaintStickTable

Roadkill rescue project

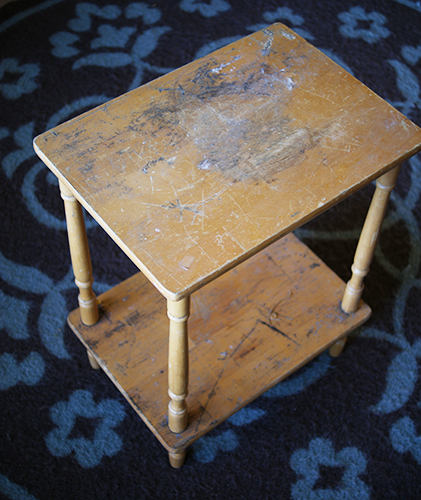
Here she is before.  Pretty beat up, but with tons of potential!

PaintStickTable6

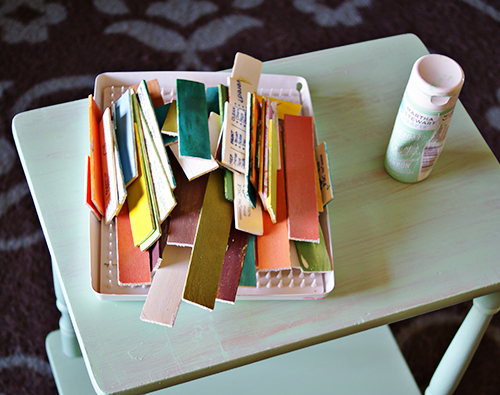
I sanded her down with medium grit sandpaper and wiped away the debris with a damp cloth.  Then I painted 3 coats of Martha Stewart Chalk Paint in green.  (Make sure you let the paint dry an hour or so between coats).

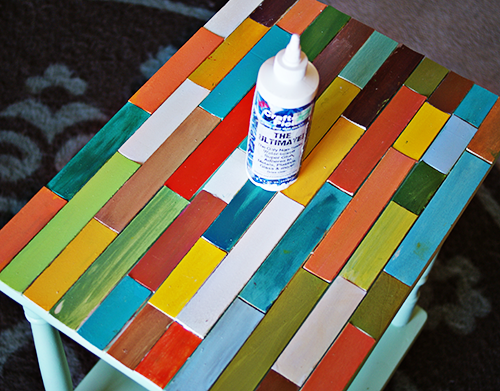
I had several leftover paint stirrers, which I cut to various lengths with my scroll saw.  I arranged the “tiles” on the table top, keeping them flush on the left side.  I marked where the end sticks on the right started to go over the edge of the table, and cut them to size with my saw.  The width of the paint sticks just happened to fit perfectly on the table, so I only had to adjust the length of the right edge pieces.

Paint stick crafts

I glued my paint sticks in place with Crafter’s Pick glue.  I put some heavy books on top of the table to weigh the sticks down for good adhesion and let dry overnight.

Seal with Mod Podge Matte.  The End!

Furniture transformation

Speaking of trash to treasure, my friend Kelly of Eclectically Vintage shared some seriously helpful tips for getting the most out of dumpster diving:

Speaking of Paint Stirrer Crafts, there is a 50+ for that!

Updated Mother’s Day 50+ Roundup

[pinit]

Over 60 Mother's Day Gifts to make for less than $10 @savedbyloves

[pinit]

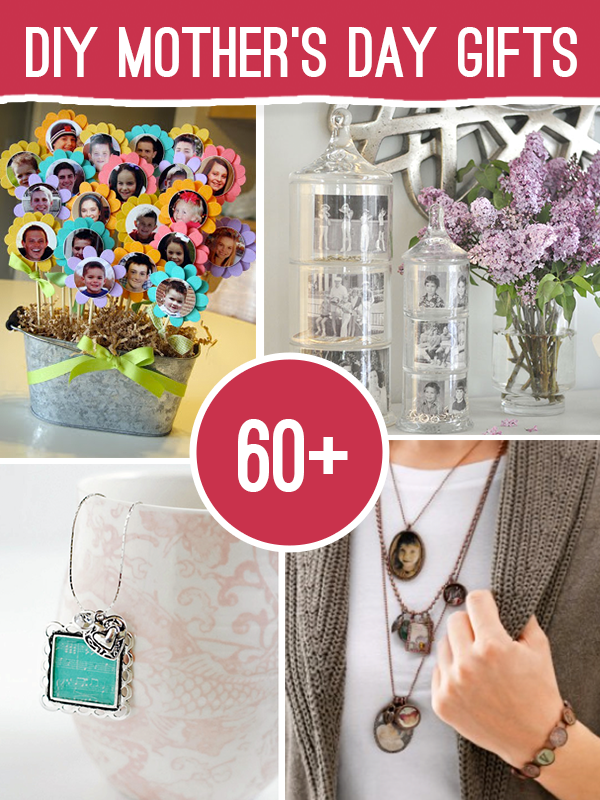
Last year I brought you 50+ Mother’s Day gifts to make for less than $10. Here is the 2013 update of that, including 60+ projects any mom would love to get. I broke it down into Jewelry, Photo, and Home/Garden gifts. If you have a project you don’t see listed, email me so I can see if it fits!

Mother’s Day is rapidly approaching. I gathered up some great handmade gift ideas with mom in mind, that you can make yourself for under $10. With jewelry, photo, spa and home gifts to choose from, you will find something just perfect for your mom and she will love that you made it for her.

Jewelry


Photo


Home/Spa


DIY Woven Wrap Bracelet

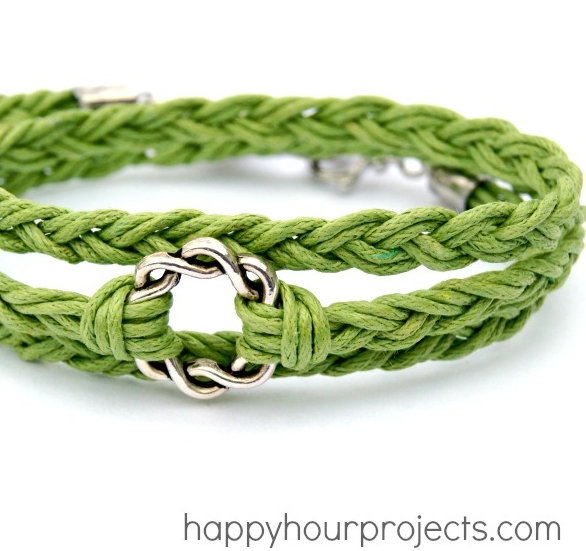
Easy Woven Wrap Bracelet DIY from Happy Hour Projects, featured @savedbyloves


I am loving this easy woven wrap bracelet from Happy Hour Projects!  I will be whipping some up this weekend.

For plenty more DIY bracelets, see SBLC’s bracelet tutorials, and our 50+ bracelet roundup!

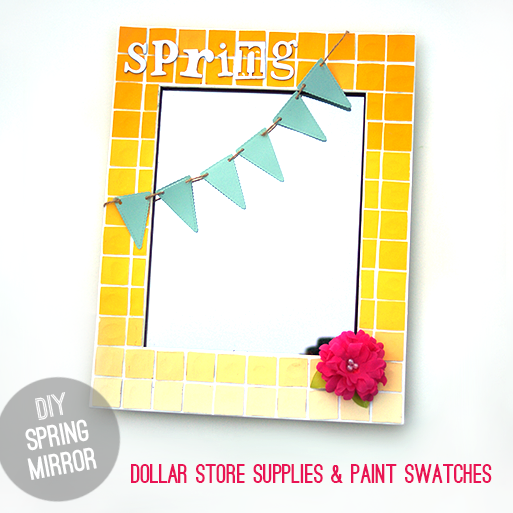
DIY Dollar Store Paint Chip Spring Mirror


[pinit]
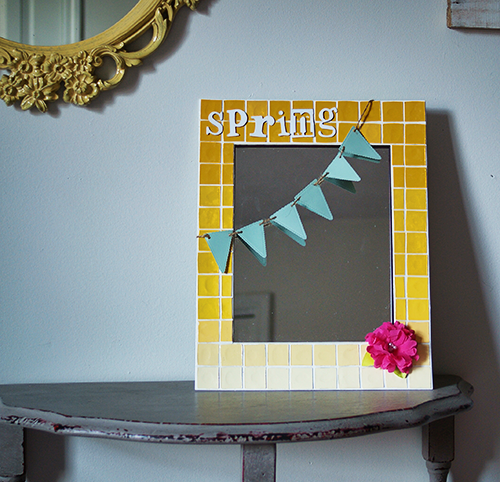
Paint Chip Dollar Store Spring Mirror #Sizzix @savedbyloves

 [pinit]

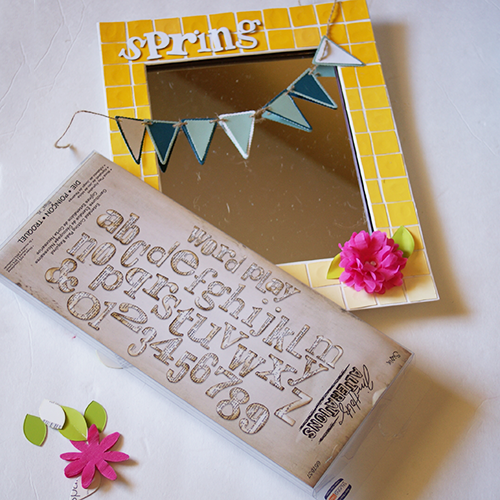
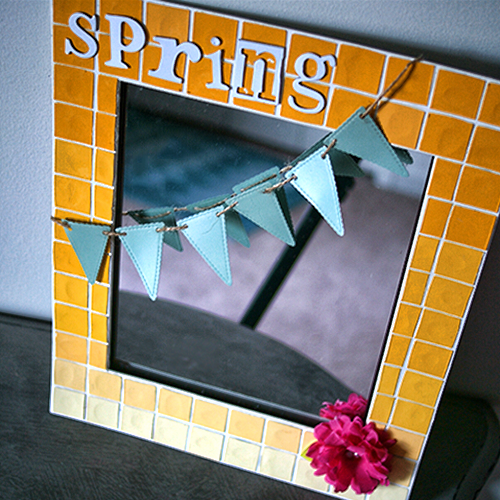
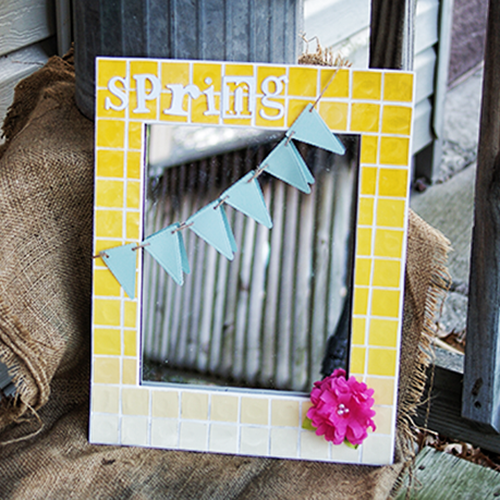
Today I am excited to share with you a project I came up with while playing with my new Sizzix dies.  This spring themed mirror is made using a dollar store mirror, an old photo mat and paint swatches.  Add a little die cut magic and it doesn’t take expensive materials to easily create your own stylish spring accent piece!

Paint Chip Dollar Store Spring Mirror #Sizzix @savedbyloves

SUPPLIES

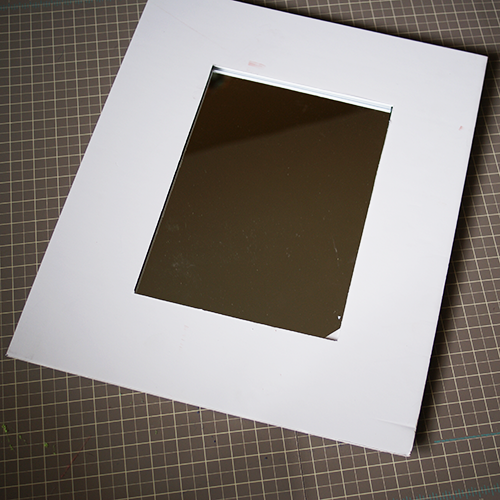
Cheap dollar store mirror

Mat board with opening big enough to cover mirror

Sizzix Dies:  Tim Holtz Word Play Alphabet, Banners and Keys Sets, Squares #3, Flower Layers and Leaves

Glossy Accents or your favorite craft glue

Scissors

Crepe Paper in color you want for flower

Paint chips – (Don’t steal them from a store!  Ask your friends and family and gather a stash.)  I used yellow shades for an ombre effect, and green for the flower leaves.

Embellishments for flower center (I used Dew Drops)

Crop a dile or other hole punch

Jute or other string for banner

TUTORIAL

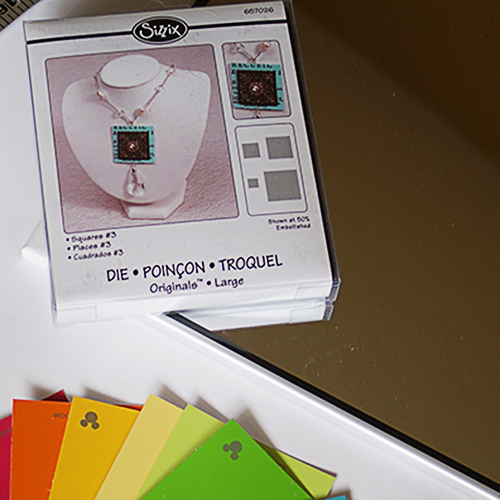
Sizzix Squares Die

Sizzix square die


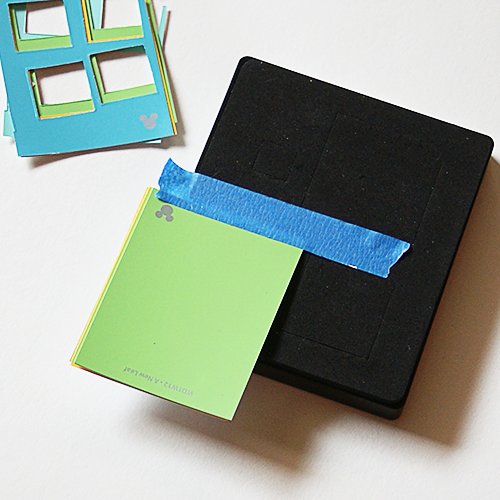
I used the second smalles square size for my paint chip “tiles”.  You can cut about 4 paint chips at once.  That is one of the reasons I love Sizzix so much.  The steel rules die cut through several layers of card stock at once, which comes in handy when you need lots of the same die cut shapes for your project.  They also cut leather, fabric, felt, aluminum and thinner gauge metal sheets.

I started out cutting greens, yellows and blues, but then decided to go with shades of yellow.  The blue masking tape holds the material to be cut in place so that it doesn’t shift and run off the edge.  This helps me cut in precise spots on the material so I can get as many shapes as possible from it.

Paint Chip Dollar Store Spring Mirror9

Attaching tiles

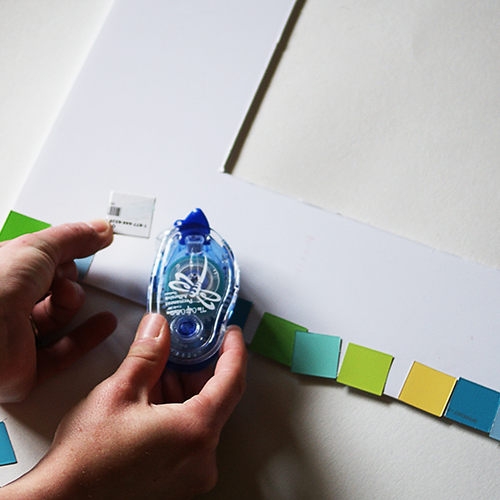
You can use a tape runner or craft glue to adhere your tiles to the mat.  Start at the outside and create a border around the entire mat.  Lay them out before adhering so you can get the spacing right.  Work your way in towards the opening in the center of the mat.

Cuttiles

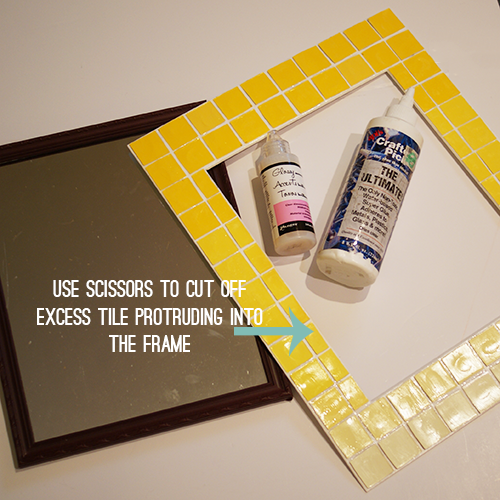
It is unlikely that your tiles will fit perfectly on the mat area.  Use scissors to cut excess tile like in the picture.  I brushed on a coat of Glossy Accents for shine and to seal.  Mod Podge would work great too.  Let dry before moving onto next step.


PaintChipDollarStoreSpringMirror11

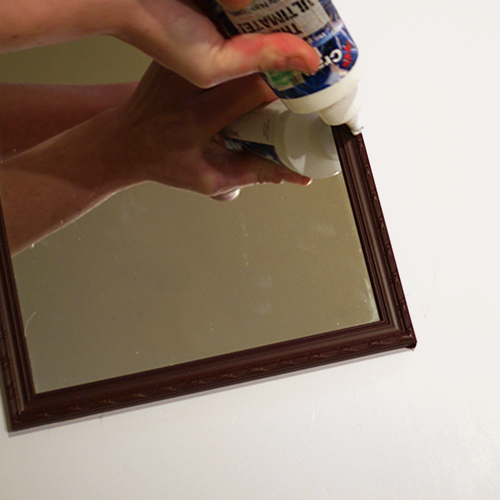
Apply a generous amount of Crafter’s Pick or other strong adhesive around the frame of the dollar store mirror.

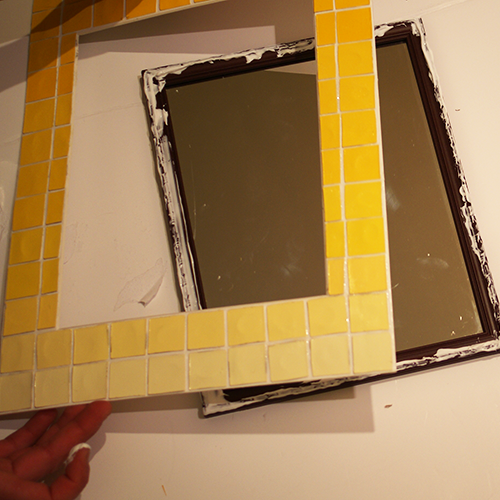
Glue mosaic frame to mirror

Place your tiled mat on the adhesive and center the mirror in the opening.

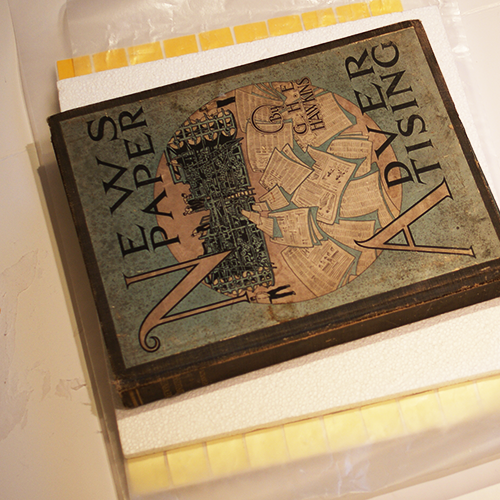
Wax paper and books to add weight for adhesion

Place a piece of wax paper on top of the mosiac frame and then some books or something heavy for weight to aid in adhesion.

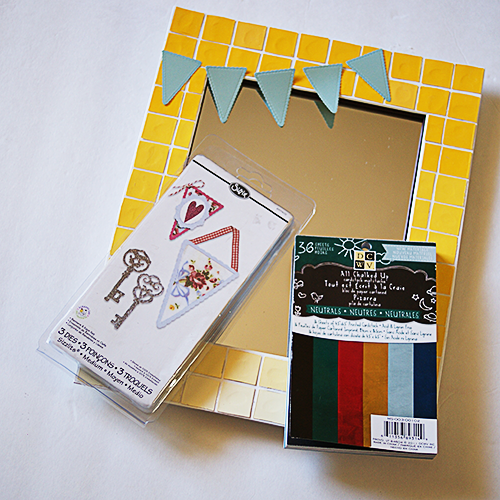
Sizzix Banners and Keys Die

I cut triangle banner using the Banners and Keys die (linked in supplies above).  You can cut these from paint chips or any paper you like.  I used All Chalked Up by DCWV.  Punch a hole in the top corners of the flags and thread jute or string of your choice to drape on frame.

Word Play Sizzix Die Tim Holtz

Cut out letters from heavy white cardstock or chipboard using Word Play die (linked in supplies above).  Adhere in place with tape runner or craft glue.

PaintChipDollarStoreMirror30

You can see in the final piece, I used the leftover shape after cutting for the letter “n”.

PaintChipDollarStoreSpringMirror7

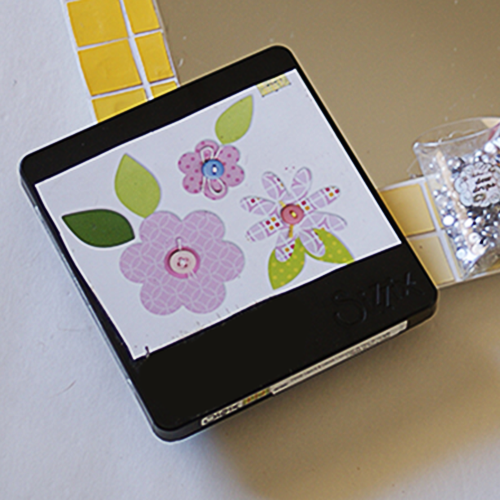
Flower Layers and Leaves Sizzix Die

To create the flower, cut crepe paper (several layers thick) using the 8 skinny petal shape on the Flower Layers & Leaves die (linked above in supplies).  Separate the layers and stack them with petals alternating, gluing each layer to the next with Glossy Accents or other craft glue.  I love Glossy Accents for paper to paper because it dries super fast.  Fluff the petals with your fingers until you are happy with the shape.

Using the same die, cut leaves from paint chips or cardstock.  Crease them lenthwise by pinching them with fingers.  Glue leaves into place, then flower on top, then jewels or beads in flower center.

Paint Chip Dollar Store Spring Mirror #Sizzix @savedbyloves

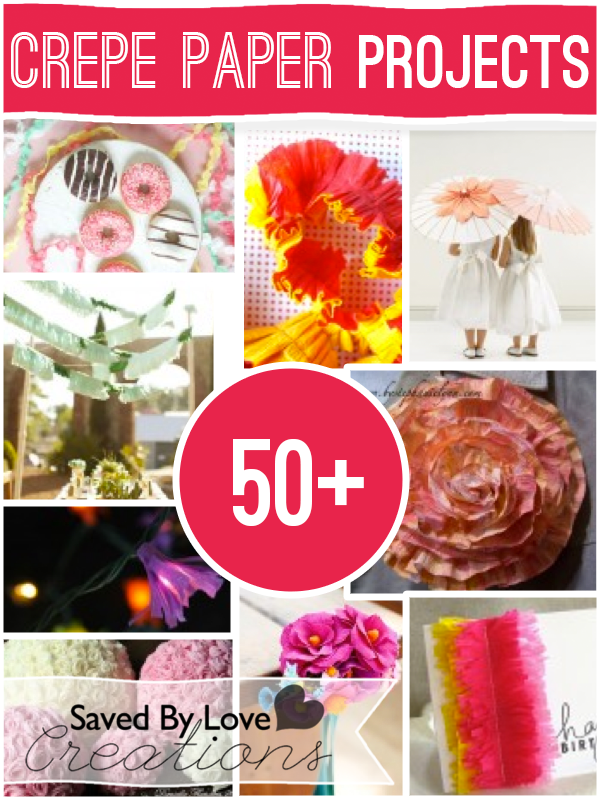
Over 50 Crepe Paper Crafts to Make

[pinit]

Over 50+ crepe paper crafts to make @savedbyloves #DIY #Wedding #crafts

[pinit]

This is the perfect time of year to gather up some crepe paper and create lovely DIY wedding decor, Mother’s Day gifts, paper bouquets, and  countless accessories for celebrations of all sorts.  The paper comes in wonderfully vibrant colors, and is inexpensive to boot.

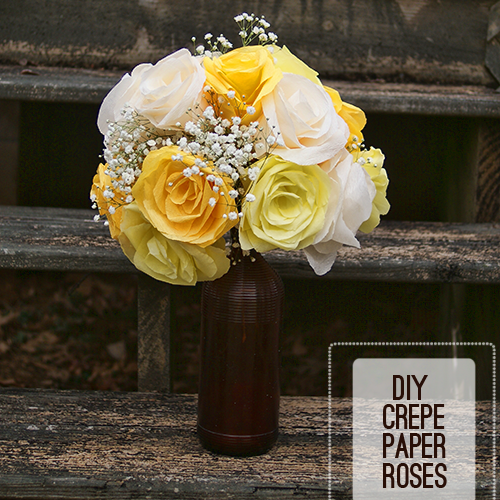
Make easy crepe paper roses with DIY and template @savedbyloves

I showed you these crepe paper roses I made last week.  If you missed it, go check out the easy DIY and free template for your petals and leaves.  You will have a gorgeous bouquet that your friends will have to get super close to to see that they aren’t real roses.  Best part?  They don’t wither!  What a perfect Mother’s Day gift for those with moms that love to get roses.

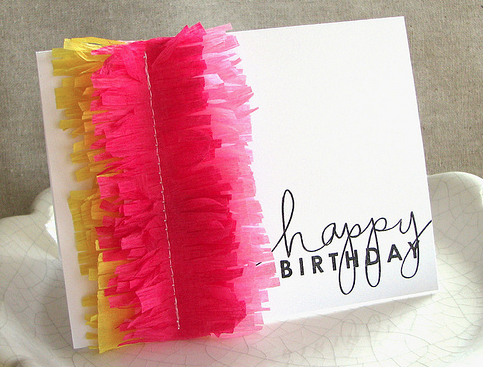
Beautiful hand made card with crepe paper fringe
What a festive, simple to create, one of a kind birthday card!  See what I mean about the vibrant colors?  At Paper Crafts Connection, you can check out how this card evolved.  Make several at the same time to have on hand for those birthdays that sneak up on you.
#weddingDIY crepe paper flower aisle markers
Add that special touch to your ceremony with this crepe paper aisle marker from Hello Lucky.
Over 50+ crepe paper crafts to make @savedbyloves #DIY #Wedding #crafts
Martha Stewart shows you how to make a variety of crepe paper flowers, including peony, tulip, lily and rose varieties.  You would swear they are real flowers.  Sturdier, cheaper and available in any color, any time of year, crepe paper flowers are the way to go for your DIY wedding!
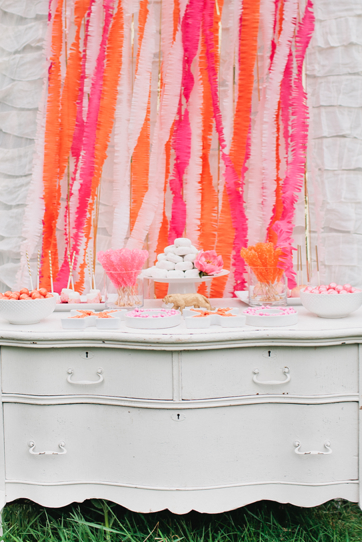
Over 50+ crepe paper crafts to make @savedbyloves #DIY #Wedding #crafts
Make your own photo backdrop easily and for just a few bucks with this DIY Crepe Fringe Party Backdrop at Somewhere Splendid.

Those are a few of my faves.


Now for the 50+ collection!


Exciting News: The 2013 Sizzix Design Team

SizzixLogoDT


Squeeeaaaal!  I am super excited to let you know that I have joined the 2013 Sizzix Design Team!  If exclamation points irritate you, you may want to skip this post.

If you have been around here much in the past year, you have probably noticed that I am a little attached to (read: totally obsessed with) my Sizzix machine and dies.  I couldn’t believe it when the opportunity to join their talented team arose.  Check out the other new and the veteran members:  Annoucing The 2013 Sizzix Design Team!

[pinit]

#Sizzix projects to make from @savedbyloves

[pinit]

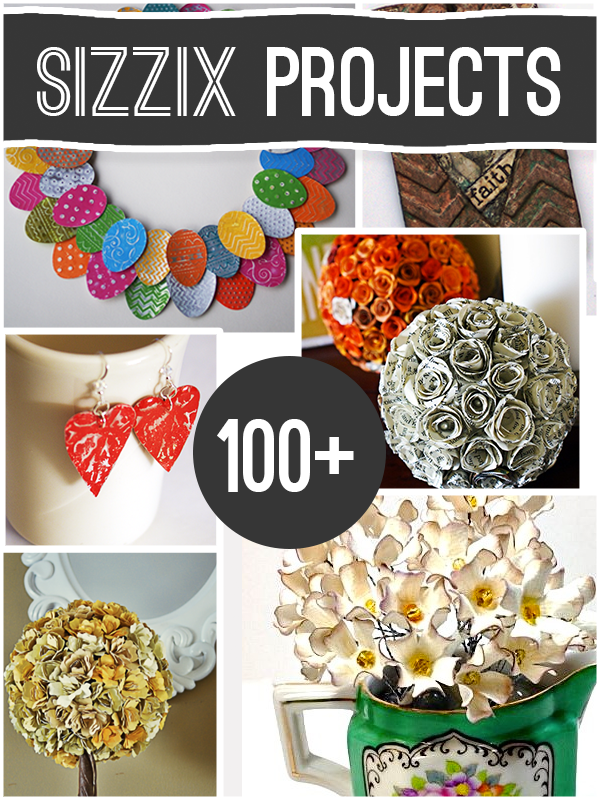
Click on the image to see my board with over 100 Sizzix projects by myself and others!

Visit the Sizzix Design Team Pinterest Board for more beautiful projects!

Aluminum Can Easter Egg Wreath

[pinit]

Make an aluminum can Easter Egg Wreath @savedbyloves #sizzix #DistressPaint

 [pinit]

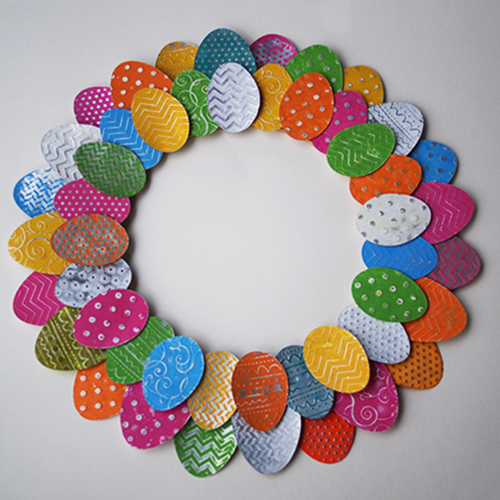
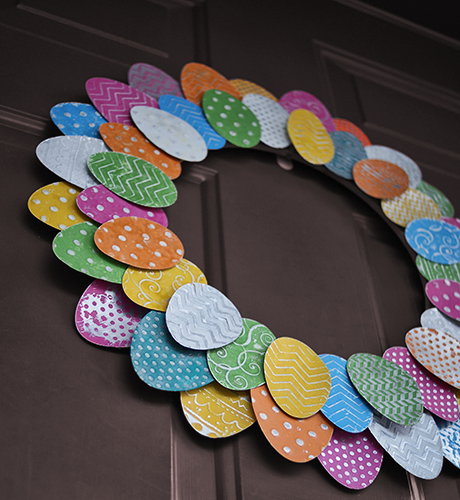
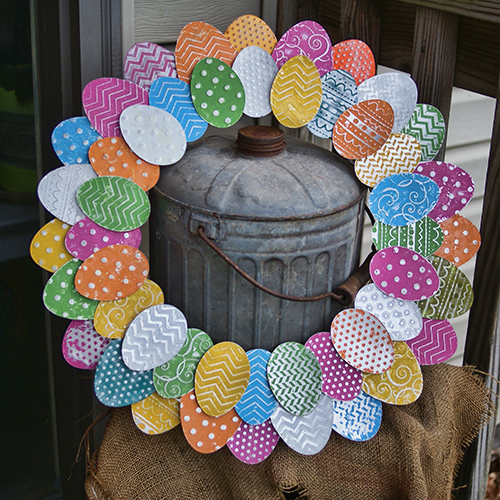
It’s no secret that I love to transform recycled aluminum cans into home decor and jewelry.  This aluminum can Easter egg wreath fits that bill.  See how I used a new Sizzix die and Tim Holtz Distress Paint for this colorful and unique recycled can spring decoration!

Make an aluminum can Easter Egg Wreath @savedbyloves #sizzix #DistressPaint

SUPPLIES:

Recycled aluminum cans

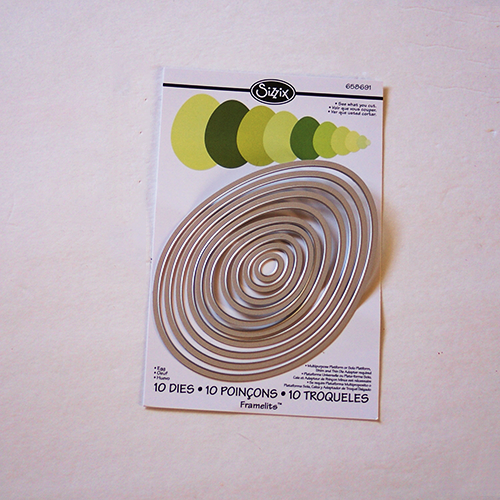
Sizzix Framelits Die Set 10PK – Egg

Embossing folders of your choice

Tim Holtz Distress Paint

Foam Mount Adhesive Squares

Sandpaper

Wreath Form

EasterEggWreath7

EasterEggWreath8

TUTORIAL:

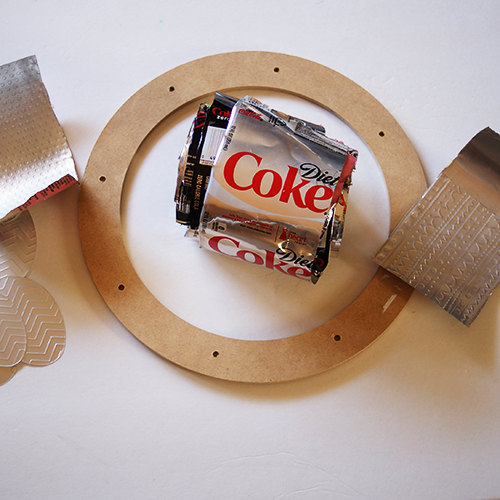
Cut your cans into sheets like I show you in the aluminum can rose pendant video:

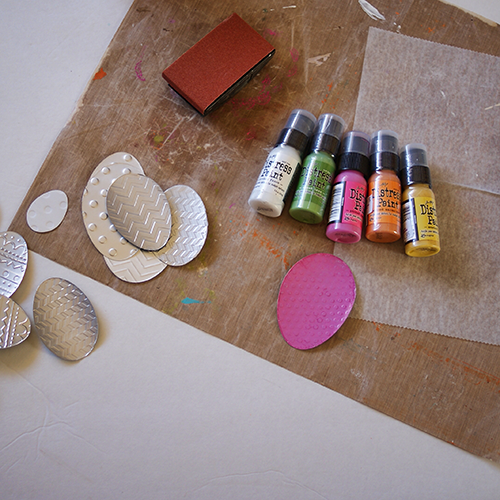
Emboss the sheets in your favorite folder, then cut into egg shapes using Sizzix.  I cut 2 egg sizes.  It doesn’t matter exactly what size, as long as you have one bigger and one smaller size.

EasterEggWreath5

Paint eggs with Tim Holtz Distress Paint.  This is the first time I have used this new product.  It is pretty awesome.  It is great for metal, such as cans!  Unlike alcohol inks, which you have seen me use on cans in the past, the distress paint is opaque.  I love the color palette too!  There is a chalky kind of look to the finish, which is fabulous.

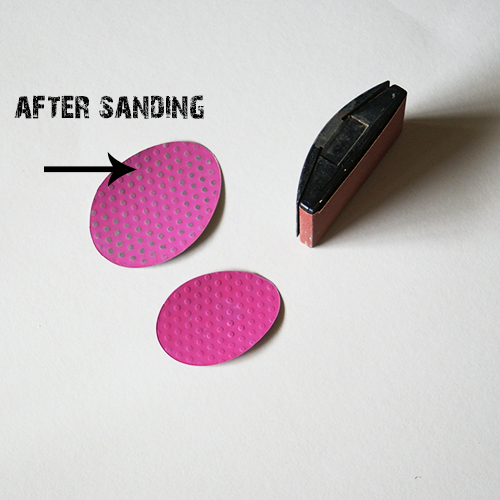
After Sanding

Sand once paint is dry to reveal aluminum can color on raised areas of embossed/painted eggs.

Make an aluminum can Easter Egg Wreath @savedbyloves #sizzix #DistressPaint

Arrange eggs and adhere to wreath form as shown, using foam adhesives for varying height of eggs compared to one another.

Make an aluminum can Easter Egg Wreath @savedbyloves #sizzix #DistressPaint

I am loving it!  It is staying up until fall.

Old T-shirt Craft

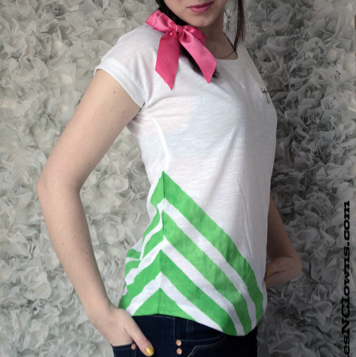
Old T Shirt Revamp with Chevron by Clones N Clowns, featured @savedbyloves

Turn your old t-shirts into fashionable attire with this DIY Chevron t-shirt revamp at Clones N Clowns.  The tutorial is simple and you will be sporting your own version in no time.  Great for spring and summer fashion!

Want more T-shirt crafts? There is a 50+ for that!

Recycled T-shirt crafts to make

Decoupage Rainbow Planters

[pinit]
Make rainbow decoupaged planters easy DIY Mod Podge @savedbyloves

 [pinit]

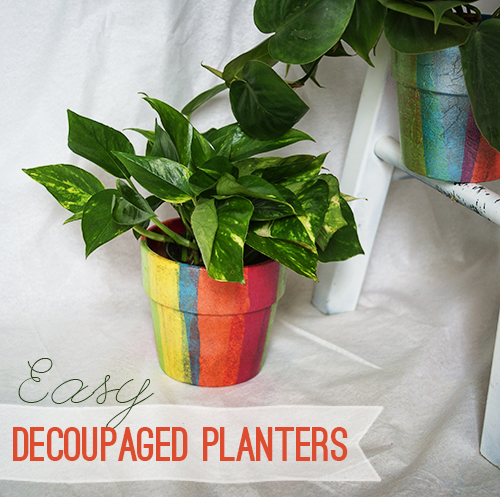
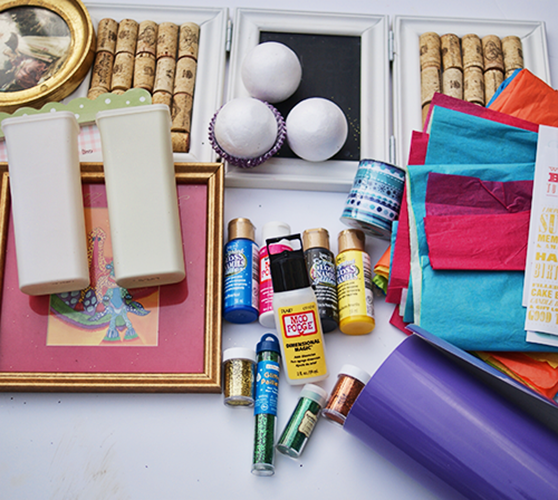
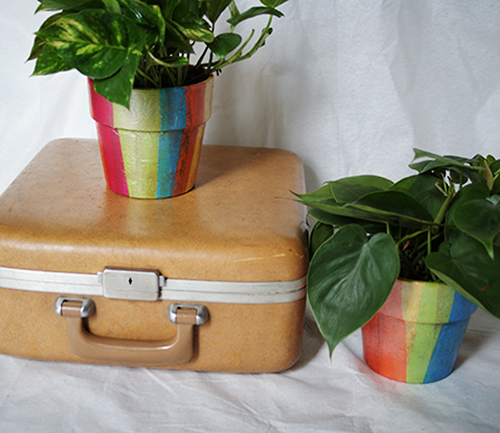
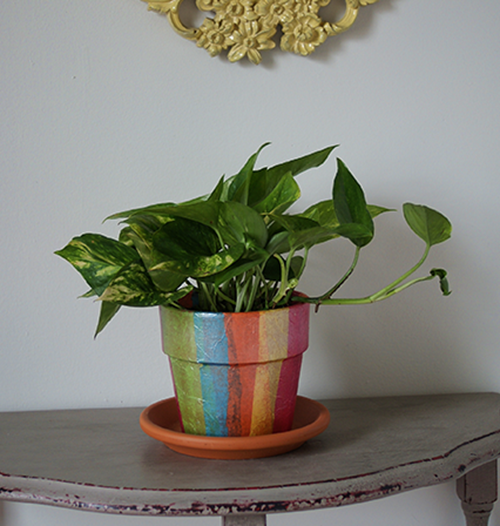
When I saw Margot Potter’s tissue decoupaged planters on the I Love to Create blog, I just knew that was a project I would be doing.  It is perfect for spring, and so easy to do.  Well, as luck would have it, I got a package from my Thrifty Stashy SNAP! Swap partner with just the supplies I needed for not only that project, but several others on my to do list.

Make rainbow decoupaged planters easy DIY Mod Podge @savedbyloves

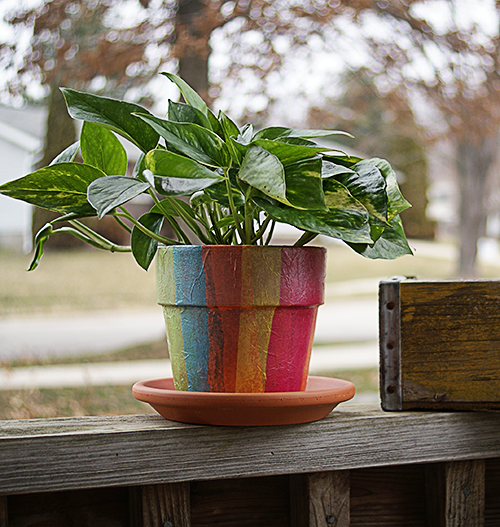
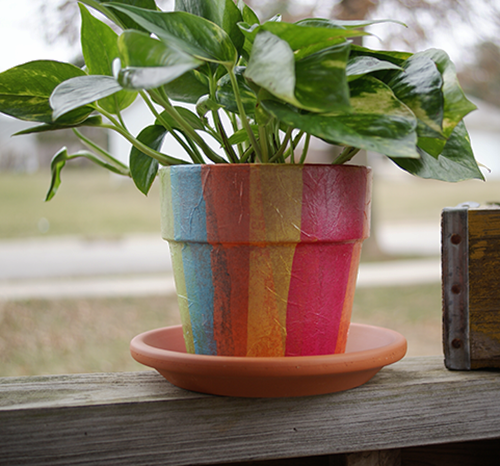
The tissue paper was perfect for the project.  Using the tissue and Mod Podge, I followed Margot’s tutorial linked above, with just a couple of tweaks.  I made my strips wider for wider color stripes.  To seal and and sparkle, I sprayed my decoupaged planters with Mod Podge Pearl.

Make rainbow decoupaged planters easy DIY Mod Podge @savedbyloves

I love the end result!  The project is so easy, cheap and quick.  I must say it is a little creepy how my swap partner, Jessica from Mom4Real, sent me so many things that I need for upcoming projects.  I think she may have my house bugged!  If you haven’t visited her blog, you are in for a treat.  She has some serious style, and she shares tons of creative ways to decorate your home on a budget.  This is the first of several projects you will see not only from me using the awesome supplies Jessica sent, but from the rest of the talented bloggers participating in the swap, so be on the lookout.  We are all attending the upcoming SNAP! conference and are getting to know each other beforehand by participating in this fun swap and create event.

Make rainbow decoupaged planters easy DIY Mod Podge @savedbyloves  DecoupagedPot

DecoupagedPot1

DecoupagedPot3

Check out the other projects from the participants. The list will be growing as they post their projects, so stay tuned!


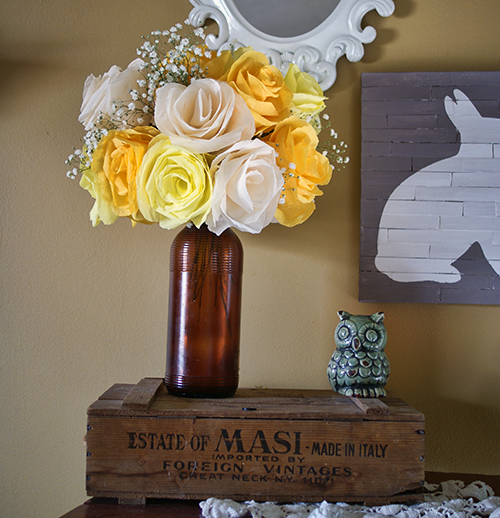
DIY Crepe Paper Roses

How to Make Crepe Paper Roses[pinit]

Make easy crepe paper roses with DIY and template @savedbyloves[pinit]

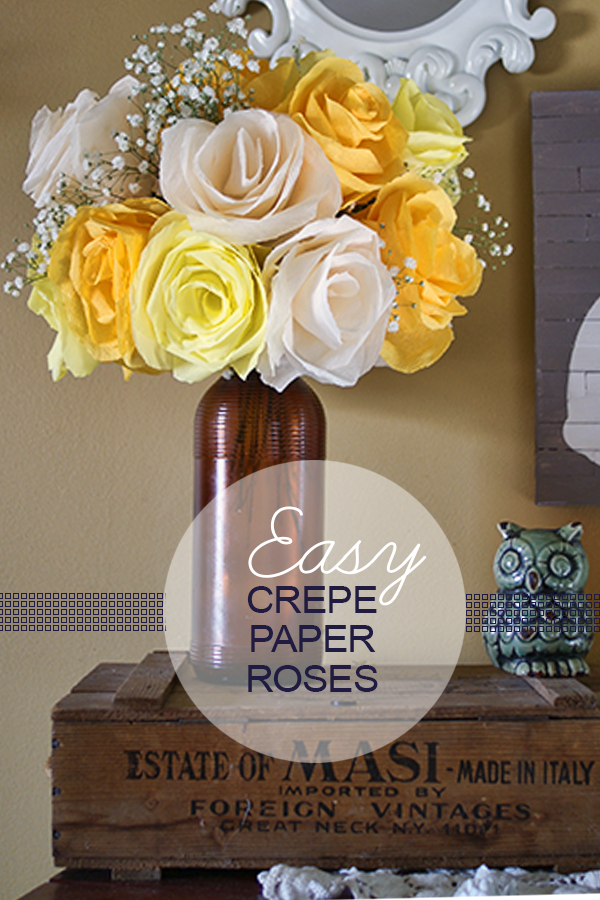
Spring is in the air and paper flowers are popping up all over the place.  Today’s project fits right in with the flower mania, and can be created in loads of colors to fit your style.  Crepe paper is perfect for making realistic looking roses.  It stretches and curls in a way that is perfect for mimicking actual petals.  Grab some crepe paper sheets in your favorite colors and let’s get started!

Make easy crepe paper roses with DIY and template @savedbyloves

SUPPLIES

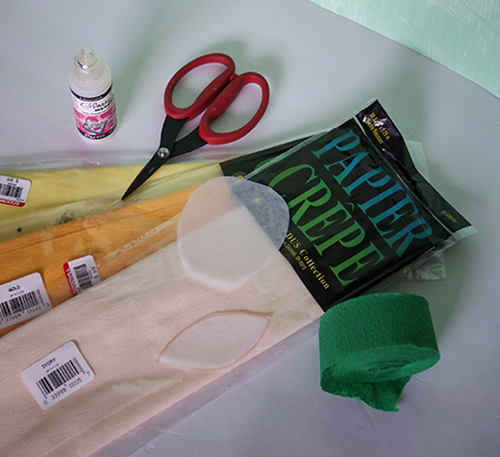
Crepe Paper Sheets in Petal colors (streamer rolls won’t work for petals since they are not wide enough)

Green crepe paper sheet or streamer roll for leaves

Scissors

Glossy accents or other paper glue

Floral tape

Floral Wire

Pencil or bamboo skewer

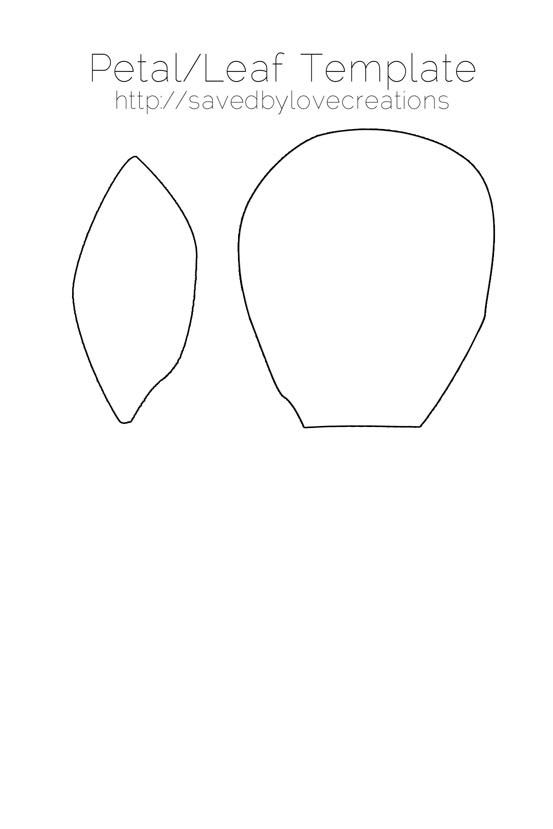
Petal and leaf template (click thumbnail below to reveal full size template and print)

Paper rose petal and leaf template free printable

Make easy crepe paper roses with DIY and template @savedbyloves

 TUTORIAL

I showed you how to make roses using scrapbook paper and the above template in this PAPER ROSE DIY WITH TEMPLATE post.

Follow the same steps, using crepe paper instead.  I had a hard time finding crepe paper sheets, but then ran into a huge stash of it at my local Goodwill.  Score!  I linked where you can find some on Amazon under supplies above.

You can cut several layers of the crepe paper at once, for several petals with one cut.

Make easy crepe paper roses with DIY and template @savedbyloves

Making these with crepe paper was easier than using cardstock since the crepe paper is thinner and wraps around the floral wire more easily.  You can stretch the petals by lightly pulling with your fingers and curl them with the skewer or pencil to shape them more easily too.

I am in love with them!  Won’t they make such a great Mother’s Day gift?!


Make easy crepe paper roses with DIY and template @savedbyloves

Privacy Policy