[pinit]
This week’s 50+ is all about candy wrapper crafts. There are tons of things to make from them. Just in time for those Easter candy wrappers, get ready to create luminaries, vases, decoupage, jewelry and more!
Upcycling DIY home decor, woodworking and Crafts

[pinit]
[pinit]
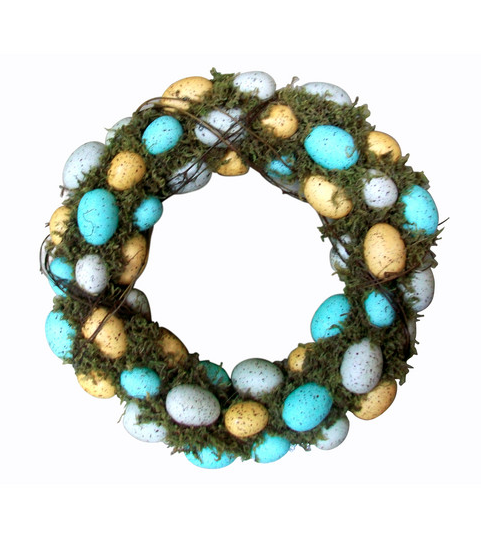
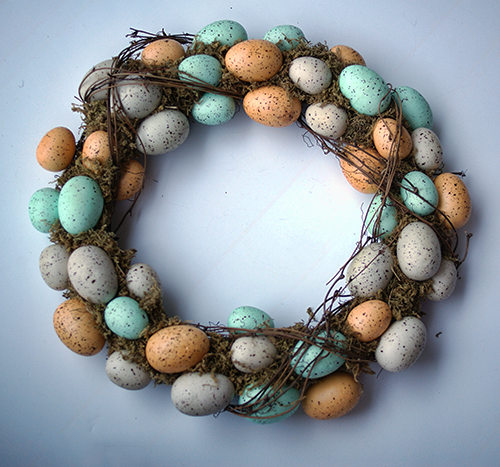
I saw this wreath a Joann’s a few weeks ago and decided I could make one. Had I thought it through, I may have just bought theirs with a coupon, but where is the challenge in that? I used a 16 inch grapevine wreath that I picked up along the way somewhere, some moss I believe I got at the dollar store, and speckled eggs from Joann’s. My trusty glue gun holds it all together. I kinda love it.
Wire work has always intrigued me. There are so many things you can create with it. Check out these cute earcuffs from wire at essasfrescurites.com.
Are you as anxious for warm weather to arrive as I am? It is time to update that winter decor to bring in the spring! Someone needs to tell the snow that its time is up around here. I went for some quick, easy printable chevron garland this year. I found the perfect gray and yellow chevron printable bunting flags from Detail Oriented Diva!
I just uploaded them to Snapfish and ordered them for 1 hour pickup at my local Walmart. The cost was $15. I got 5 8×10 prints. In retrospect, I should have just thrown them on a flashdrive and had them printed at my local Office Depot or Staples on cardstock for about half that price, but there is always next time.
This is what the prints looked like. I just cut them out with a straight edge and craft knife.
Detail Oriented Diva shows you how to use bias tape and sew your bunting. I went for jute twine and white tiny clothespins. Super lazy, it’s true, but I love the look. I also like that I can change the distance between the flags to fit whatever space I am using the bunting to decorate.
What do you think? Have you started decorating for spring yet?
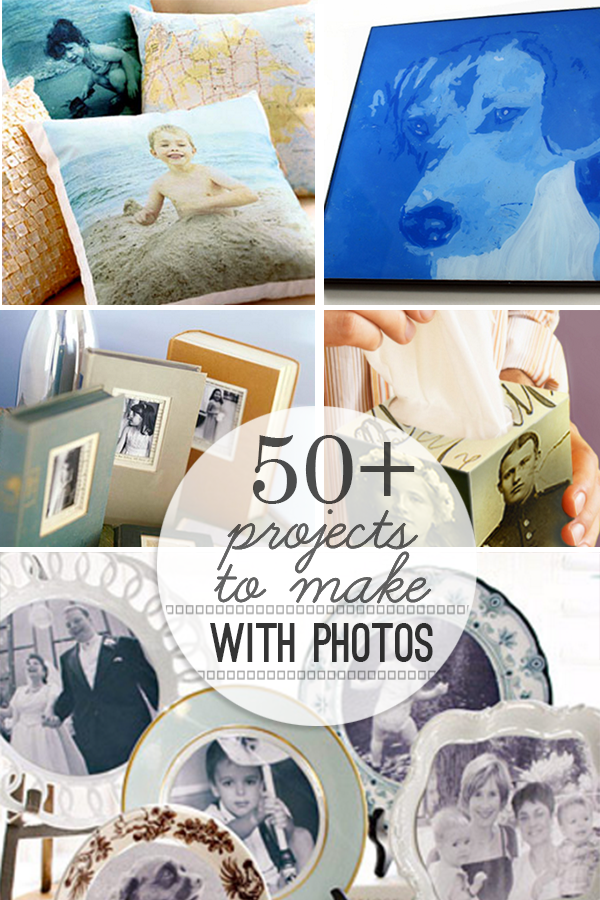
Today I am sharing with you over 50 ways to craft with your special photos. There are projects from home decor to jewelry and more. What better gift idea than a custom photo handmade treasure? If you have photo crafts that I missed, leave a comment with the link!
[pinit]
[pinit]
 [pinit]
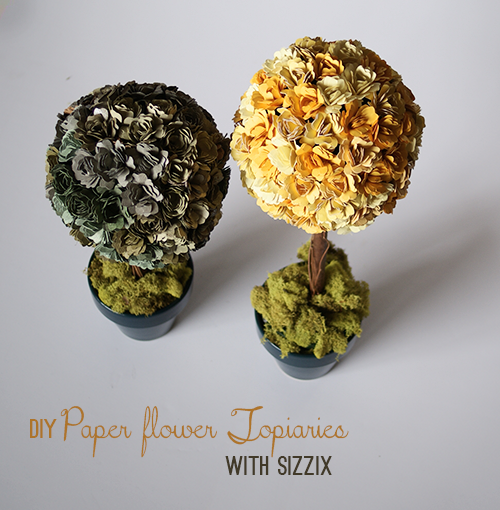
3D flower dies from Sizzix are some of my favorite die cuts to use. I was thrilled to find a new die this weekend while at Michaels. These fun green and yellow spring topiaries are my first project using them. This project is simple, but I won’t lie, it is not quick. I had a little help from my sister and husband, who shaped petals for me as I rolled the flowers and pinned them to the topiary shape.
Sizzix Sizzlits Die – Flower, Rose 3-D
Cardstock in your favorite colors
Glossy Accents
Straight Pins
Topiary Form (got mine at Walmart recently; you could use a stryofoam sphere and dowel rod)
Pot (Got mine at the dollar store last year)
Green moss or other filler
Stylus with large ball or other rounded end (like a pen or sharpie)
Foam pad or mouse pad
Cut several, I mean way more than you think you’ll need, 3d rose shapes using the Sizzlits die linked above. I used Coordinations paper in several shades of yellows and greens. With the Sizzlits dies, you can only cut one piece of cardstock at a time, so get cozy. I have done a similar project here with the Sizzix Originals 3D rose die, which cuts through several layers of cardstock at a time. I really wanted to use this shape die though, so I just cut one shape at a time.
Shape the petals with a rounded end stylus ball, or whatever you have on hand that works. I figured out I really liked the shape of the flower if I pushed in the 7 outer petals of the spiral, then flipped it over and pushed in the remaining petals. I roll the flower into shape so that the outer petals of the spiral (which become the center petals of the 3D flower) curl inward towards the center like in a real rose. The remaining flowers bloom outward like a blossoming rose. I don’t have detailed pics of this, so I hope that makes sense.
This pic shows me starting on the outer petals of the spiral (central petals in final rose).
To shape them I just press hard in the center, and draw tiny circles with my stylus ball. The flower petal “cups”. I do this for the first 7 petals, then turn the spiral over and do the same thing on the remaining petals.
Roll the flower from the outer petals to the center, keeping the bottom strip at the base of the petals aligned. When you get to the end, glue the tab you see at the center to the base of your flower. I like to use Glossy Accents for this since it dries so fast and holds great with paper to paper.
Once I had 10 flowers made, I pinned them to the topiary with a straight pen through the center and continued this way until the spheres were full.
[pinit]
It is no secret that I am a little obsessed with bracelets. This woven suede and chain bracelet DIY is right up my alley, and if history tells me anything, it is right up the alley of my dear readers too. There are so many chains in my jewelry stash. I am pretty sure I don’t have suede, but there are tons of cords too, so I will improvise. Head over to Yes Missy at the link above and check out the detailed photo tutorial.
While you are at it, take a look at our ever growing DIY Bracelet roundup:
 This is a Sponsored post written by me on behalf of Cottonelle for SocialSpark. All opinions are 100% mine.
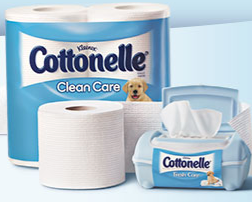
This is an atypical post topic, but it is something we all deal with, and we may as well make the best of it. Cottonelle has come up with a routine to make bathroom time more pleasant, even refreshing. I recently got a package in the mail of Cottonelle Fresh Care flushable wipes and Cottonelle Clean Care toilet paper to try, and I am hooked.
This was our first time using the Cottonelle Care Routine in our home. We all agree. The combo of the toilet paper and flushable wipes was definitely a cleaner, fresher feeling than just toilet paper alone. It makes sense, really. I mean think about it – you wouldn’t wash your car with a dry cloth , so why would you use dry tissue alone in the restroom? Sound logical?
Maybe a video would make it clearer. Cottonelle is unveiling a series of hidden camera videos illustrating hat nothing from a kitchen table to a car can be properly cleaned without the combination of cloth and water. See for yourself…
This is why nothing leaves you feeling cleaner and fresher than using Cottonelle Fresh Care Flushable Wipes and Cottonelle Clean Care toilet paper!
Now through June 30th, you can visit Cottonelle.com to watch the Cottonelle Wash Test videos and submit your entry for a chance to win one of four grand prizes of $10,000 bathroom makeover!
Test your Cleaning Logic at Cottonelle.com. Enter the contest and leave a comment on below letting me know why you want to win!
[pinit]
[pinit]
Today’s project is a fun, simple Easter decor DIY. Use jumbo popsicle sticks and an old canvas to create faux wood pallet bunny silhouette wall art. The inspiration for this project came from Laura at The Shed Blog, and her Mini Pallet Art tutorial. I loved her end result so much that it is now on my wall (an endearing story I shared with you here).
Jumbo Craft Sticks
Fabri-Tac craft glue
An old canvas (can be used; grab one for cheap at a garage sale or thrift store)
Die cut machine or printer and scissors
Clear contact paper or vinyl for die cut machine
White Gesso
Sponge brush
Acrylic paint in choice of colors
Head to Laura’s post for a detailed description. Here is a photo montage of what I did. She has some great tips for removing the paint between the craft sticks.
What do you think? I love it and it is super inexpensive to create. Won’t take you very long either. This is a great project for each holiday. Just swap out the silhouette for the current theme and make cool art for the whole year round.
[pinit]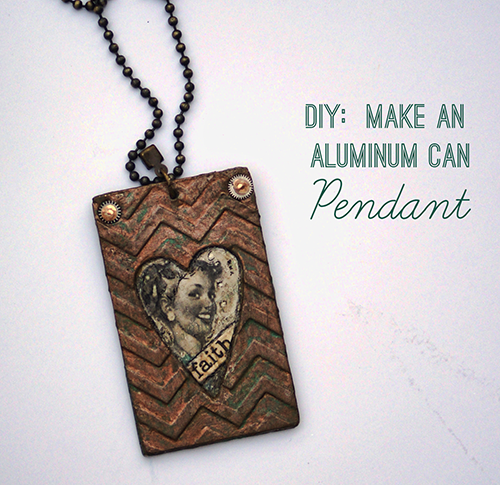
[pinit]
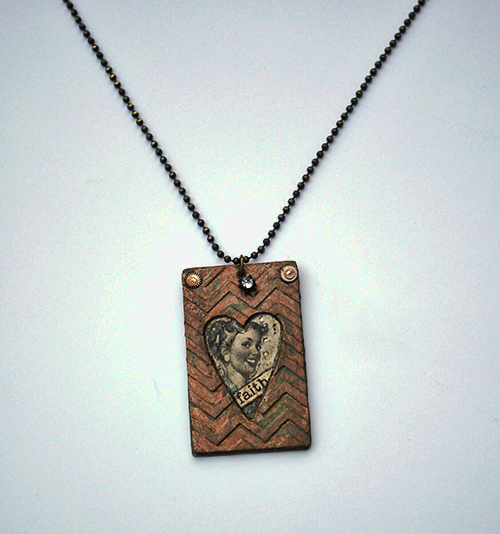
I gave a teaser of this pendant on my Facebook fan page awhile back, and asked you to guess what I used to make it. There were several guesses, and one of them was right. It is an aluminum can. The process was pretty simple. I used Vintaj Patina metal paints and a chevron embossing folder in my Sizzix. Use any image or photo for your custom, eco-friendly pendant. This post shows you how…
I showed you how to cut aluminum cans in this video:
Use a heart paper punch to punch a heart in the middle of what will be the front of your pendant, then emboss front and back triangle with chevron or desired embossing folder:
I used aged bronze Vintaj paint, then aqua over that, and sanded to give a distressed look. Seal with Vintaj Glaze.
For the image, I printed it on cardstock with laserjet, hand doodled with Pitt Pen and added Tim Holtz word sticker with Glossy Accents. I sealed the entire image with Mod Podge and sandwiched it between front and back pendant rectangle. Then I used my metal punch to place holes in top on both sides and the center of all 3 layers (hammer and nail would work too).
The middle hole is for the jump ring to attach the pendant to the chain. Using the side holes, I riveted the pieces together like this video from Beadaholique shows:
Copyright © 2024 · Genesis Framework · Log in