Search Results for: upcycle

DIY Upcycle Lighted Santa Bottles

DIY Santa Light Bottle Upcycle Project @savedbyloves


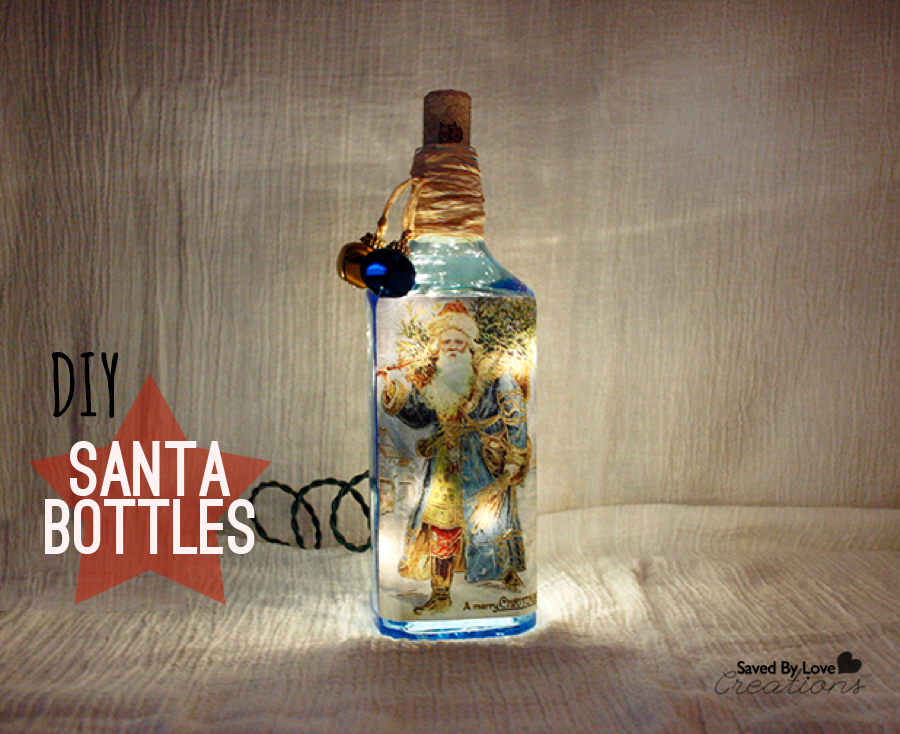
This handmade Santa light-up bottle adds a warm and cozy feeling to any space for the Christmas season. This project requires a recycled bottle and drilling a hole in the lower backside of the bottle. Also required is a fun search for a Santa image. The choices are endless, ranging from recycled Christmas cards, magazines, printed images, and the imagination goes on. Most importantly don’t forget a strand of Christmas lights. Now let’s get started and enjoy the fun.


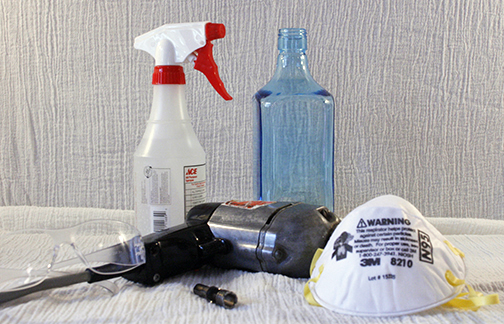
Materials for drilling a hole in glass

  • Drill
  • Drill Bit
  • Safety Glasses
    • Facemask
  • Spray Bottle With Water


image 1 Drilling Materials


Directions

  1. Drill a hole in the bottle. Through my research I found that using a 1/2 inch hole saw diamond grit drill bit works best for drilling a hole in a bottle. You can find this type of drill bit in most hardware stores and online.


  1. Safety first: Wear safety glasses and a facemask to prevent eye injury and inhaling glass dust.
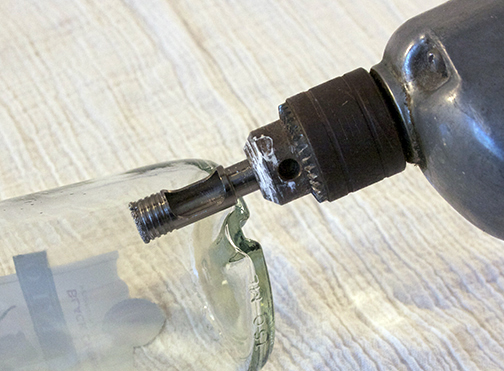
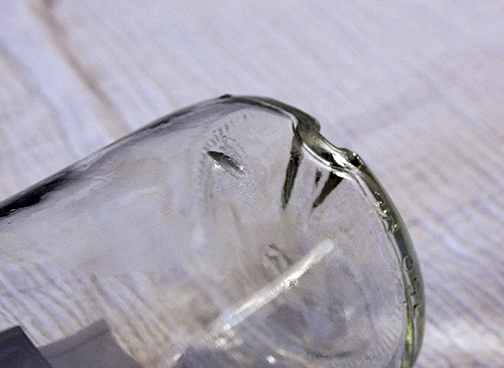
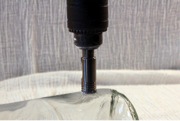
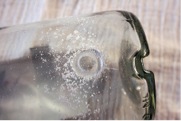
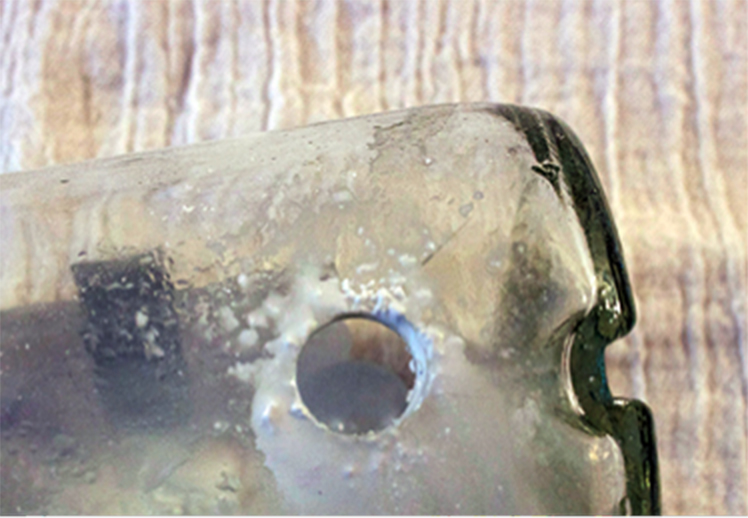
  2. Starting on the backside and lower end of the bottle place the drill bit at an angle. This will allow you to start a groove in the bottle. Once you have the groove started you will begin to slowly bring the drill to an upright position. Apply pressure but not too much as this will cause the bottle to break. Periodically stop drilling and spray the drill bit and bottle where you are drilling the hole to keep the drill bit and bottle cooled off. This also keeps the glass dust level down while you are drilling.

image 2 drill at angle

image 3 b groove started

image 2b Drill Perpendicular

image 3c spritz with Water

image 3d Hole Drilled


Tip: I have also seen websites online where you can purchase predrilled bottles from suppliers.


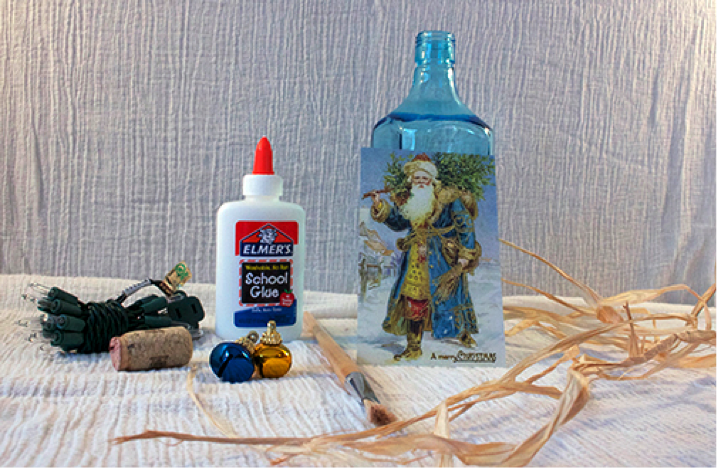
Materials for Santa bottle


  • Empty Bottle (most types of bottles will work for this project)
  • Cork (optional)
  • Strand of Christmas Lights (20-30 bulb strand with a one-ended plug)
  • Santa Image (of your choice)
  • Raffia
  • Christmas Bells (two)
  • Glue
  • Water
  • Paintbrush

Santa Bottle DIY


  1. Removing labels from the bottle. Soak bottle in warm soapy water until the label is saturated with water. Use a putty scraper or a scraper with a razor blade on the end. Once the bottle is clean allow it to dry.

Tip: If the inside of the bottle has any residue from the drilling process you can tear off a small piece of a cleaning cloth and swish it around with the water in the bottle and that will help to rid of it.


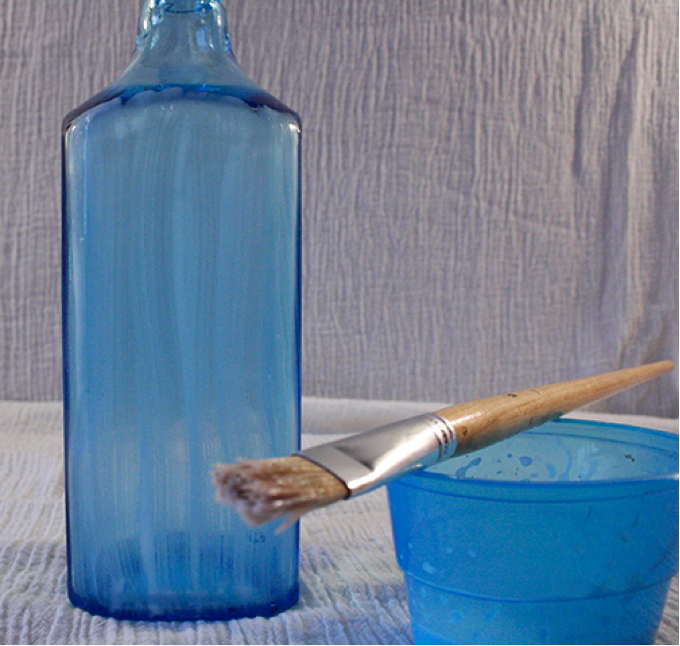
  1. Apply the Santa image. I prefer to make a mixture of Elmers glue and ¼ water. If the image is on thick paper this mixture will work well. If the image is on a thinner paper use a thicker consistency of glue (less water). Note: Other types of glue or Mod Podge products will work. Check your local craft stores to see what products they carry.


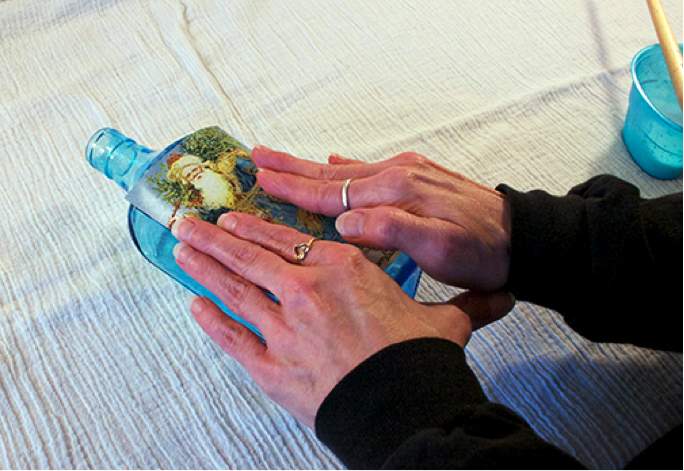
Measure the Santa image up to the bottle to insure the placement of the image will be where you want it. Using your paintbrush brush glue on the area where the image will be placed. Starting from the center of the image place your image on the bottle and gently glide your fingers from the center to outer edges of the image. Once you have the image glued down brush some more glue over the top of the image. Start this from the center working your way out as well. If any bubbles occur on the image you can smooth them out with your fingers from center to outer edges. Allow image to dry. Note: Once dry you can add glitter or a coat of crafting varnish on the Santa image.


Santa Bottle DIY 2Santa Bottle DIY 3


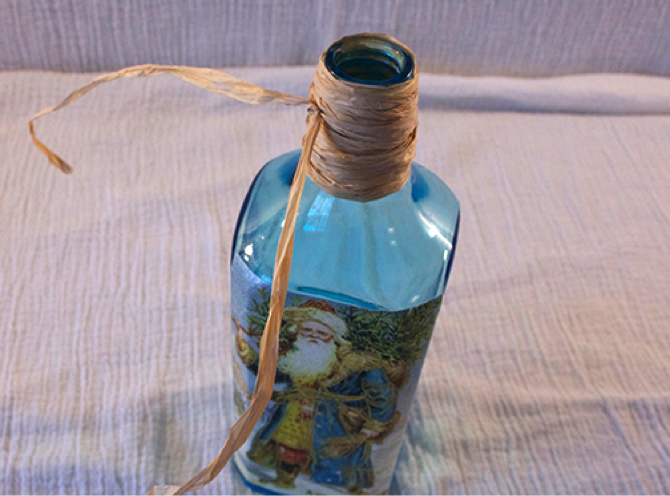
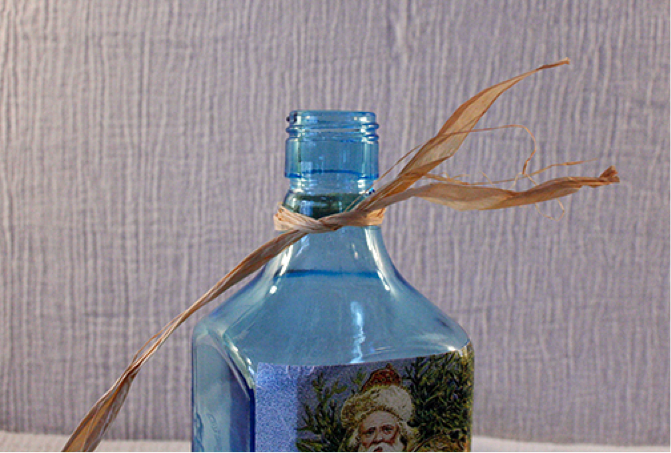
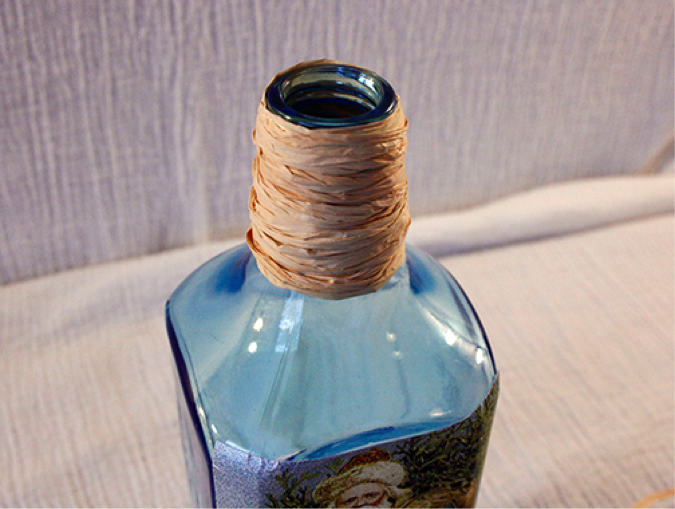
  1. Wrap raffia around neck of the bottle. Two or three strands of raffia will cover the neck of this size bottle. More strands may be required if your bottle is taller. Start by tying one end of the raffia around the neck of the bottle leaving a little excess on one end to tie off in the end of the wrapping process. Begin wrapping it fairly tight around the neck of the bottle. If your strand starts to run out tie the next strand to the one you started with and keep going until you have covered the neck of the bottle. Now tie off with the excess. Note: Twine, yarn, or ribbon can be used in place of the raffia.


Wrap Raffia around bottleWrap Raffia around bottle 2 

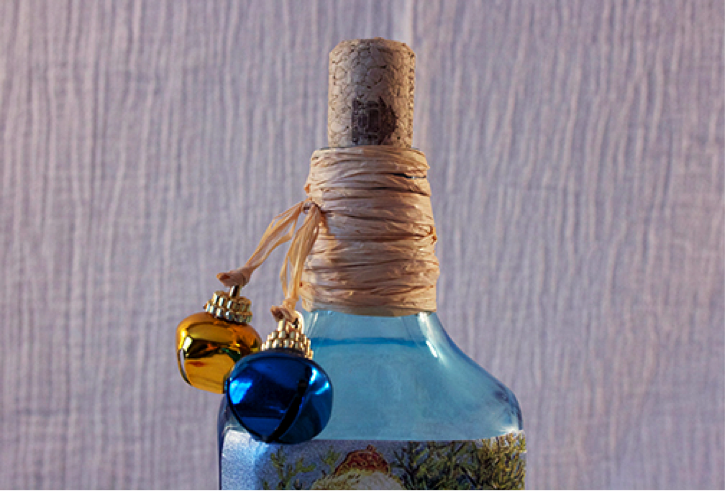
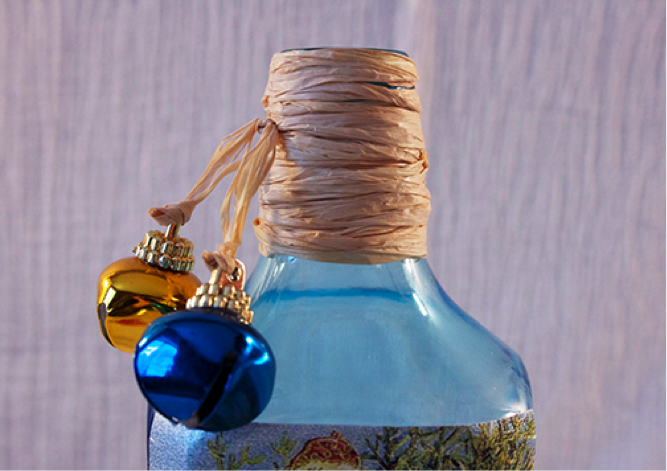
  1. Tying on the Christmas bells. Using another strand of raffia, tie the raffia around the top of the bottles neck, leaving a generous amount on both ends so that you can tie one bell on each end.Tying on Bells

 Tying on Bells 2

  1. Place a cork in the top of the bottle. (Optional)Place Cork
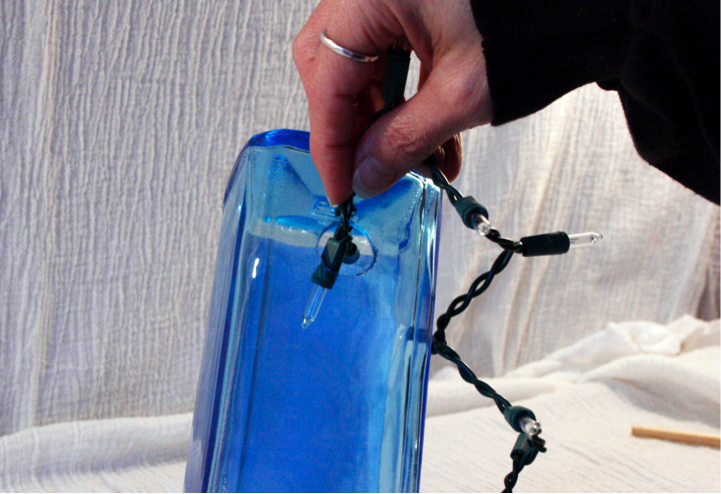
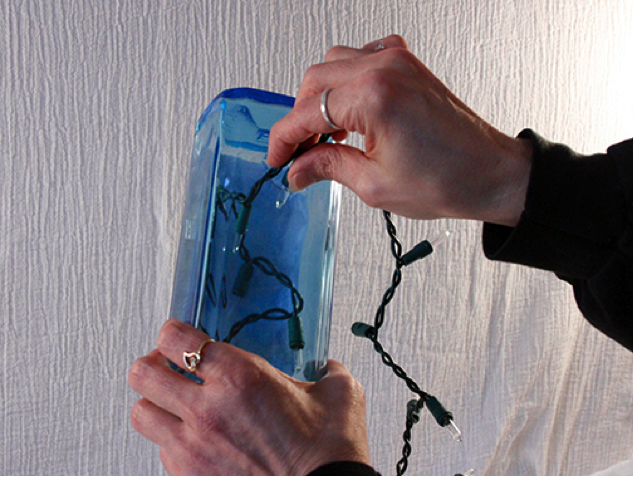
  2. Inserting the strand of Christmas lights. Turn the bottle upside down to insert lights (this helps the light strand to flow more evenly throughout the bottle). Starting from the bulb end of the light strand insert each bulb individually into the bottle. Once you have your strand of lights in it is time to plug in and enjoy.Insert Lights

Insert Lights 2

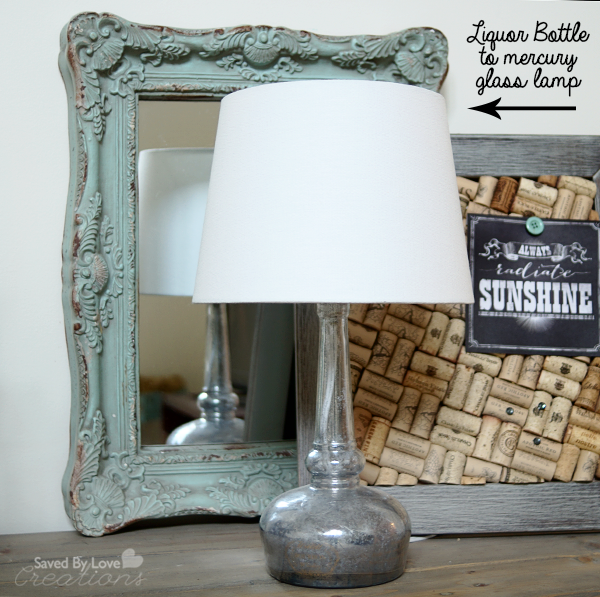
DIY Upcycle Liquor Bottle to Mercury Glass Lamp

How to make Mercury Glass

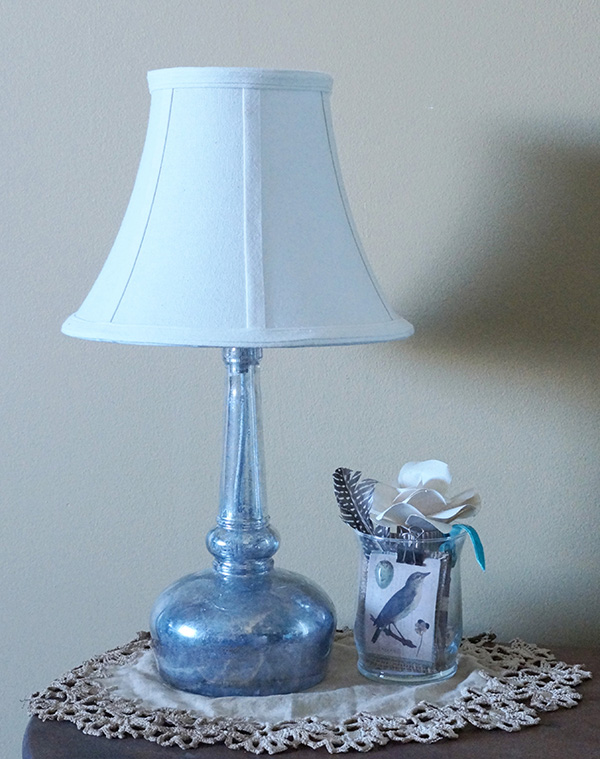
Get the look of expensive mercury glass with a can of spray paint and some Epson salt!  This simple project takes a genie lamp shaped liquor bottle to an elegant mercury glass lamp for way less than the purchase price you see in stores.

Mercury Glass Lamp Tutorial

MATERIALS

Mercury Glass Lamp 5 

-Glass Bottle of your choice

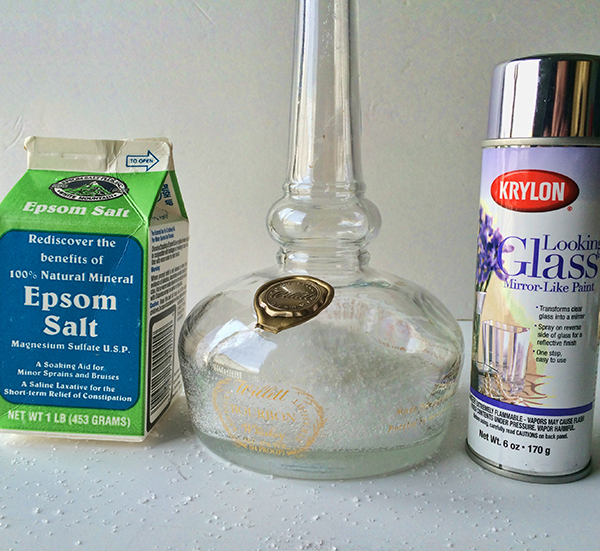
–Krylon Looking Glass Spray Paint

–Krylon Spray Adhesive Remover

-Epson Salt

-Kraft paper, plastic or other work surface protector

-Drill and 1/2 inch Diamond Hole Drill Bit

-Lint free towel and rubbing alcohol

-Dust mask

-Protective Gloves

-Protective Eyewear

-Container of water with a a soaked towel or rag

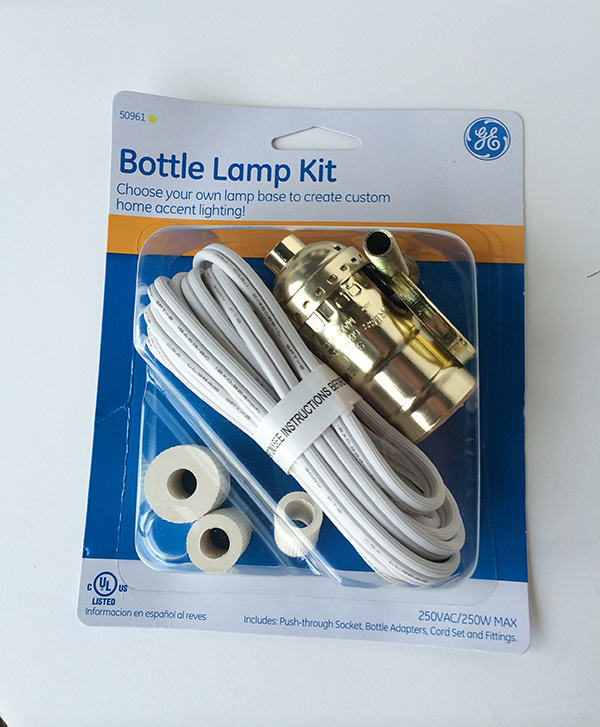
–Bottle Lamp Kit

-Lamp Shade

-Light Bulb

DIRECTIONS


1.  Clean bottle and remove labels; to do this, soak bottles in hot, soapy water and remove labels.  Rubbing alcohol in a lint free cloth will remove residual adhesive.  My personal favorite technique is Krylon Adhesive Remover.

Mercury Glass Lamp 3

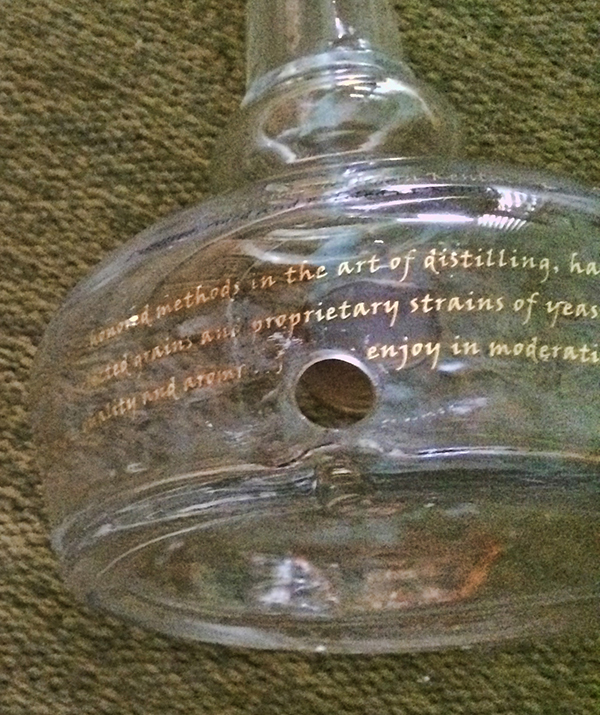
2.  Drill a hole where you want the cord to exit the lamp, in the back near the base.  For that technique, see my previous tutorial:  How to Make a Lamp From a Glass Bottle. Follow safety precautions!

3.  Clean away debris from drilling, dry bottle with a lint free cloth and tape over the hole you just drilled.  You will see why!

4. Pour Epson salt into bottle so that to about one inch from the bottom.  If your bottle is smaller, you can use less.  It is not important to be exact here.

5.  In a well ventilated area with protected work surface, spray looking glass paint into mouth of bottle.  Make sure to follow instructions on label.  You want to shake the can vigourously before using.  If your bottle mouth is small in diameter like this genie bottle, you will have paint pooling in one spot and running down the neck.  That is fine.

6.  Shake the bottle like a snow globe, so that the salt grabs the paint and drags it around.  This will create the mercury glass look.

7.  Repeat steps 5 and 6 a few more times, allowing each coat to dry for about 5 minutes before applying the next.  Stop when are happy with the look.

Mercury Glass Lamp 6

8.  Follow instructions on your lamp kit to assemble.  The one used here was super simple to and cost $6.

9.  Use a thrift store or new lampshade to fit your décor.

EXTRA TIPS

○ The salt will stick to the wall of the bottle in spots, giving a lovely crystal effect.  You can pour as little or as much of the salt out as you want after painting.

Use this technique for recycled glass bottle vases, votive holders, wind chimes and more.  Keep in mind this only works when the sprayed surface is inside.

Reclaimed Wood Display Shelf For Upcycled Old Book Letters

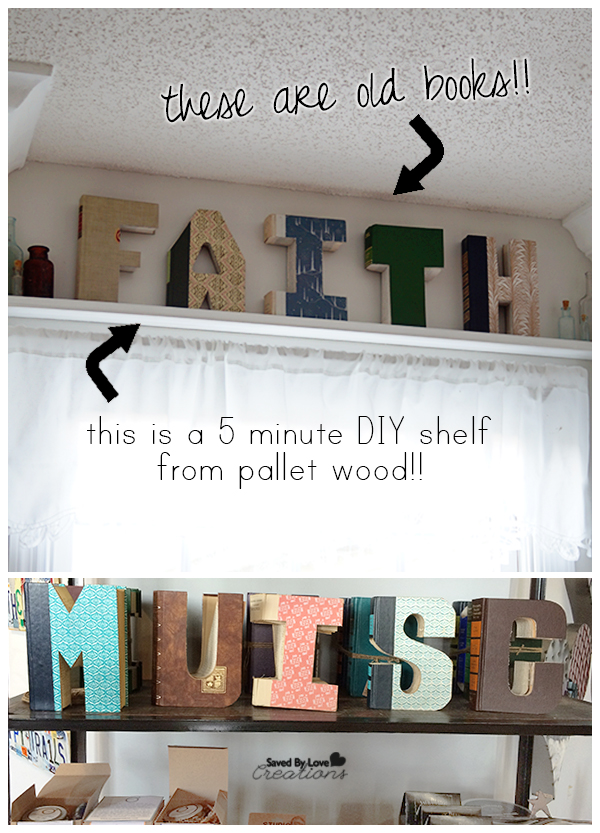
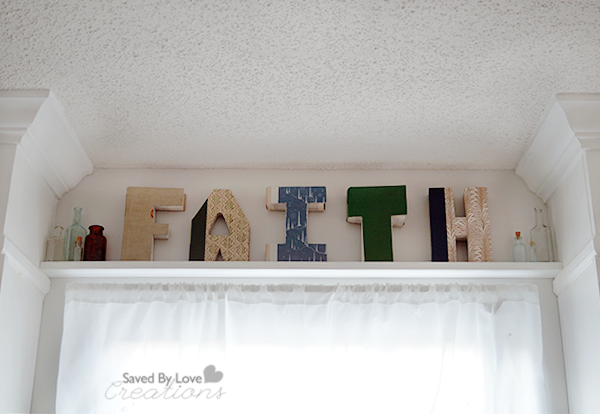
[pinit]5 minute DIY shelf from Pallet Wood @kregtoolcompany to display "FAITH" letters cut out from old books @savedbyloves.png[pinit]

I am obsessed with old books, well old things in general, but when I saw these words from old book letters I was sold!  There is a cute store in Nashville called Island Cowgirl that we stumbled upon while looking for Archeology Antiques.  The couple just opened the store 12 days before we wondered in, and they know how to do it!  Such rusty, wonderful upcycled home decor and jewelry filled the industrial space.  The prices were what got me.  See, I don’t usually buy handmade things because of the whole “I can make that for like 1/100th of the price tag” thing that happens in my brain.  Not so in this shop.  I left with my arms full, contemplating where I would display my new found treasures when I got home.

Things to make from old books

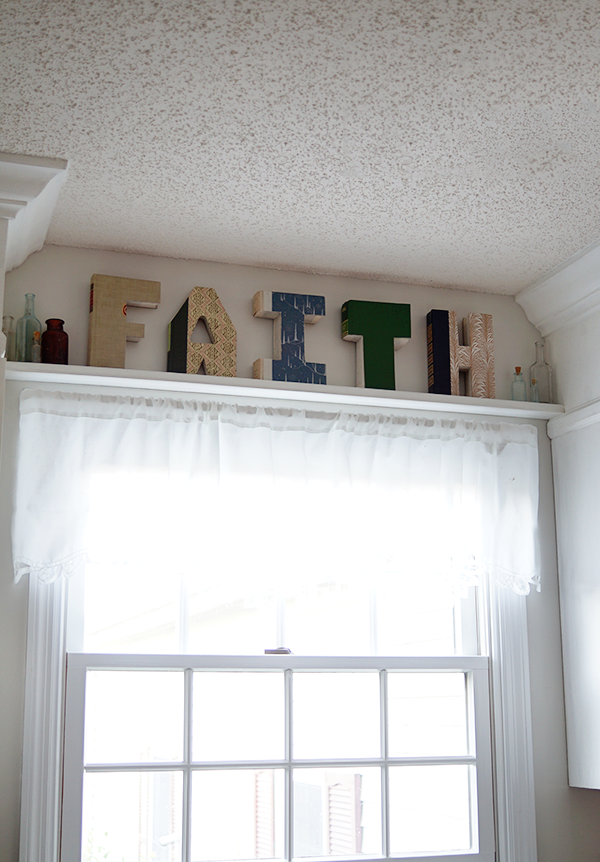
Did you happen to see my recent DIY Kitchen Cabinet Upgrade with Crown Molding and Chalky Paint post?  It was quite the transformation if I do say so myself.  The kitchen is coming along great, but there was this sad space between the regal cabinets above the window.  It has been begging me to decorate it.  Enter words made up of letters cut from old books.  Yes please!  I bought “Faith”.  Now, where would I put such a special accent?  That is when I decided to attach a narrow display shelf to those cabinets to fill the desolate space above the windows.  How to make a shelf using Kreg Jig

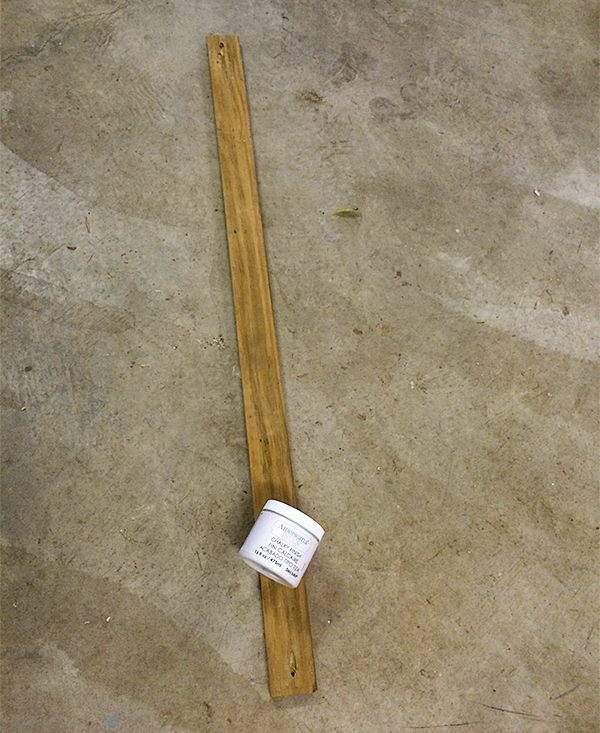
First, I ripped the pallet wood to about 2.5 inches with the table saw.  I used the miter saw to cut the wood to length for the space in between the cabinets.  I used my Kreg Jig to drill a pocket hole on each end for attaching to the cabinets.  If you haven’t used this tool, you are in for a treat.  I use it in nearly every woodworking project for joining pieces together.  The joins are super strong, and the jig takes out all of the guesswork.  I showed you how to use a Kreg Jig in this Easy DIY Pallet Sign Tutorial. Next I painted it using two coats of Deco Art Chalky Finish Paint in “Everlasting”, the same color I used on the cabinets.  A coat of wax sealed the deal, then I attached the shelf with 1.25 inch pocket hole screws.

Old Book Crafts

Wanna have a little fun?  

Guess how much I paid for “FAITH” from old books.  Leave your anser in the comments.  If you are right, I will send you an andvanced copy of my upcoming ebook, with 5 upcycled wine bottle home decor project tutorials you are going to love!

*By the way, if you want to make some yourself, check out this great tutorial from The Merry Thought; DIY Book Letters.  Pretty easy to do with a printer and a scroll saw. 

Upcycle Wine Bottles to Terrarium Wonderlands

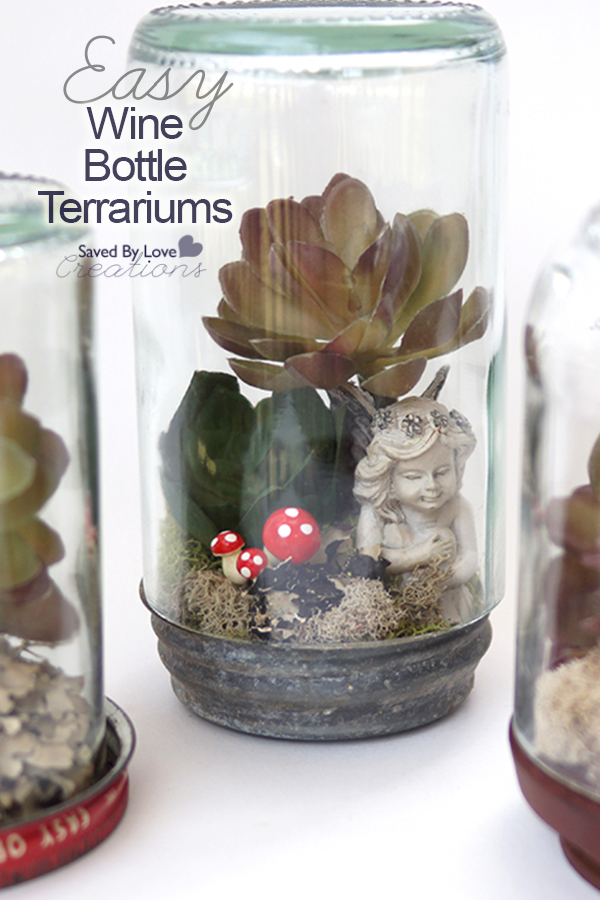
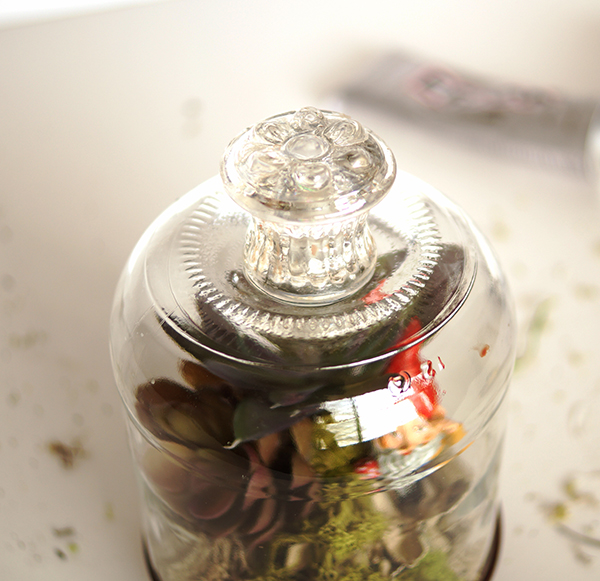
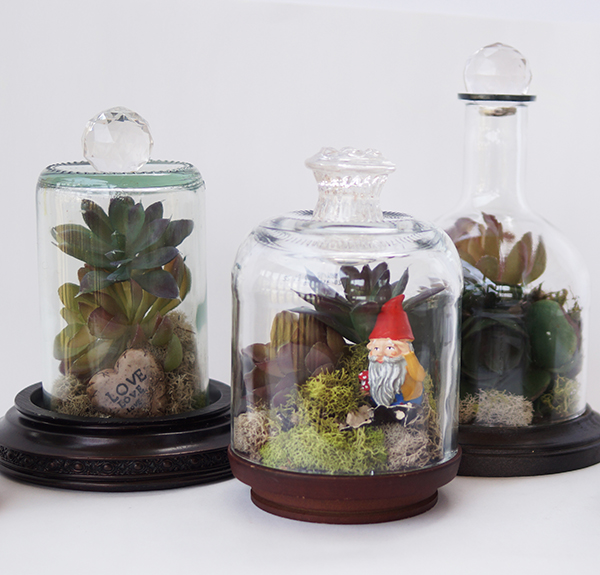
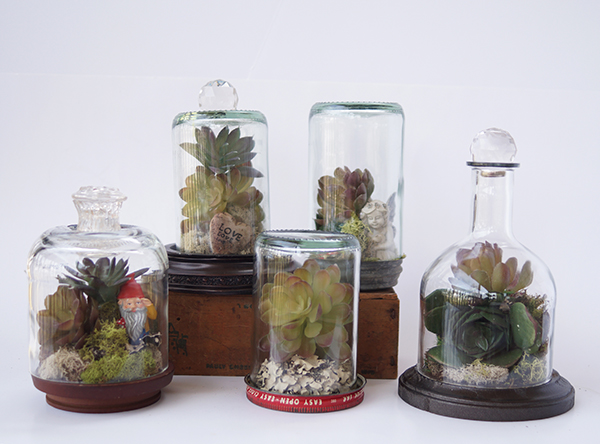
Wine-Bottle-Terrarium-Photo Do you love eco-friendly crafts?  How about succulent plants?  Combine the two by creating your own whimsical land of tiny garden fairies, mushrooms, moss and more with this DIY terrarium wine bottle world.  This project is simple is completed using artificial moss and succulents for those of us with less than a green thumb.  What great gifts, home décor and centerpieces for your woodland themed birthday party these would make!
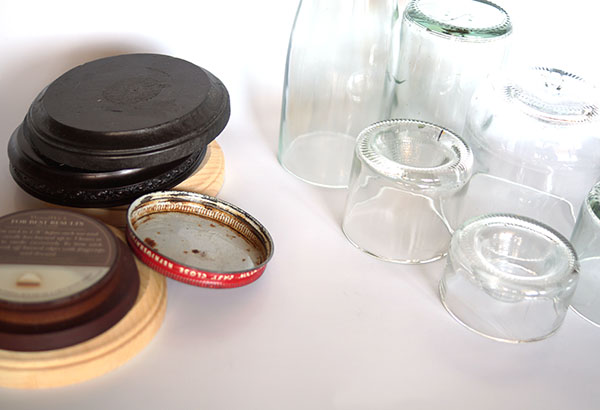
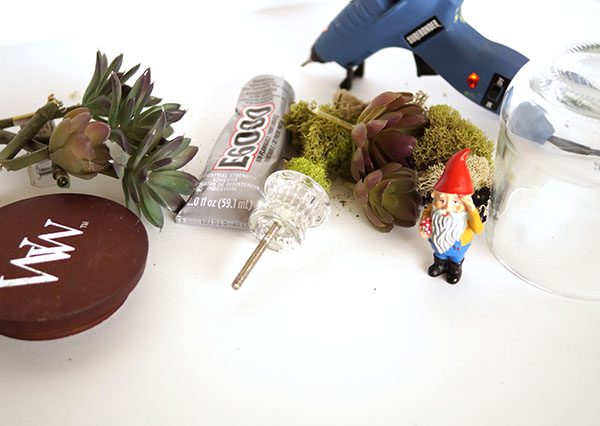
SUPPLIES:

Wine Bottle Terrarium Photo 1


 -Cut wine bottles with varying heights (See How to Cut Wine Bottles)

Wine Bottle Terrarium Photo 2

-Artificial Moss

-Various artificial succulents

-Hot glue gun and sticks

-mini mushrooms, fairies and gnomes (found in most hobby stores for doll houses and miniature trains)

-Glass knobs or big glass prism or crystal beads

-E6000

-Latex or nylon gloves are optional

-Various round objects for the base of your wine bottle cloches; jar lids, candle lids, etc.

 TUTORIAL:

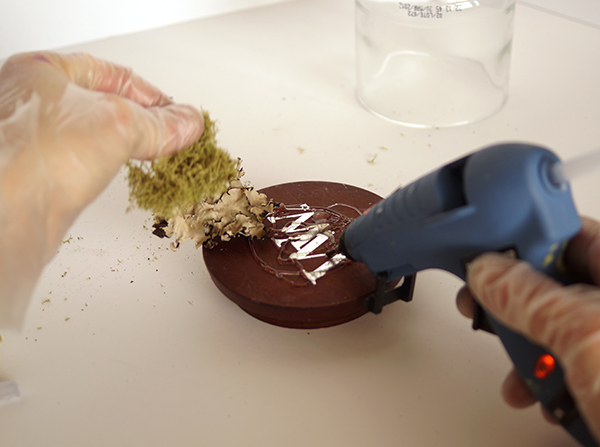
Wine Bottle Terrarium Photo 4

 Clean the surface of your cloche base and begin hot gluing your moss and filler.

Wine Bottle Terrarium Photo 3

 Build with layers, adding miniatures and succulents.

Wine Bottle Terrarium Photo 5

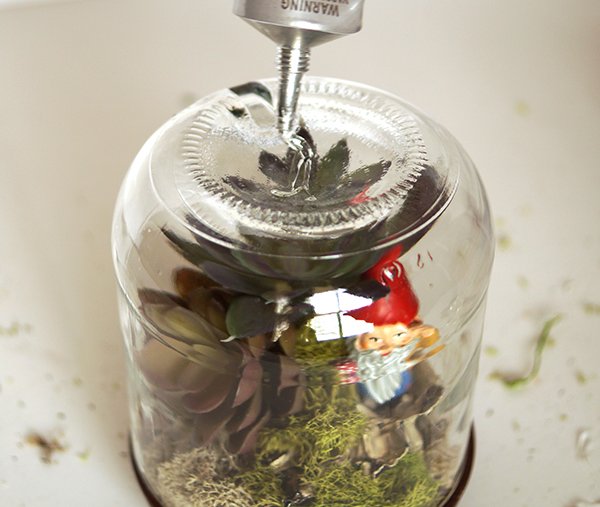
  When you are satisfied with your scene, place your cut wine bottle cloche top over the tiny world you created.  You can glue this if you would like.  I left mine removable so I could change things later.

 Wine Bottle Terrarium Photo 6

To add a special touch, use E6000 to glue a knob or glass bead to the top.

Wine Bottle Terrarium Photo 10

EXTRA TIPS

○ Cut the metal threading  off of antique flea market drawer pull using bolt cutters, for a flat surface you can glue onto the top of your cloche.

Wine Bottle Terrarium Photo 8

If you like this post, you don’t want to miss:

50+ Wine Bottle Crafts to Make 

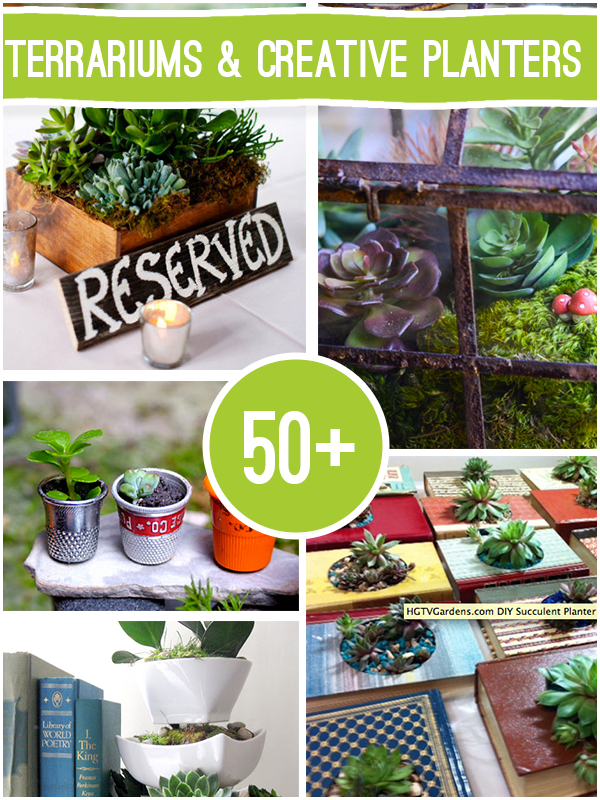
50+DIY  Terrarium Projects to Make

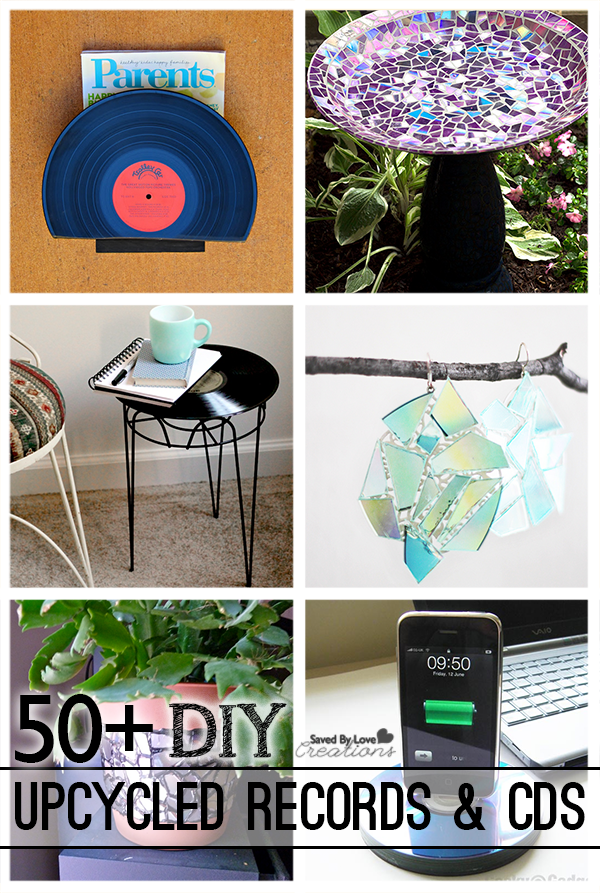
50+ Ways to Upcycle CDs and Vinyl Records

[pinit]50 Plus Best DIY Upcycle Vinyl Records and CD projects to make @savedbyloves[pinit]

Since most of us no longer listen to CDs or records, our planet is left with a ton of these seemingly useless items. Today I am sharing with you 50+ upcycle projects that solve this dilemma using some outside of the box creativity. You will think twice before considering old records and CDs to be useless!


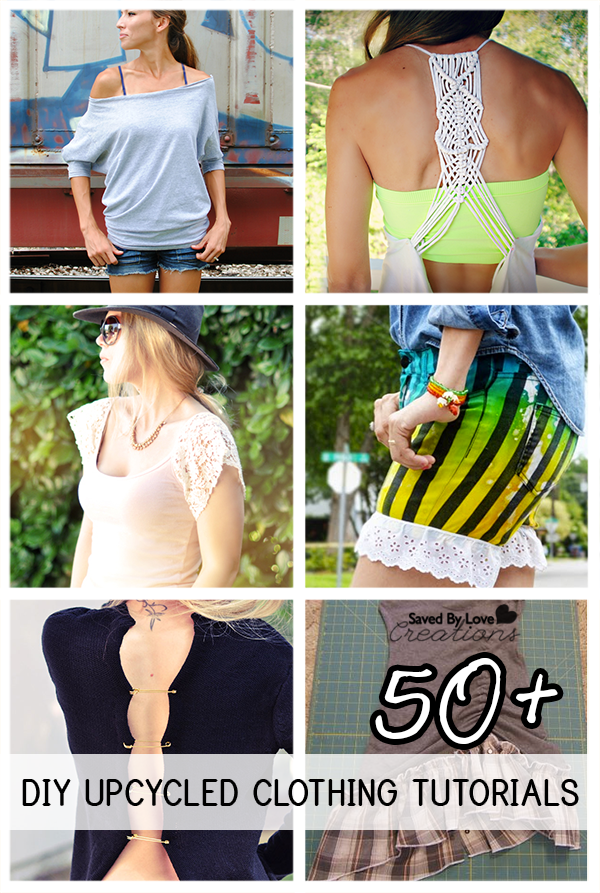
50 Plus Awesome Ways to Upcycle Clothing

[pinit]50 Plus Best DIY Upcycled Clothing Tutorials to make @savedbyloves[pinit]

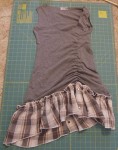
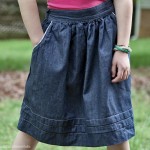
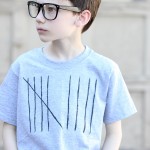
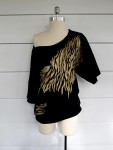
Before you haul that pile of old clothes off to Goodwill, you may want to check out this collection of 50+ awesome upcycled clothing tutorials! Up the style of your wardrobe with some simple and inexpensive creative ideas to refashion those old clothes. Did we miss your favorite? Let us know. We love a good clothing upcycle!


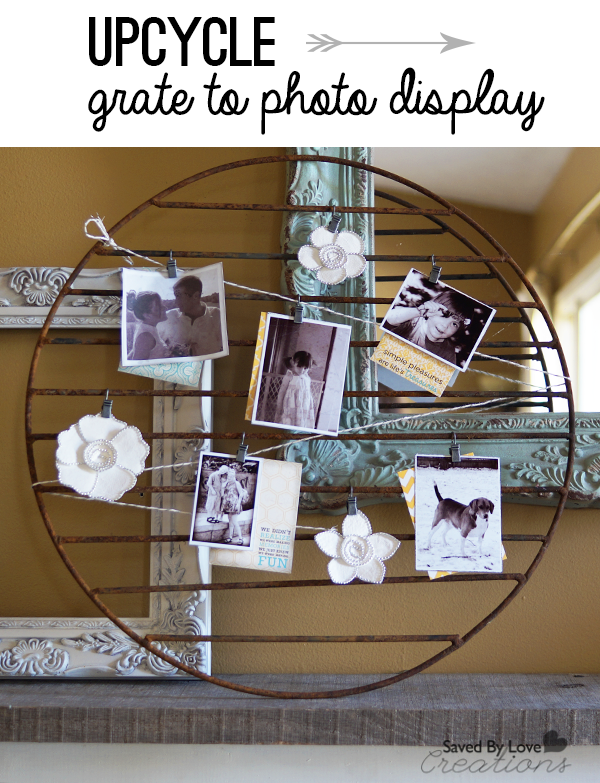
Upcycle a Rusty Grate Into a DIY Photo Display

[pinit]Repurpose Photo Display Idea @savedbyloves [pinit]

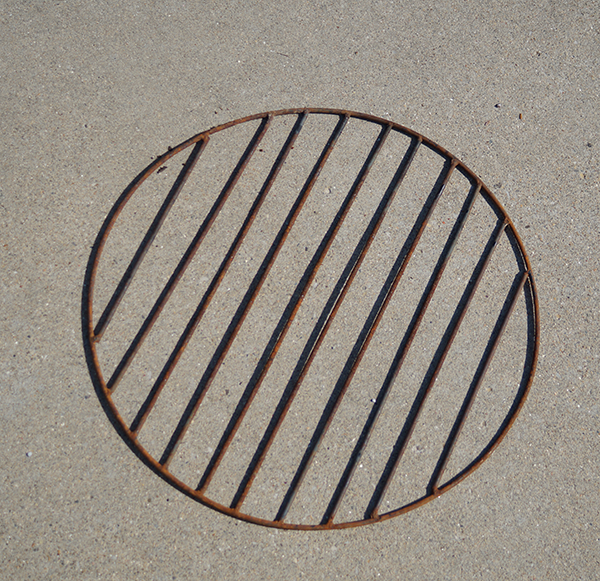
Today I am happy to share with you this rustic, quick & easy upcycle to display your favorite Instagram photos – all while saving a rusty old grate from a tragic dumpster demise!  This particular grate is from an fire pit that is no longer.  I just couldn’t part with it.  Round objects have a hard time getting away from me since I love the challenge of using them to create unique repurposed wreaths.
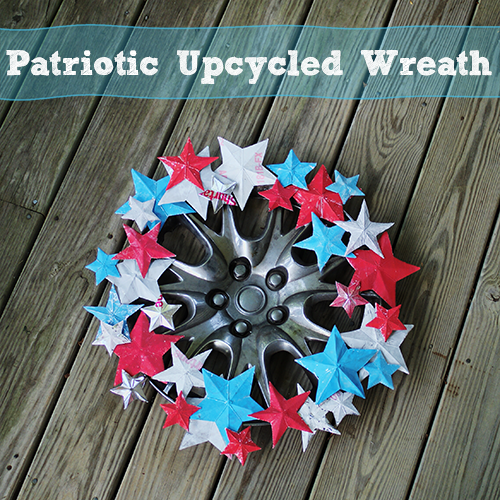
Such as this repurposed hubcap wreath

I digress.  Back to the grate.

Upcycled Grate to Photo Display

Here is the old thing.  It has sat on my porch for months, begging for inspiration to strike me.  Along came Susan.

If you haven’t been to Homeroad, you need to remedy that.  Susan is a junker with an eye for upcycling that always inspires.  When I saw her Barrel Strap Photo Holder, I knew what I had to do.

Upcycle home decor DIY rustic decor

Find something old, rusty and round, and you can do it too, within just a few minutes!

How to make a Rustic Photo Holder

Photos

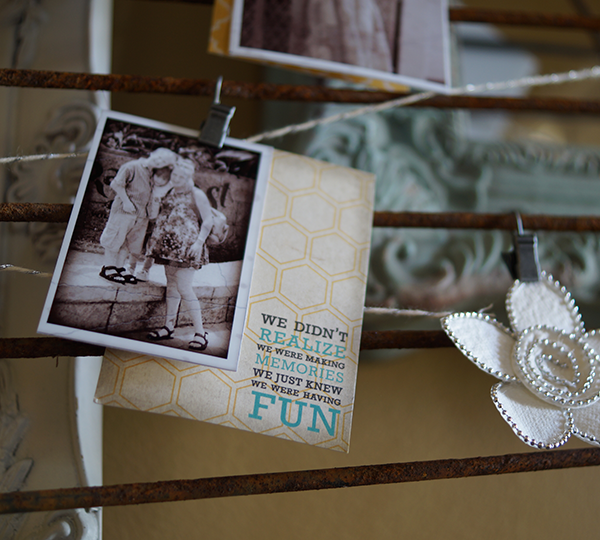
Photos – Use your Instagram photos or other photos and apply a fun vintage filter!

Scrapbook ephemera

I used ATC backgrounds I found at Hobby Lobby in a fun yellow, blue, vintage yet modern, geometric patterned, grungy style.  you know that style, right?

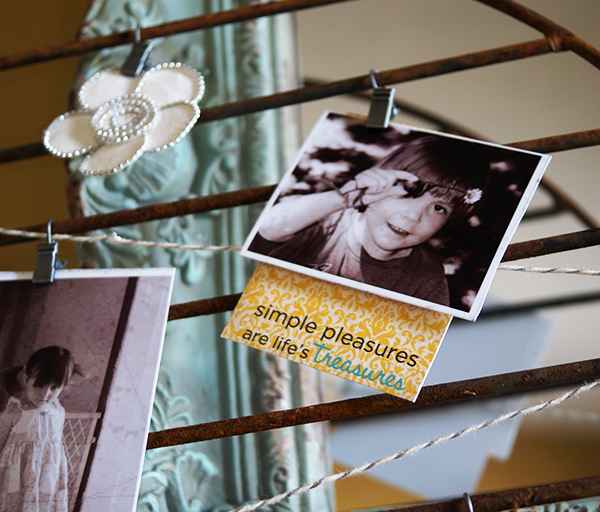
The flowers are from Prima .  I grabbed them at Hobby Lobby, but you can find them with my Amazon link too.

I used silver and white baker’s twine with the intention of clipping the photos with tiny cute clothespins.  While digging through my stash I found the perfect Gator clips from 7 Gypsies.  Their little hook fit perfectly over the rods in the grate.

Easy Photo Display

I threw this piece together in under 10 minutes, and I will cherish it for years to come!
Upcycle a Glass Bottle Into a Lamp

[pinit]

How to make a lamp from a bottle @savedbyloves with @modpodgerocks adhesive stencils @plaidcrafts

[pinit]

If you have ever thought it would be too hard to turn a bottle into a lamp, I am here to change your mind about that.  Not just any lamp, mind you, but a sparkly, polka-dot spangled, fabulous lamp thanks to Mod Podge Rocks adhesive stencils from Amy Anderson and Plaid Crafts!  Read on to see how you can make your very own in less than an hour.  It is true.
SUPPLIES:

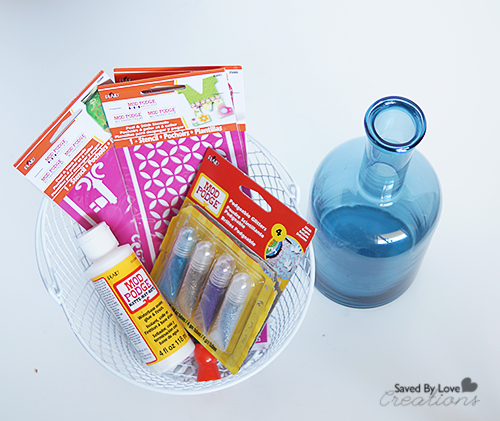
Mod Podge Rocks Adhesive Stencils @plaidcrafts

Glass Bottle

Mod Podge Rocks Adhesive Stencils (Polka Dot Pattern)

Mod Podge Gloss Finish

Foam Spouncer

Podgeable Glitters

GE Bottle Lamp Kit

Lamp Shade

Light Bulb

Drill and 1/2 inch Diamond Hole Drill Bit

Lint free towel and rubbing alcohol

Dust mask

Protective Gloves

Protective Eyewear

Container of water with a a soaked towel or rag

TUTORIAL:

How to Drill A Hole In a Glass Bottle

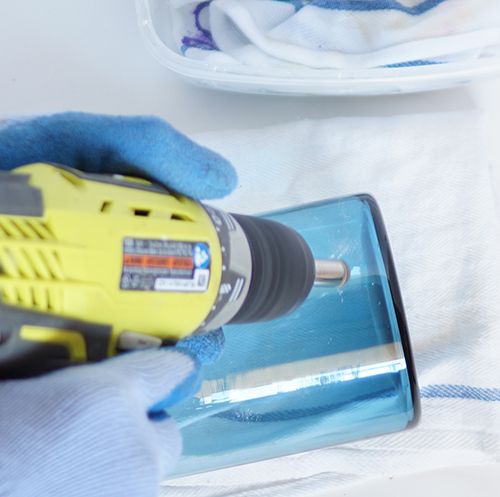
Wearing gloves, mask and protective eyewear, drill a hole in the bottle where you want the cord to exit your finished lamp (in the back near the bottom).  You will be using a 1/2 inch hole saw diamond bit.

Come in at an angle to start the notch in the glass, then you will be able to come in at a 90 degree angle to continue drilling.

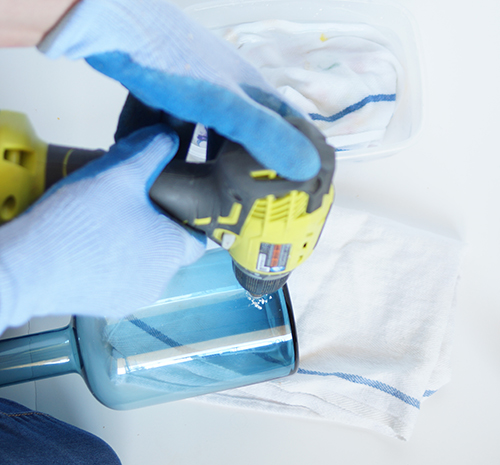
How to Drill in Glass Bottle

Here I am drilling at 90°.  You can see the dust from the glass being drilled.  About every 2o seconds of drilling, take the rag from the water and drip it onto the drilled area and the drill bit to cool things down and get rid of the glass dust.

* Some people do the entire thing in water, but I have found that to be inconvenient to pull off with just one person.

*Don’t press on the drill.  Let the drill bit do the work or you risk breaking the glass.  Don’t forget to cool things off with water.  Again, the glass will break if things get to hot.

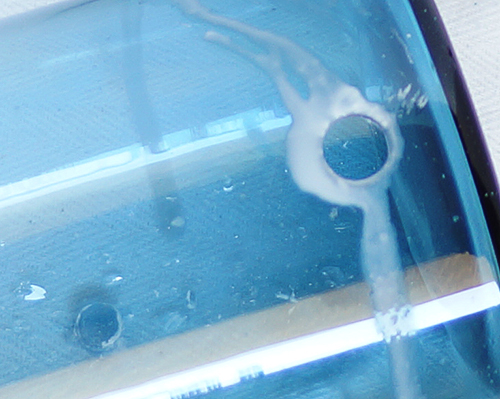
How to Drill hole in a Glass Bottle

Here you can see the hole is complete, and the glass circle cut out is now inside the bottle (on the left).  Clean away the debris.

Stenciling on Glass

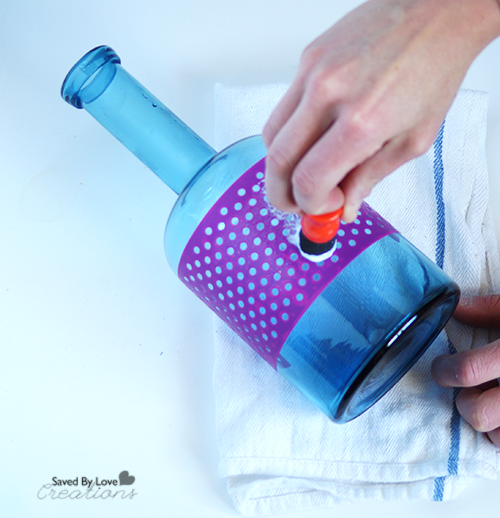
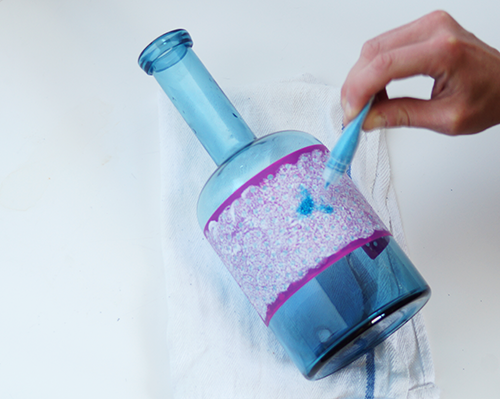
Clean the glass well with rubbing alcohol and a lint free towel before stenciling.  Once it is dry, place stencil and apply Mod Podge Gloss generously with a foam spouncer.

How to Paint Glass

Apply Podgeable Glitter immediately after applying Mod Podge.  Remove stencil and let dry!

Bottle Lamp Kit Tutorial

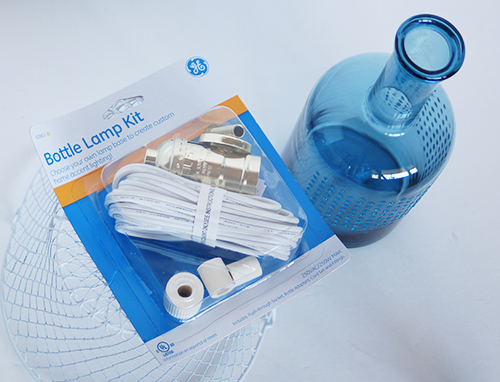
I picked up this kit at Walmart for I think $6.

How to make a bottle lamp

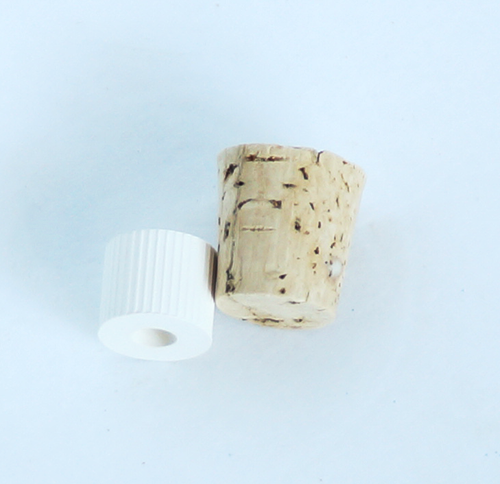
It comes with 3 different sized adapters for various bottle opening sizes.  It turned out that all of them were to small for my bottle, so I dug through my stash and found a big cork that fit perfectly.

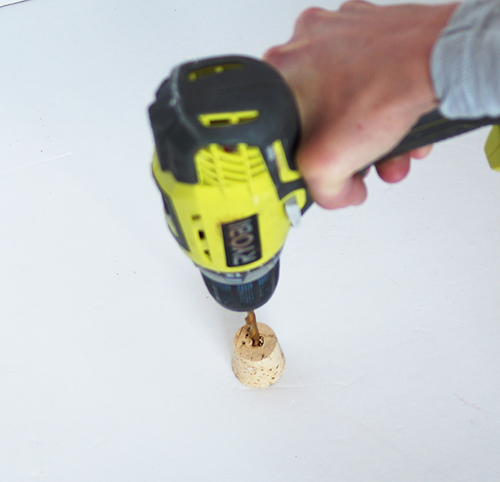
Drill a hole in bottle cork

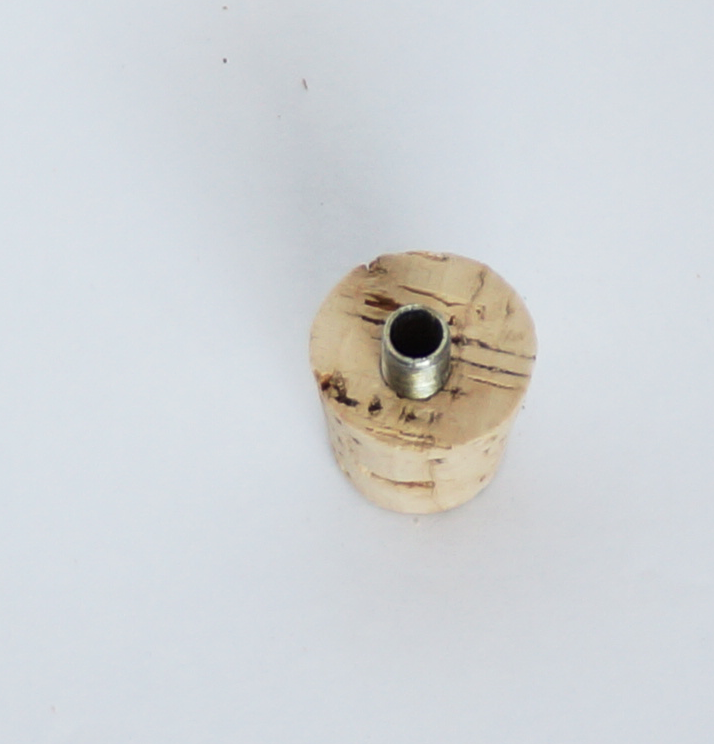
I found a drill bit just smaller than the threaded rod I needed to insert in the cork and drilled a hole for the rod.

How to make a lamp

I inserted the rod and assembled the lamp according to the instructions, running the wire through the hole drilled in the back of the bottle.

Upcycle Glass Bottles

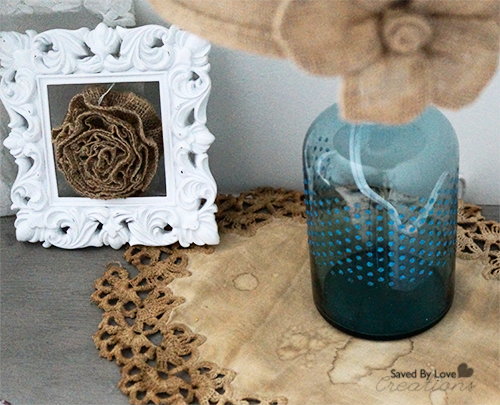
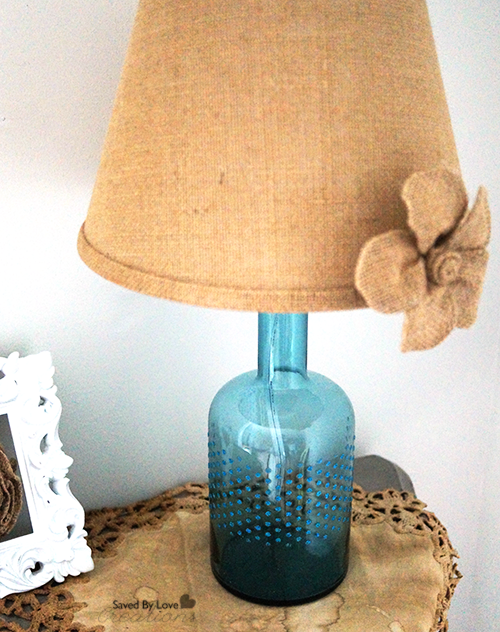
I found a burlap lampshade at Walmart as well.  For this kit, you need one attaches at the base of the bulb (the lamp kit doesn’t come with a harp attachment).  Mine was $8.  I added a burlap flower to finish, and I am in love with my new lamp.

Recycled Bottled Art

These stencils are so easy to use!  They give great lines and come in 6 hip designs.  Head to Michael’s to grab your own, or visit Plaid Online.

Here are more awesome projects using Mod Podge Rock Stencils.  Enjoy!!

Upcycle Craft How to Make a Mason Jar Candle

[pinit]

How to Make a Mason Jar Candle

[pinit]

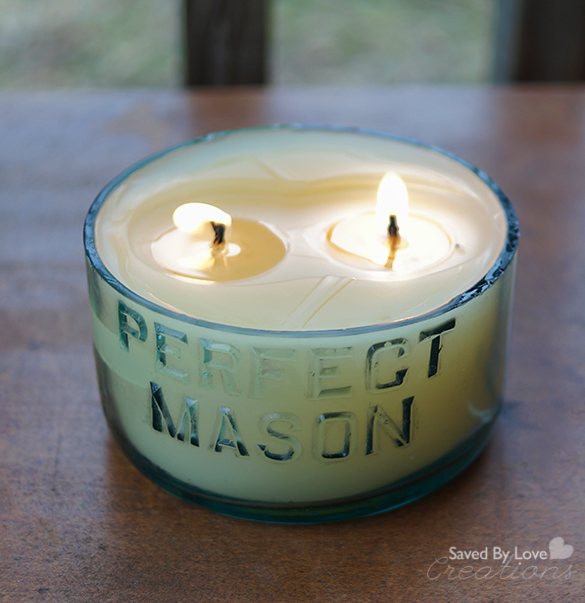
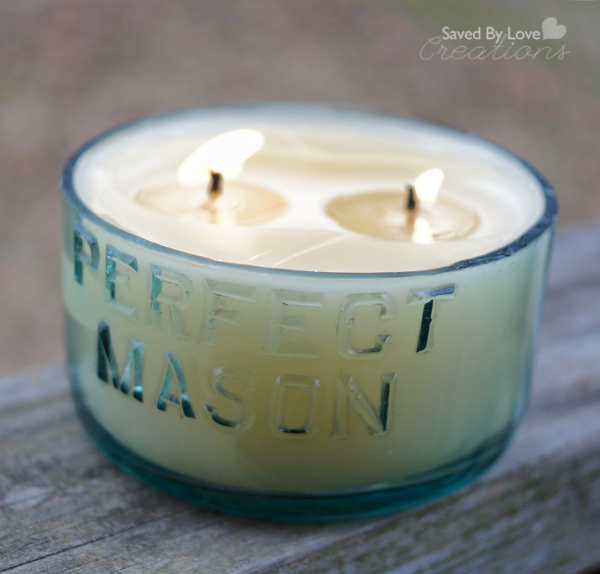
Last week I shared this DIY Mason Jar Chimes tutorial and I bet you were left wondering what was to come of the bottom part of the jar.  Since I cut the jar just above the “Perfect Mason” lettering, I thought it would be so cute as a candle.  Turns out I was right, don’t you think?!  Read on to see how to upcycle a mason jar into one of your very own,  These would also be great as part of your DIY wedding decor, or as gifts!

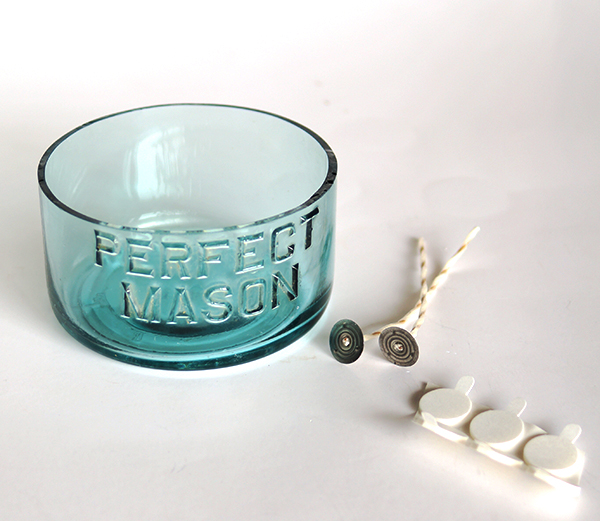
SUPPLIES:

DIY Mason Jar Candle

Beeswax

Soy wicks on metal tabs

Double sided adhesive

Melting Pot

Mason Jar bottom (see tutorial:  How to cut mason jars)

Bamboo Skewer or pencil

Clips

Scissors

Lint free cloth

Soap and water or glass cleaner

TUTORIAL:

Melt wax per instructions.  I used my Ranger melting pot, which was not really the best plan on earth since I could only melt a little bit of wax at a time, but that is what I did.

DIY Candles Mason Jar Decor

Mason Jar Crafts @savedbyloves

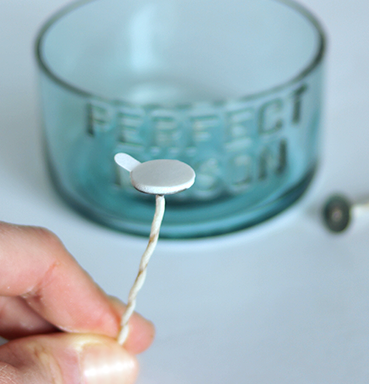
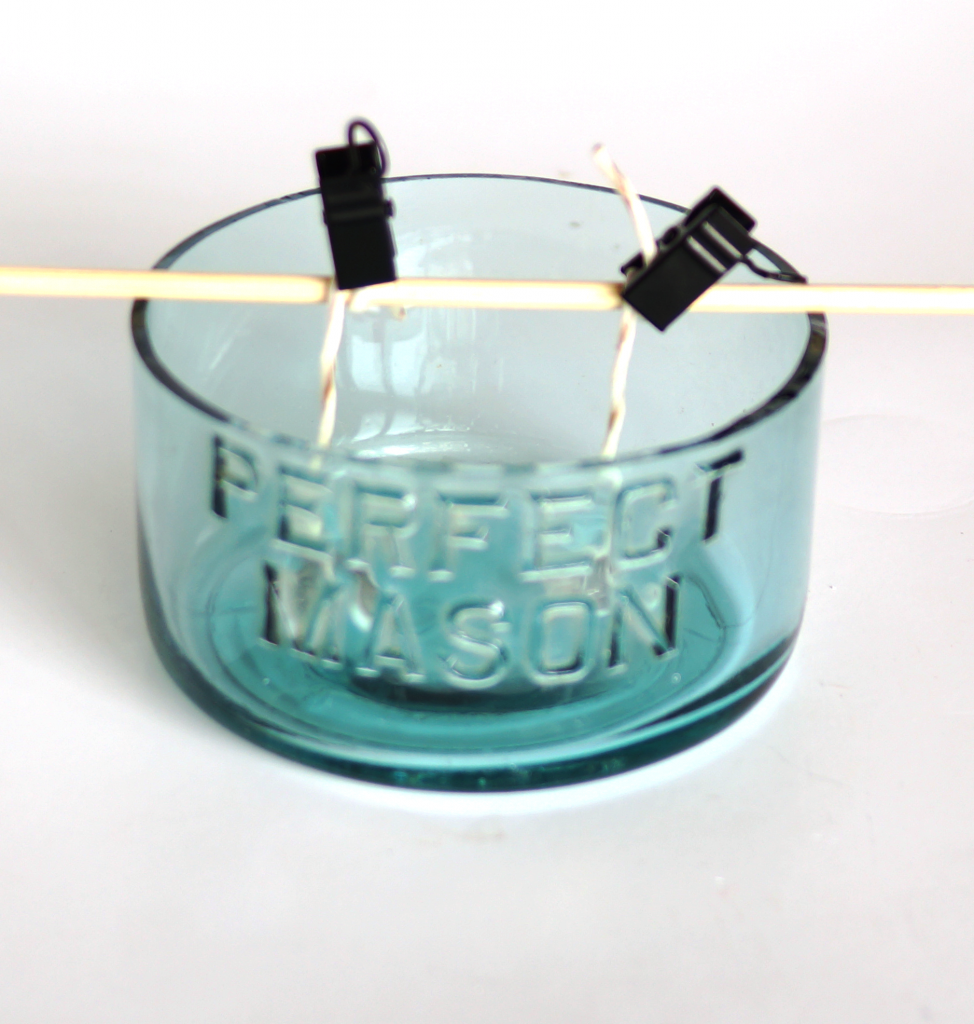
While that is melting, prepare container and wick. Clean container well and dry with a lint free cloth.  Adhere wick tab to double sided adhesive, and stick other side into container.  I used two wicks since the jar is big.  Three might have been even better.  That is yet to be seen.

How to Make a Mason Jar Candle Upcycle

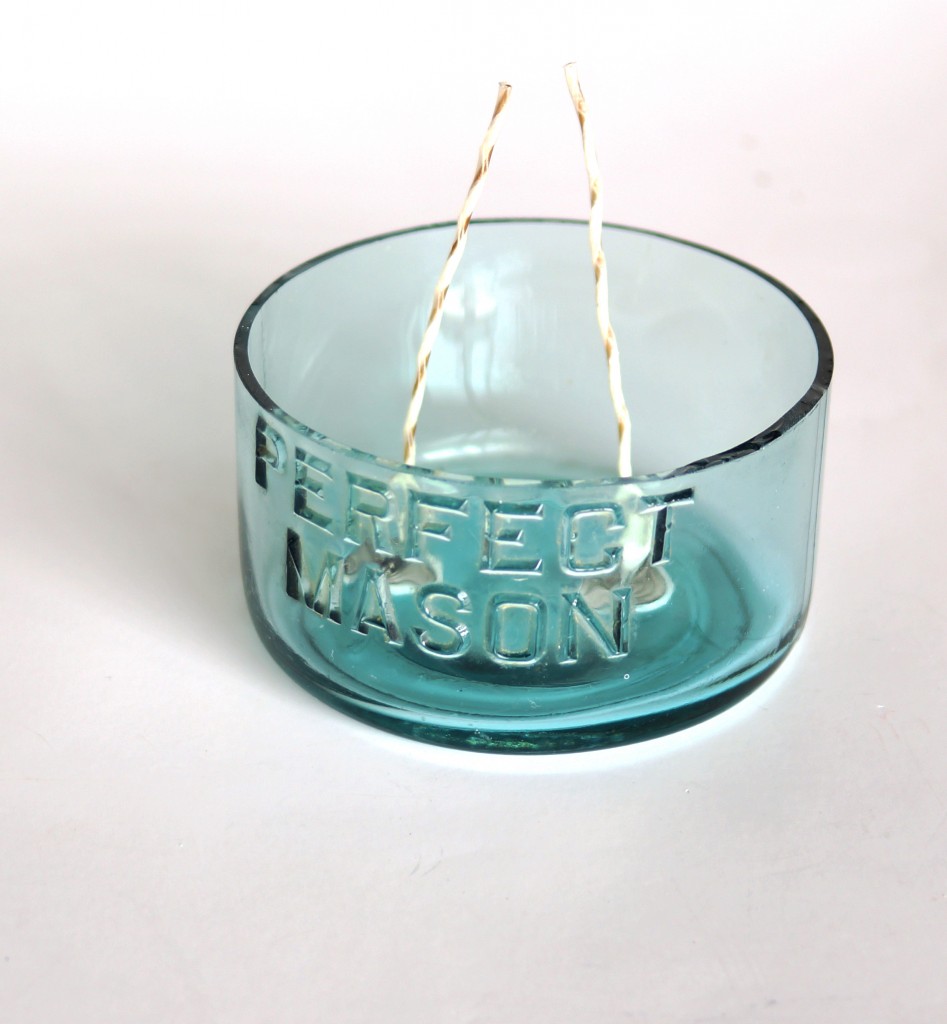
Wrap excess wick around dowel rod, centered so that wicks are straight up and down.  Use clips to secure in place.

Recycled Craft Make a Mason Jar Candle

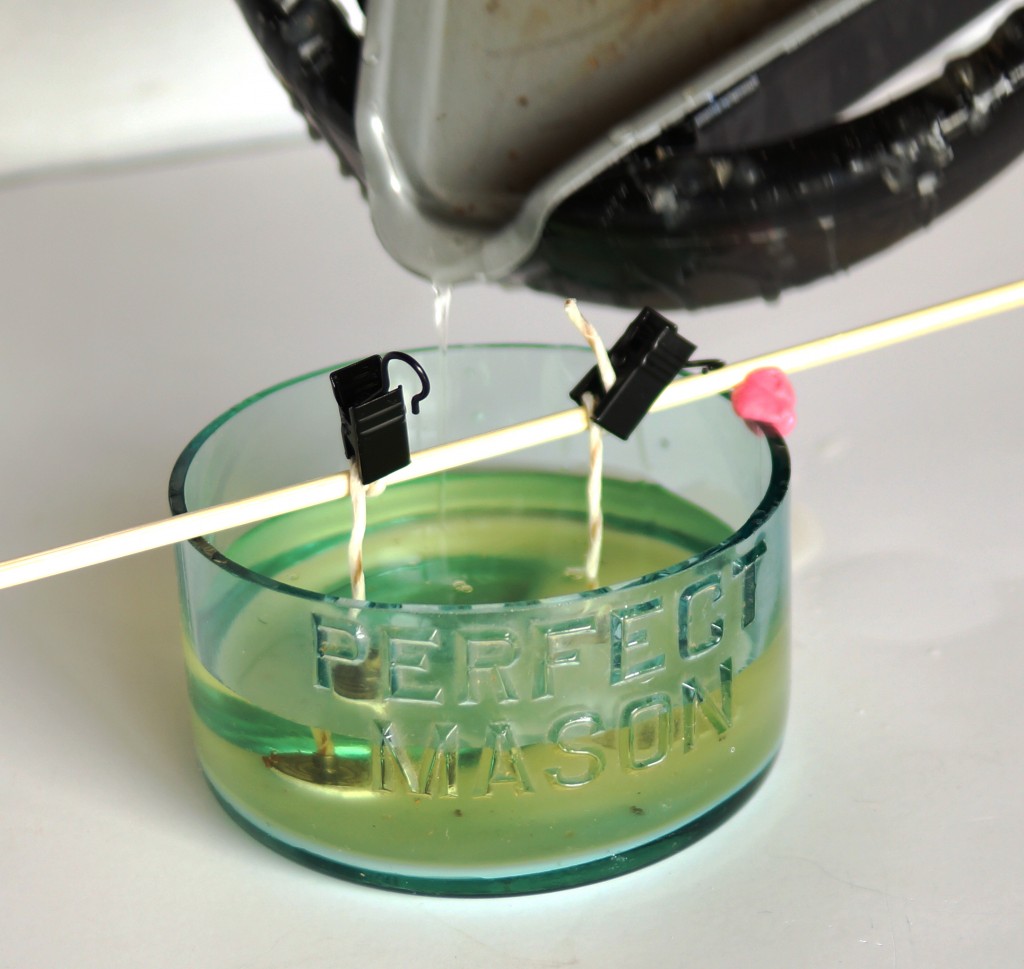
Pour in wax until container is as full as you would like.  Let sit overnight, trim wicks and enjoy!


Make a Mason Jar Candle @savedbyloves

I just love my candle, and the smell of beeswax is wonderful.  This is my first time tackling candle making.  Do you make candles?  Do you have any tips and tricks to share?

50+ Awesome Upcycled Lamps and Chandeliers to Make

[pinit]50 Plus Best DIY Upcycle Lamps and Chandeliers to make @savedbyloves[pinit]

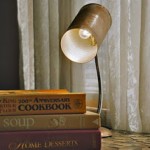
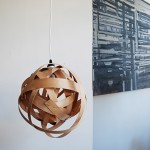
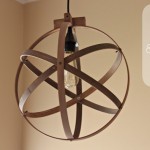
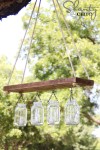
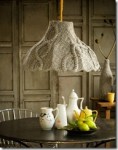
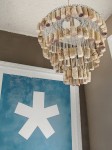
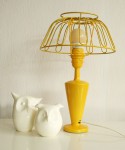
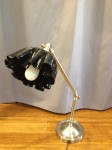
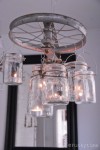
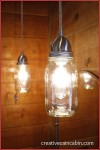
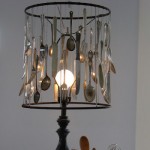
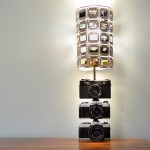
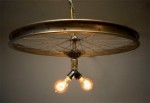
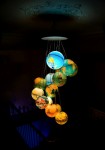
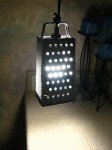
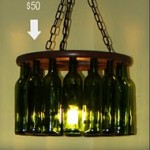
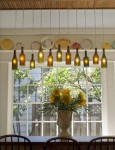
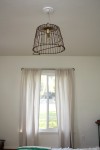
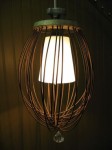
Today I am shedding some light on how to upcycle your junk into super sweet recycled lighting.  From cameras to books to whisks and more, you will see lamps and chandeliers being made from all sorts of unlikely objects.  If you have a DIY lamp project made from recycled materials that you would like to share, email me or comment below!  Enjoy, and keep shining.


Privacy Policy