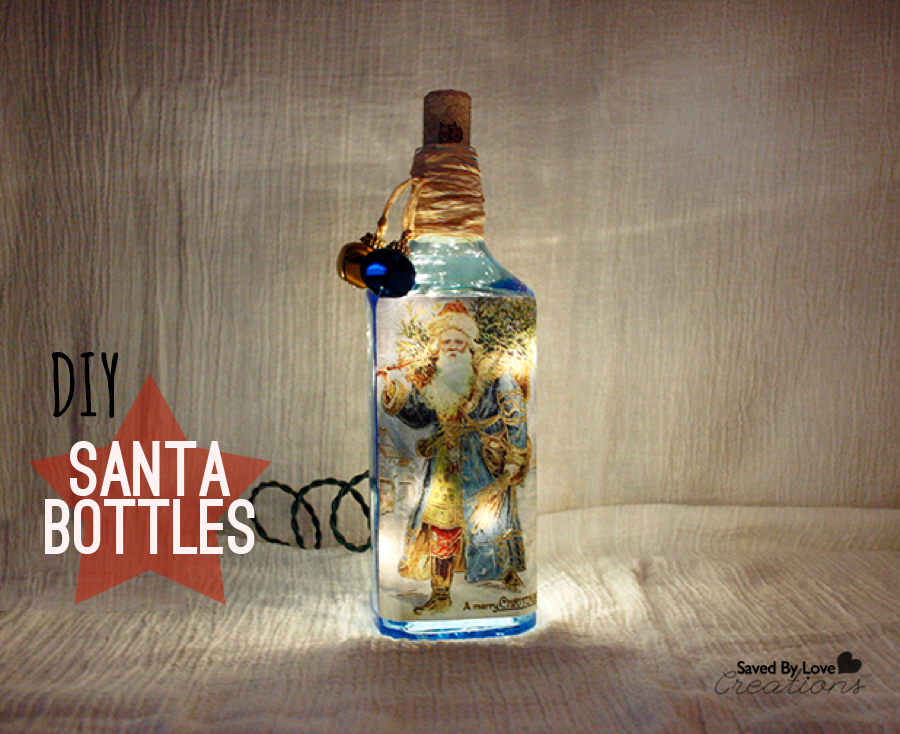
This handmade Santa light-up bottle adds a warm and cozy feeling to any space for the Christmas season. This project requires a recycled bottle and drilling a hole in the lower backside of the bottle. Also required is a fun search for a Santa image. The choices are endless, ranging from recycled Christmas cards, magazines, printed images, and the imagination goes on. Most importantly don’t forget a strand of Christmas lights. Now let’s get started and enjoy the fun.
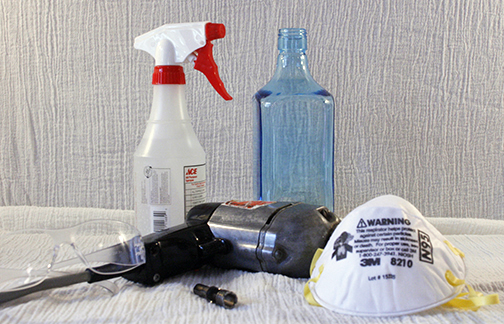
Materials for drilling a hole in glass
- Drill
- Drill Bit
- Safety Glasses
• Facemask - Spray Bottle With Water
Directions
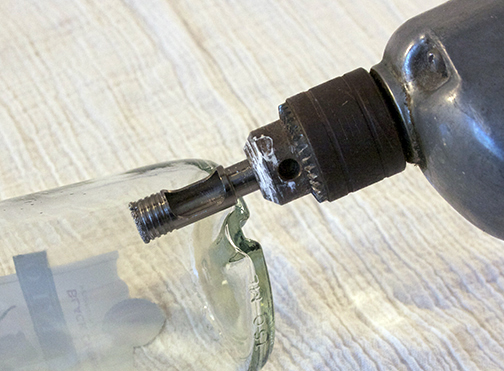
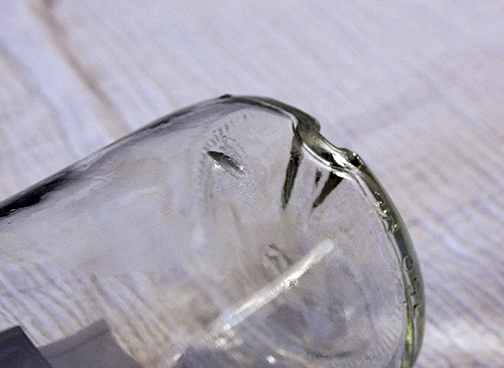
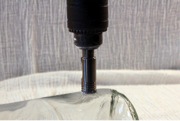
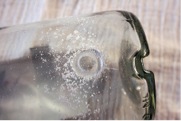
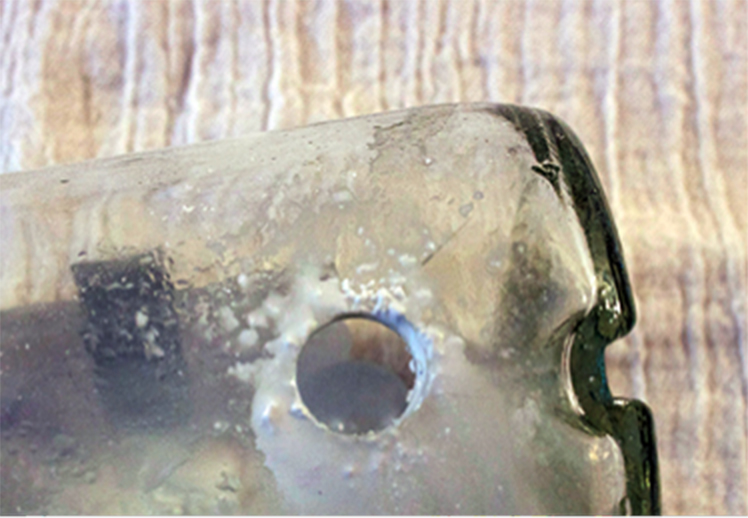
- Drill a hole in the bottle. Through my research I found that using a 1/2 inch hole saw diamond grit drill bit works best for drilling a hole in a bottle. You can find this type of drill bit in most hardware stores and online.
- Safety first: Wear safety glasses and a facemask to prevent eye injury and inhaling glass dust.
- Starting on the backside and lower end of the bottle place the drill bit at an angle. This will allow you to start a groove in the bottle. Once you have the groove started you will begin to slowly bring the drill to an upright position. Apply pressure but not too much as this will cause the bottle to break. Periodically stop drilling and spray the drill bit and bottle where you are drilling the hole to keep the drill bit and bottle cooled off. This also keeps the glass dust level down while you are drilling.
Tip: I have also seen websites online where you can purchase predrilled bottles from suppliers.
Materials for Santa bottle
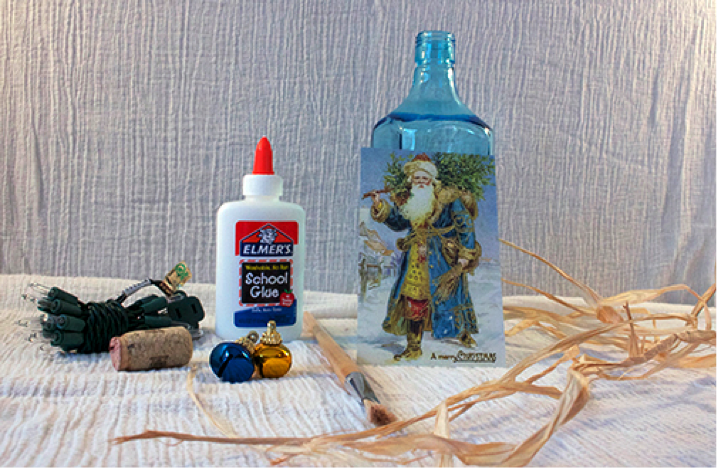
- Empty Bottle (most types of bottles will work for this project)
- Cork (optional)
- Strand of Christmas Lights (20-30 bulb strand with a one-ended plug)
- Santa Image (of your choice)
- Raffia
- Christmas Bells (two)
- Glue
- Water
- Paintbrush
- Removing labels from the bottle. Soak bottle in warm soapy water until the label is saturated with water. Use a putty scraper or a scraper with a razor blade on the end. Once the bottle is clean allow it to dry.
Tip: If the inside of the bottle has any residue from the drilling process you can tear off a small piece of a cleaning cloth and swish it around with the water in the bottle and that will help to rid of it.
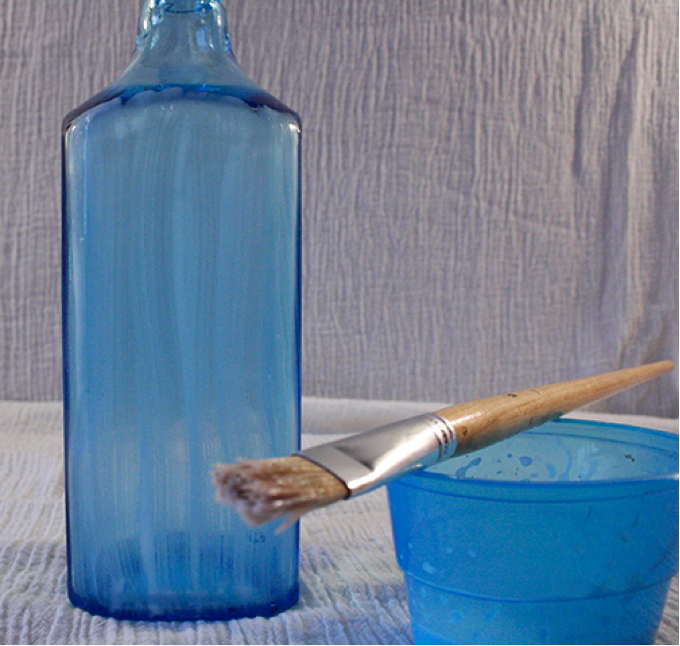
- Apply the Santa image. I prefer to make a mixture of Elmers glue and ¼ water. If the image is on thick paper this mixture will work well. If the image is on a thinner paper use a thicker consistency of glue (less water). Note: Other types of glue or Mod Podge products will work. Check your local craft stores to see what products they carry.
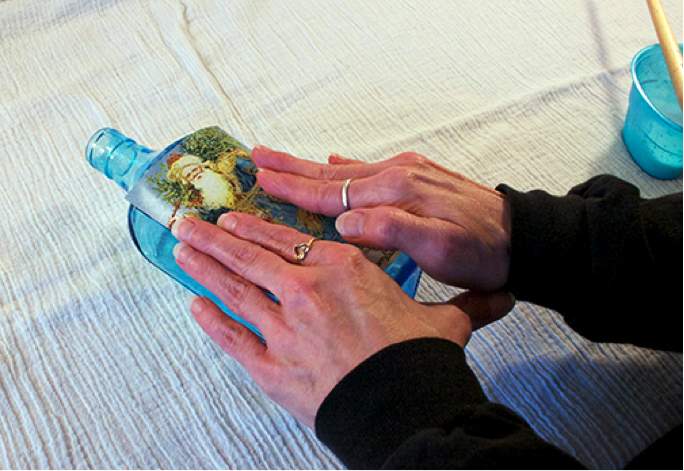
Measure the Santa image up to the bottle to insure the placement of the image will be where you want it. Using your paintbrush brush glue on the area where the image will be placed. Starting from the center of the image place your image on the bottle and gently glide your fingers from the center to outer edges of the image. Once you have the image glued down brush some more glue over the top of the image. Start this from the center working your way out as well. If any bubbles occur on the image you can smooth them out with your fingers from center to outer edges. Allow image to dry. Note: Once dry you can add glitter or a coat of crafting varnish on the Santa image.
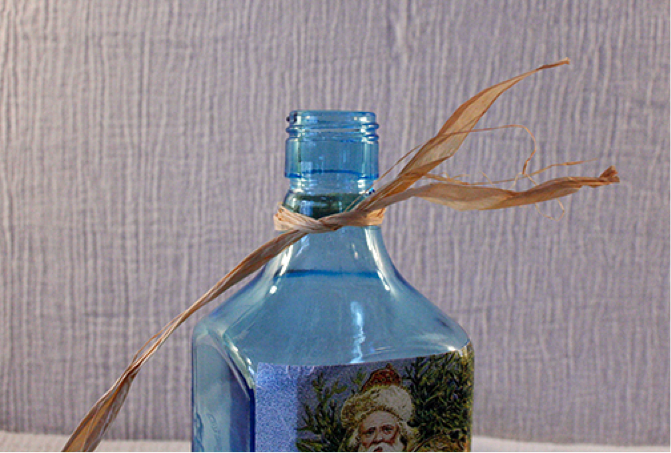
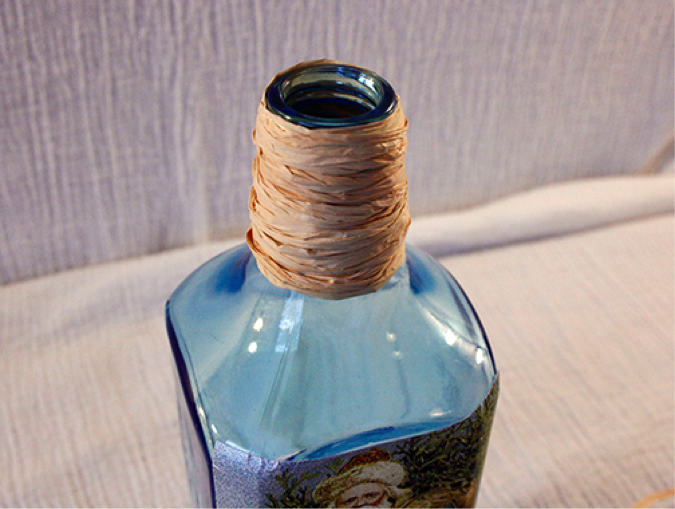
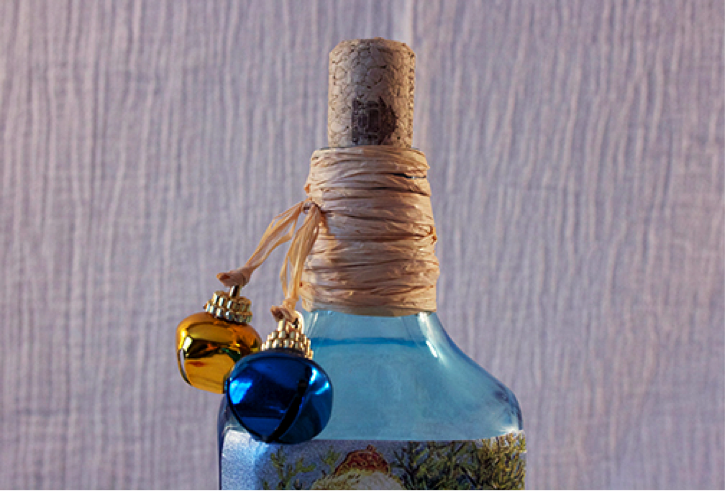
- Wrap raffia around neck of the bottle. Two or three strands of raffia will cover the neck of this size bottle. More strands may be required if your bottle is taller. Start by tying one end of the raffia around the neck of the bottle leaving a little excess on one end to tie off in the end of the wrapping process. Begin wrapping it fairly tight around the neck of the bottle. If your strand starts to run out tie the next strand to the one you started with and keep going until you have covered the neck of the bottle. Now tie off with the excess. Note: Twine, yarn, or ribbon can be used in place of the raffia.
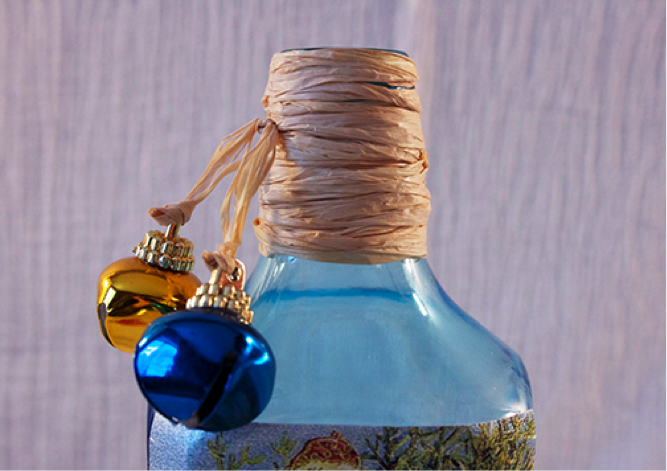
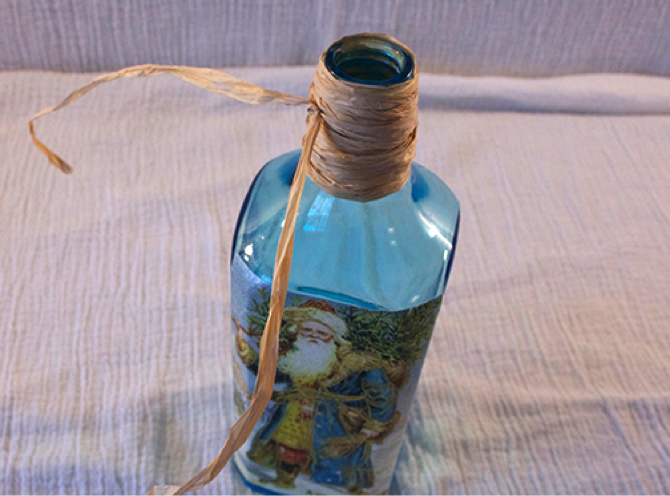
- Tying on the Christmas bells. Using another strand of raffia, tie the raffia around the top of the bottles neck, leaving a generous amount on both ends so that you can tie one bell on each end.
- Place a cork in the top of the bottle. (Optional)
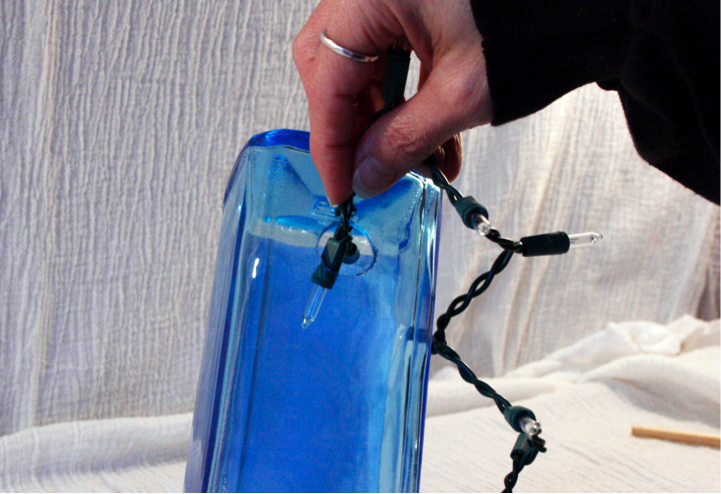
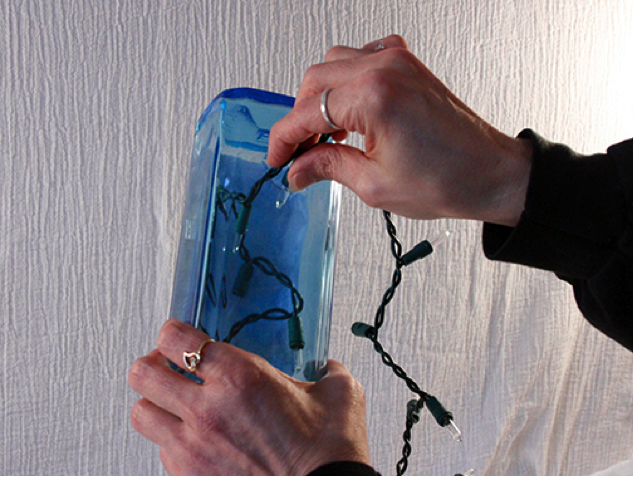
- Inserting the strand of Christmas lights. Turn the bottle upside down to insert lights (this helps the light strand to flow more evenly throughout the bottle). Starting from the bulb end of the light strand insert each bulb individually into the bottle. Once you have your strand of lights in it is time to plug in and enjoy.
