DIY Upcycled Pop Can & Resin Heart Pendant

[pinit]#Recycle aluminum cans into gorgeous jewelry #Resin #Upcycle @savedbyloves #DIY @Crafts

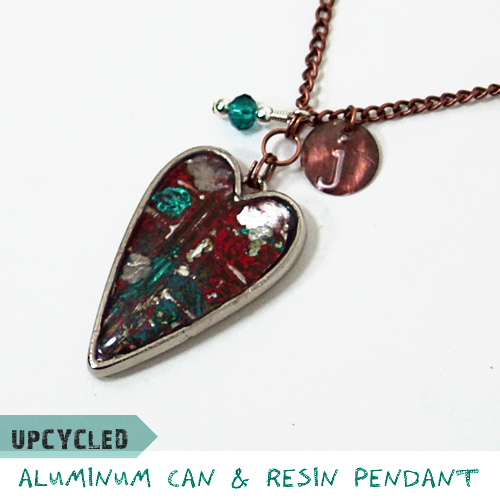
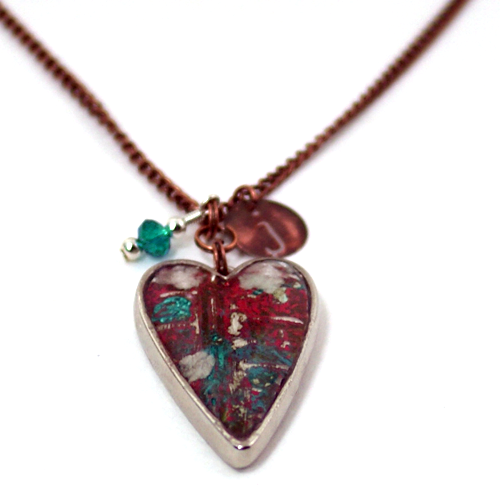
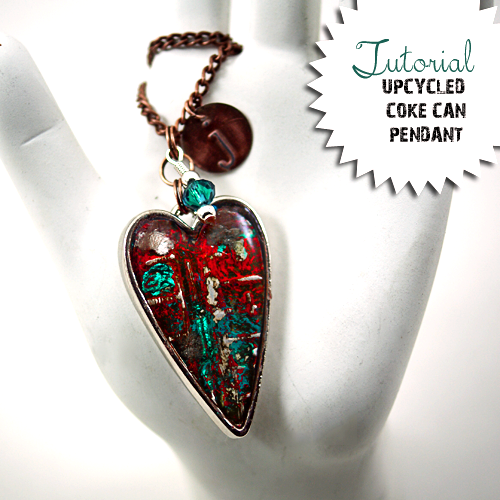
Do you have a pile of aluminum cans in recycling bin purgatory?  Well, if you have been around here long, you know I love to cut my cans and form them into various upcycled jewelry pieces.  Today, I am going to show you how I used a coke can, a bezel and some resin to create this fun, one of a kind heart pendant.  It would make a lovely gift for many occasions, and especially the rapidly approaching Valentine’s Day Holiday.  I made it for a gift and personalized it with a monogram stamped charm.  You don’t need a lot of expensive supplies and equipment to one of these yourself.  Here is how…

SUPPLIES

Empty Soda Can, rinsed with warm soapy water

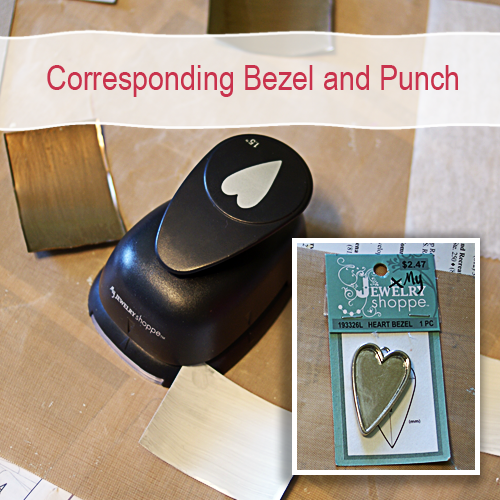
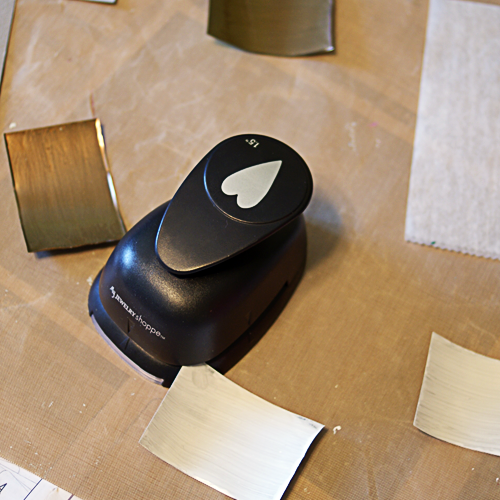
Jewelry Shoppe Heart Bezel and corresponding heart paper punch (got mine at Hobby Lobby)

Resin Jewelry Tutorial, Upcycled Jewelry Tutorial

-OR-

Any heart shape bezel and a sharpie or other permanent marker

Glossy Accents or other metal glue

Grungeboard or scrap cardboard

Embossing folder and machine

Perfect Pearls

3 colors of acrylic paint

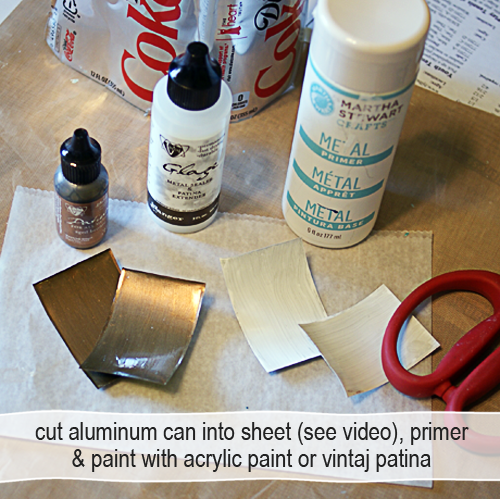
Metal paint primer (I used Martha Stewart’s)

Vintaj Sanding Block

Magic Glos Resin

INSTRUCTIONS

#Upcycled Recycled aluminum can jewelry #DIY #Craft tutorial @savedbyloves [pinit]

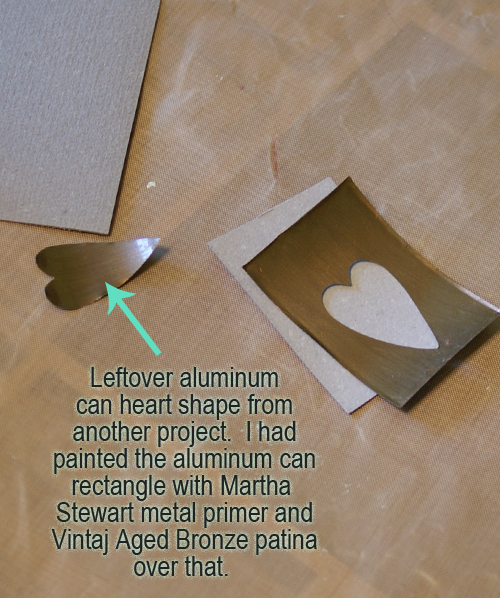
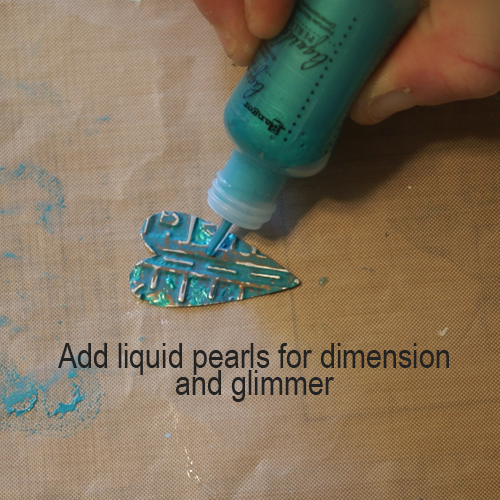
This project came about as I was doing another project that I haven’t shared with you yet.  There was a leftover aluminum can punched heart shape, and I remembered I had the corresponding bezel.  I found the bezel and paper punch at Hobby Lobby (by My Jewelry Shoppe) a couple of months back.  I decided to emboss the heart and add some acrylic paint and Liquid Pearls for a cool effect.

#Recycle aluminum cans into gorgeous jewelry #Resin #Upcycle @savedbyloves #DIY @Crafts

For the other project, I needed rectangles with a heart cut out in the middle.  If you just want the heart shape used in this tutorial, you don’t have to worry about cutting perfect rectangles.  Just primer and paint your can sheet and punch the heart shape from it.  I showed you how to cut the cans into a sheet in the video here…
Make an aluminum can pendant
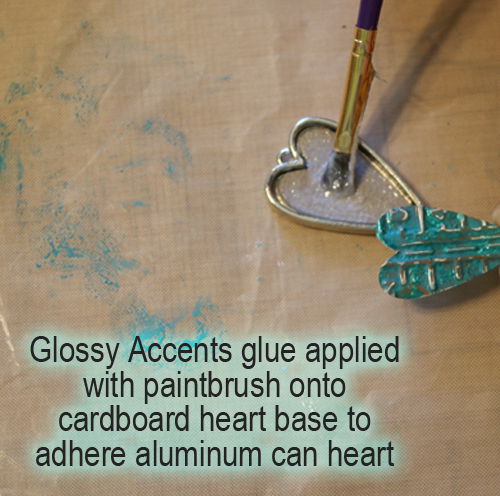
Trace the heart twice onto grungeboard, thick cardstock or cardboard and cut out inside the outlines with scissors.  Glue the cardboard hearts together, then glue to bezel.  Use clothespin to apply pressure for good adhesion.  This gives thickness to the thin can top layer.
Emboss your painted and primed can heart.  I used Tim Holtz Texture Fades embossing folder – Pattern and Stitches Set and my Sizzix Vagabond.  It you don’t have an embossing machine, you can hand emboss, or use the folder and a rolling pin like in this video by Sarah Hamer:

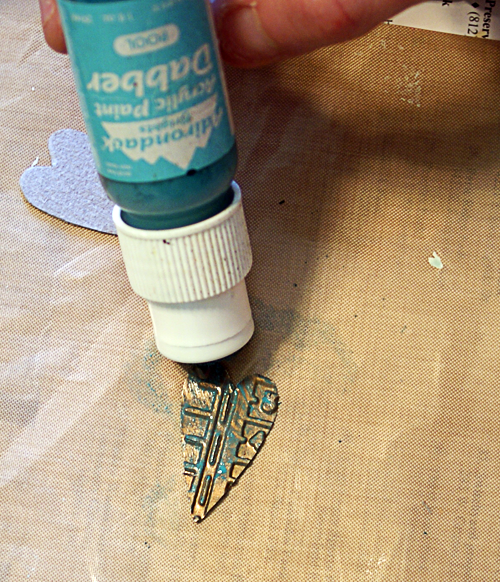
Now apply a second paint color over your base (Ranger Paint Dauber color Pool used here).

Ranger Paint Daubbers Pool

Ranger Paint Daubbers Pool

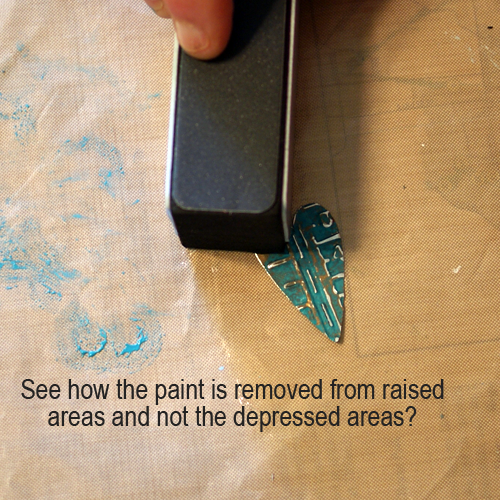
Let dry and and sand with sanding block to distress as desired.  Not shown here, but in my final pendant, I added a third paint color.  The red made the pendant pop.  If you sand away too much paint, it’s ok.  Just paint again and sand until you are happy with your piece.  The raised areas will lose color when you sand, while the depressed areas hold color.  The embossed design is enhanced by the contrast.  So fun!

How to emboss metal jewelry

How to emboss metal jewelry

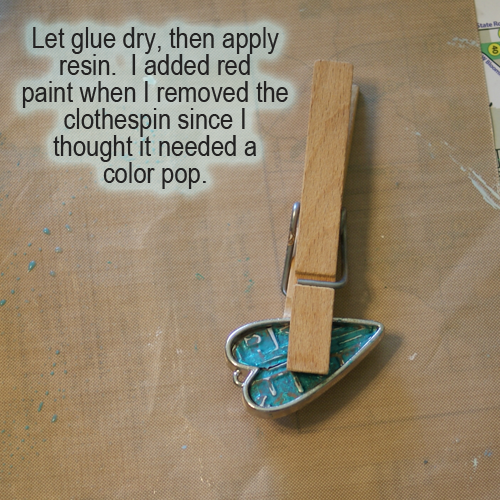
When you are happy with your paint job, glue heart into pendant bezel on top of cardboard base as shown.  Hold in place with clothespin while glue dries.

How to emboss metal jewelry2

How to use Magic Glos resin

Let glue dry completely, then apply Magic Glos resin like I showed you in this Plaid Ring Bling tutorial.

You can use any resin you want.  I just had this on hand, and love the fact that it cures in minutes vs. the hours it takes 2 part resins to cure.  Maybe you are more patient than me!

Add chain and charms as desired and you are done!

#Upcycled Recycled aluminum can jewelry #DIY #Craft tutorial @savedbyloves

HeartBezelPendantDIY8

DIY Paint Chip Earrings

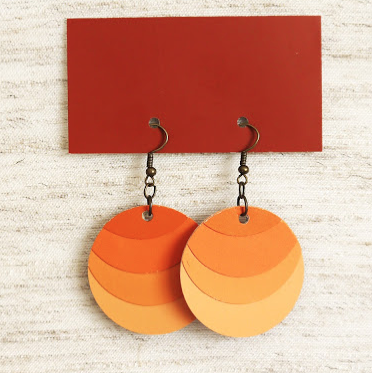
DIY Ombre Paint Chip Earrings by Minted Strawberry, featured @savedbyloves[pinit]

I am a little bit in total love with these ombre paint chip earrings spotted at Minted Strawberry.  They are eco friendly, my favorite color, and super easy to make.  Can’t wait to make these!
What are your favorite paint chip projects?  For tons more inspiration, check out our 50+ Paint Chip roundup;

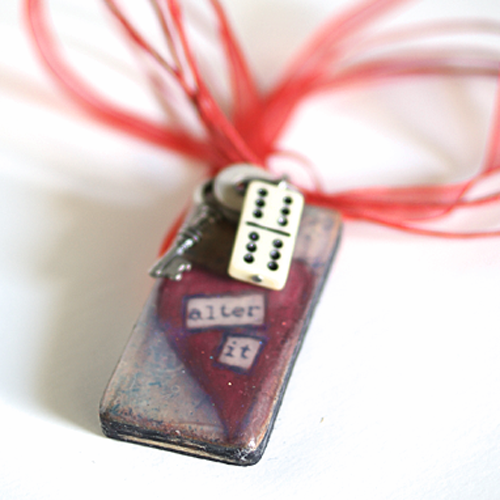
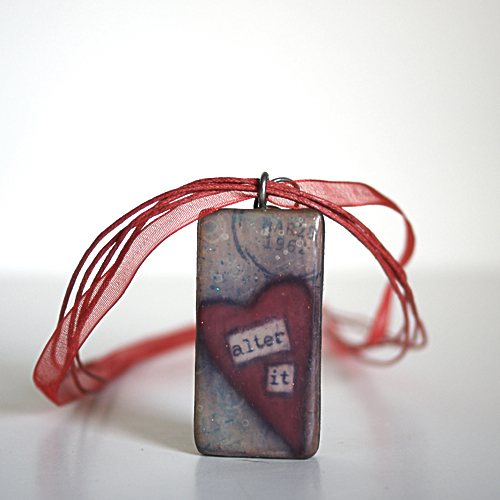
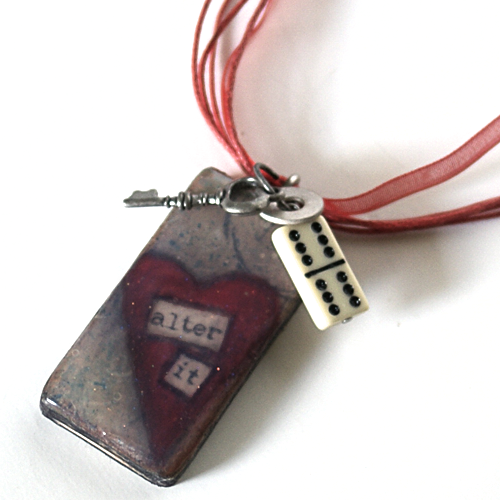
How to Make an Altered Pendant

#Altered art pendant tutorial @savedbyloves #Jewelry #Handmade

This is another scroll saw project.  I cut a domino sized rectangle from 1/4 inch plywood as my pendant base.  I love altered dominoes, but they are often quite thick/chunky, and have embossed surfaces on both sides.  This makes it hard to adhere paper without having bumpy lumpiness.  Using 1/4 inch plywood solves these issues, and is super cheap.

SUPPLIES:

1/4 inch plywood rectangle 2×1 inches

Matte gel medium

150 grit sand paper

Small, detail paint brushes

Paper towels

Stamps of your choice

Stazon Jet Black

Glimmer Mist Turquoise Blue

Scrapbook paper 2×1 inches

Acrylic paint

Charcoal pencil

Mod Podge Dimensional Magic Glitter Silver

Tim Holtz Chitchat Stickers

Charms

Small Eye Hook or glue on bail

Necklace cording

#Altered art pendant tutorial @savedbyloves #Jewelry #Handmade

TUTORIAL:

  • Paint plywood rectangle with black acrylic paint and let dry
  • Adhere scrapbook paper with print of your choice to pendant base with matte gel medium (I traced my wooden rectangle onto paper scrap and cut out to fit)
  • Let dry completely (about 30 min) and sand edges to smooth and blend paper into wood (this took away some of the black paint on the sides, which is what I wanted since I was going for a distressed look)
  • Stamp as background paper as desired with black ink and spray with glimmer mist.  Let dry.
  • Draw heart with charcoal pencil and paint with red acrylic wash (mix small amount of red acrylic paint with a few drops of water and paint heart so that paper print still shows through – you may need to dab with paper towel)
  • Apply thin, even coat of matte gel medium and let dry 30 min (you can hurry this along with a heat tool)
  • Apply chitchat word stickers (i used “Alter it”) and outline with soft charcoal pencil.
  • Apply layer of matte gel and let dry
  • Outline heart with charcoal pencil and blend for shadowing with Qtip or blending nibs
  • Coat with matte gel a final time
  • Once dry, screw small eye hook in top for hanging mechanism, or glue on a bail
  • Apply Dimensional Magic Silver Glitter – For a domed look, apply thin, even layer and let dry for a couple of hours.  Then apply doming layer.  Let sit for 24 hours.
  • Add charms and string as desired


Amazing Alcohol Ink Project Roundup

Things to make from alcohol inks from @pluckingDaisy

Alcohol inks have been a favorite medium of mine since first trying them a few years ago.  If you have never used these inks, get some and be amazed.  They come in an amazing array of colors, and are intended for use on non-porous surfaces like glass and metal.  I bring this up because my fabulous friend Amy at Plucking Daisies has rocked my world with this alcohol ink project round-up she has painstakingly assembled.  Grab some ink and explore this one of a kind list of the best projects incorporating this fun medium out there.

Custom Metal Initial Tag DIY

Shrimp Salad Circus Necklace Tag Tutorial 28 
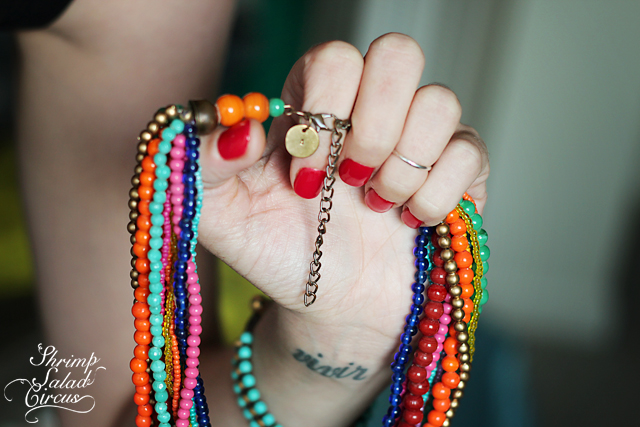
Today, Lindsay for the adorable, funky, fun blog Shrimp Salad Circus is here to show you how to add a personalized metal tag to any necklace!  This is a fantastic way to customize that cool piece you scored at the flea market, into a one of a kind gift.  I love the tips and tricks Lindsay shares in this metal stamped tag DIY.  Go visit her blog for some beautiful tutorials, free printables and all kinds of DIY and craft inspiration.  Thanks for stepping in today, Lindsay!
Hello, and happy Thursday, Saved by Love Creations readers! I’m Lindsay of Shrimp Salad Circus, a pretty little piece of the internet where I blog a steady stream of DIY, inspiration, and other tidbits to make every day happier! I’m so excited to share a little project with you guys while Johnnie’s away and am thrilled that she invited me to be a part of SBLC!
I know it seems early to be thinking of holidays, but this tutorial will be perfect for any gifting occasion, so use it for the next birthday gal in your life, okay? I don’t know about you, but I’m a big fan of the little things – the small details that make some more wonderful. When life gets busy, you don’t always have time to make everybody’s gifts from scratch, but you still want them to feel special and valued, right?
With just one little extra detail that costs very little in terms of time or supplies, you can add a handmade, personalized touch to any gift to show somebody that you really care. Plus, it’ll totally look more expensive with this little finishing touch! Read on, and I’ll teach you how to make and add a little metal initial tag to the clasp of any store-bought necklace or bracelet.
What You Need:
  • Metal Disc – I used 10mm brass blanks.
  • Metal Letter Stamp – I used 1.5mm.
  • Metal Hole Punch
  • Hammer
  • Bench Block
  • Black Acrylic Paint
  • Jump Ring
  • Necklace or Bracelet
1.   First, you’ll need to punch a hole in your metal disc so that you can attach it to your necklace later. If you bought discs with the holes already in them, then you can skip this step. I like to get them without the holes so that I can use them for lots of different purposes.
2.   Place your disc onto the bench block. The bench block is important because it absorbs the shock of the hammer and keeps the stamp and disc from bouncing so that you can get a nice, deep impression with the stamp. Take your letter stamp, and make sure it’s facing the right way!* You don’t want an upside down ‘a’ going on your pretty gift, do you?
Place it in the very center of the disc, holding it low and firmly. Hit it right on top with the hammer with three solid smacks – hard, but not too much.
*Read down to the very end of this post for my little secret for never stamping upside down!
3.   You should have a little letter engraved into your disc now. It’s pretty, but you’ll notice that it’s a bit hard to see. We’re going to use paint to cheat a patina to make the letter really pop.
Dip the corner of a paper towel or rag into the top from the paint bottle so that you have a little smudge of paint. Wipe it into the letter, rubbing the towel across the disc to get it into all the grooves in the letter. Now, using a clean corner on the towel, lightly wipe the excess paint from the top of the disc so that the only paint left is inside the letter. Leave it to dry for a few minutes.
*Note: Alternately, you could use a permanent marker to get the patina finish. That process is explained here.
4.   Use a jump ring threaded through the hole in the disc and the clasp on the necklace to attach them together.
*Bonus: I promised to share my secret for never stamping upside down, right? This is a much bigger stamp (6mm) than the one from the tutorial, but I wanted to be sure you guys could see what I’m talking about. When you get a box of stamps, lay them all out on a table so that the bottom of the letter is pointing at the table. Use a white pencil to write that letter on the top side, like the ‘r’ in this photo. Voila. Never stamp until the side with your letter written on it is facing up, and you’ll never stamp the wrong way again!

Video Tutorial: Button Bracelet

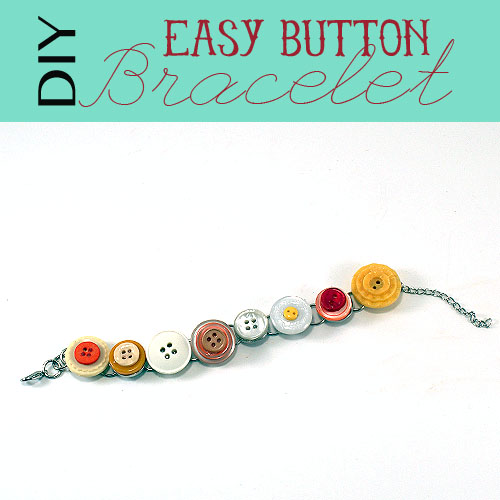
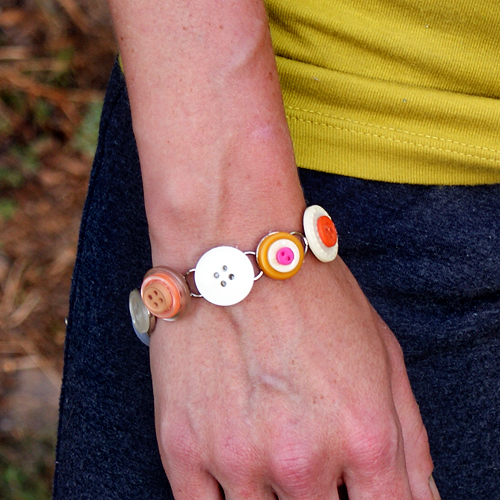
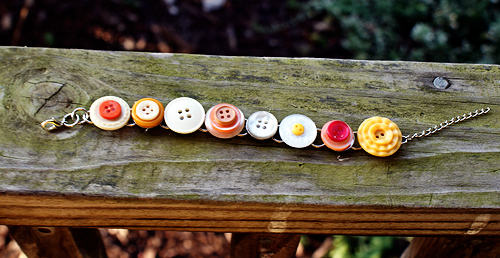
Make an #upcycle button bracelet with @savedbyloves #jewelryI was looking at my piles and piles of buttons, when it hit me that I have a serious problem.  I don’t want to end up on an episode of Hoarders.  Not a goal of mine.  That is when I decided to use some of them up by creating this easy, 5  minute bracelet.  I even shot a little video.  All you will need for this project is some buttons, a bracelet blank (I got mine at Hobby Lobby on clearance for $1.47) and some E6000 or other strong glue.

DIY Button Bracelet

Quick Video:

Want more Button Crafts?
50+ Button Projects

Clay Rose Bib Necklace

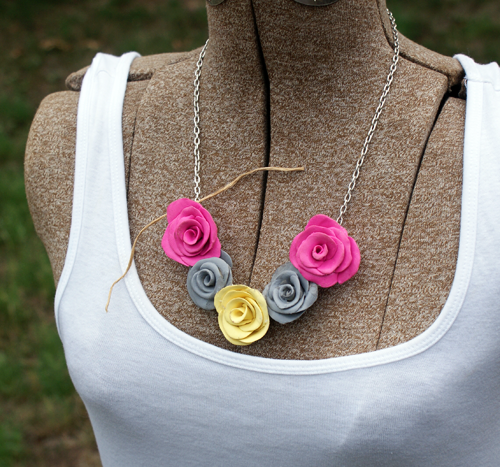
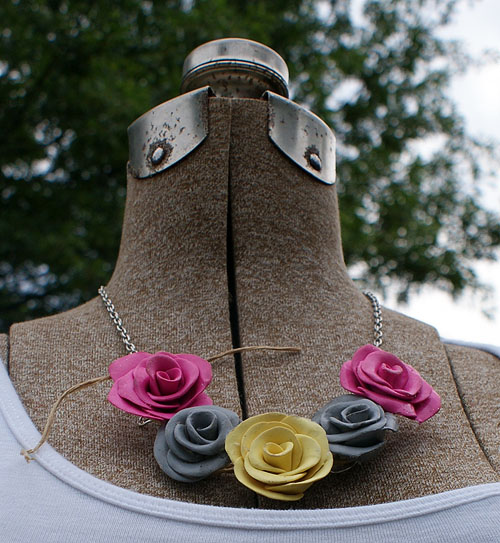
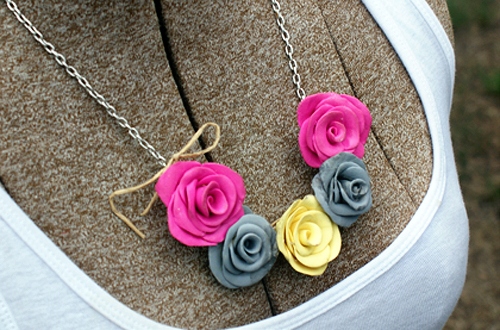
Neon Clay Rose Bib Necklace

Imagine my delight when I discovered a sweet little handmade boutique in my small southern Indiana hometown.  The name, Rust and Roses, the style, fantastic!  I quickly tracked down the owner, Mandy, who was busy painting away on another upcycled home decor accessory to add to her charming, modern/vintage inventory. From gorgeous paper crafts to found objects jewelry to chalk paint coffee tables, Mandy has a passion for handmade that combines with an vintage ephemeral taste to create a store I can get behind 100%.

We chatted the afternoon away, and I bought these fun air dry clay roses.  I ended up painting the 2 white ones gray to fit into this neon clay rose bib necklace.

Clay flower necklace

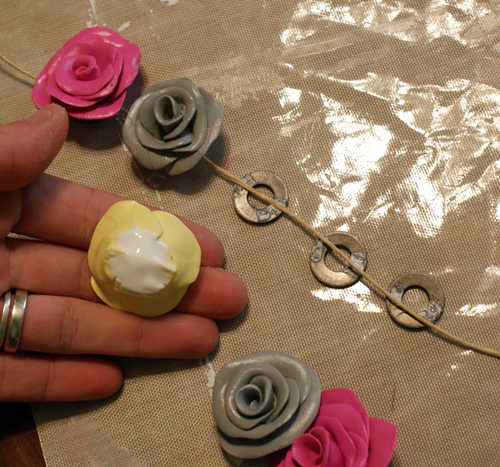
To create the necklace, I glued each rose onto a washer and strung wire and cord through the washers to get the shape.  Then I attached silver chain to the wire on both sides.  Super easy.

Clay flower necklaceClay flower necklace

You will be hearing more about this little treasure of a shop.  Join me in liking the Rust and Roses FB page and let’s encourage this wonderful handmade (way under-priced in my opinion) boutique.  When Mandy gets her website going, I will be all over it, and passing the love on to my dear readers.

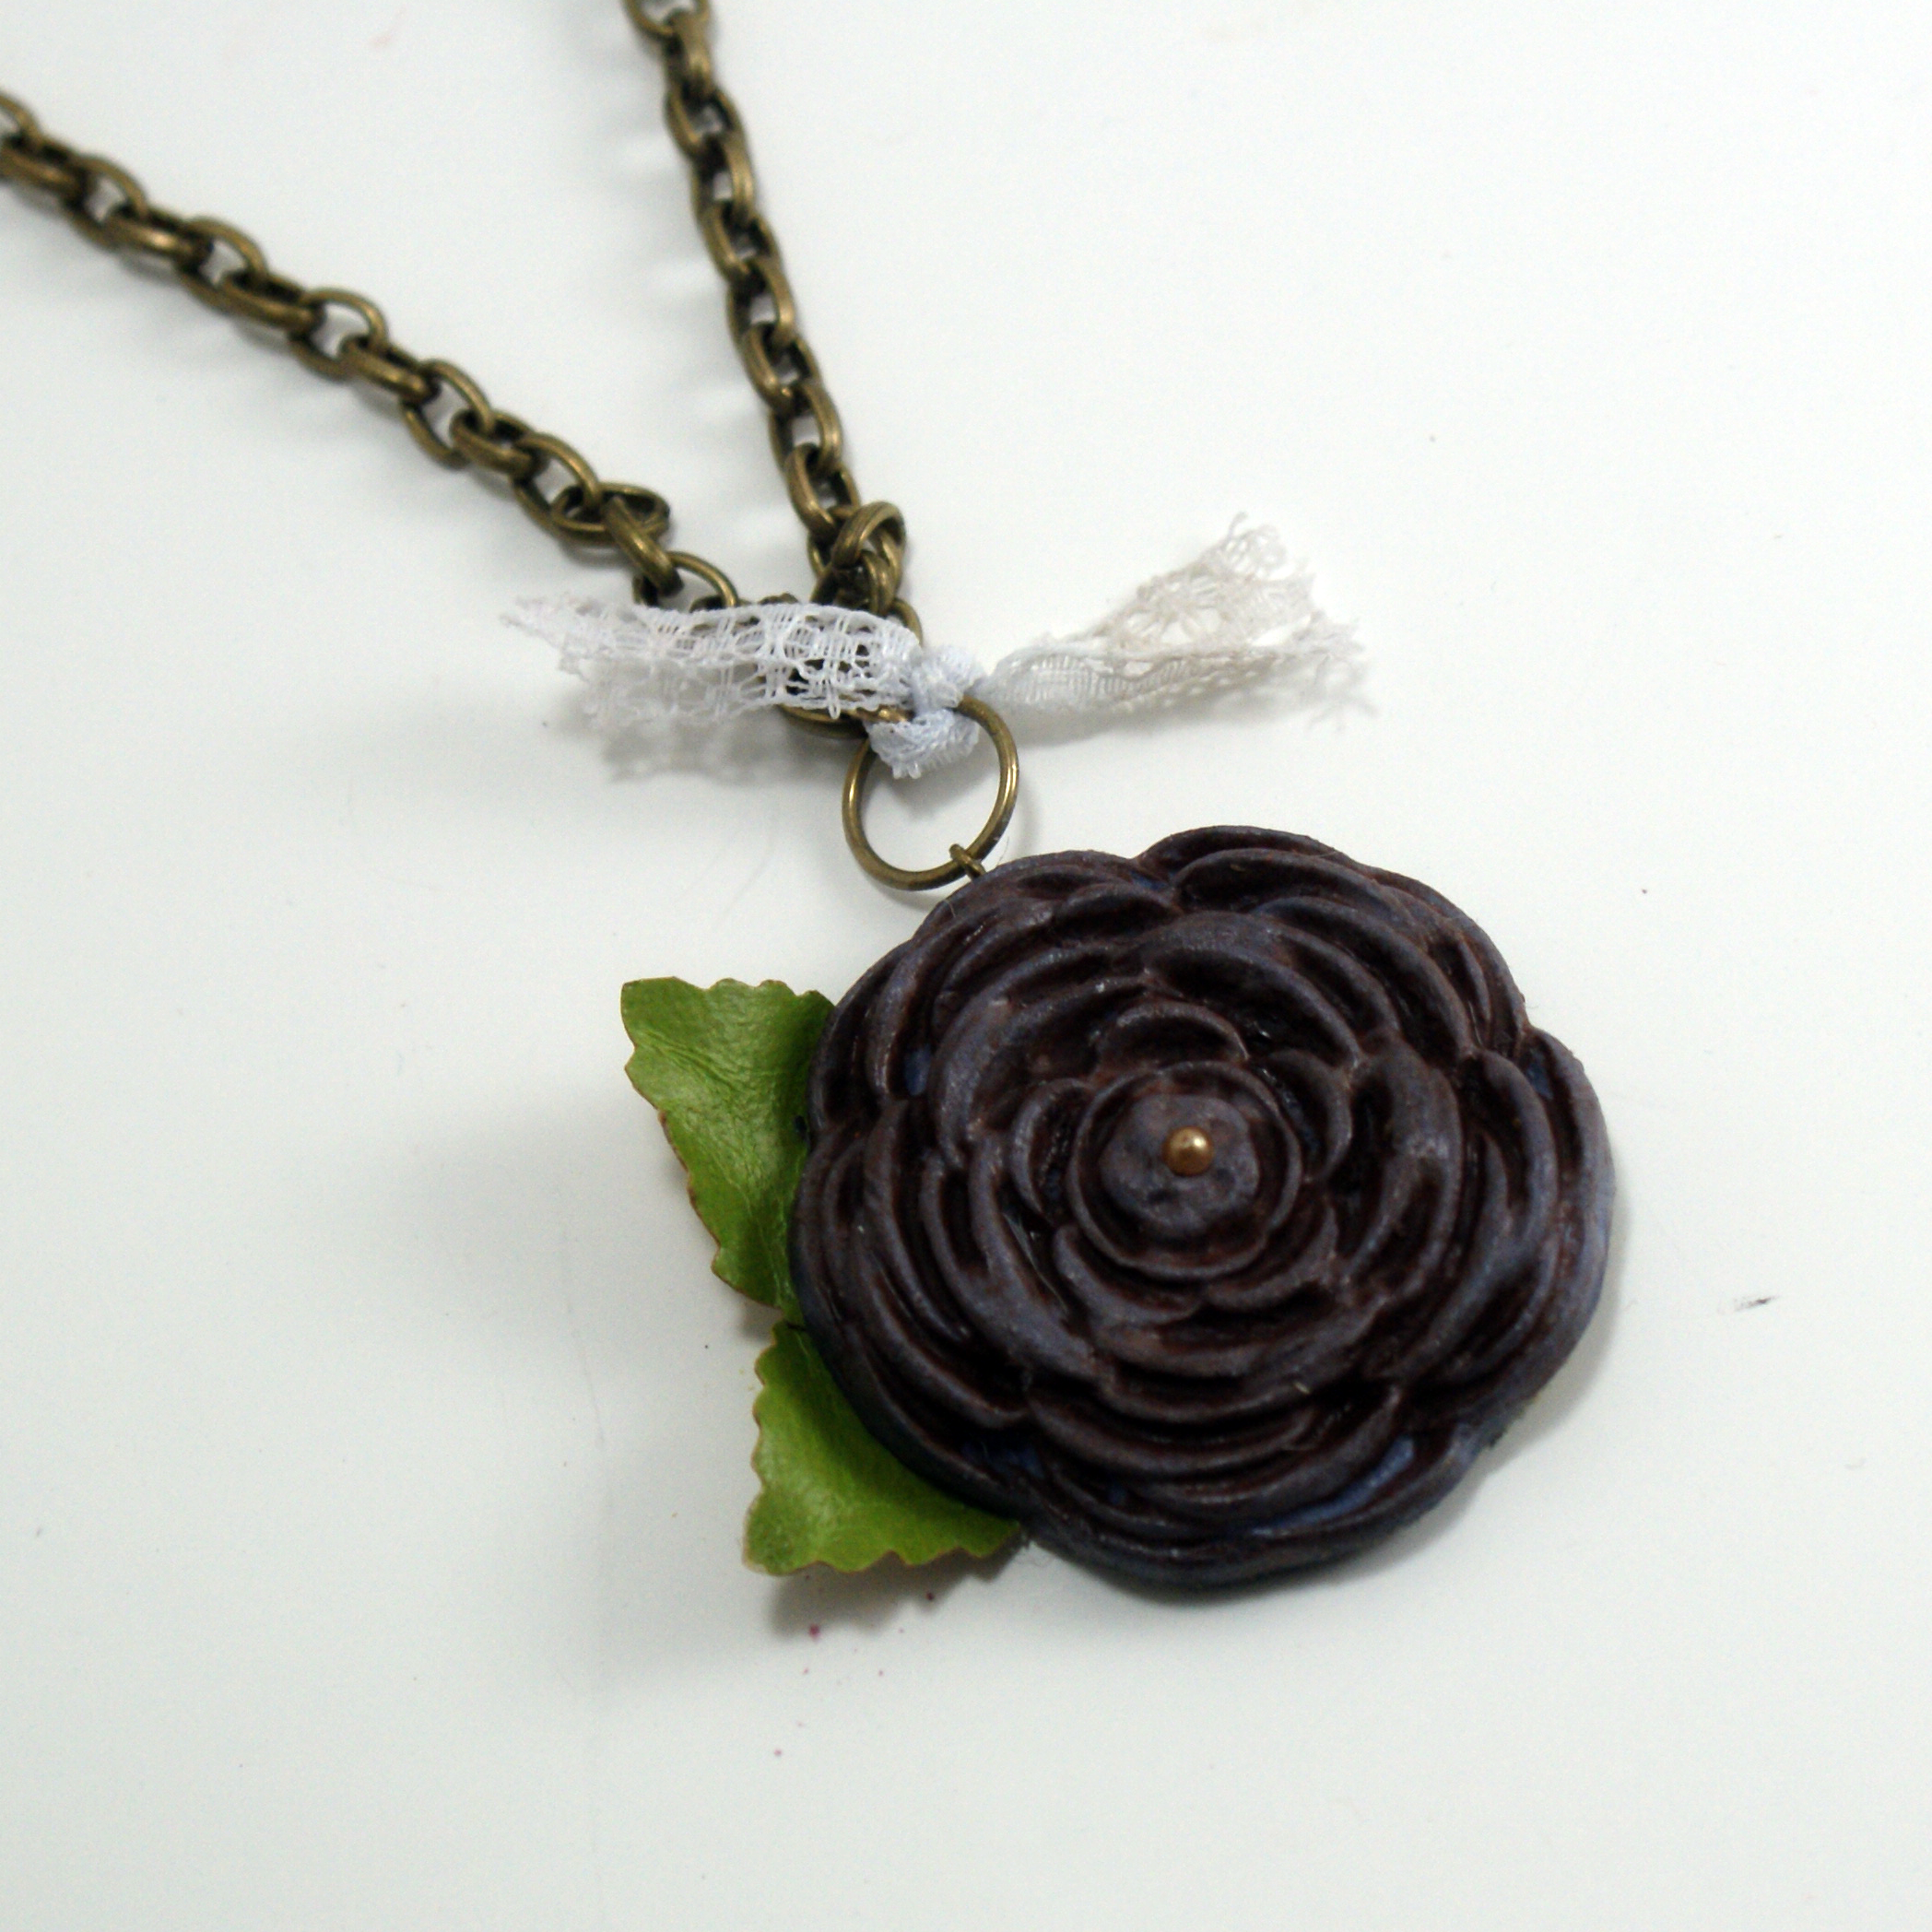
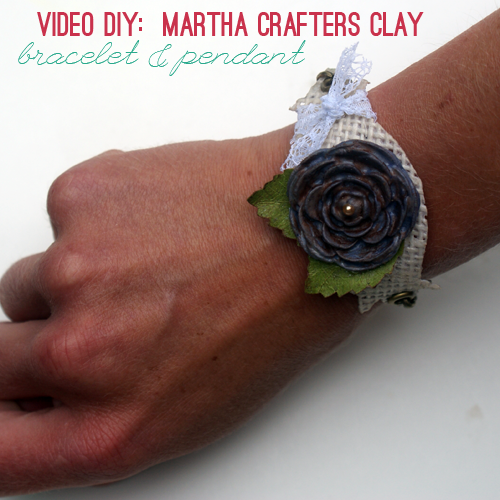
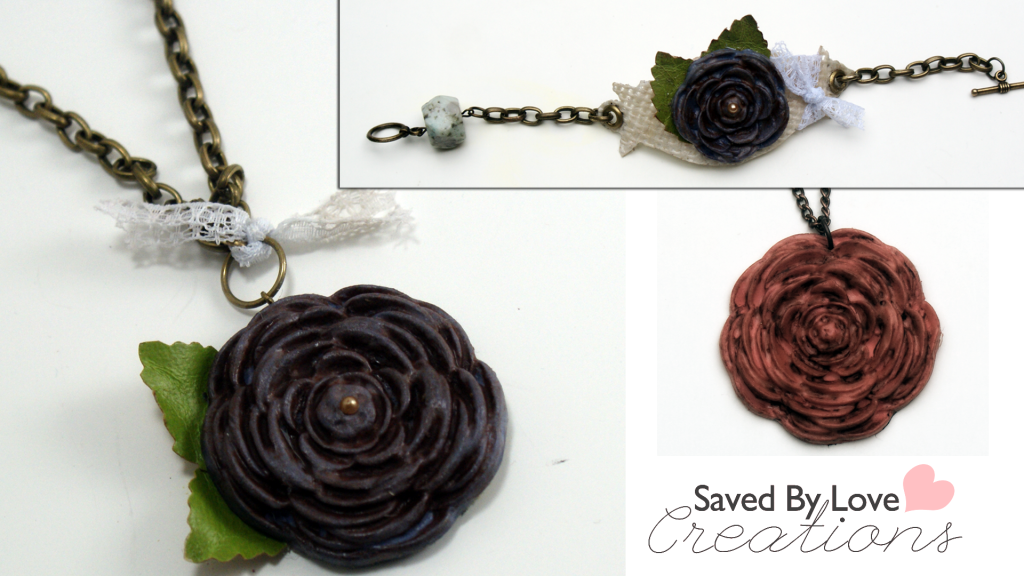
Video DIY: Crafter’s Clay Pendant & Bracelet

Martha Stewart Crafter's Clay Jewelry Tutorial

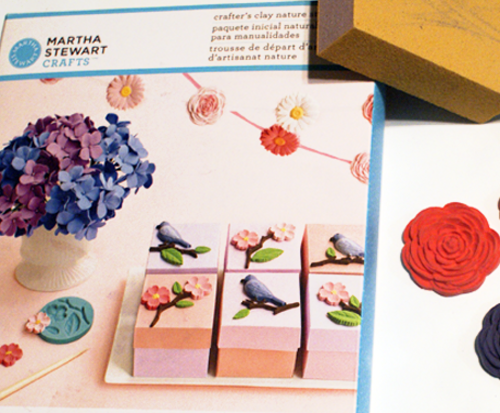
Make gorgeous, custom, boutique worthy jewelry with this easy Martha Stewart Crafter’s Clay video DIY.  Used in this tutorial is the nature kit, which I found at Michael’s.  I showed it to you before in this clay hydrangeas tutorial.  Some basic jewelry supplies and techniques and antiquing with glaze are used with the silicone mold flowers for the final pieces.

Crafter's Clay Nature Kit

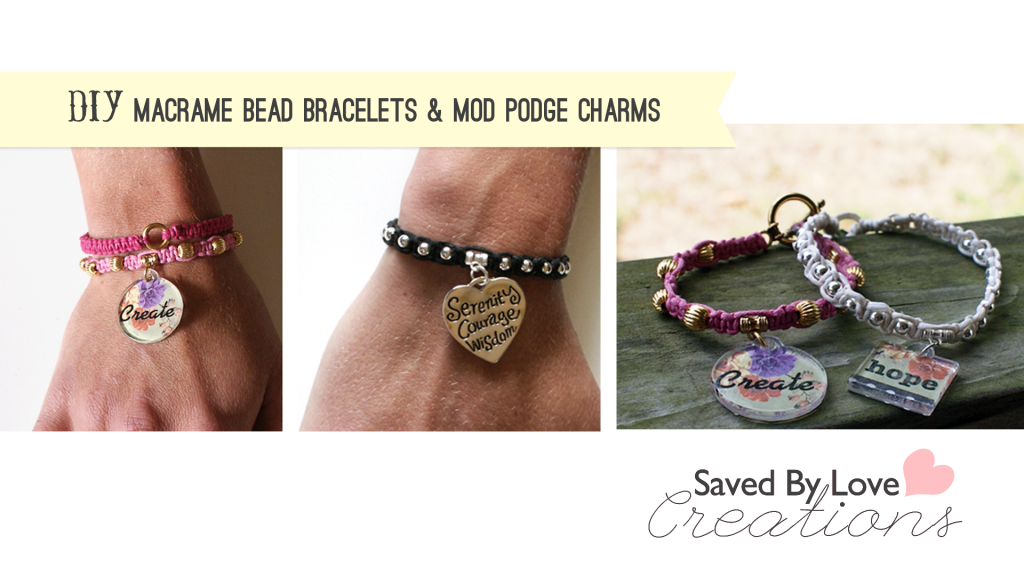
Video: DIY Beaded Macrame Bracelets With Mod Podge Charms

Beaded Macrame Charm Bracelet Tutorial

Make Beaded Macrame Charm Bracelets

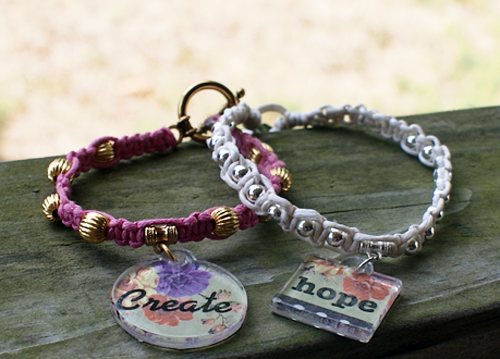
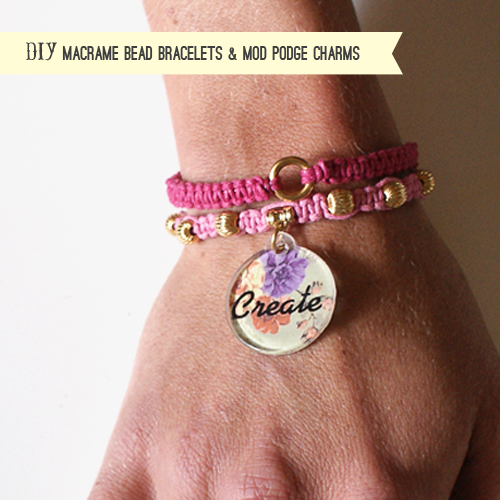
Have you had a chance to play with Mod Podge’s new Podgeable Papers and Shapes?  I used the nature pack to create these cute charms, which I attached to beaded macrame bracelets I made.  This video tutorial shows you how to make the charm ready bracelets and the charms.  Attach a clip to the jump ring to make them interchangeable and swap them out to fit your mood.

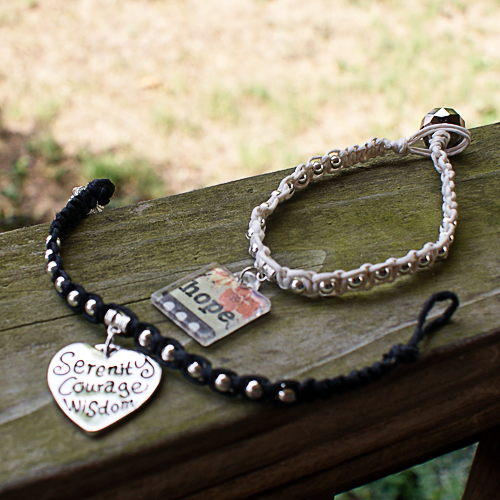
Any kind of charm will work, if you aren’t interested in making custom pieces.  Here are a couple of metal charm macrame bracelets:

On to the video:

Macrame Beaded Charm Bracelet Tutorial

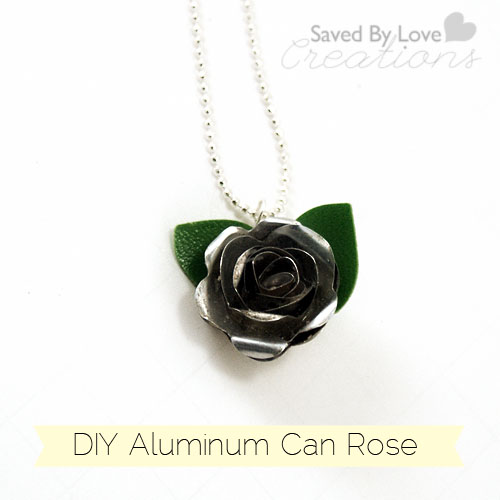
Aluminum Can Rose Pendant Sizzix Video Tutorial

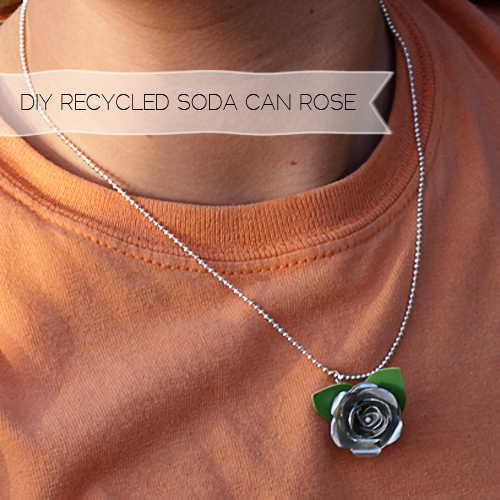
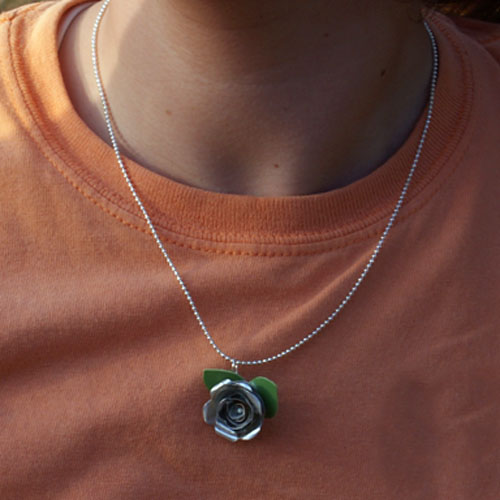
AluminumCanRosePendantThis video tutorial walks you through the process of using a Sizzix machine to cut an aluminum can that you will use to create the 3D rose pendant.  This is super easy, and you know I love it because it is an upcycle!  Not to mention how pretty the rose is.  You can use it for a charm, card embellishment, rings and all kinds of jewelry and crafts.  I opted for the inside of the can so my rose would be aluminum, but you can grab a can in any color you could need for your project.

Make Rose Pendants From Aluminum Cans

SUPPLIES:

Sizzix Die Cut Machine

3d Flowers Rose Die

Die with leaves

Soda can

Material to cut leaves (I used a green faux leather case from Goodwill)

Metal snips

Wire Cutter

Chain for stringing pendant

Eye pin

Round nose pliers

Bamboo skewer or toothpick

Needle tool or hammer and nail to punch hole in bottom of rose for eye pin insertion

Super glue or other quick grab glue for aluminum

Material for leaves

recycled can jewelry

VIDEO TUTORIAL:


Privacy Policy