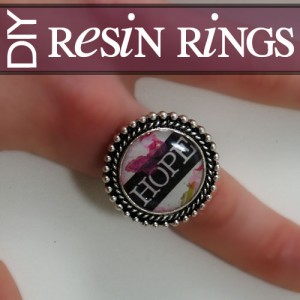
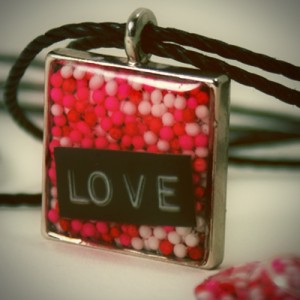
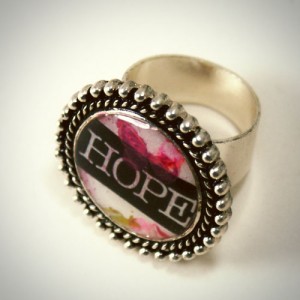
 Make your own customized ring using Plaid Ring Bling bezels and ring forms. These are simple, quick and inexpensive, and the possibilities are endless. Follow along and you will have your own image immortalized in bling form in no time.
Supplies:
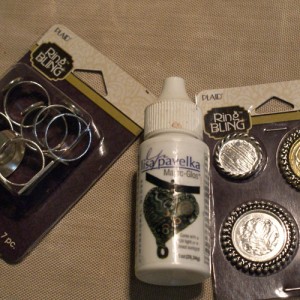
- Plaid Ring Bling forms and bezels (I got mine a Joanne’s)
- Magic Glos resin (shown in this tutorial), or Diamond Glaze, or Dimensional Magic
- Glossy Accents
- Image to place in bezel (I used a sheet of paper I stamped for the colorful background and ran through my inkjet printer for the words
- Sunlight or UV curing lamp if using Magic Glos resin
Instructions:
- Cut out your images to fit the bezels, and glue them into place using Glossy Accents inside the bezel.
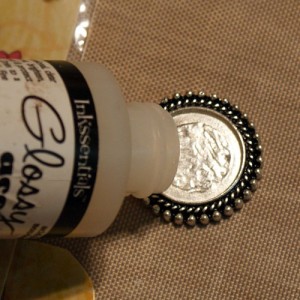
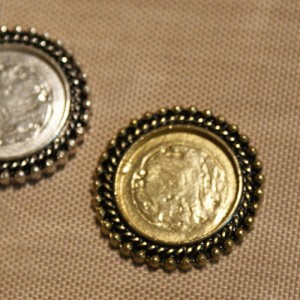
- Burnish image to make sure in is secure using a popsicle stick or toothpick. Use your finger to spread the excess Glossy Accents over the top of the image. If you need to add more to completely cover the top, do so. This seals the paper and prevents the resin from discoloring it.
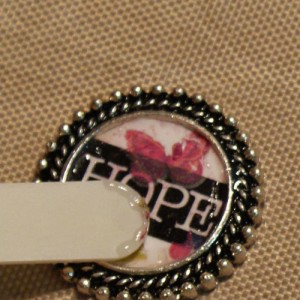
- Let this dry completely before applying Magic Glos, otherwise the Glossy Accents will interfere with curing. I use a heat tool to speed this up. If you do not use a heat tool, about 20 minutes dry time will do.
- Apply Magic Glos and cure under your UV lamp or in direct sunlight.
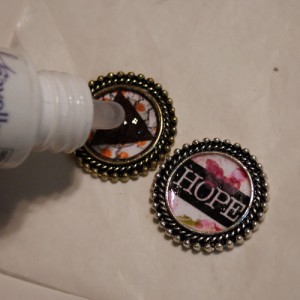
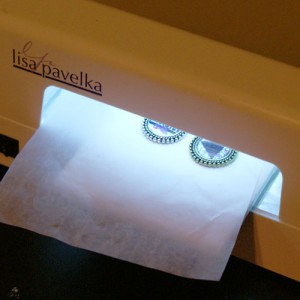
I use Lisa Pavelka’s 9 watt curing lamp, which works great for Magic Gloss. My pieces cure in 10 minutes or less.
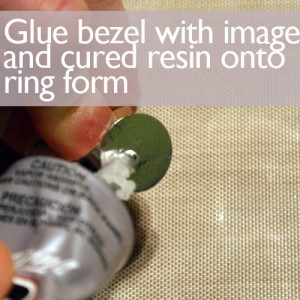
- Now just glue the bezel with image and cured resin onto the ring form using E6000. Let that dry and you are finished. I love the bezel and ring form being separate so that the bezel is easier to set completely flat while the resin is curing. It makes using the UV lamp way easier for making these rings.
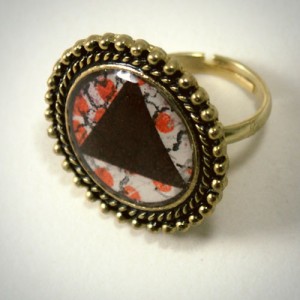
I am planning to make a ring using the Valentine’s Day sprinkles and resin I showed you a couple of weeks ago…
What have you submerged in resin lately?

