Archives for June 2011
Patriotic Resin Jewelry DIY
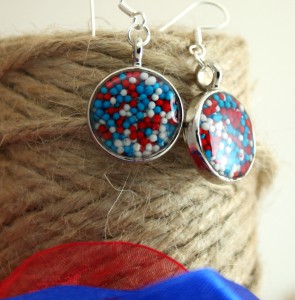
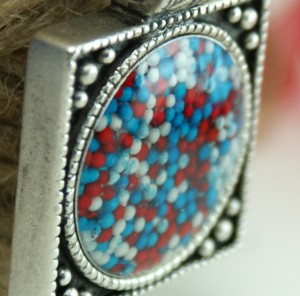
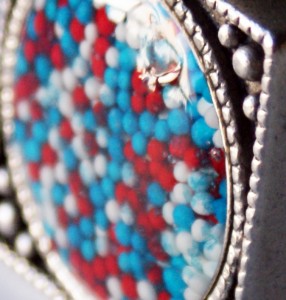
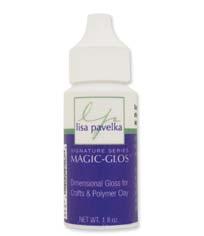
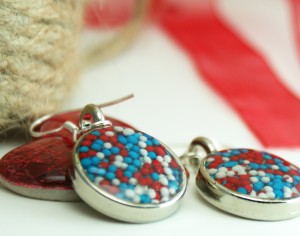 With July 4th around the corner, I thought some patriotic jewelry was in order. I am thrilled to write about Magic Gloss, the resin product I used to create the glass dome effect seen here. Read the following detailed step by step and you will be able to create your own funky patriotic pieces.
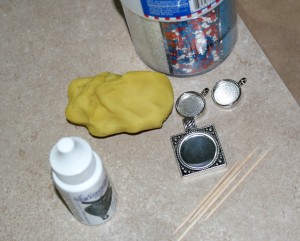
Supplies:
- Magic Gloss resin by Lisa Pavelka
 Red, white and blue cake sprinkles, or colors of your choice
- Jewelry Bezels
- Play dough
- Ceramic tile or other flat, transportable surface
- Toothpicks
- Sunny day, or at least a 9W UV lamp
Instructions:
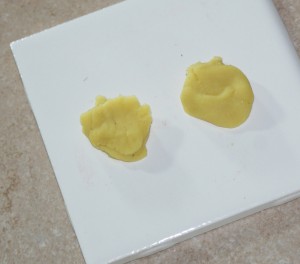
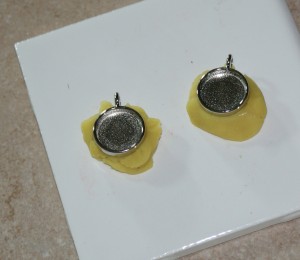
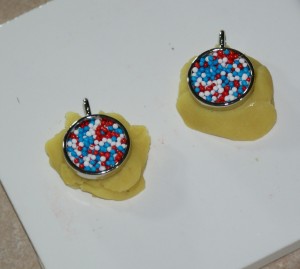
- I will show how I did the circle earrings. The pendant is the same process. Begin by placing a glob (real technical here) of play dough or clay on your glass tile. This will hold your bezels in place and keep them flat for the resin to cure evenly. This is so much easier than not doing this, trust me. My pieces look tons better and are way easier, especially since you will most likely be taking these outside to cure by the sun’s rays. You don’t want them sliding around everywhere.
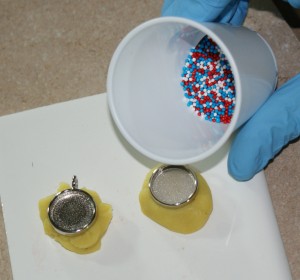
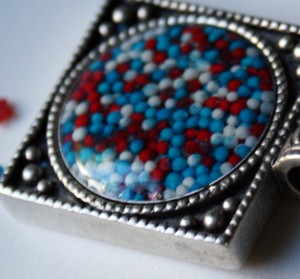
- Put your sprinkles in a small cup to make it easier to pour into bezel. They will still go everywhere! Fill just enough to cover the silver in the background. You don’t want the sprinkles above the rim of the bezel.
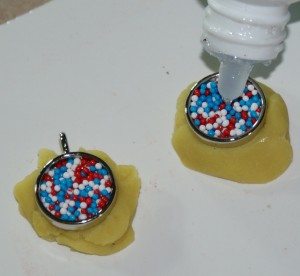
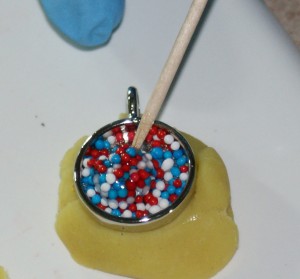
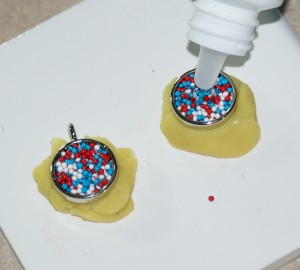
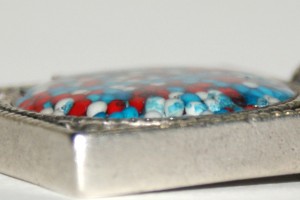
- Now the fun part; Magic Gloss. Here is why this product is AMAZING (no, I am not affiliated in any way whatsoever, I just love it) – it is a one step resin that cures in 15 minutes with UV light. No mixing, no odor, no waiting for 3 days for your pieces to cure. It is quite easy to use. Just add a few drops at a time to the center of your piece. With the sprinkles, I add a small amount of resin and mix it all around to coat the sprinkles so they don’t float up while resin is curing. I decided to do a dome effect on these pieces, which I do in layers. So, when the sprinkles are coated, take the tile with your piece outside and let it cure in the sun for about 10 minutes. Bring it back in and add your resin dome. Just add a drop or two in the middle (depending on how big your piece is) and pull it to the edges of the bezel using your toothpick.
- Take the piece outside to cure and that is it. You can do more layers of resin if you want to have a drastic dome effect.
The only downside to this resin is the cost, and the dependency on UV for curing. I find the benefits way outweigh these. If you have every worked with 2 part resin, you will understand how awesome it is not to have to mix and the mess that comes with that whole fiasco. Also, I had no problems with air bubbles. AND you can work with the stuff as long as you want . It will not start to set until you expose it to UV, so no pressure to get it all done in 20 minutes. You can purchase Magic Gloss at Michael’s or Joannes for around $10 per one ounce bottle. I found it on amazon, here, for under $6. I am on my first bottle and have made about 10 pieces so far.
Give it a try and let me know what you think. Here are my finished pieces…
Craft Storage Solutions
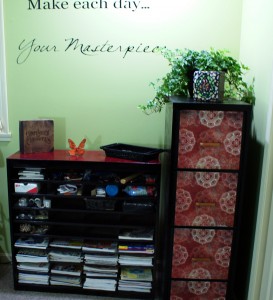
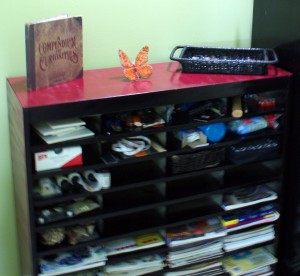 My entire craft room is filled with storage contraptions I have picked up here and there, and prettied up, of course. I think this most recent acquisition and makeover is my favorite of all. At my town’s yearly, gigantic and awesome community sale I spied this mail cube used in offices. I instantly thought, craft storage… sweet! She was only $5! Not the purdiest, but that has never stopped me. Home with me she came…
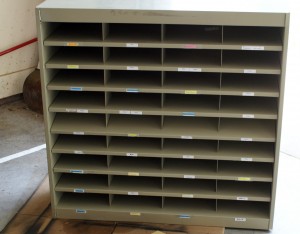 I scrubbed and scrubbed some more, removing tape name labels galore. Whatever establishment utilized this must have had a high turnover because, much to my dismay, many of the labels had labels under them with a different name and more tape. I used adhesive remover to get the little globs left after the tape and paper were removed. Once I got her all cleaned up, I just spraypainted the front with Krylon Fusion Black, and the sides and top with Krylon Fusion Red. I love this stuff cause it goes on anything and you don’t need primer.
Once she dried, I moved her into her new home and filled her with some of my stash. Matches nicely with the file cabinet I redid, here. No need to buy expensive storage!
“What’s Your Story?” Featuring Lisa Guckelberg
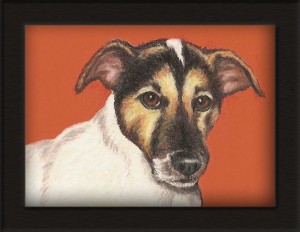
We are back with “What’s Your Story?”, Featuring artist and teacher Lisa Guckelberg. I am blessed to know Lisa personally, as a friend and running partner, and am plain giddy to have her here at SBLC. Lisa gifted me with the above work when I moved an hour away and we were no longer going to be running together daily. She drew this beautiful portrait of my Jack Russell from a photo she pulled up on Facebook. Is that amazing or what?! I have not had the opportunity to take a class with her yet, but… yeah, I could learn a lot from her!
Thank you for being here, Lisa!
I hope you enjoy this insightful interview as much as I did. If you are in the Indianapolis area, take advantage of your proximity and sign up for a class with Lisa. Click here to go to her website (after you read the interview, of course).
Where are you located?
Greenwood, IN
How many years have you been teaching art?
27 years
What type of art do you teach?
Pencil, colored pencil, watercolor, pen and ink, and acrylics.
How do your classes progress?
I start my students with basic drawing techniques, then work into other mediums.
What ages do you teach?
Ages 7 through adult.
When you are not teaching, what do you like to draw and paint?
A favorite subject of mine has always been horses. If I am at will to choose my subject, that is usually what I end up doing. I also enjoy drawing other animals. I enjoy working in colored pencil, watercolor, and pen an ink.
What is your must have tool for creating?
A quiet environment and a pencil, and I am happy.
When and why did you set up your website?
I have had my website www.lisaguckelbergart.com for nearly two years now. It was important to get that up and running because the internet is a valuable business tool. It is the way that many people search for classes. I have watched my classes grow by leaps and bounds recently. Without it, I would be missing out on a lot of business.
Do you have any tips for beginning artists?
Observation is key to rendering a realistic subject, and remember your drawing will never be perfect. You will increase your ability with every drawing or painting that you render. Take what you learn from each piece of artwork that you create and apply that to your next drawing or painting. The process of creating should be enjoyable and not filled with unrealistic expectations of perfection. If you have unrealistic expectations you are setting yourself up for failure.
Do your students show their work?
I encourage my students to enter local contests, and fairs. I also sponsor an annual student art exhibit that is held on the first Friday in December at the Greenwood Community Center. It is open to the public. Every attendee recieves a ballot so they can place their votes for the people’s choice awards. The event is usually attended by 500 people or more.
What good books have you read lately?
I have read several great books recently! Unbroken, by Laura Hillenbrand. It is a story about Louis Zamperini, an olympic runner, and his incredible story of survival during the second world war. I just couldn’t put this book down!! The Grace to Race, by Sister Madonna Buder with Karin Evans. The story of a running nun, who is still running, now in her 80’s! Run! 26.2 Stories of Blisters and Bliss, by Dean Karnazas. The Long Run, by Matt Long with Charles Butler. This is a story of survival, and overcoming extreme injuries, and adversities to run a marathon.
Where was your last vacation?
Paris, France. I went to the Louvre for the first time and I was completely overcome with emotion at the sight of some of the works of art that were on display there.
What is your favorite pastime outside of your artistic endeavors?
I would have to say running. It is so cleansing, in so many ways. In addition, I love anything that involves being around horses. As Sir Winston Churchill said, “The outside of a horse is good for the inside of a man.” I also enjoy hiking, gardening, and reading.
Who is your favorite artist?
I love the work of so many it is hard to choose. Monet, Davinci, and Dali, to name a few.
The Chris Bateson Experience; T-Shirt Transfer Project
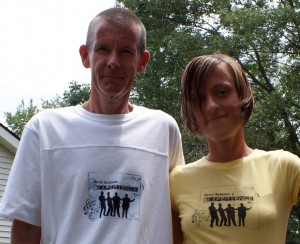
You know when a crafty blogger posts a project tutorial, but it is clear that the real purpose of the post is to drive home how talented and amazing her family happens to be? This is one of those. Yes, you will see how I made a custom t-shirt using HP inkjet t-shirt transfer sheets, but what I hope you walk away with is the knowledge that my stepson rocks, and so does the barbershop quartet to which he belongs.
Faux Tile Kitchen Backsplash
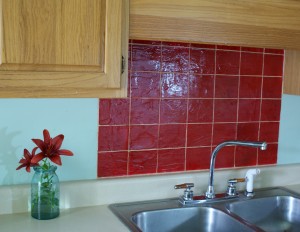
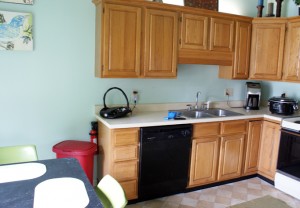
Look at this textured faux tile backsplash I made for $5. So excited to tell you about this. It made a huge difference in my kitchen. Here it is before…
Thrifty Thursday Week 29
My Blogger to WordPress Transfer Experience
Deciding to move is a big deal. Especially if you have been blogging for awhile, and are a bit obsessive. I am not going to lie, I have been known to be high maintenance at times. I am huge into DIY and take pride in that fact that there is not much I can’t figure out, with a little diligence and a lot of google. I had contemplated moving from Blogger to WP for some time, and figured I would just do it myself. That is until I began researching the process and all of the issues that can arise, such as loss of followers, posts, pictures, permalinks… oh my. About the time the process of tackling this myself began to seem overwhelming, I ran across Blogelina’s transfer service. She happened to be hosting a twitter chat that very evening on the topic of transferring from Blogger to WP. How timely!
Stumble Linky Week #2
The deal:
- Stumble Upon has huge traffic power; for more SU info, there are resource links below
- Follow your Saved By Love Creations via GFC
- Add your blog post that you would like people to stumble to the linky below.
- Please do not link to your main site, or to a time sensitive post such as a Giveaway or Blog Hop.
- Stumble all the posts you would like to promote. You can check to make sure that your stumble went through by clicking on the “Info” icon. Leave a comment on their post so the blogger knows you have stumbled them. Leaving a link to the post you want stumbled in the comment is also helpful.
- If you are not going to stumble other posts, please do not enter a link to be stumbled. It is all about give and take, not just take.
- Feel free to add multiple post links.
- NOTE: You can install the SU toolbar right in your internet browser window. Then just hit “I like it!” in your toolbar. If it is the first time that page has been stumbled, you will have to fill in a few tidbits of info: you will need to enter a couple of broad category tags, and a short review. This only takes a minute, and is a one shot deal, so please do this. If the post has already been stumbled, you will not have to do this, just click thumbs up.
- For more info on stumbling, check out these links: Kelly’s Lucky You Tutorial, The Ultimate Stumble Upon Guide
- Please spread the word by sharing the button on your site, tweeting and facebooking (but don’t stumble this actual linky, cause it’s a linky – see above)
Thrifty Lamp and Stand Revamp
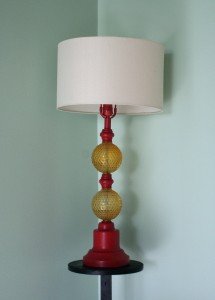 So excited about this project. Love how it turned out, and it cost me a grand total of $3.oo (not including paint and primer, which I had on hand). The lamp, the shade and the little stand are all separate garage sale scores. None of them had anything going for them, except for the fact that they were dirt cheap. I have a hard time passing up home decor items that are $1 or less. I have learned what a difference some paint can make. Follow along as I show you the process…


