Search Results for: upcycle

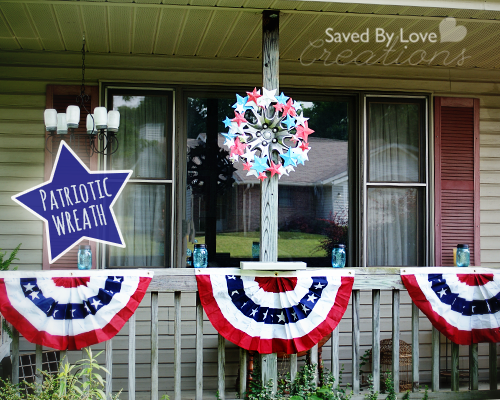
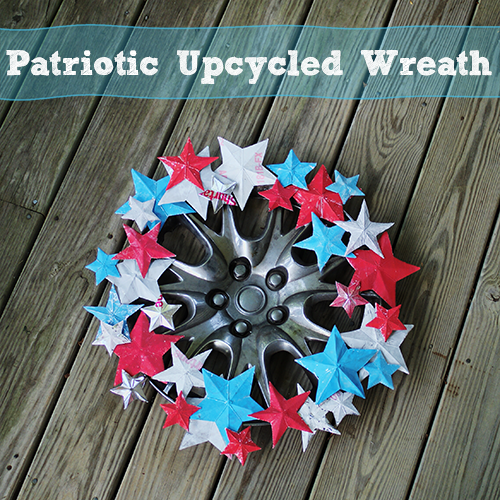
Upcycled Hubcap Patriotic Star Wreath

[pinit]

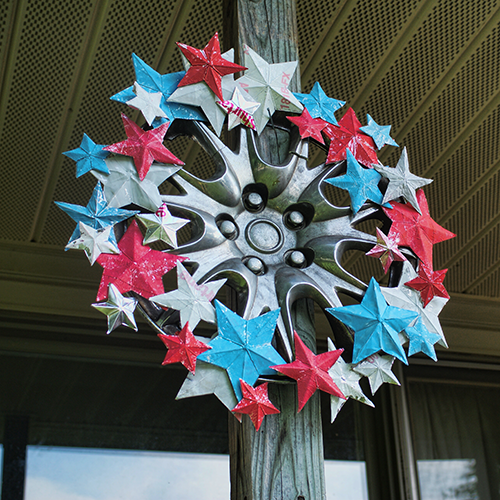
Upcycled #repurposed hubcab to patriotic star wreath #timholtz #distresspaint @savedbyloves[pinit]

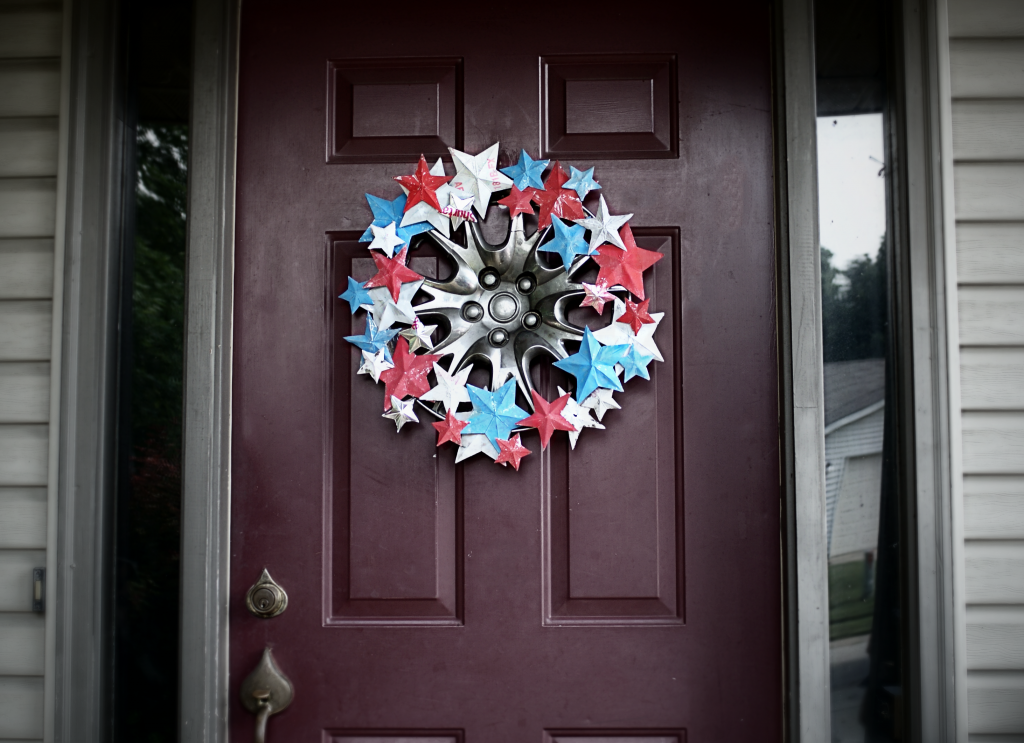
I stopped and pulled a U-turn to rescue a hubcap roadside a few months ago, knowing I would use it for something.  This upcycled soda box star wreath was the perfect project for it since I was going for a grungy americana look.  This was super easy to make and I had everything on hand.  I used my Sizzix machine to cut the stars, but fear not, you can do this project without all that.

Make an upcycled patriotic americana star wreath with @savedbyloves #sizzix

SUPPLIES:

Recycled Hubcap to patriotic americana star wreath @savedbyloves

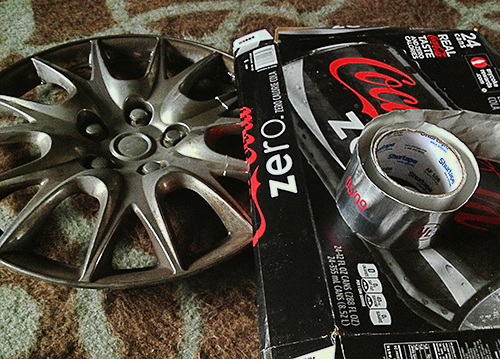
Hubcap or other wreath form

Empty cereal/soda/food boxes

Foil Tape (available at your local hardware store)

Tim Holtz Distress Paint; Barn Red, Salty Ocean and Picket Fence

Tim Holtz 3D Star Die Sizzix

Tim Holtz Star Bright Die and Sizzix Machine, or 3 D Star Templates and scissors

Hot glue gun and sticks or other adhesive

TUTORIAL:

PatrioticStarWreath7

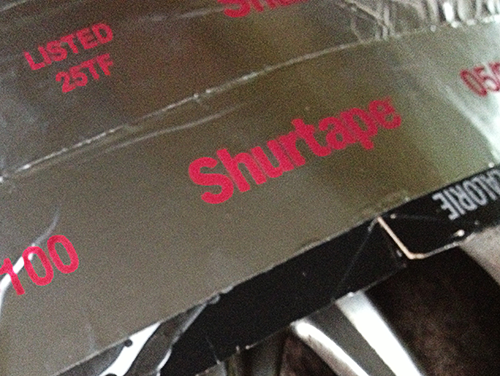
Cut sheets from cardboard boxes and cover with foil tape, smoothing out wrinkles with your hands.

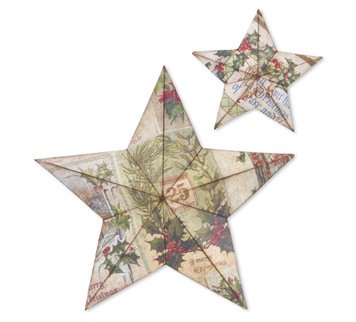
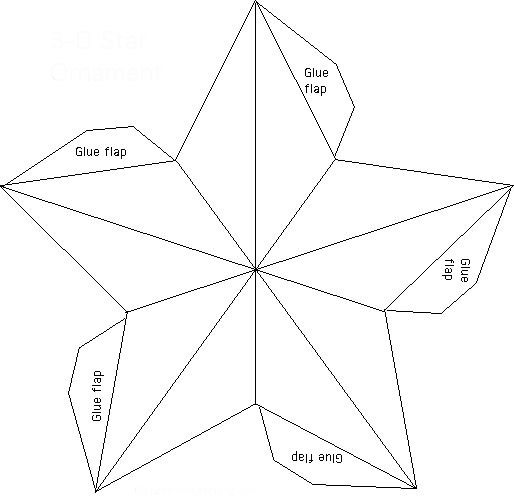
free 3d paper star template

Cut stars from foil covered cardboard using die or by hand with 3D star template like this one.  I made my stars in 3 sizes; 2 from the die and the middle size by hand from the template.  You can resize and print in small, med and large stars.

Why the foil tape, you ask?

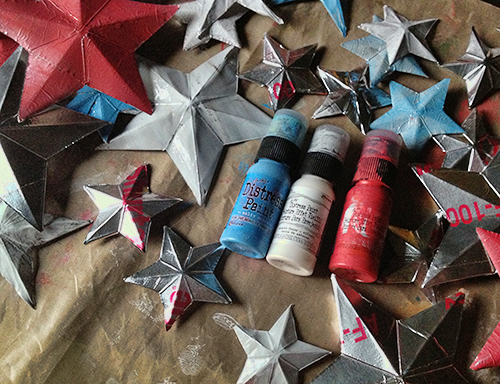
I have made these stars in the past from aluminum cans, paper only, cardboard, heavy cardstock, grunge paper and chickens (I made the last one up).  The best result, in my opinion, in terms of shape and folds is cereal box thickness cardboard.  It holds the creases and 3D shape well, and is free.  Plus you are recycling.  Now doesn’t that feel nice?  Aluminum can stars are cool, but you bend them up while trying to make the creases, so they don’t look as nice.  The foil came into play because I love Tim Holtz Distress Paint on it, and I knew I wanted to use the red, white and blue for this project.  You could paint directly on the cardboard and skip this step if you wanted.  A happy accident happened when the red lettering on my foil tape showed through a the paint and I liked it.  I made a couple of stars with just the tape.

Americana 3D start wreath tutorial #fourthofjuly #patriotic @savedbyloves

Paint your stars as desired and let dry.

Upcycled #repurposed hubcab to patriotic star wreath #timholtz #distresspaint @savedbyloves

I started with the biggest stars, adhering them onto hub cab with 3D foam stickers.  Then I adhered stars to stars for the upper layers using hot glue.  Just play with the placement until you are happy with your design.

Make an upcycled patriotic americana star wreath with @savedbyloves #sizzix

For more patriotic project ideas to get you inspired, visit our 50+ DIY Patriotic Crafts, Jewelry and Decor Roundup:

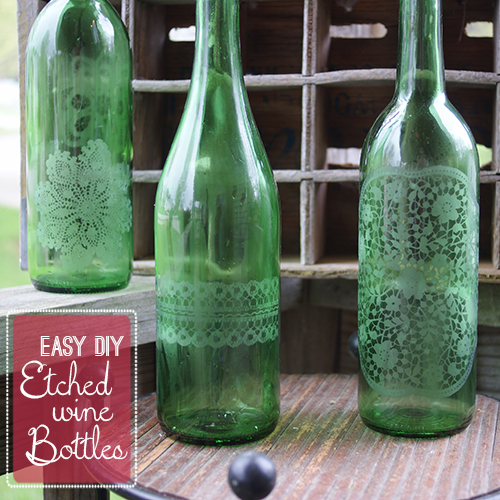
Easy Doily Etched Wine Bottle Upcycle

[pinit]

Martha StewartEtched Wine Bottle Upcycle #marthastewartcrafts @savedbyloves


[pinit]

You guys know I love to upcycle a wine bottle.  I am always bugging the neighbors for their empties since we aren’t drinkers here.  It is not uncommon for me to raid the local recycling center, where they kindly let me dumpster dive…

There are tons of ways to repurpose bottles, from cutting to painting, making lanterns, vase, candle holders and more.  Today I am excited to share with you how to easily etch intricate designs into your bottles and glass of all kinds.

How to upcycle wine bottles

This process is soooo easy.  Just clean your wine bottles with soap and water, vinegar water if the labels are being stubborn.  Clean off all adhesive and debris. Wipe clean bottle with rubbing alcohol.

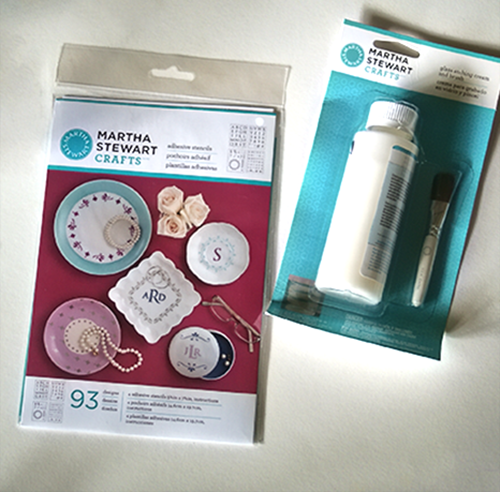
Marth Stewart Glass Etching Cream

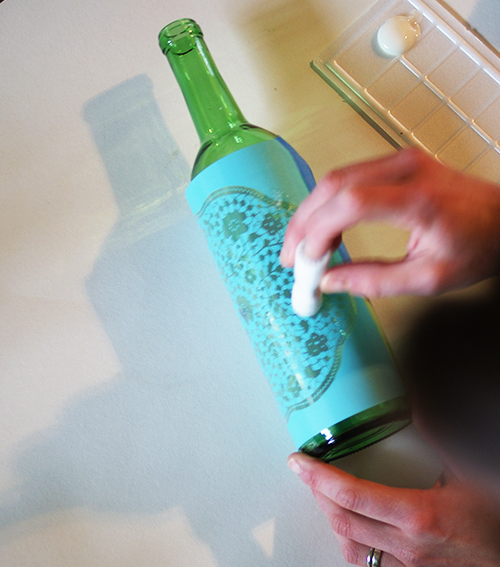
Adhere stencil or silkscreen to bottle and tape off with masking tape to prevent etching cream from ending up where you don’t want it.  Use dauber or sponge to generously apply etching cream.

Martha Stewart Glass Etching Tutorial

I love the doily adhesive silkscreen from Martha Stewart!

Martha Stewart Glass Etching Tutorial

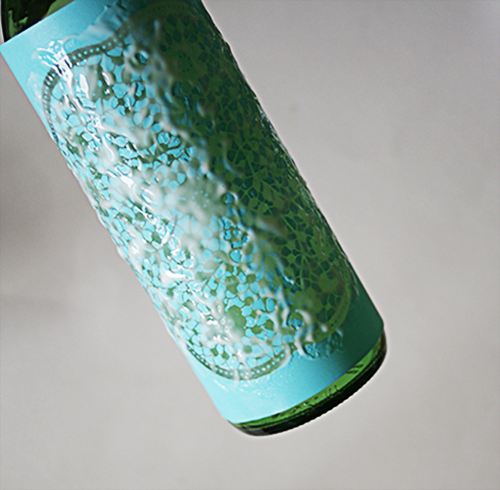
You want a very thick layer of the etching cream.  Let it sit 15 minutes, then rinse away under faucet.  Remove and clean stencils or silkscreen.

silkscreen from Martha Stewart3

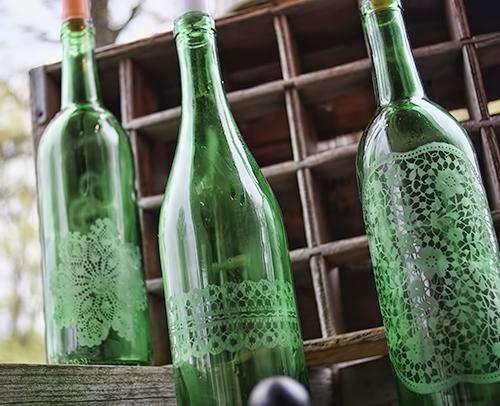
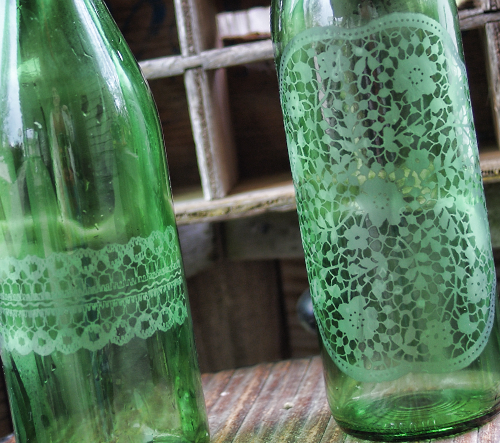
Can you believe the detail?

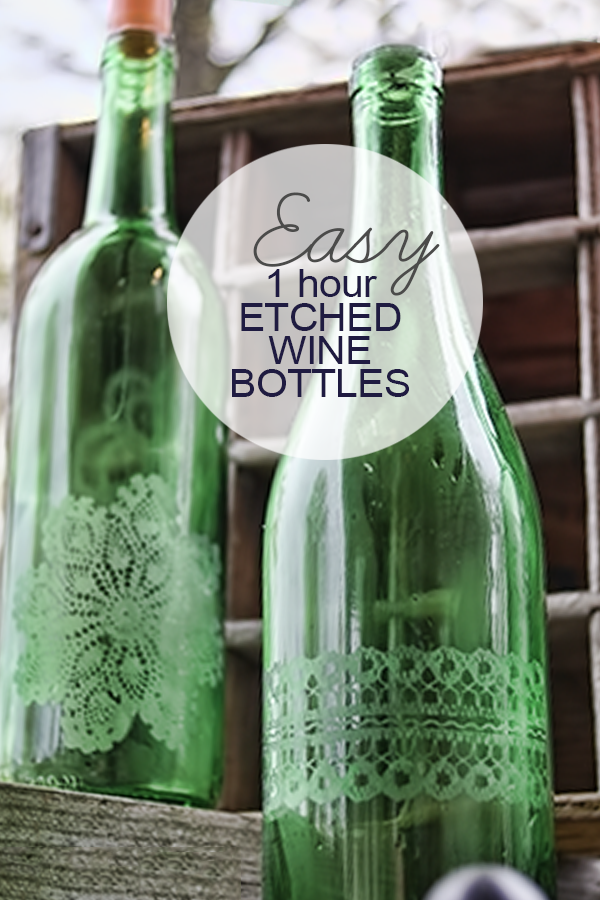
Easy One Hour Etched Wine Bottles

I saw other people’s projects using this etching cream and decided they must just be really skilled.  I was judging based on my experience with a cream in the past.  I can’t remember the brand, but it came in a white and purple bottle and I got it at Michaels.  It didn’t work even a little.  I was so frustrated because I had a project I really wanted to complete and I finally gave up.

How thrilled was I at the ease of use and effectiveness I found with Martha’s version?!

VERY!

I sat down to do a Mother’s Day project (which I will be showing you next week) and ended up glass etching all day.  So fun and simple (did I mention it was easy?)…

Stay tuned for what is going to end up being a glass etching week around here 🙂

Don’t forget to check out my other Adventures in Wine Bottle Repurposing:
How to cut wine bottles

HOW TO CUT WINE BOTTLES – VIDEO TUTORIAL

Over 50 Wine Bottle Projects to Make

50+ WINE BOTTLE PROJECTS TO MAKE

DIY wine bottle repurpose

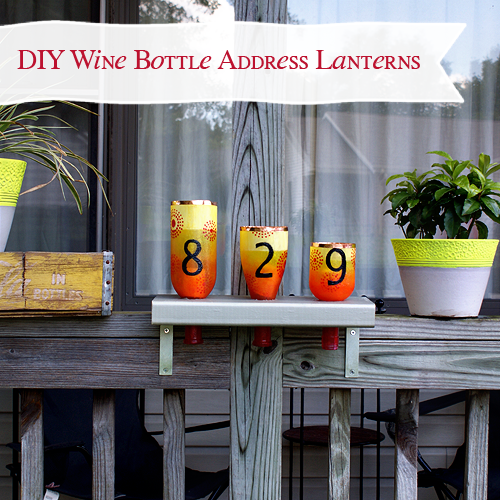
MAKE WINE BOTTLE ADDRESS LANTERNS

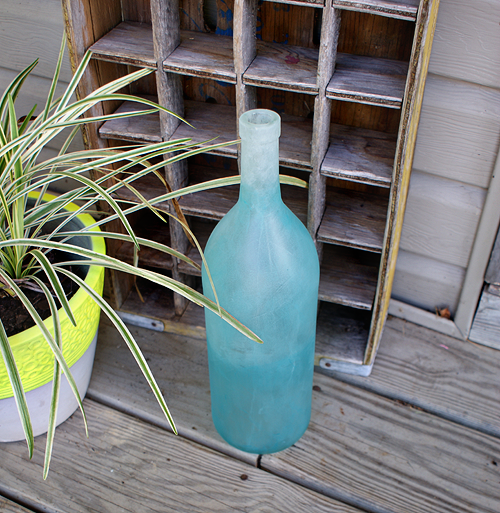
Ombre wine bottle tutorial

PAINT OMBRE WINE BOTTLE – TUTORIAL

Things to make from wine corks

Lets not forget those corks – PROJECTS TO MAKE FROM CORKS

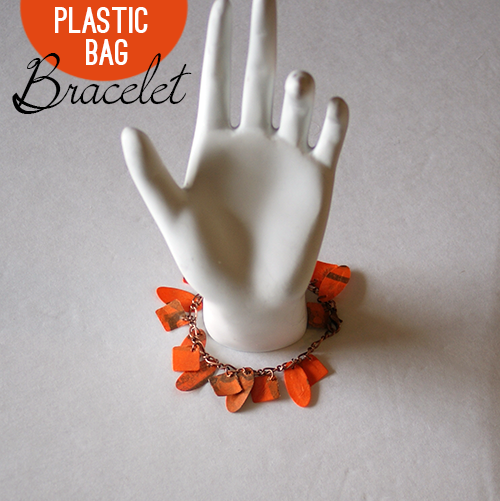
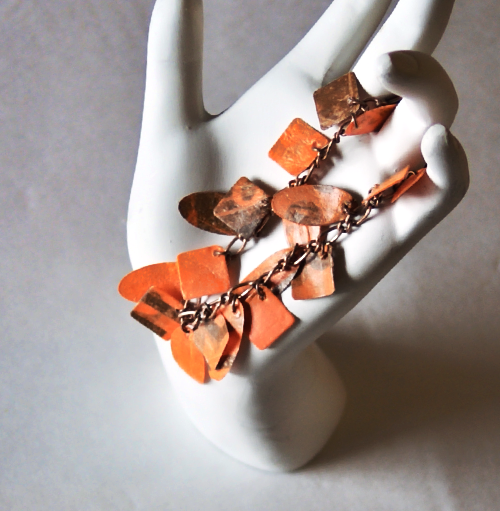
Make an Upcycled Plastic Bag Bracelet

Make an #upcycled plastic bag bracelet @savedbyloves #recycledcrafts

[pinit]

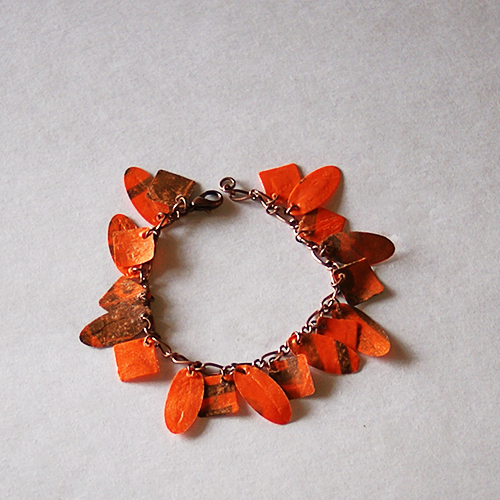
Today’s project is a fun plastic bag upcycled bracelet!  Fusing plastic bags creates a fabric that can be stitched, die cut, painted and embossed for some cool effects.  The possibilities are endless.  Keep your eyes peeled for brightly colored shopping bags and start hoarding!

SUPPLIES:

Plastic Bags

Copy paper

Iron

Ironing board

Chain Bracelet

Jump rings

Jewelry Hole Punch

2 pairs of chain nose pliers

PlasticBagBracelet3

TUTORIAL:

Turn iron onto Setting 4

To create the “fabric”  cut the handles from the bags and cut rectangular sheets smaller than your copy paper.  Layer 5-10 sheets and sandwich between the 2 sheets of copy paper

Iron 30 seconds (continuously moving iron to avoid melting plastic), flip sandwich over and iron other side for 30 sec.  Let cool 15 sec and check.  If plastic is not completely fused into one sheet (air bubbles and crackle sounds), repeat ironing and check again.

Die cut or hand cut small ovals and squares.  Hole punch and attach to bracelet chain with jump ring.  Alternate ovals and squares.

PlasticBagBracelet5

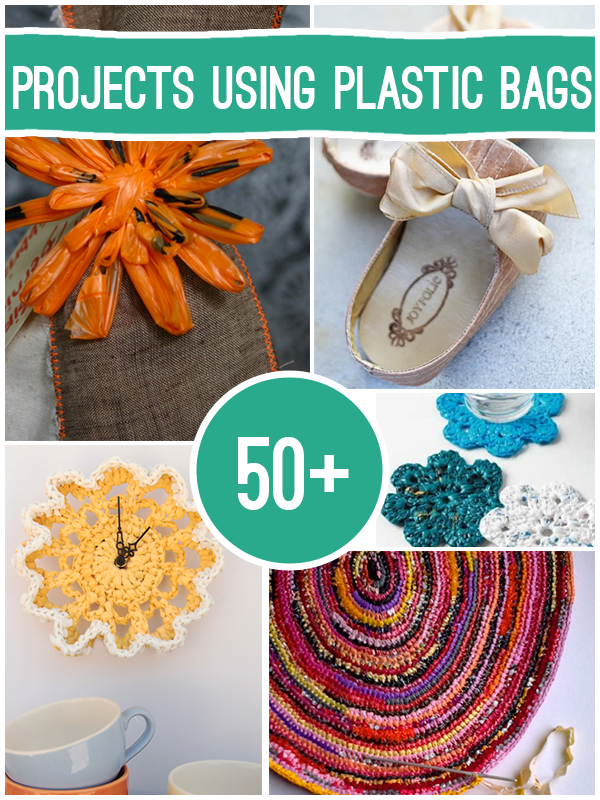
For loads more plastic bag creations to make, visit our 50+ roundup!

50+ projects to make using #recycled Plastic bags #upcycle #repurpose #DIY @savedbyloves

50+ Ways to Upcycle Plastic Bags

[pinit]

50+ projects to make using #recycled Plastic bags #upcycle #repurpose #DIY @savedbyloves[pinit]

Today I am going to blow your mind with over 50 things to make using plastic bags. You know, the kind that are piling up in trash cans landfills in an epidemic fashion? Turns out you can make some amazing jewerly, home decor and other accessories with this abundant and overlooked resource!


Make Cool Upcycled Zipper Bracelets

Make #Upcycled Zipper bracelets 5 ways at Brit + Co, featured @savedbyloves

[pinit]

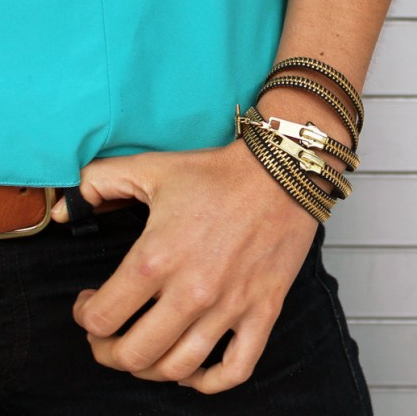
Did you know there are at several ways to upcycle old zippers into chic, eco-friendly bracelets?  It is true.  Brit + Co shows you how in 5 Ways to Turn Zippers into Awesome Arm Candy.  The black and gold above is my favorite.  Head over for the rest.  This is the perfect project for a quick, inexpensive gift or accessory for your own wardrobe.

For plenty more DIY bracelets, see SBLC’s bracelet tutorials, and our 50+ bracelet roundup!

Upcycled Baby Food Jar Planter

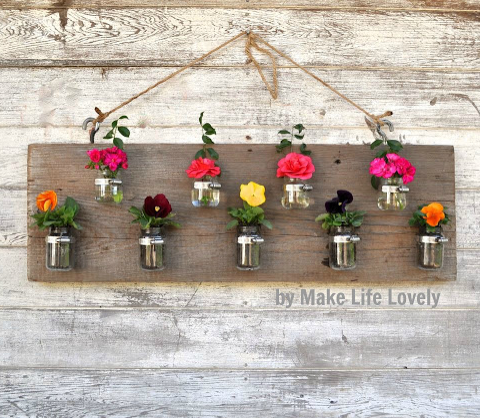
Upcycled Baby Food Jar Planter by Make Life Lovely, featured @savedbyloves

This is not what I had planned to share with you today, but when I saw this upcycled baby jar planter at Make Life Lovely, I just couldn’t help it!  This is on my to do list for the summer.  It is a super simple project.  Head to the link above to get the step by step photo tutorial!

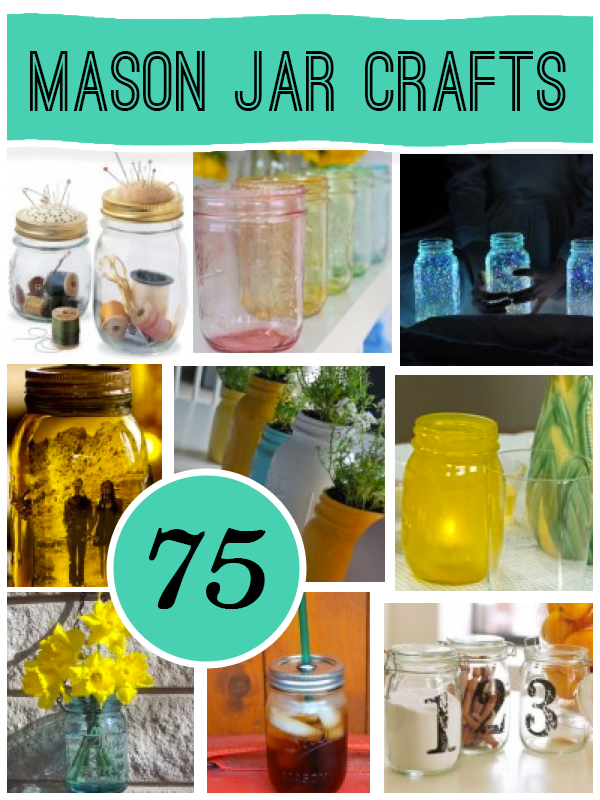
Want more jar upcycle ideas?  Check out our 75 mason jar decor ideas:

75 Mason Jar Craft; The original roundup from @savedbyloves

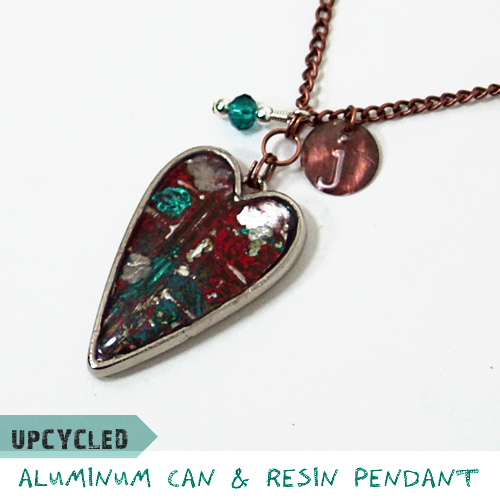
DIY Upcycled Pop Can & Resin Heart Pendant

[pinit]#Recycle aluminum cans into gorgeous jewelry #Resin #Upcycle @savedbyloves #DIY @Crafts

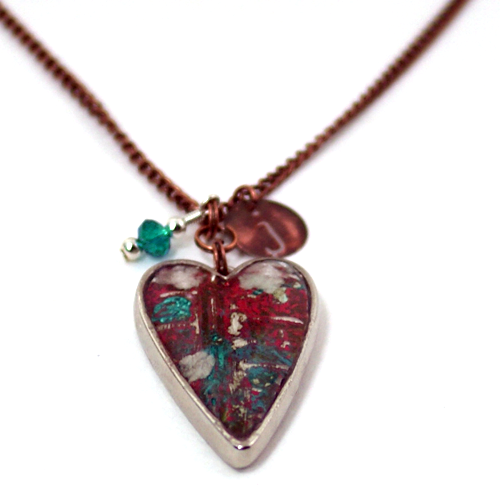
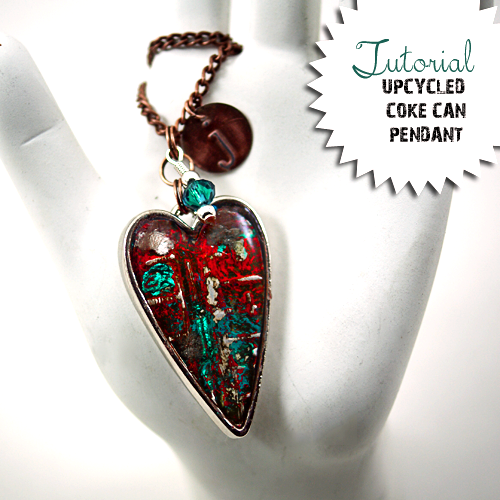
Do you have a pile of aluminum cans in recycling bin purgatory?  Well, if you have been around here long, you know I love to cut my cans and form them into various upcycled jewelry pieces.  Today, I am going to show you how I used a coke can, a bezel and some resin to create this fun, one of a kind heart pendant.  It would make a lovely gift for many occasions, and especially the rapidly approaching Valentine’s Day Holiday.  I made it for a gift and personalized it with a monogram stamped charm.  You don’t need a lot of expensive supplies and equipment to one of these yourself.  Here is how…

SUPPLIES

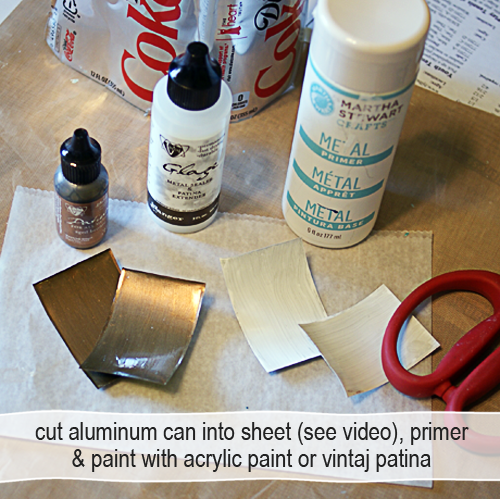
Empty Soda Can, rinsed with warm soapy water

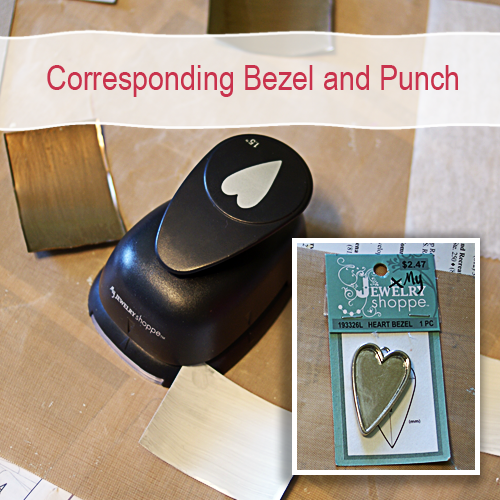
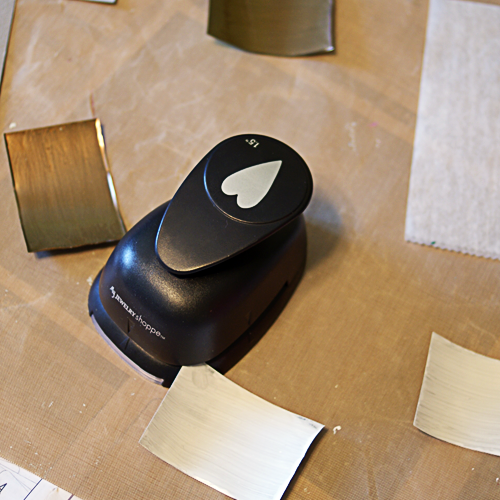
Jewelry Shoppe Heart Bezel and corresponding heart paper punch (got mine at Hobby Lobby)

Resin Jewelry Tutorial, Upcycled Jewelry Tutorial

-OR-

Any heart shape bezel and a sharpie or other permanent marker

Glossy Accents or other metal glue

Grungeboard or scrap cardboard

Embossing folder and machine

Perfect Pearls

3 colors of acrylic paint

Metal paint primer (I used Martha Stewart’s)

Vintaj Sanding Block

Magic Glos Resin

INSTRUCTIONS

#Upcycled Recycled aluminum can jewelry #DIY #Craft tutorial @savedbyloves [pinit]

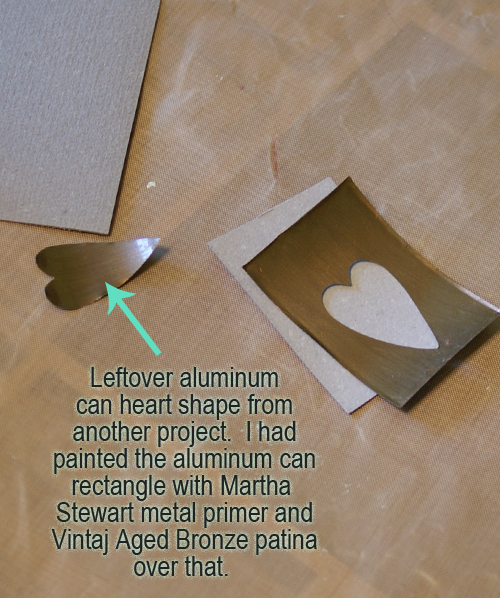
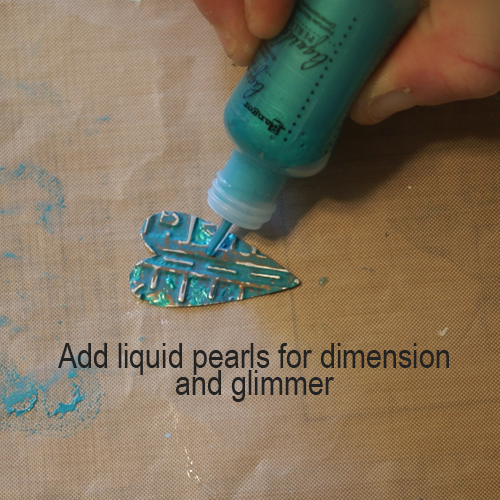
This project came about as I was doing another project that I haven’t shared with you yet.  There was a leftover aluminum can punched heart shape, and I remembered I had the corresponding bezel.  I found the bezel and paper punch at Hobby Lobby (by My Jewelry Shoppe) a couple of months back.  I decided to emboss the heart and add some acrylic paint and Liquid Pearls for a cool effect.

#Recycle aluminum cans into gorgeous jewelry #Resin #Upcycle @savedbyloves #DIY @Crafts

For the other project, I needed rectangles with a heart cut out in the middle.  If you just want the heart shape used in this tutorial, you don’t have to worry about cutting perfect rectangles.  Just primer and paint your can sheet and punch the heart shape from it.  I showed you how to cut the cans into a sheet in the video here…

Make an aluminum can pendant
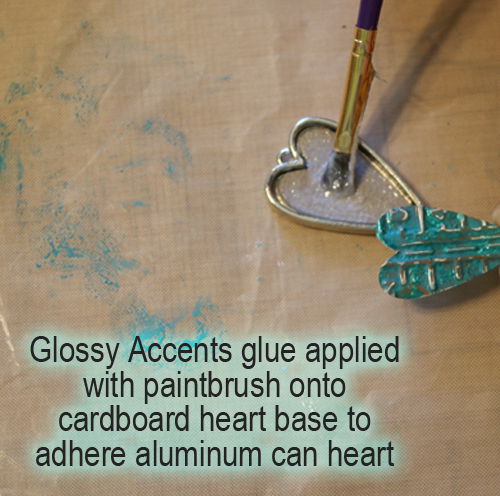
Trace the heart twice onto grungeboard, thick cardstock or cardboard and cut out inside the outlines with scissors.  Glue the cardboard hearts together, then glue to bezel.  Use clothespin to apply pressure for good adhesion.  This gives thickness to the thin can top layer.
Emboss your painted and primed can heart.  I used Tim Holtz Texture Fades embossing folder – Pattern and Stitches Set and my Sizzix Vagabond.  It you don’t have an embossing machine, you can hand emboss, or use the folder and a rolling pin like in this video by Sarah Hamer:

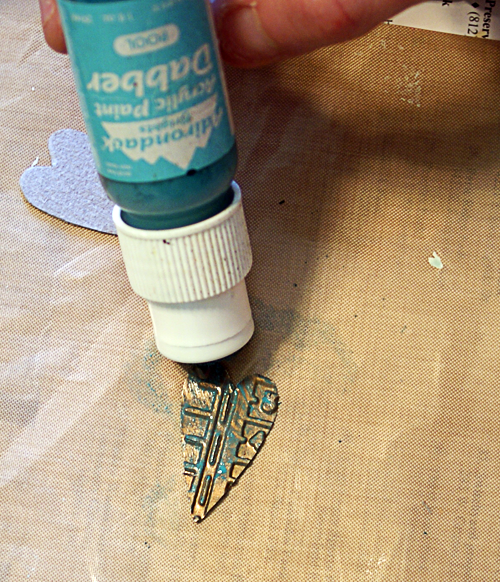
Now apply a second paint color over your base (Ranger Paint Dauber color Pool used here).

Ranger Paint Daubbers Pool

Ranger Paint Daubbers Pool

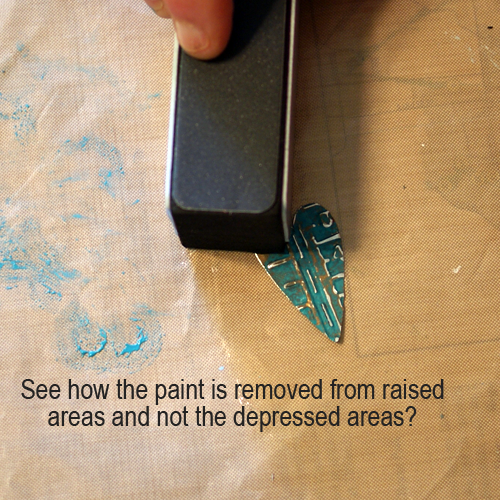
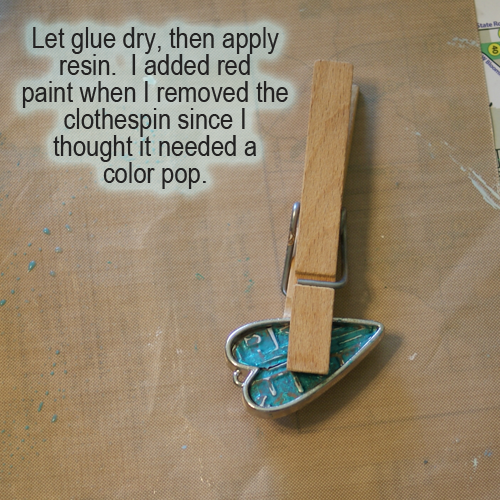
Let dry and and sand with sanding block to distress as desired.  Not shown here, but in my final pendant, I added a third paint color.  The red made the pendant pop.  If you sand away too much paint, it’s ok.  Just paint again and sand until you are happy with your piece.  The raised areas will lose color when you sand, while the depressed areas hold color.  The embossed design is enhanced by the contrast.  So fun!

How to emboss metal jewelry

How to emboss metal jewelry

When you are happy with your paint job, glue heart into pendant bezel on top of cardboard base as shown.  Hold in place with clothespin while glue dries.

How to emboss metal jewelry2

How to use Magic Glos resin

Let glue dry completely, then apply Magic Glos resin like I showed you in this Plaid Ring Bling tutorial.

You can use any resin you want.  I just had this on hand, and love the fact that it cures in minutes vs. the hours it takes 2 part resins to cure.  Maybe you are more patient than me!

Add chain and charms as desired and you are done!

#Upcycled Recycled aluminum can jewelry #DIY #Craft tutorial @savedbyloves

HeartBezelPendantDIY8

Upcycled Sweater Cowl DIY

Make Upcycled Sweater Cowls with Steph at Stuff Step Does, featured @savedbyloves

[pinit]

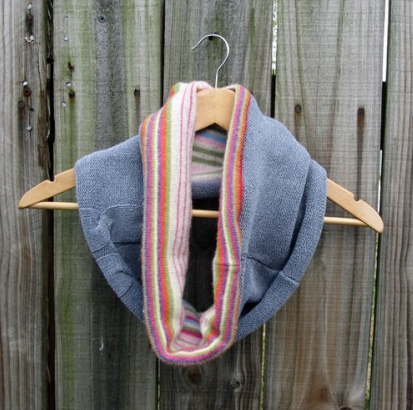
Winter weather is here, and it is time to start thinking about cowls.  Over at Stuff Steph Does, learn how to upcycle your old sweaters into this cozy neck warmer.  What a perfect project for a Christmas gift.  Grab that pile of sweaters and get going.

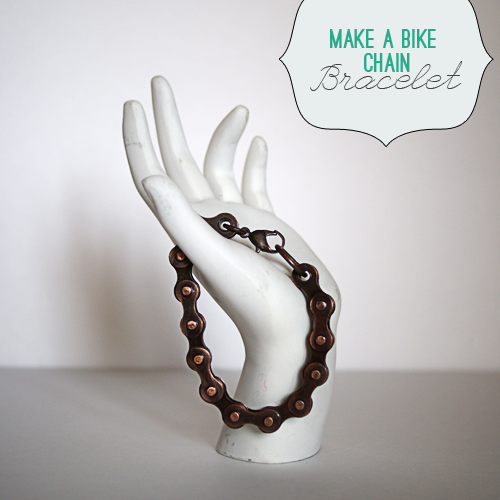
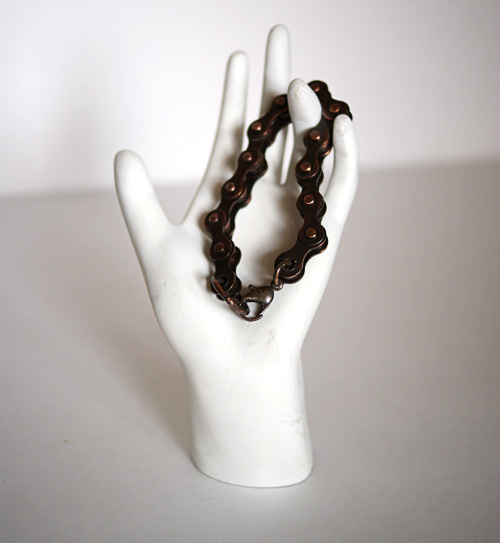
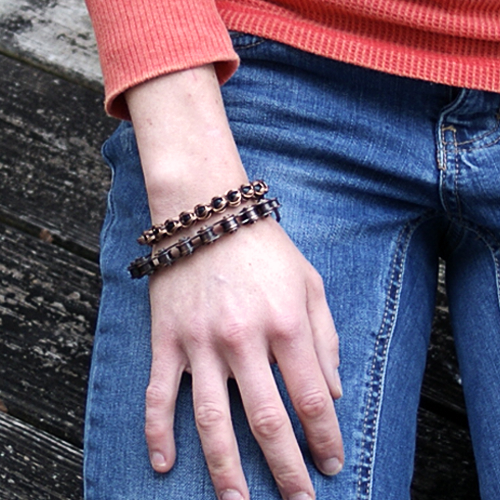
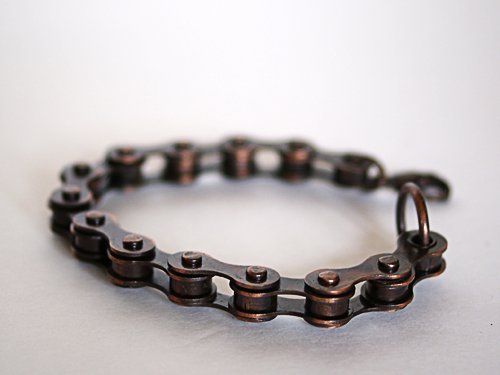
Upcycle: Bike Chain to Bracelet

Bike Chain to Bracelet #Upcycle @savedbyloves #Recycle #jewelryDIY

[pinit]

I inherited a box of junk from a friend who thought I would be able to create some lovelies with its contents.  One of the items was a bicycle chain.  I found a video (see below) on Threadbanger that I used to upcycle the bike chain into a bracelet.  I used a large jump ring and clasp for my closure after popping the pin out at the correct chain length for my wrist.  The video is pretty easy to follow.

Bike Chain to Bracelet #Upcycle @savedbyloves #Recycle #jewelryDIY

Bike Chain to Bracelet #Upcycle @savedbyloves #Recycle #jewelryDIY


How to make a Bike Chain Bracelet – Threadbanger by threadbanger
Bike Chain to Bracelet #Upcycle @savedbyloves #Recycle #jewelryDIY

Quick, Easy Fall Candle Upcycles

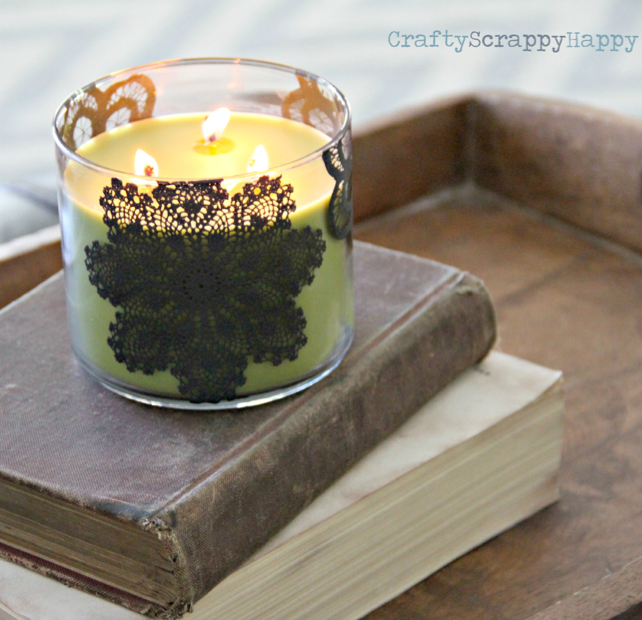
Martha Stewart Glass Paint Fall Candles by craftyscrappyhappy.net, featured @savedbyloves

Do you change out your decor for the seasons?  Buying candles and other accessories in summer, fall, winter and spring colors can get expensive.  That is why I usually end up buying neutral colors and updating them to coordinate with the time of year. There are several ways to do this on the cheap.

I love how Jaime at Crafty Scrappy Happy used Martha Stewart glass paint to bring her candles into fall.  Her upcycled candle DIY is a must see.

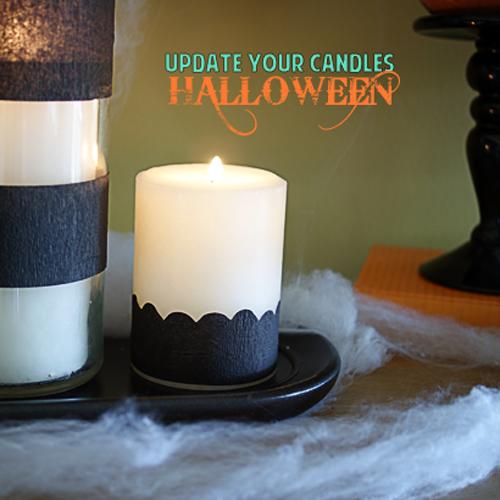
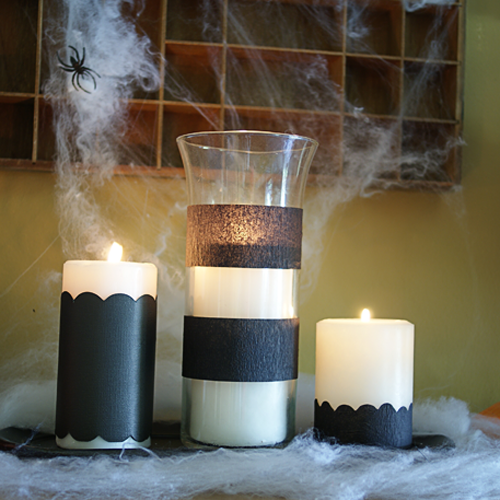
Update your decor with these cheap, easy Halloween Candles at @savedbyloves

For my Halloween mantel this year (o.k., it is a piano top, but whatever), I used black crepe paper and card stock to tie my candles into the Halloween theme.  Cut a decorative edge, or just make stripes, wrap around the candle and tape in place in the back.  Super easy and cheap.

Privacy Policy