Make Wood Shims From Reclaimed Wood and Resurface a Coffee Table


[pinit]
Reclaimed Wood Coffee Table Revamp

[pinit]

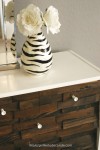
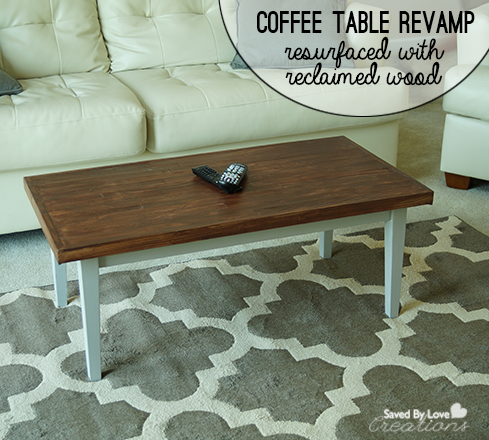
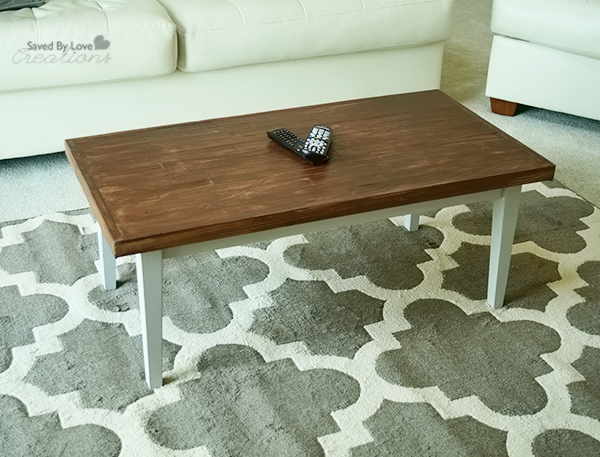
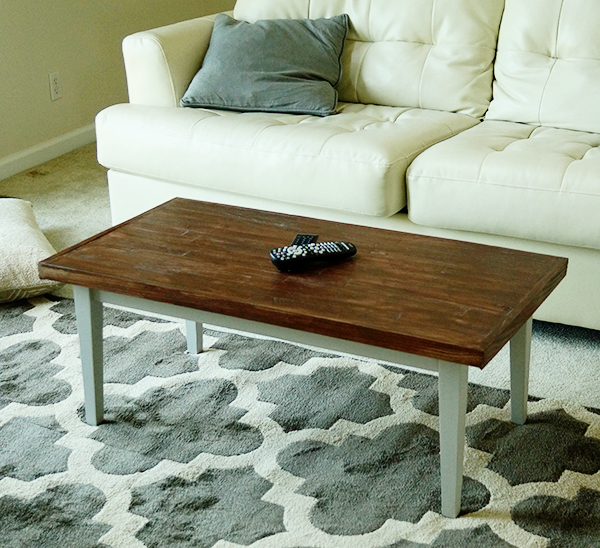
What is better than revamping a garage sale find?  Revamping a $5 garage sale find that you got in 2006 a second time, that is what!  Today I am sharing how I did just that to create this reclaimed wood resurfaced, chalk painted coffee table.  I am super proud of this bad boy.  With some old deck wood I inherited when my mom demolished her deck and my table saw, I created wood shims, attached them to the table top, framed them in with the same deck wood, and stained them with Minwax Wood Finishing Cloths.  The result is exactly what I was going for, and I am loving it with the decor where it landed.  Wanna see how you can make your own?  Let’s do this!

Make a Coffee Table

TUTORIAL:

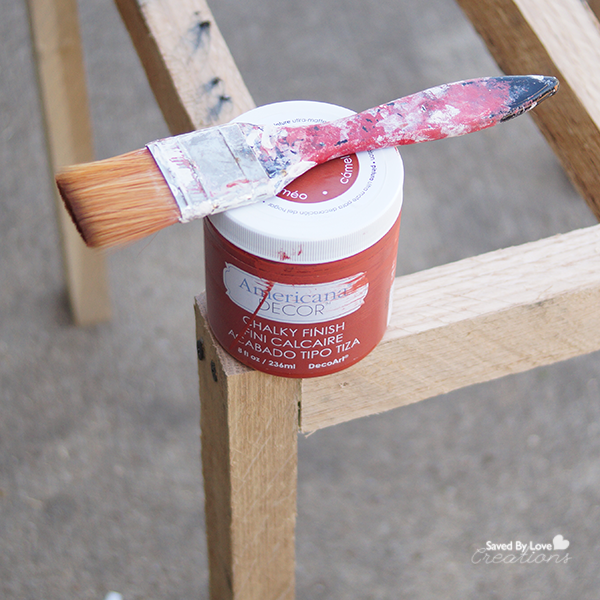
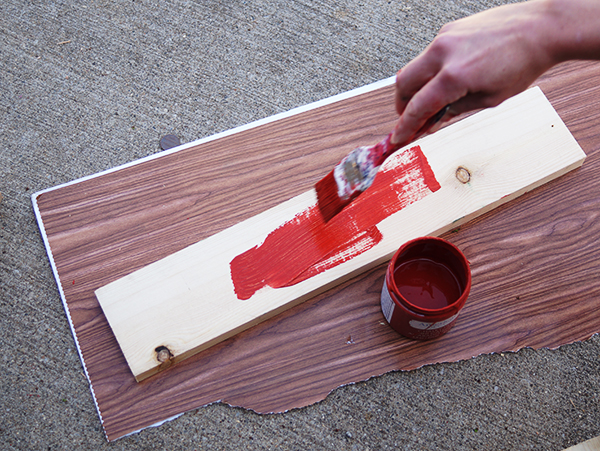
Paint your table base as desired.  I used gray chalk paint.

Rip thin “wood shims” from reclaimed wood with your table saw, or buy wood shims!

Resurface a table

Place your shims with excess stick over both edges.

Attach Wood Shims with Air Nailer

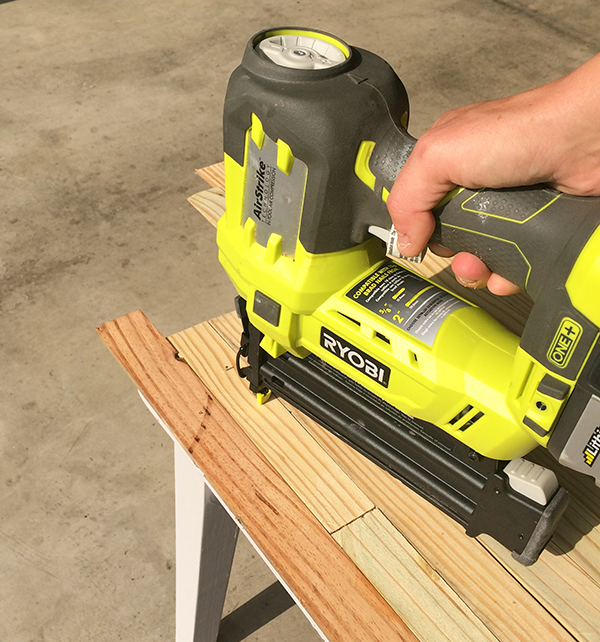
Use wood glue and Air Nailer to secure wood shims into place.

Mark straight edge and cut with Jigsaw

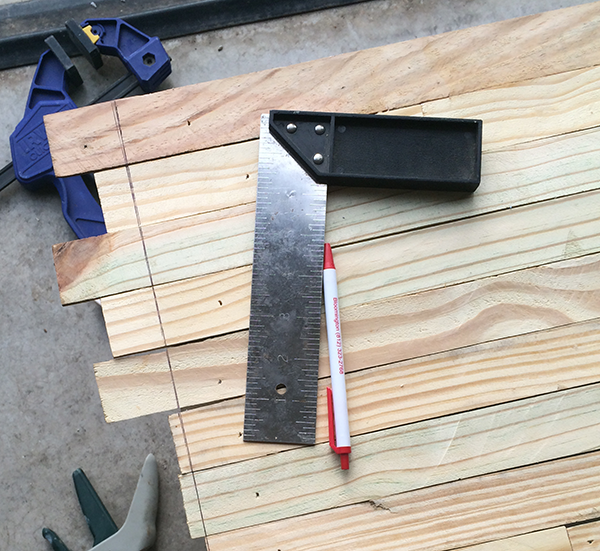
Draw straight edge and cut off excess wood with jigsaw.

Frame in and fill in gaps with wood putty

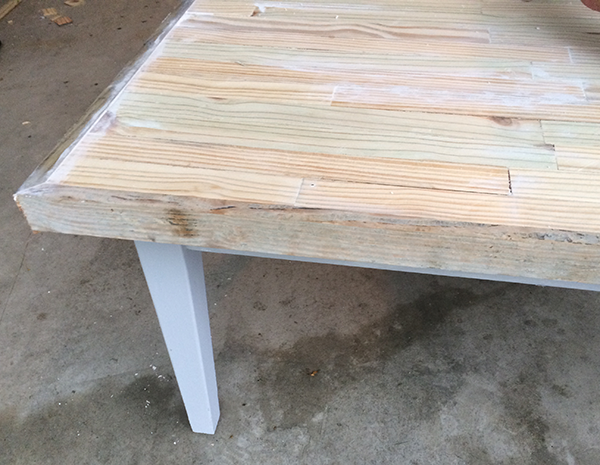
Frame in by measuring length and width of table and cutting wood at 45° with short edge the same length and width as your table.  Attach with glue and nail gun.  Fill in gaps and holes from nailer with stainable wood putty.

How to use orbital sander

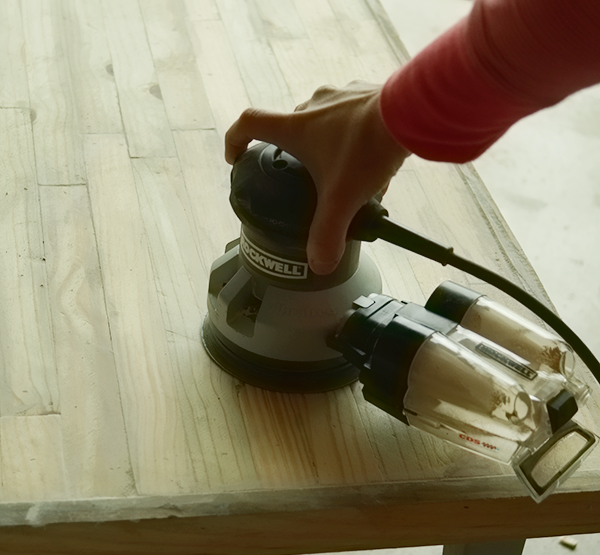
When wood putty dries, sand with orbital sander to smooth out surface.

Minwax wood finishing cloths

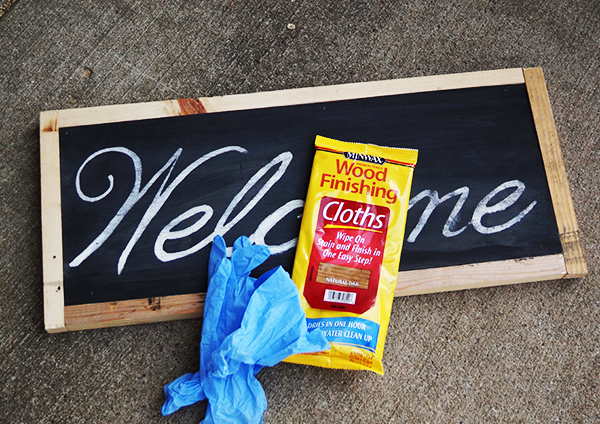
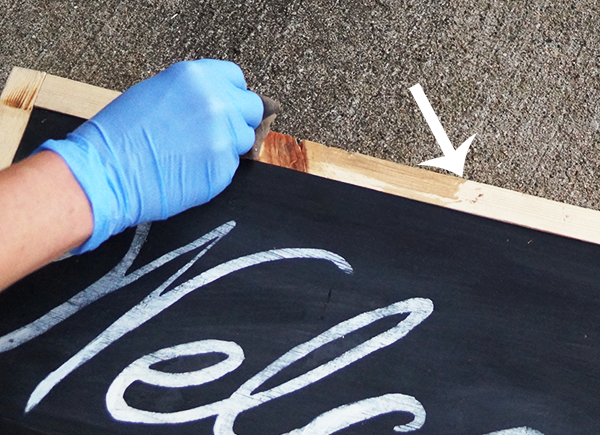
If you have been around here long, you know I am a huge fan of Minwax Wood Finishing ClothsMinwax 30820 Wood Finishing Cloths, Natural Oak.  They are super awesome.  Stain and seal with just a swipe.  Here I used Natural Oak and went over that while still wet with Dark Mahogany for a custom color.

Reclaimed wood table tutorial

That is it!

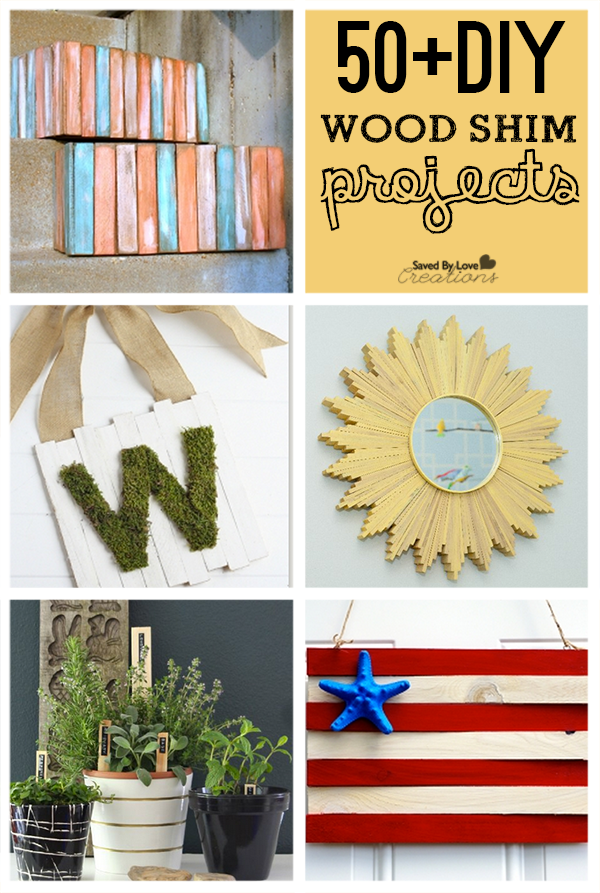
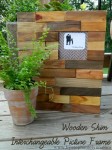
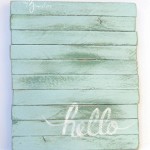
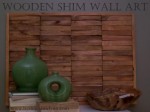
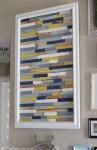
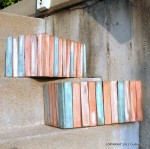
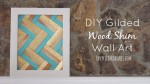
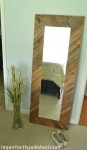
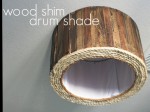
The inspiration for this project came from the recent 50+ Wood Shim DIY Projects we shared:

Check it out for tons more inspiration!  Enjoy.

How to Chalk Paint on Fabric

Hello! It is me again, Vidya from Whats Ur Home Story. Has Spring been good to you? Surprisingly for the first time in many years my allergies are minimal, which is a huge relief. As a result I got to cross off many projects from my To Do List! Yay! †Have you noticed that sometimes it is the small projects that surprise you with how big of an impact they make? Today, I have one such makeover for you.

[pinit]

fabric-bin-makeover-with-chalk-paint @savedbyloves

[pinit]

In its past life this bin used to be “under the bed toy storage” in my daughter’s room.

fabric bin makeover

Yes, complete with pink and white stripes that my daughter used to love when she was 5. Not any more! As she has grown so has her tastes in decor. She is also at a stage where she doesn’t play with her old toys much; so we ended up donating most of it. This freed up the bins for using in the laundry room. But pink?

With the help from some left over chalk paint from a chair makeover and a stencil that I used for a throw pillow project I gave it a new lease of life!

laundry room redo

†When using chalk paint on fabric,

  • First mist the fabric thoroughly with water using a sprayer. The fabric should be damp but not completely wet.
  • Paint using a well loaded roller. Th fabric does soak up paint so you’d end up doing at least 3 coats.
  • Once the paint is dry position the stencil with a stencil adhesive on the flat side of the bin. With a sponge gently stencil with fabric paint.

fabric tote makeover

The project is very forgiving as you can easily go back and paint over any mistakes. For example, see the orange paint smudges next to the bird?

fix stencil mistakes

I just went over those with chalk paint and poof they were gone!

how to chalk paint fabric

Have you used chalk paint on fabric before? How did it go?

For more easy DIY ideas stop by†Whats Ur Home Story†or follow me via†Facebook,†Pinterest,†Twitter,†G+,†Instagram.

Washi Tape Coasters

Hello everyone! It’s Barbara from Chase the Star! In the warmer months I like to decorate in fun vibrant shades especially when entertaining, so I dug up an old set of inexpensive coasters and updated them with paint and washi tape to give them a new look for summer!

Washi Tape Coasters

[pinit]

https://savedbylovecreations.com/wp-content/uploads/2014/05/Washi-Tape-Coasters-via-Chase-the-Star-for-Saved-By-Love-Creations.jpg

[pinit]

This basic set of coasters have been with us for a few years, they’ve worked very well!

In order to give them a new look I gathered my materials:

Washi Tape (I used 4 rolls)

Acrylic paint

2 Foam applicator brushes

Exacto knife

Mod Podge (I used the “Dishwasher Safe” formula)

Paint, Mod Podge and Washi Tape to update coasters via Chase the Star for Saved By Love Creations

Step 1:

First things first, always start with a clean surface! I wiped the coasters and holder clean. Using one of the applicator brushes I gave the coasters a few coats of the paint. I went with ‘Vivid Orange’ by Folkart, it’s so bright–I love it!

Painting Coasters via Chase the Star for Saved By Love Creations

Step 2:

Next, I applied the washi tape in a repetetive pattern to the top and bottom of each coaster, and trimmed the excess off with the exacto knife.

Washi Tape Coasters for a new look via Chase the Star for Saved By Love Creations

Use paint and washi tape to update old coasters via Chase the Star for Saved By Love Creations

Step 3:

Lastly I added a couple of coats of Mod Podge to seal the Washi Tape in. I chose the ‘Dishwasher Safe’ formula because although I doubt I’ll run the coasters through the dishwasher, I’m sure they will get their fair share of moisture, after all, that’s their job!

I used the same process for the coaster holder.

Old Coaster set gets a new look via Chase the Star for Savved By Love Creations

I think this will make a great addition to my outdoor parties this summer!

Do you have an old set of coasters that can use a little love? If you don’t, you can pick some up at the thrift store, or any other discount store!

For more craft and DIY ideas stop by Chase the Star, and follow me on Facebook, Google+, Pinterest, and Instagram!

Have a great summer!

For more washi tape ideas, visit our 50+ Washi Tape Crafts to Make

New Signature

50 Plus Gorgeous DIY Flowers to Make

[pinit]
50 Plus DIY Paper Flower Tutorials @savedbyloves[pinit]

Whether you are decorating for a DIY Wedding, spring our summer party, or simply want to make your space more beautiful, this roundup of DIY paper flower tutorials is a great place to start!  We have gathered our 50+ favorite handmade paper flowers from all around, and you are sure to find what you need to add some zero maintenance, everlasting floral decor to any occasion.  Enjoy!


Dollar Store Craft DIY Mercury Glass Votive Holder From Martini Glass

[pinit]How to Make Mercury Glass Candle Holder[pinit]

I am excited to share with you this Dollar Store Craft, a lovely DIY mercury glass candle holder.  I made it from the stem of a dollar store martini glass and a dollar store candle holder!  Read on to see how I removed the stem and attached it to the holder, and how I created the mercury glass finish with Krylon Looking Glass Spray Paint.

SUPPLIES:

DIY Mercury Glass With Looking Glass Spray Paint

Dollar Store Martini Glass

Krylon Looking Glass Spray Paint

Martini Glass

Glass Cutter

Butane Micro Torch or candle and lighter

Bucket of cold water

Coarse sand paper or grinder with diamond bit for glass

E6000

TUTORIAL:

Make a score line around the stem of the martini glass at its top where the stem meets the upper part of the martini glass.

How to cut glass

Apply heat to score line and submerge in cold water to separate the stem at the score line like I showed you in this DIY Wine Bottle Rings tutorial.

Sand or grind top of separated stem to give a flat surface for gluing to the bottom of the glass candle holder.

Dollar Store Craft

Here is the glass I used to glue onto the stem of the martini glass.  I used E6000 on to attach two pieces, and placed the glued pieces against the wall for support while drying.  Let dry several hours before applying the mercury glass finish in the next steps!

DIY Mercury Glass Tutorial

Mercury Glass DIY

Pour Epson salt into the glass so that to about one inch from the bottom.  It is not important to be exact here.

 In a well ventilated area with protected work surface, spray looking glass paint inside of the glass at the rim. Make sure to follow instructions on label. You want to shake the can vigourously before using.

Shake the glass a snow globe (holding your hand over the top), so that the salt grabs the paint and drags it around. This will create the mercury glass look.

Repeat steps 5 and 6 a few more times, allowing each coat to dry for about 5 minutes before applying the next. Stop when are happy with the look!

DIY Welcome Sign From Reclaimed Wood

[pinit]DIY Reclaimed Wood Sign tutorial @savedbyloves[pinit]

Today’s project is a DIY reclaimed wood sign, perfect for the front porch or entryway!  I was looking at my pile of scraps and before I knew it, I had this sign.  It works up quickly and gives the look of chalkboard, using Chalky Finish Paint from DecoArt.

DIY Wood SIgn From Pallet Wood

I won’t bore you with the details of how to make one of these signs, since I have covered that thoroughly in this DIY Rustic Reclaimed Wood Sign.

Welcome Cut File

I used the font “Always in my Heart”.  You can click the thumbnail for the full resolution version and print it for transferring the image to wood like in the tutorial linked above, or use it to make a stencil on your Cricut or other die cut machine.  I used Cricut and SCAL software.

DIY Wooden Sign Tutorial

To finish the frame, I went with Natural Oak Wood Finishing Cloths from Minwax.  These things are so awesome.  One step finishes and seals.  Yay!

How to Make a Sign

This color is subtle and natural.  I generally run from the word oak when it comes to stain color, but I like this one.

How to make a reclaimed wood chalkbaord sign

When the stain dried, I sealed with Clear Creme Wax from DecoArt.  You see the darker wax in this picture, but I ended up not using it because I was satisfied with the look after applying the clear wax.  The sign looked aged enough on its own!

Make a sign from pallet wood

Not bad for scraps I had on hand and under 2 hours of my time!  What do you think?  Have you created anything from reclaimed wood lately?

50 Plus DIY Outdoor Project Tutorials to Make

[pinit]50 Best DIY Outdoor Projects @savedbyloves #outdoorliving[pinit]

Don’t you just love the arrival of spring and summer?!  It is especially welcome after a long harsh winter like the one we have endured, and decorating outdoors is a privilege!  Today I am sharing over 50 of the best DIY Outdoor LIving Projects from around the creative globe.  You will find DIY outdoor furniture, lighting, upcycle projects, decor and more.  If you have a stellar project that we missed, send us a link so we can include you.  Happy outdoor decorating!


DIY $45 Five Piece Outdoor Adirondack Furniture Set

[pinit]DIY Adirondack Outdoor Furniture Plan @savedbyloves Chalk Paint[pinit]

There is nothing quite like relaxing in a nice adirondack chair on a gorgeous day.  That is why I decided to tackle this DIY Adirondack Chair Woodworking Plan from Ana White for Home Depot.  Once we finished the chairs, we had to have the DIY Footstools to go with them!  For the table, I loosely based the design on this DIY side table I shared with you in the fall.  I had to wing it some to make the scrap wood I had on hand work for the project and I love its rustic look.  Read on to see how I finished my 5 piece set using my new paint line obsession; Chalky Finish Paint From DecoArt Americana Home Decor.

DIY Outdoor Furniture Woodworking plan

Let’s talk about the table first.  Check out the above link for the plan details.  This wood was super rustic and scrappy, so I wanted the paint to be as well.  I went for “Cameo” color from DecoArt Chalky Finish line.  LOVE.  It looks kinda coral, kinda barn red, 100% lovely.

DecoArt Cameo Chalky Finish Paint Project

I love that you have to do zero prep with this paint.  Even if you are painting an already finished surface, no sanding, no priming… just go for it, and have a gorgeous outcome.

How to use Chalk Paint

I recommend painting the individual table to slats before attaching them.  It is easier to get to the sides and bottom when they are individual.  You can still countersink your screws, fill the holes in with wood putty, sand away the excess and paint over just that area to touch it up after attaching.How to seal outdoor furniture

Since this project will live outdoors, my first choice of finish (Clear Creme Wax and Aging Wax) isn’t recommended since it won’t stand up to the harsh elements over time.  That’s why we sealed the entire set of furniture with Americana Decor Soft-Touch Varnish, two coats!  It is approved for outdoor use, and we want our pieces to last a long time.

How to finish outdoor furniture

At first we were going to do the whole set using Cameo, but decided to do the chairs and foot stools in “Timeless.  Before I get into that, I want to save you some headache…

Adirondack Chair Woodworking Plan

On page 5 of the Adirondack chair plan from Ana and Home Depot (linked in the first paragraph), the red circled area says 1/2 inch, which is totally not what it means to say.  That measurement should be 1 1/2 inch, like it says in the text below the diagram.  If you are a visual kinda builder, and don’t read the text (like me), you will be super frustrated.  Let’s just say that these chairs almost didn’t happen!  Finally dear husband realized the typo and the rest of the build went smoothly.

DecoArt Chalky Finish Paint Timeless

I had already painted Cameo on the chairs before deciding to go with Timeless.  We just went over the red with the cream and one coat did it!

The other point I want to make sure I share is that using scrap cuts from your local hardware store cuts the price of this project way down, like more than in half.  We went to Menards where they had 1×4 and 2×4 in various lengths from 12-36 inches from cuts they had made in store, for just $0.49 each!!  This is less than half of what it would have cost to buy full length boards and cut them at home.  Just take a tape measurer with you, your cut list and be ready to inspect and dig through the scrap stock.  It is totally worth it!

I found the outdoor pillows at Menards, and don’t they look like they were made for this set?!?!  I was planning to make my own, but come on.

DIY Adirondack Outdoor Furniture Plan @savedbyloves

Big thank you to DecoArt for providing the paint for this project.  I am so in love with this line, and my new outdoor furniture!

What are you working on for your outdoor space?  Have you tried Chalky Finish Paint yet?

Low Carb Chicken Parmesan With Spaghetti Squash

[pinit]

Low Carb Recipes Chicken Parmesan With Spaghetti Squash @savedbyloves

[pinit]

I am so excited to share with you my version of Low Carb Chicken Parmesan with Spaghetti Squash.  This has got to be one of my favorite dishes ever.  I love every bite, and can’t believe it weighs in at only 400 calories per serving.  This recipe serves 2.  If you aren’t full and satisfied, you are insatiable!

LOW CARB CHICKEN PARM SPAGHETTI SQUASH

Ingredients:

CHICKEN PARM
(2) chicken breasts, raw
1 egg white
¼ cup unsweetened almond milk
¼ cup Fiber One Cereal
1 tablespoon Italian seasoning herb blend
½ tsp garlic powder
½ cup pastasauce (w/ approx. 60 calories)
¼ cup shredded parmesan or mozzarella

SPAGHETTI SQUASH
1 small spaghetti squash
1 tsp olive oil
¼ cup minced onion
salt & pepper, to taste

Directions:

1. Preheat oven to 375° . Cut spaghetti squash in half lengthwise remove pulp and seeds (just like to do with a pumpkin)!  Bake 35 minutes with rind up on baking pan.  While that is baking, prepare the chicken as follows.

2. Add Fiber One cereal to food processor and blend until breadcrumb like consistency (if you don’t have a food processor, you can put in a plastic bag and crush with the back of a heavy spoon).

3. Put Fiber One crumbs into a Ziploc bag and add the Italian seasoning and garlic powder. Set aside.

4. In a small bowl, whisk the egg white and almond milk until well blended.

5. Dip each chicken breast, both sides into egg mixture then put into Ziploc bag. Seal annd shake the Ziploc bag until both chicken breasts are evenly coated with the Fiber One mixture.

6. When squash is done cooking, turn oven down to 350°.  Place the chicken breasts onto the baking pan and put into oven for 25 minutes, turning once halfway through cooking.
7. While chicken is cooking, coat a skillet with cooking spray and add 1 tsp olive oil and onion over med-high heat. When onion is tender and slightly browned (approximately 5 mins), add the prepared spaghetti squash (run a fork from stem to stern to remove the spaghetti center of the cooked squash right into the skillet).
8. Cook squash, stirring every few minutes, for 15 minutes.  Turn off heat and let sit.
9. Remove the chicken from the oven.  Evenly layer half of the pasta sauce then half of the cheese onto each breast.
10. Put back into the oven and broil for about 5 minutes, or until cheese is fully melted.
11. Place half of the spaghetti squash and one chicken breast onto a plate for each serving.

Low carb healthy recipes Chicken Parmesan


50 Plus Awesome Wood Shim DIY Projects


[pinit]

50 DIY Wood Shim Projects to Make

[pinit]

Wood shims are inexpensive and can be used to create gorgeous DIY home decor.  Make faux pallet art, cover an ugly thrift store dresser, create a designer starburst mirror on a shoe string budget.  Here are 50+ of the best DIY wood shim project tutorials from creatives everywhere.  If we missed your project, send us a link so we can include you!  Enjoy.


Privacy Policy