Picture Frame From Rolled Newspaper “Reeds”

recycled newspaper crafts

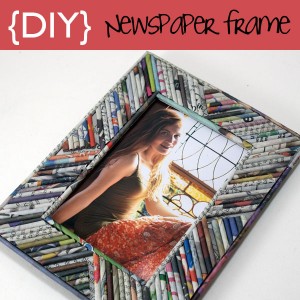
If you love the idea of recycling newsprint into beautiful handmade home decor accessories, keep reading.  This is a picture frame from newspaper pages rolled into reeds.  Essentially free, green and functional, these picture frames make wonderful gifts for all occasions.

For how to roll pages into reeds, visit the Craft Stylish magazine reed box tutorial.  I just cut a piece of cardboard for the overall frame size, and cut out an opening for the picture in the middle.  Then I outlined the inner rectangle and outer rectangle with reeds, and cut smaller reeds to fill in the rest of the frame as shown in the photos.

Newspaper picture frameFor the back, just cut a piece of cardboard slightly smaller than the front and cover it in newspaper.  Line its perimeter with a border of reeds, then adhere the backing by applying a thin line of hot glue, or whatever craft glue you prefer, to the reed border then placing that onto the backside of the front piece (I use Glossy Accents for almost all of my paper projects).   Sorry no pics for this part.   When I make the next one, I will add some.  It is pretty easy to figure out by just looking at the finished piece.
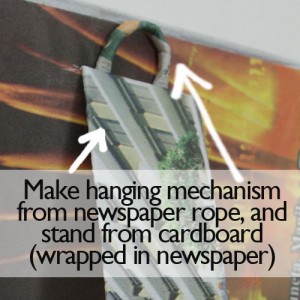
make newspaper reed picture frameI wanted the option of hanging and stand alone for this frame, so I made a loop to hang and a leg to stand as shown.

make newspaper reed picture frame

I love it!  Here is the newspaper frame I showed you awhile back…
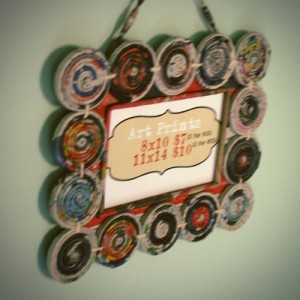
Newspaper coil picture frame

Have you delved into the world of recycled paper crafts yet?  If so, do share.  I would love to see what you have done!

Dry Erase Love Note DIY With Printable

Love note DIY

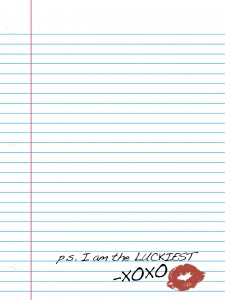
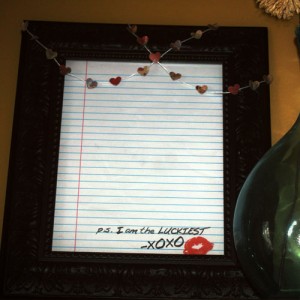
I have wanted to do this project since I first saw this framed “p.s. I love you” on Pinterest.  It is uploaded by user, so I don’t know who made it.  If it was you, let me know so I can send you some link love.  Anyway… my guy and I are big note writers, and I thought making a dry erase love not would be a greener way to carry out our lovey dovey correspondence.

Valentine's Day Crafts
Here is the printable I used, which you are free to download…

Free love note printable

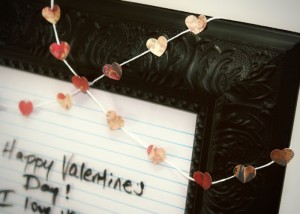
I printed out the 8×10, stuck it in the frame, used a paper punch to make little hearts, glued them to twine, placed the garland and that was that.  If you don’t want to use the printable above, you could just use an actual piece of notebook paper, doodle a cute message, and frame it.

Now we have a cute way to leave notes that doesn’t take up precious paper that I could otherwise roll into a lovely bead.  Win win.

DiY framed Dry erase love note

Valentine's Day free printable

Valentine's Day free printable

Valetine’s Day Wreath From Coffee Stained Flowers

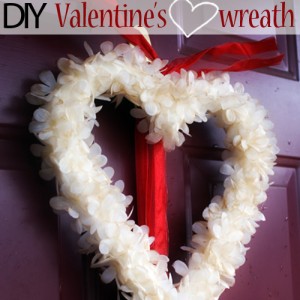
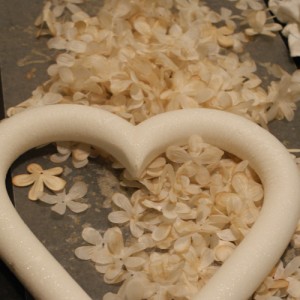
How to make a wreathI had a gift certificate for Joann’s and wanted to make a Valentine’s Day wreath, so off I went to see what inspired me from the store.  I found white flowers in the bridal section, and a heart shaped wreath form in floral.  I also spotted this adorable vintage graphics heart decor piece that I had to snatch up for under $3.  I got them all home, and decided the white was too white.  I needed an aged look, so I put the flowers in a shallow pan and poured coffee over them.  I let that sit for a few, then spread them out on wax paper to dry.

Valentine's Day decorations

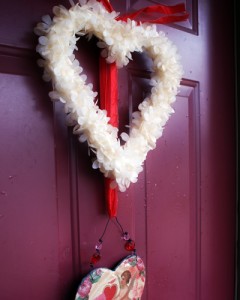
Once they were dry, I just stuck them to the wreath form with my hot glue gun.  I arranged my new wreath and the decorative vintage image heart from Joann’s with a wide red ribbon, and that is that!

Valentine's Day decorations

I love it!  It is a nice change from the t-shirt wreath I had up before.  I think cupid is smiling.

Valentine's Day decorations

DIY Wreath

Valentine's Day decorations

Valentine's Day decorations

Dollar Tree Heart Garland

dollar store garland

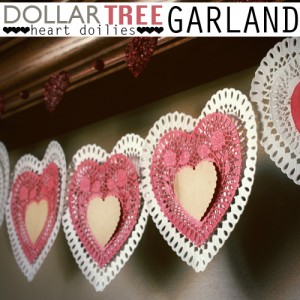
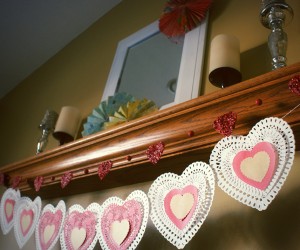
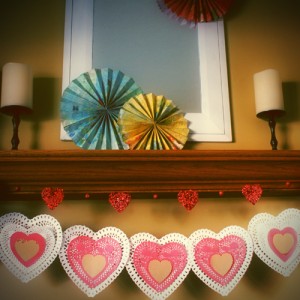
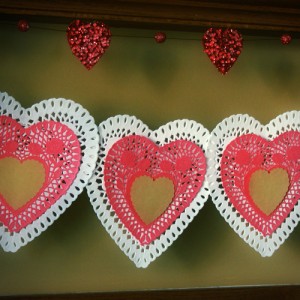
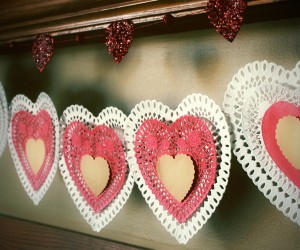
Garland is one of my favorite things about seasonal home decor.  I adore whipping it up from paper and dollar store finds to keep my home decor in sync with the holidays.  That is why I was so excited when I saw these heart doilies at my local Dollar Tree.  They come in red, white and pink (not pictured) and you get 24-30 for a buck.

Valentine's Day Garland

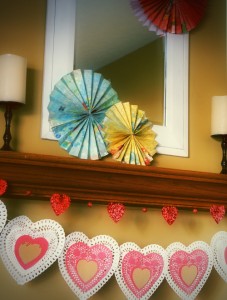
I layered the hearts, using foam square stickies for a pop out effect.  For the front most little heart, I used old paper and a scalloped heart punch.  Then I strung twine through the holes already in the biggest heart doilies and that is that.  I still have tons of hearts left over, which I am sure you will be seeing in various projects around here.  I still have over a month before Valentine’s Day…

Papercraft Garland

handmade garland

how to make garland

Valentine's Day decorating


Paper Pinwheel Home Decor

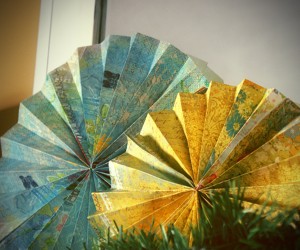
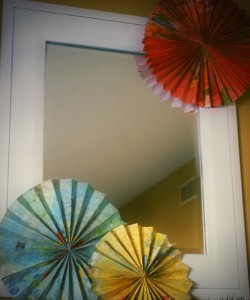
How to make a PinwheelMost things deemed party decor, I love to have up all the time.  Makes sense I guess.  What is not great about festive accents?  Enter pinwheels.  I see these around wedding receptions and other parties and have had them on my to do list for ages.  It occurred to me they are the perfect accent to replace the Christmas theme.  They are quick and easy to make, and with all the gorgeous scrapbook papers out there, they are easy to coordinate with any room.

How to make a Pinwheel

Supplies:

  • Decorative paper; Scrapbook 12×12 inch used here
  • glue stick
  • craft wire or twisty ties

Instructions:

  • Fold pleats along the width of your paper at about 1 inch increments.  Do this with 2 sheets of paper then crease each pleated sheet in the middle.

TIP:  To make pinwheels in different sizes, just vary the width of the paper.  The width (the direction in which you are folding the pleats) will be the diameter of the pinwheel.

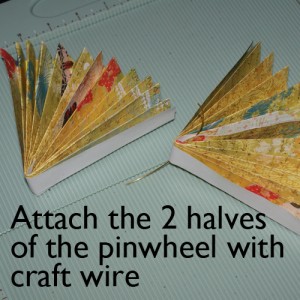
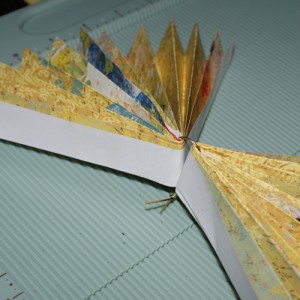
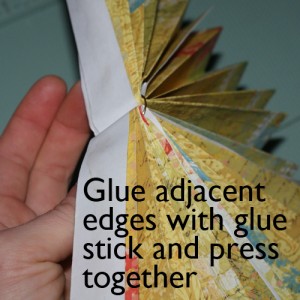
  • Glue center edges together and fan each sheet out to a semicircle.   Attach each semicircle with craft wire as shown…Pinwheels
  • Pinwheel


  • Glue abutting edges using glue stick…

  • Let dry and place as desired.  How to make a Pinwheel

How to make a Pinwheel


Paper Tealight Candle Village

papercraft template house

Paper tealight village

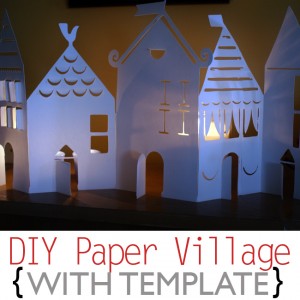
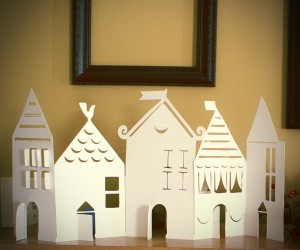
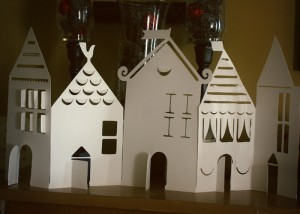
I picked up a papercrafting book recently called Papercrafting in No Time by Clare Youngs.  As soon as I saw her paper houses used as tealight “holders”, I knew I had to make something similar.  The book is full of paper projects that I am excited to try.  The author is far more patient than I.  She cut out her houses by hand.  Using her template as my inspiration, I created a cut file for my cricut in Photoshop, and cut mine out of watercolor paper.  It is so stinking cute, and only took about 10 minutes once I had the cut file ready to go.  I love this project!

papercraft ideas

You are free to use the .jpg file I created to cut your own village.  Then just fold between the houses, and the doors, windows and roof details as shown. To download the template, click the thumbnail below and save the full res file that appears to your computer.  For my Cricut, I just open Sure Cuts A Lot and click the image icon, then choose the jpg below, and cut.

Paper VillageTemplatePut a tea light candle behind each house for a charming, warm glow.

papercrafting

Papercraft village

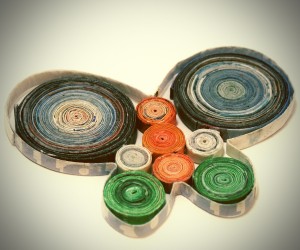
Recycled Magazine Page Butterfly

Recycled Paper Craft

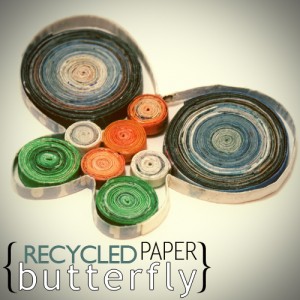
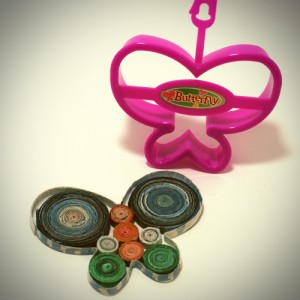
A butterfly from magazine pages?  That is right.  For this creation, I used a cookie cutter I found at Hobby Lobby to shape the butterfly outline, then coiled pages to fill in the shape.  Super easy.  Just wrap a folded strip around the cookie cutter’s outer edge.  Depending on the size of your cutter, and the lengths of your strip, you may need more than one strip, like I did here.  Just overlap the new strip’s beginning with the previous strip’s end.  Reinforce with a dab of glue.  Let that dry, remove the outline from the cookie cutter (just slide it off) carefully so that you maintain the shape, and create your filler coils.
For tips on making strips from magazine pages, see my earlier post.

Recycled Paper Craft

Coiled Magazine Page CraftsCoiled Magazine Page Crafts


Little Quilled Magazine Page Cross

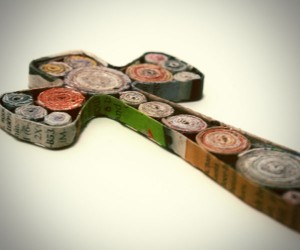
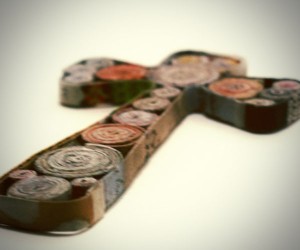
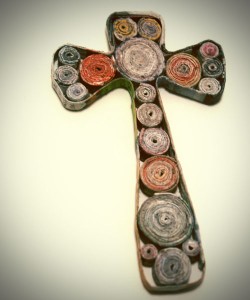
Recycled Paper CraftHere is the most recent addition to the coiled magazine page family here at SBLC.  This cross is about 5 inches tall, made from coiled magazine page circles, outlined with folded magazine page strips to for the cross shape.  I used a cross cookie cutter to create the outline, then filled it in with the circles, just eyeballing the sizes I would need.  Very simple project.

magazine page art

rolled paper crossrecycled paper crafts

French Seam Envelope Pillow Covers

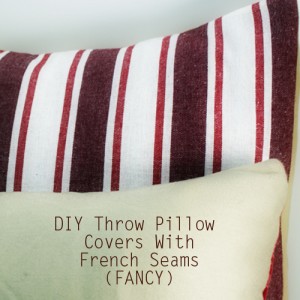
How to Sew Pillow CoversDo you want to refresh the look of your pillows and learn a fancy seam technique?  The French seam used in these envelope pillow cover means there are no raw edges, even on the inside cover’s inside.  The look is professional and neat.  No stray frayed ends.  Not that they are a huge deal since they would be on the inside, but the french seam is super easy.  If you are going to the trouble to sit in front of your machine, there is really no reason not to do it this way. I am a very new seamstress, so this tutorial is beginner friendly. Not to mention, it uses an old pillowcase and a tea towel, so you can probably make it now with things you have on hand.  If not, the supplies are no further from you than the nearest thrift store or Dollar Tree.

Easy Pillow Cover Tutorial

Supplies:

  • Fabric for front and back of pillow; Big enough to cut the following; for the front, 17 inch square and for the back 2 rectangles 17 x 12.75 inches each. This is for a 16 inch pillow form or throw pillow, with an extra inch for seam allowance.  If yours is a different size square, no problem.  Say you have a 20 in pillow form.  Cut your front square 21 in x 21 in (you don’t need to worry about adding seam allowance since the pillow will fit in and be nice and full).  For the 2 back rectangles, one dimension is the same as the length of your square sides (21), and the other is that length multiplied by 3/4.  For a 20 inch pillow, that would be 21 x 15.75  inches.

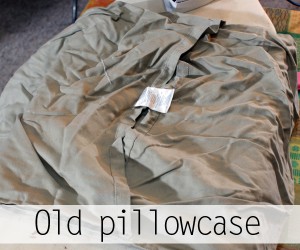
***For my fabric, I found an old shabby pillow case (the beige color on the back) and a cool striped tea towel for the front.

  • Self healing cutting mat and rotary cutter
  • Quilting ruler or other straight edge
  • Scissors
  • Threaded sewing machine in matching color to your fabric
  • Iron
  • Ironing board
  • pins
  • fabric pencils or air soluble disappearing marker

Instructions:

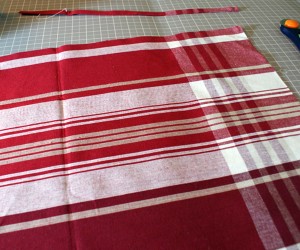
  • Cut your fabric on your cutting mat.  I like to measure and draw the lines on the back of the fabric.  In this case, the front and back of the tea towels are pretty indistinguishable.  If yours has a clear front and back, turn it over so you are looking at the back, and use your straight edge to draw the 17 inch square.  Then cut it with your straight edge and rotary cutter, making sure to cut away from yourself.  Here is my 17×17 square…
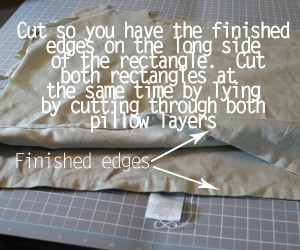
  • How to Sew PillowsSteam press the back fabric to smooth out wrinkles.  Now you are ready to cut your back pieces the same way, folding your fabric over on itself so that you can cut both rectangles at the same time, since they are the same size…


NOTE
:  If you are using an old pillow case or other fabric with seamed edges for the back, make sure your cut so that you have the the seamed edges as the long edges on your rectangles.  That way you will not have to seam the back flaps.

How to sew pillows

Sewing pillows

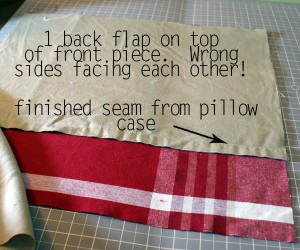
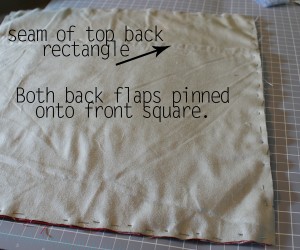
  • Now you are ready to pin the front to the back.  You will have WRONG sides together.  This is unusual, I know.  You want to be looking at the right (fabric side you want to end up showing in your final project) sides of the fabrics when they are pinned together for the french seam.  Pin about every inch or so, close to the edges, all the way around.  Sew straight stitch length setting 2.5, stopping to remove each pin before you get to it, pivoting at each corner.  (I don’t like sewing over pins, it stress me out).  Back stitch for stability when you get back to where you started.

Easy sewing project

Easy sewing project

  • Press your stitch line to set the stitches.
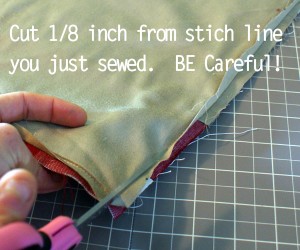
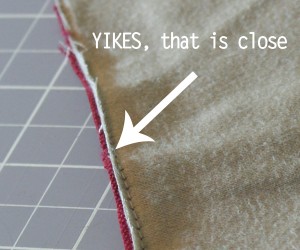
  • Now cut around the edges, very close to the line you just stitched.  This doesn’t have to be perfect, it is more just to get rid of the bulk of the excess fabric outside of the seams.  BE CAREFUL.  You don’t want to cut through what you just sewed, but if you do, just go back and sew that area again.

Easy sewing project

Easy sewing project

NOTE:  I am far from perfect in my cuts and stitch lines.  These things will look great, even if you are a little off.  Don’t be hard on yourself!

  • Now you are almost done!  Turn the pillow inside out (so that the wrong sides are now on the outside.  Use a bamboo skewer to gently push out the corners, being careful not to poke all the way through.  Press the piece, then go back to your machine and sew 1/4 inch from the egde all the way around the pillow.  This step hides the raw edges, so that when you turn the pillow cover the right way, no raw edges will be on the inside!  Pivot at each corner, keeping your 1/4 distance from the edge.  Reverse stitch when you get back to the starting point and you are done.  Cut the thread, turn your pillow right side out and push out the corners with your skewer or a not too sharp pencil.  Press if you want.  Shove your throw pillow or pillow form in there and beam with pride at the beautiful home decor accessory you just made from a towel and raggedy bed linen.  Yay you!

Easy sewing projectSee the stenciled word pillow from a couple of weeks ago.  I would love your feedback.  I am just getting to know my machine, and have never written this involved of a sewing tutorial.


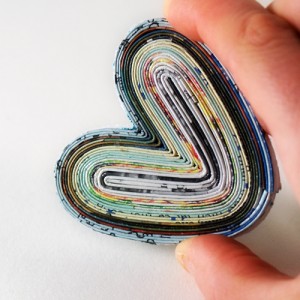
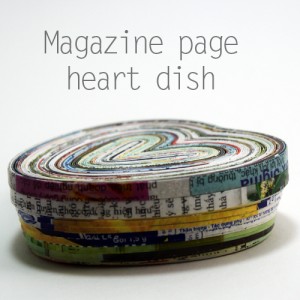
Heart Dish From Magazine Pages


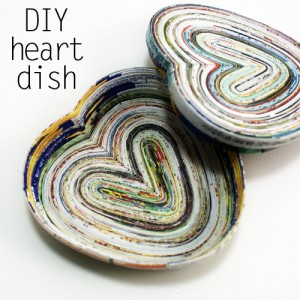
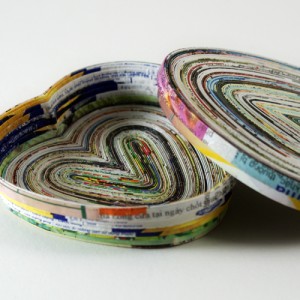
Heart Dish From Magazine Pages

Here is a coiled magazine page heart dish with lid, since you all loved the dish with lid I showed you here.  It is less time consuming than the first dish, but if you don’t have your strips folded and ready to go, I wouldn’t count on this being ready by Christmas!

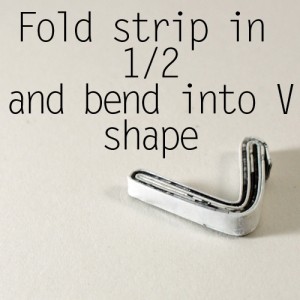
Here is where I showed you how to fold the strips.  Since that time, I have made my strips slightly differently.  I start with 1/4 of a magazine page (using my paper cutter, I cut a stack of pages into quaters lengthwise) and dip them in 2 parts elmers glue, 1 part water, clipping them on a line to dry for a day or 2.  Then when I am ready to use them in a project, I spritz them with a little water.  This makes thinner strips that don’t rip and lend to beautiful, neat final projects.

To begin:

Recycled Magazine Page CraftContinue in this manner, gluing every inch or so, abutting new strips to the end of the previous one to keep going when your come to the end of a strip.  Eventually this heart shape will form.

Recycled Magazine Page Craft

Recycled Magazine Page Craft

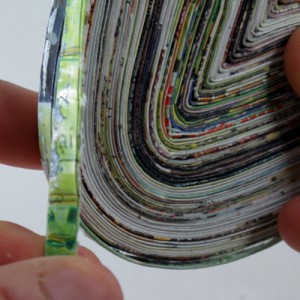
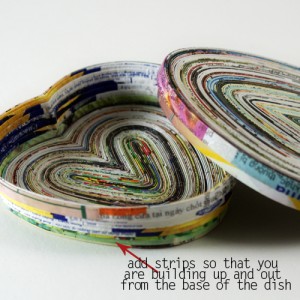
When the base of the heart is  the size you want (mine is about 3.25 inches at its widest) you are ready to start building up and out for the sides of the dish.  To do so, glue the next strip so that its bottom half is adhered to the top half of the strip you are  attaching it to.  Go all the way around, and when you get back to the where you started, cut the end of the current strip so that it lines up with the beginning of the first strip on this level.  Continue in that manner until the dish is as tall as you want.

Recycled Magazine Page Craft

Recycled Magazine Page CraftTo construct the lid, you do pretty much the same thing.  When the lid is just smaller than the base, use strips twice the width of the onces you have been using (i.e. folded one less time) to go around the perimeter of the lid.  This creates the lip you see, to hold the lid in place on the base.  Go around with your regular strips once or twice after this to complete the lid.

Recycled Magazine Page Craft

To ensure durability of the project you have spent so much time creating, coat 3 times with finish of your choice.  I used mod podge matte finish.  That is it!! Enjoy.

Privacy Policy