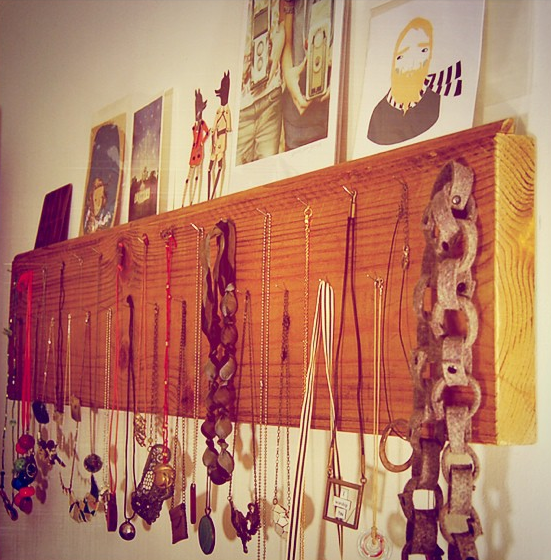
Lately I have been brainstorming on how to solve my pile of necklaces & bracelets dilemma. I ran into a solution that is cheap, easy, and can be done with things I have on hand. It doesn’t get much better than that. My plan is to tackle this Necklace display tutorial at Robayre.
Quick, Easy Fall Candle Upcycles
Do you change out your decor for the seasons? Buying candles and other accessories in summer, fall, winter and spring colors can get expensive. That is why I usually end up buying neutral colors and updating them to coordinate with the time of year. There are several ways to do this on the cheap.
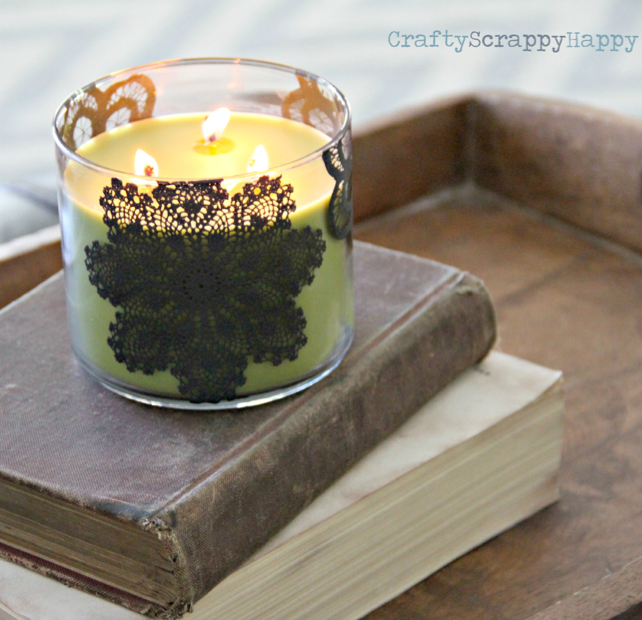
I love how Jaime at Crafty Scrappy Happy used Martha Stewart glass paint to bring her candles into fall. Her upcycled candle DIY is a must see.
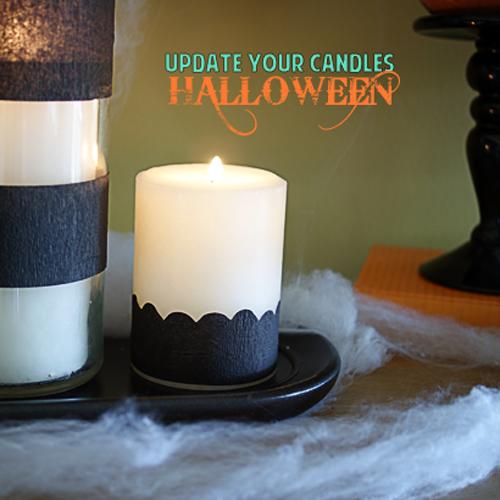
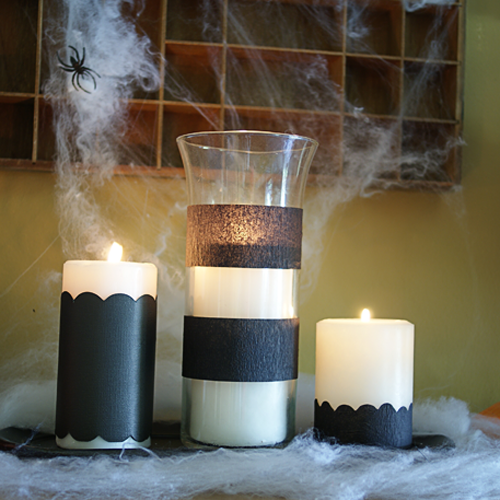
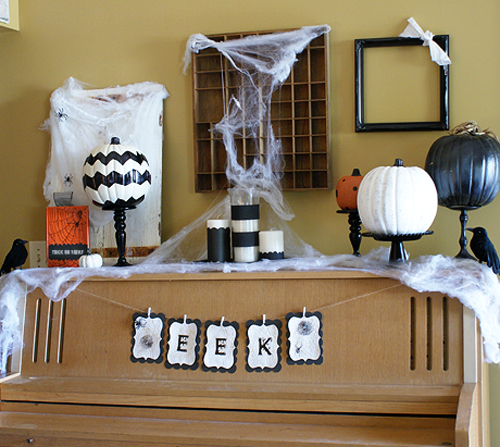
For my Halloween mantel this year (o.k., it is a piano top, but whatever), I used black crepe paper and card stock to tie my candles into the Halloween theme. Cut a decorative edge, or just make stripes, wrap around the candle and tape in place in the back. Super easy and cheap.
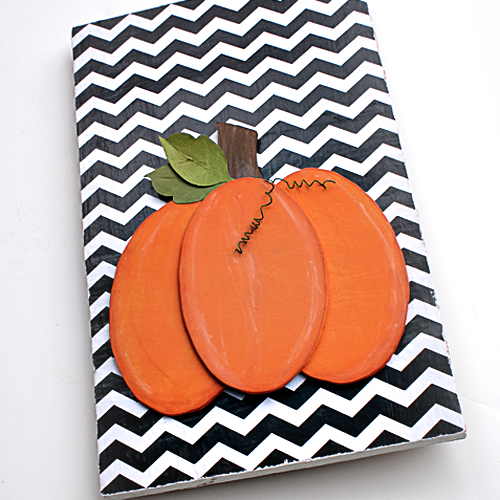
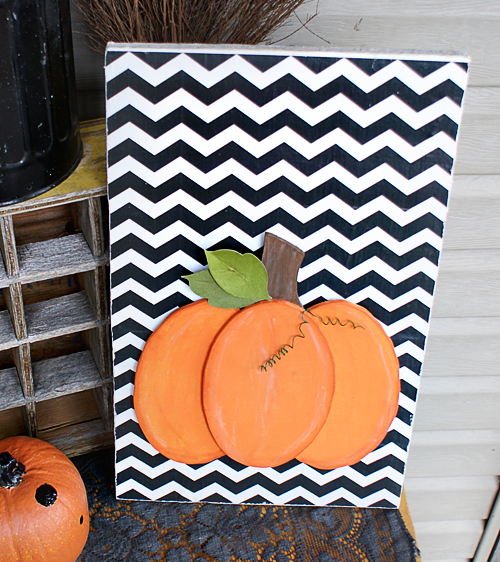
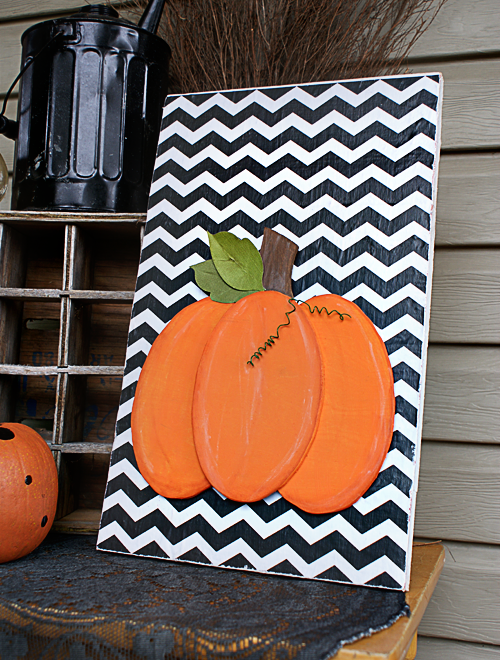
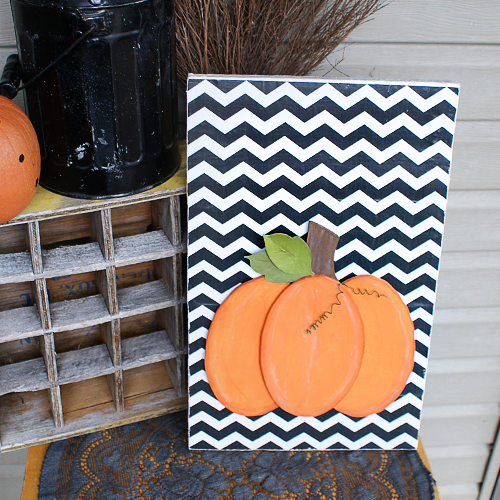
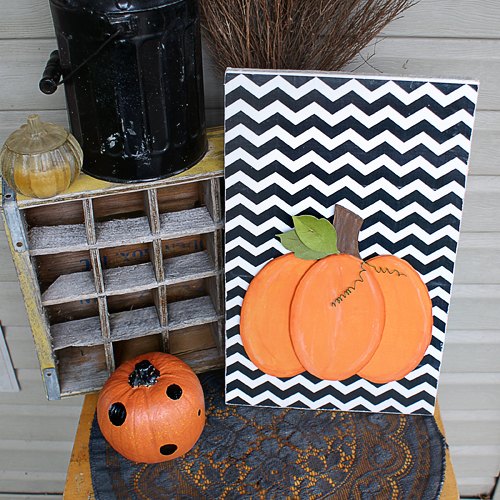
Scroll Saw Pumkin Decor
I have been busting at the seams to talk about this scroll saw. We scored it on Craigslist a few weeks ago for a steal of a price. This was after months of contemplation and research on which saw to buy, whether to buy new, and all that fun stuff. We went used, got a drill press thrown in, and spent a total of $100! The saw and the press both work great. This is the first project I have completed with my new toys. It was super simple. If you don’t have a scroll saw, just pick up 3 wooden ovals at your local craft store, and you will be making this cute pumpkin decor in no time.
SUPPLIES:
1/4 in plywood
Oval template
Chevron print
Surface to Mod Podge Chevron print onto
Acrylic paint
Paint brush
Paper leaves
Green craft wire
Craft glue
Med grit sandpaper
TUTORIAL:
*NOTE: After Mod Podge dried, I sanded edges of chevron background and applied 2 coats of Mod Podge over entire surface. To adhere pumpkin to background, I used velcro strips. That way I can change it out for the different holidays.
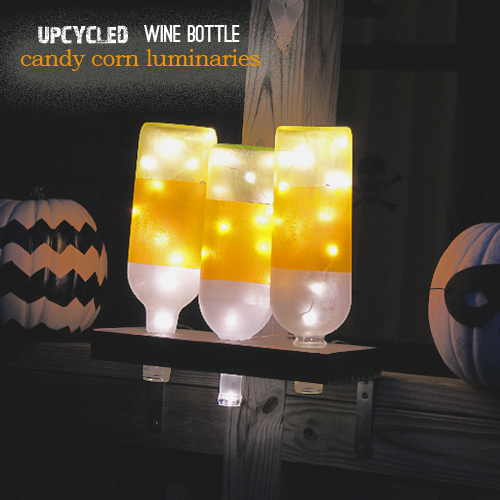
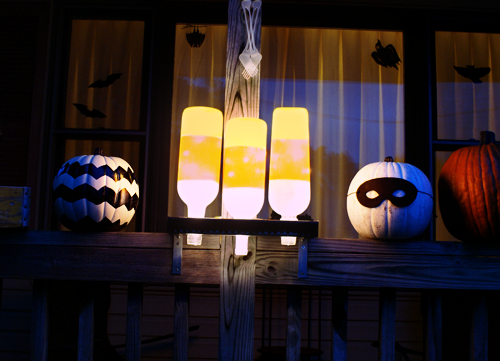
Upcycled Wine Bottle Lighted Candy Corns
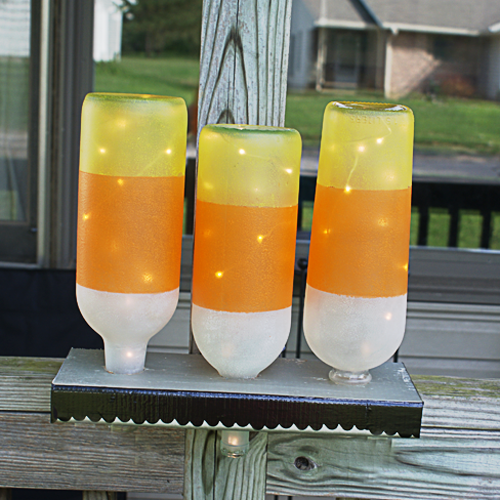
This project is the latest in upcycled wine bottles here at SBLC. It is super simple to create, and pretty dang Halloweeny. All you need is some glass paint, LED light strings and a few basic supplies to create your own illuminated, eco-friendly Halloween decor.
You can see how I made the shelf for the bottles in my DecoArt address lantern DIY. I added some black duct tape that I cut with a decorative edge sizzix die by Tim Holtz.
Here is how I made the bottles:
This post is not sponsored by Deco Art. I just want to say again, thank you to them for such great paint! The wine bottle lantern project is what I created for my sponsored Deco Art tutorial, and I have several more creations in mind with this fun glass line. You can pick it up at your local Michael’s, or visit DecoArt for product and project tips, tricks and inspiration.
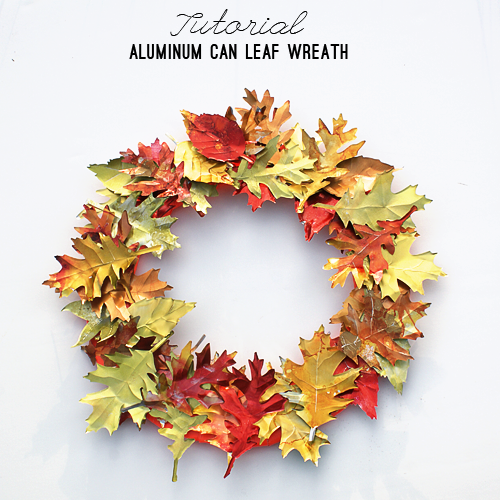
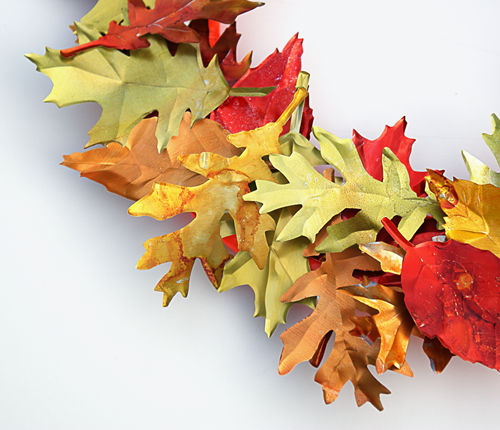
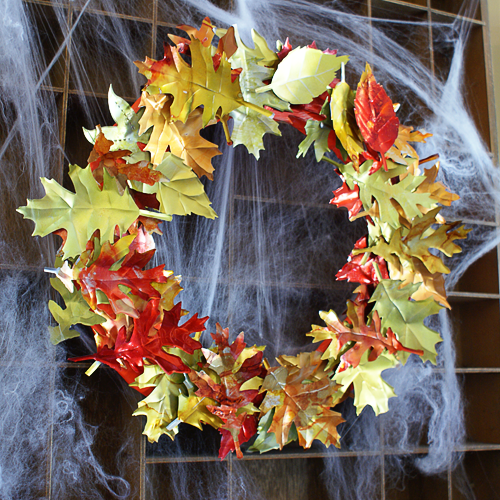
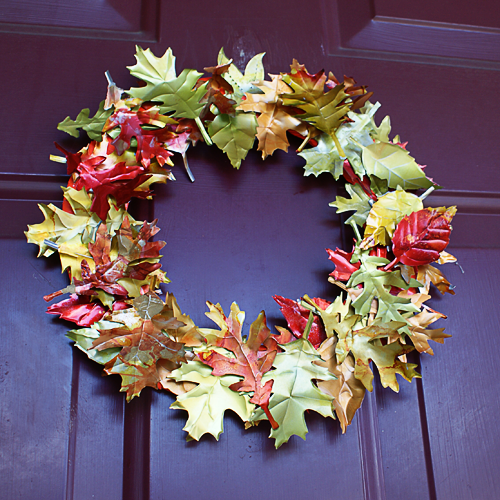
Upcycled Aluminum Can Fall Wreath DIY
This is one of my favorite projects ever. I cost pennies to create, I absolutely love fall decorating and crafting, and upcycling is my thing. To make this wreath, I used my Sizzix and Tim Holtz leaf die, but if you don’t have a die cutter, you could do this part by hand with a leaf template, or use leaf shaped paper punches. They work great on aluminum cans. Let’s get started on this vibrant, eco-friendly autumn leaf wreath!
SUPPLIES:
Tim Holtz Tattered Leaves die
Sizzix
Ranger Alcohol Inks in your fave fall colors; Check out my friend Amy’s awesome color palate for fall, and how she used the inks on a shower curtain cut with the leaf die
Felt applicator for alcohol inks
Straw
Aluminum cans
Metal snips
Cardboard
Circle shapes to trace for inner and outer diameter of wreath
Pen
Scissors
3D Foam Mounts
Duct tape (optional, but recommended if you are putting your wreath outside)
Non stick craft mat
TUTORIAL:
Rinse out your cans with soapy water and cut them into sheets like my aluminum can rose video:

Halloween Decor With {Scrapbooking} Attitude
I had the opportunity to try out a cool new product called Scrapbooking Attitude, and am excited to tell you about it. This is a printable, transparent film you use with your inkjet printer for endless creative possibilities. Being a huge fan of image transfers, I was thrilled to give this a whirl.
Image transfers are done onto glass, wood, paper, polymer clay, ceramic and more, using a variety of techniques, from acrylic mediums to packing tape. What I love about Scrapbooking Attitude is that it is simple to use, the results are fantastic (even on the embossed, textured surface I used in this project), and it requires an inkjet. In my experience, inkjet transfers techniques compared to laserjet are not as abundant, are more difficult, and don’t come out as nicely. This is bad news since most people, myself included, have the less costly inkjet printer at home. Scrapbooking Attitude is a fantastic solution. My only problem was focusing in on a single project. You will be seeing me use this product more in future projects. For this post, I went all Halloween on you.
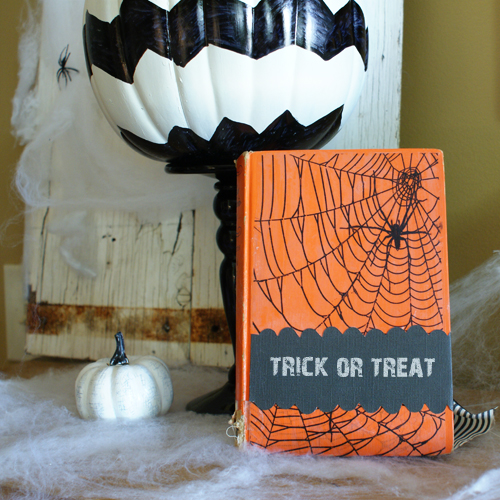
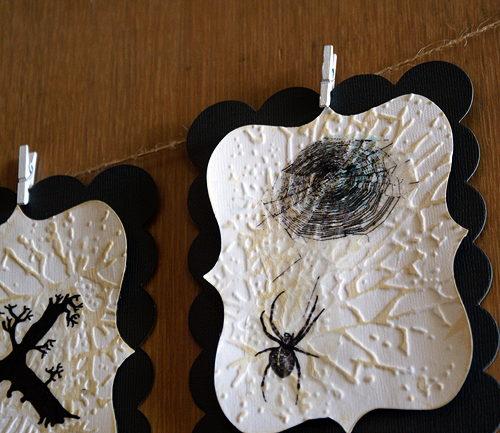
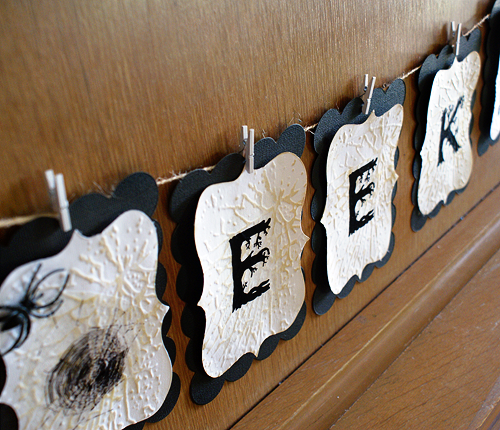
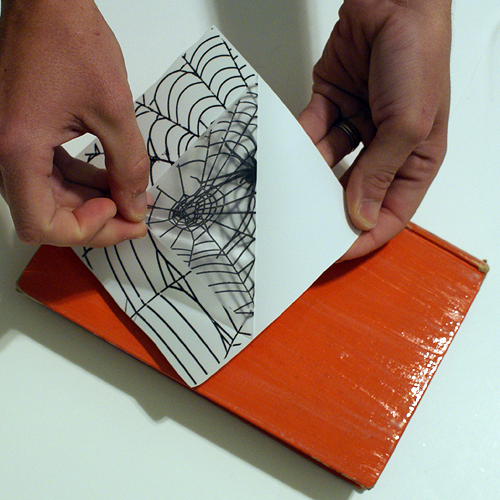
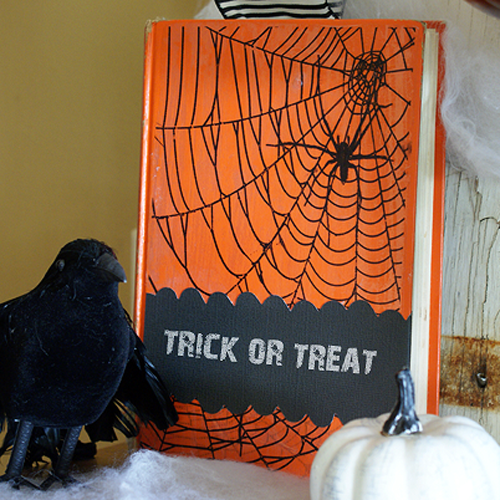
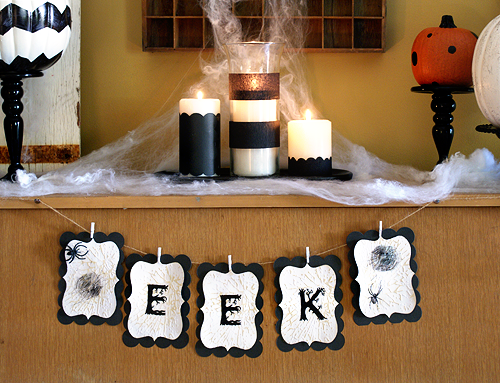
The following step-by-step photo tutorial shows you how I transfered “EEK” and spider graphics I created in Photoshop (available for you use as a free Halloween Printable) onto die cut, embossed paper for the banner. I used the same steps to transfer the spider web graphics onto an old book with a solid orange cover.
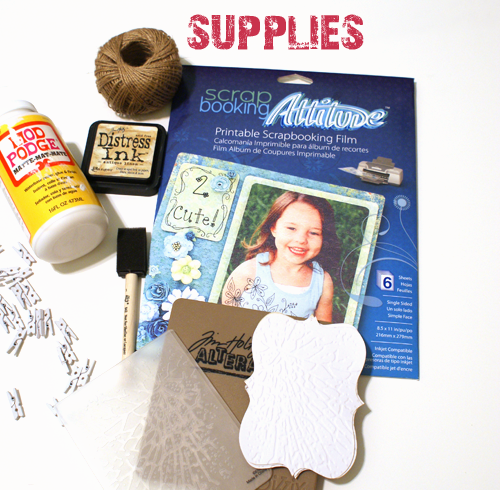
SUPPLIES:
Scrapbooking Attitude
Die Cut, embossed white cardstock (I used this Tim Holtz die for Sizzix, and this Tim Holtz embossing folder)
Antique Linen Distress Ink Pad to ink the raised areas of the embossed cardstock
Mod Podge
Foam brush
Twine
Tiny white clothespins
Black Cardstock Die Cut Scalloped rectangle (I used a Sizzix scallop rectangle die)
Antique Linen Distress Ink Pad
Scissors
Inkjet Printer
Mod Podge 3D foam mounts
TUTORIAL:
Once dry, I layered the transferred image and shape onto a black cardstock scalloped rectangle cut using Sizzix. I used Mod Podge 3D foam mounts to adhere the layers. Then I just clipped them into place on the twine with my tiny white clothespins.
I just love how this transferred into the grooves of the texture. It looks like it is one with the paper and you can see the background through the image. You can achieve the transfer with a lamination machine, an iron, or a glue stick, or use Mod Podge like I did here. The instructions with the product are extremely detailed, and my craft blogging cohorts are posting their techniques, tips and tricks as well. At the end of this post is a gallery of other blogger’s creations usiing Scrapbooking Attitude for you to see more of what is possible.
To purchase Scrapbooking Attitude packs, visit the website linked. While you are at it, join me in following them on Facebook, Twitter and YouTube for the latest tips and projects.
*I wrote this post as a part of a paid campaign with Scrapbooking Attitude and The Blueprint Social. All opinions are mine and honest.
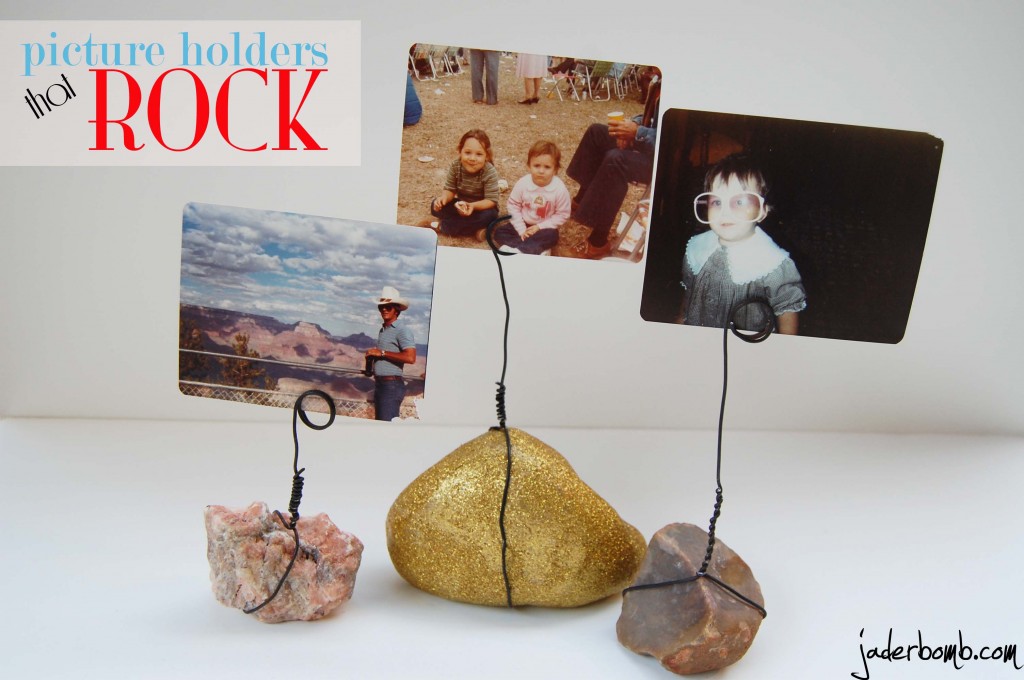
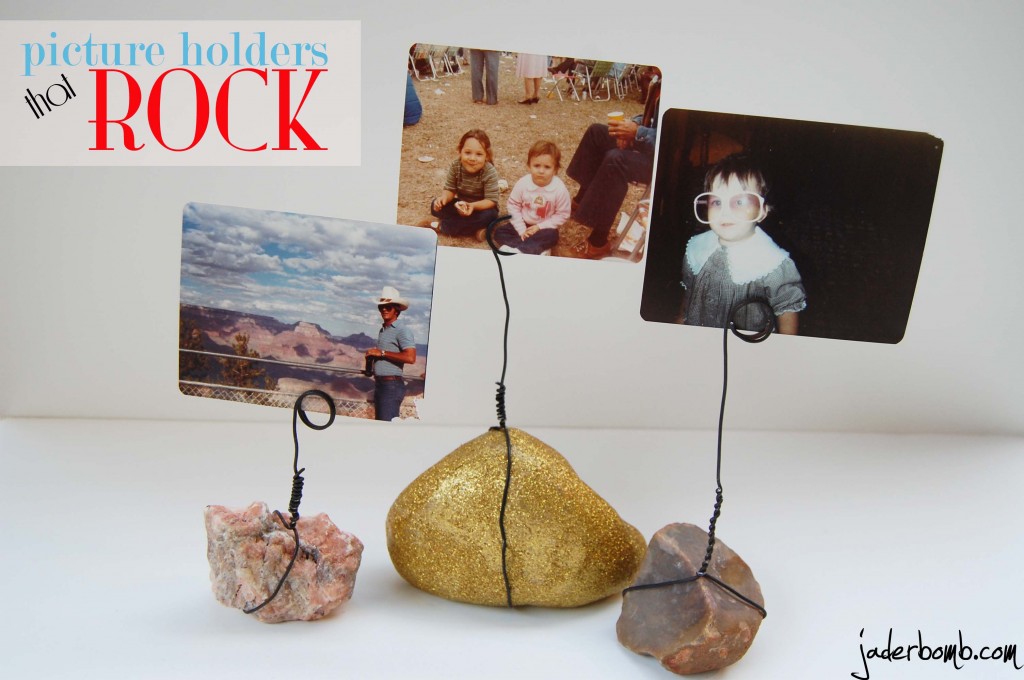
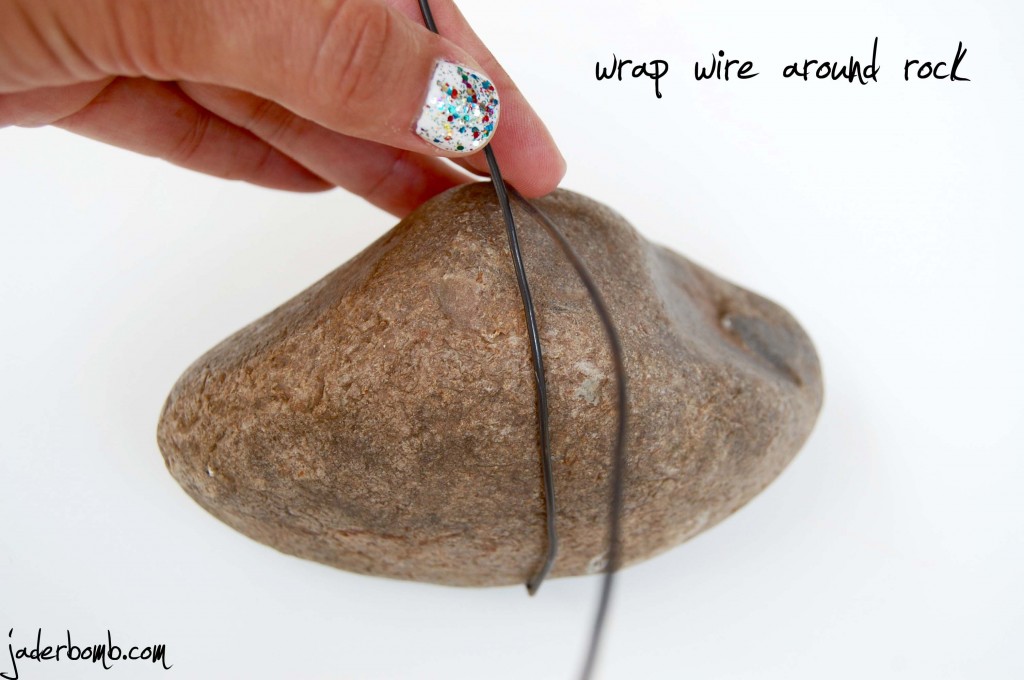
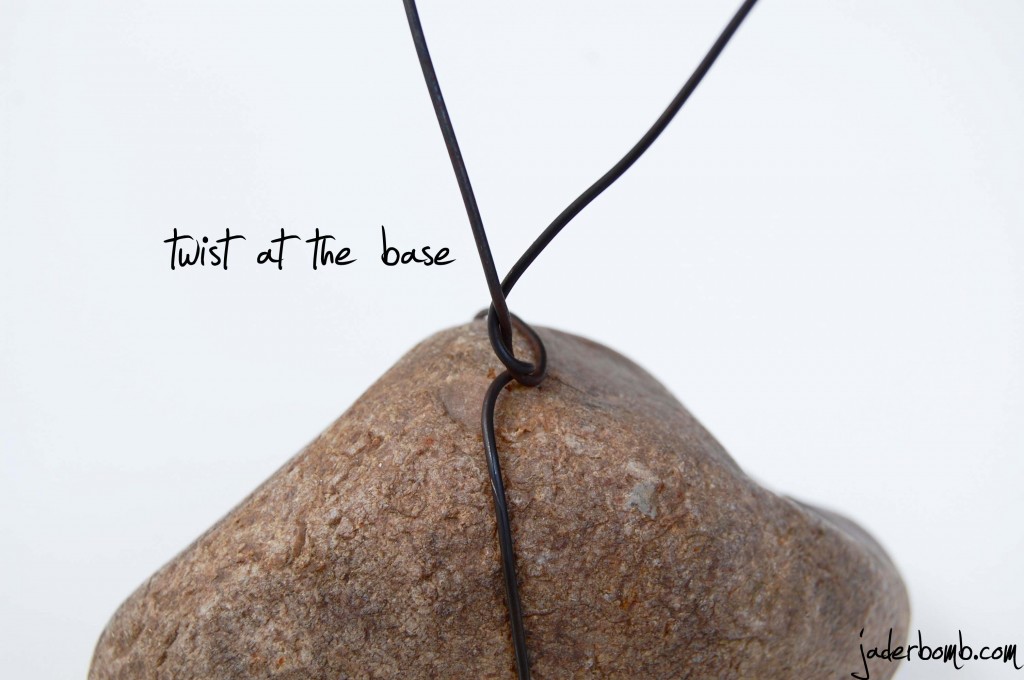
Guest Post: Rock Photo Displays
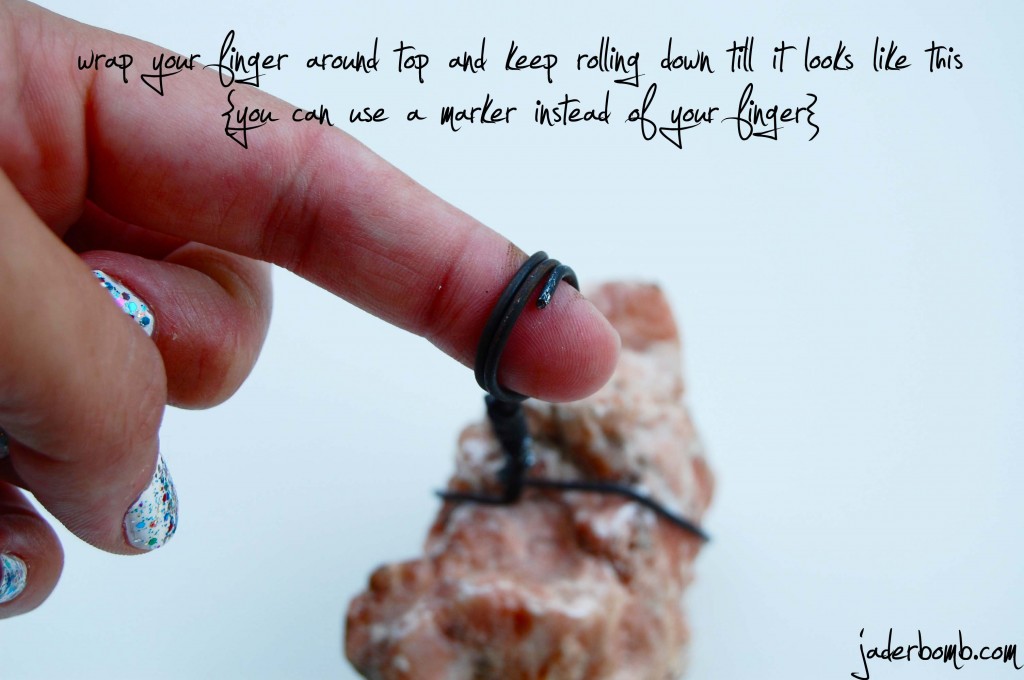
Today, JaderBomb is here to share a fantastic green crafty way for you to display your photos. She will guide you through the process of making a rock photo display using just a few supplies and lots of creativity. This project is great for gift ideas, and how about displaying Christmas cards? Visit this talented woman’s blog for some seriously awesome craft and DIY projects. Thanks for driving the bus today, JaderBomb!
Hi there! It’s JADERBOMB! Nice to meet cha!
I am so glad to be here today!
I hope you enjoy this fun tutorial.
INGREDIENTS:
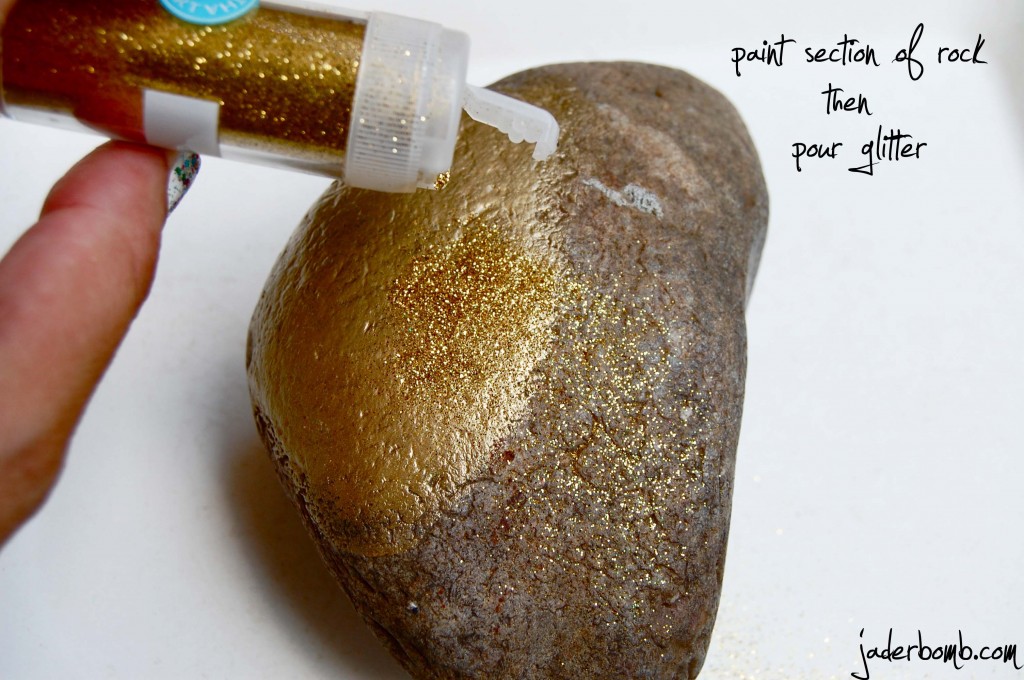
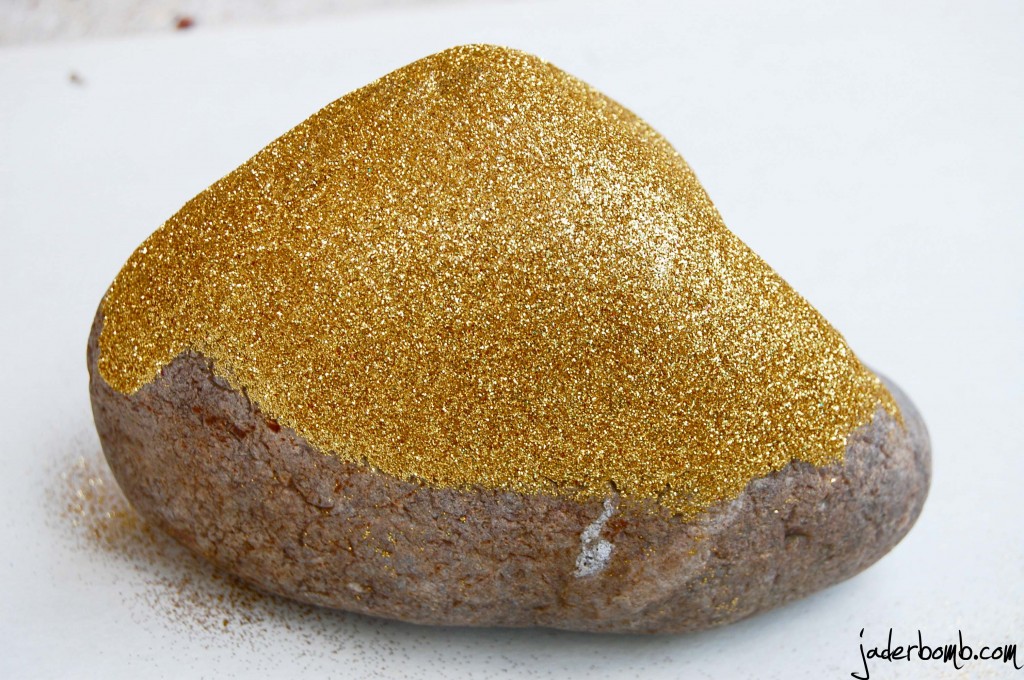
You know I am using my Martha Stewart glitter! It’s is by far my FAVORITE!!! I do a section then let it dry before I move on. You can glitter the whole thing at one time if you want to!
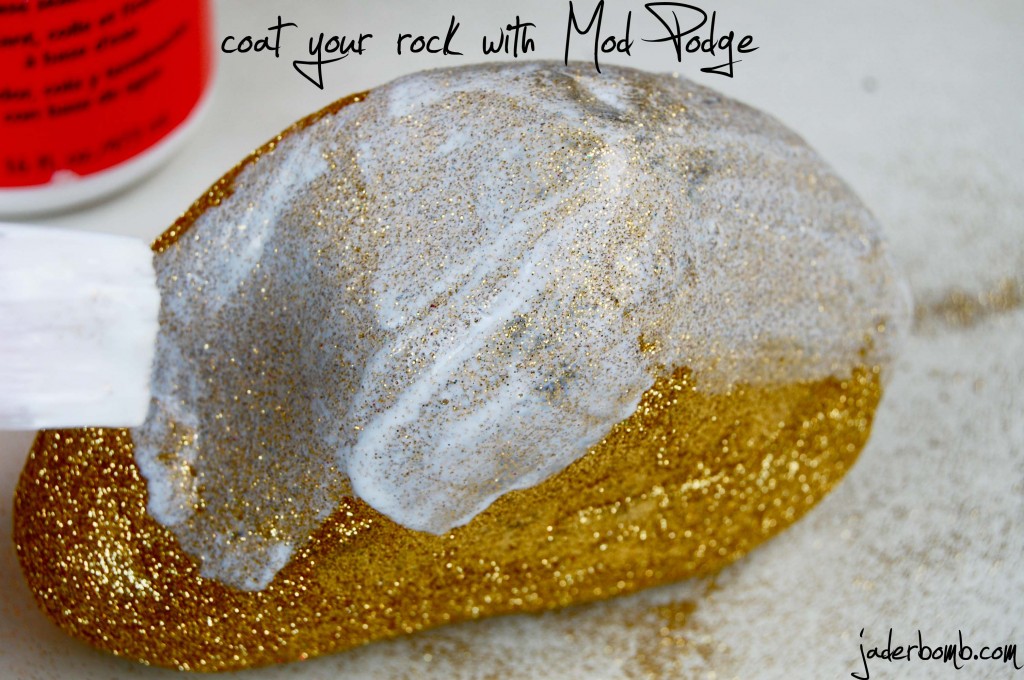
I LOVE MOD PODGE! My friend Amy’s new book just came out! Make sure to check it out! It has TON’S of amazing project’s in it. It’s called MOD PODGE ROCKS!
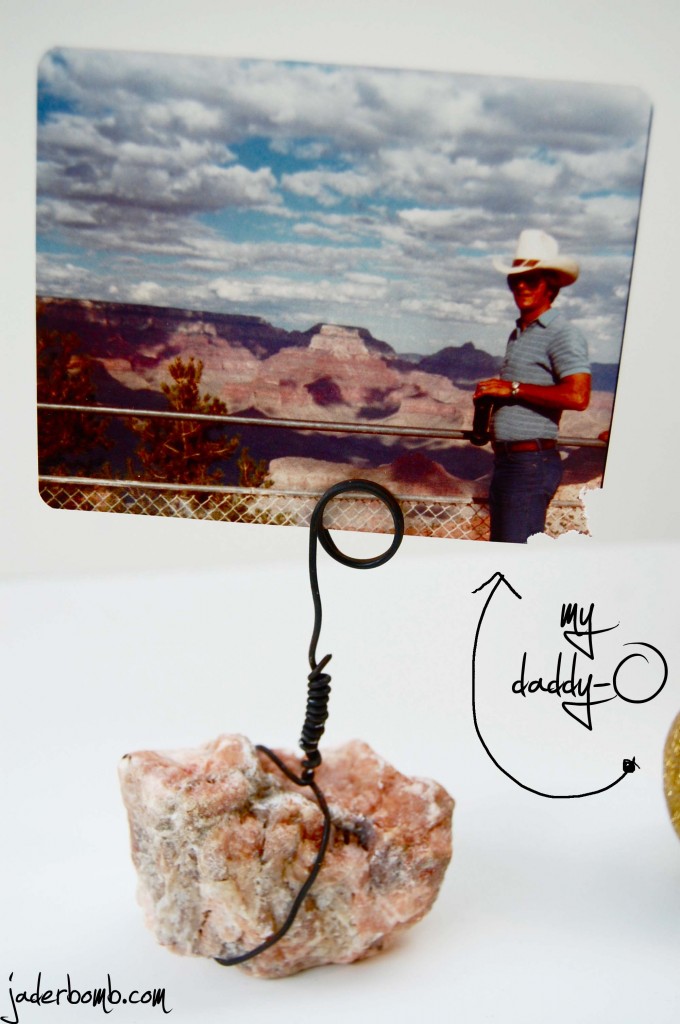
I love the simplicity of this.
Well, I hope you had fun hanging out with me today. Make sure you come by my website to see more fun and easy tutorials!
You can also find me here!
DIY Bottle Cap Ikea Table Revamp
Ashlee from My So Called Crafty Life is running things today here at SBLC. She has a fantastic Ikea table revamp to share that is inexpensive and super fun. This particular project is right up my alley, as I am about to purchase a mitre saw and get into some power tool projects. Don’t be intimidated. Ashlee walks you through it like a pro. Please help me welcome her, and give her lots of love. She may just be a monthly contributor here, which is great news. Her blog is uh-mazing! Thanks for sharing with us, Ashlee.


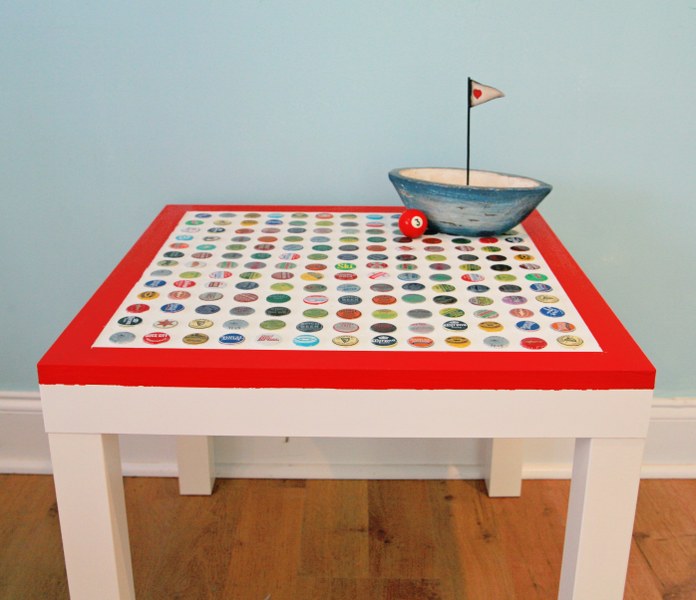
Today I have a really fun furniture re-do for you! I am going to show you how to take an old IKEA Lack side table and add a super funky and cute bottle cap top. This DIY is a blast to make! It was more labor intensive than most of my projects, but hey, it was so worth the time. The best thing about this redo is that it was pretty inexpensive. The table had at one time cost me a whole $8. Depending on whether you have bottle caps or have to buy them, the cost for the rest of the supplies was under $30. Making this table was the most fun I’ve had with a project in a while! So gather your supplies gals and let’s make a table!
Here’s What You Will Need:
*IKEA Lack Side Table
*169 or more bottle caps
*.75×1.5″ 8 Foot Piece of Pine Wood
*1/2″ Plywood
*Heavy Duty Construction Adhesive
*Liquid Nails
*Wood Glue
*Wood Putty or Plastic
*Trim Nailer and Nails
*Circular Saw
*Mitre Saw
*Paint
*Painters Tape
*Grout
*Grout float
*Bucket
*Sponge
*Screws
*Screwdriver


Step 1: Prep Table- Remove the legs from your table. Wipe down the top and make sure it doesn’t have any spots of gunk or dirt


Step 2: Cut Backer Board- First we’re going to cut the board the bottle caps are going to be glued down to. We want the board to be small enough to allow for the band of pine to go around it. The pine is 1.5″, so we’ll take a little over three inches off of the square measurement of the table and a little extra to give it some wiggle room. The table top is 22×22″ so we take off 3″, we’re left with 19″ and with wiggle room your board should be 18.875×18.875″ square. So, mark your measurements on your board with a straight edge and cut off excess with a circular saw. You can also ask the people at the hardware store to cut your plywood down in store if you need to.


Step 2: Glue Plywood- Mark the border of your plywood on your tabletop. Measure in and mark 1.5″ in all the way around the edge of the table top. Next, squirt a generous amount of construction adhesive onto the tabletop inside those markings. Then carefully glue down the plywood to the tabletop. Let glue set for a few minutes. Screw in a few long screws around the edges and in the middle for extra strength.


Step 3: Glue Bottlecaps- Working from the outside in, squirt dabs of liquid nails and place bottle caps onto dabs of the adhesive and squish down. It helps to lay out the outer band of bottle caps to give you a guide of how to place the other bottle caps to keep rows somewhat uniform. Let the glue set for a few days or at least 24 hours.


Step 4: Cut Pine for Band- Measure from outside edge to outside edge and cut four pieces with a 45 degree angle on a mitre saw. Be careful and try to be as precise as you can. The more precise a cut you have, the better your mitred corner will be.


Step 5: Assemble Band- Squirt a generous amount of glue onto the tabletop where the band piece will go. Smooth out glue with a shim or scrap piece of wood. Carefully glue band into place. Nail down band piece using your trim nailer. Then wipe off excess glue that has seeped out. Repeat with the other pieces until you have a beautiful band around your table top. Lightly sand and putty the nail holes if you like.


Step 5: Paint- Carefully tape off the sides of the tabletop with painters tape. Press firmly and rub your nail into the crease between the band and tabletop so you have a nice edge. Paint band in your desired color. Remove the painters tape while the paint is still wet. Let the paint dry and cure for at least a few hours. It is important to make sure your tape is really good and secure. I waited for a little while to paint after taping and did not repress my tape down, and my lines were not perfect.


Step 6: Grout: Re-assemble the table legs. Be sure to tape off your painted band before you grout. I used ready-made grout that we happened to have on hand, but mixing grout yourself is not hard to do, just follow the instructions on the package. Mix up your grout, then scoop some up on your float and slap it down onto the tabletop. Then carefully push it in and around diagonally around and between bottle caps. You then use the float on its side and smooth the top until you have the gout even and full across how you like it. Next, take a sponge and bucket of water. Dunk the sponge and then wring out most of the water. Wipe down on top and across the grout until the bottle caps are clear and visible and the grout is even like you like it. I have to say, I have used grout many times before with tile projects, and grouting bottle caps is not easy. It takes some care. My gout lines did not turn out picture perfect, but I’m happy with the results as this was my first time using bottle caps. Let grout set up for 24 hours, then go over top again with a damp sponge to remove any residue left by the grout. Remove your tape and wipe down band. And there you have it! You just finished an awesome table!


This table was such a fun project to make! I really love how it turned out! It makes a great addition to my living room, and I know I will enjoy it for years to come! A big “Thanks to Johnnie for the opportunity to guest post! You can see more of my projects on my blog My So Called Crafty Life Here. Stop on by and say Hi.
Happy Crafting Everyone!
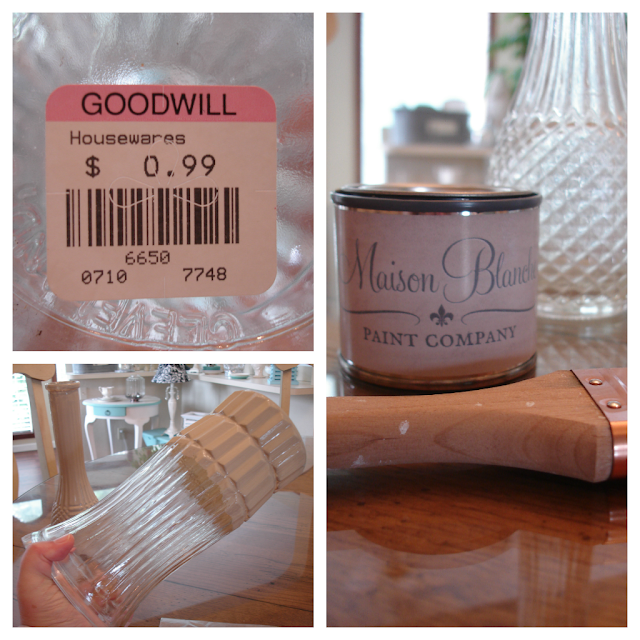
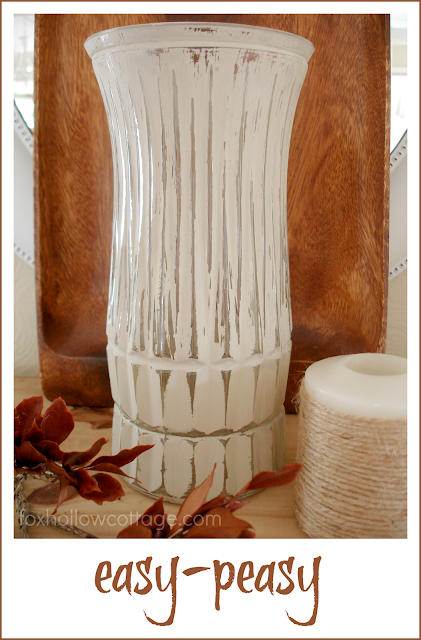
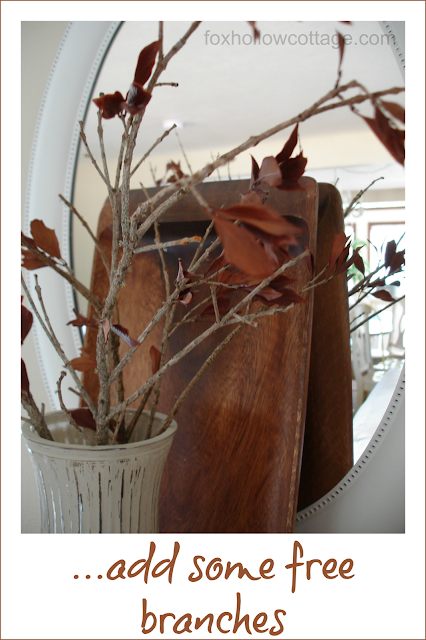
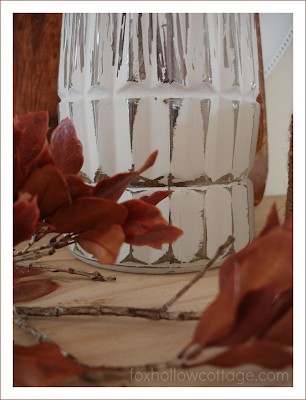
Painted Glass Vase Tutorial
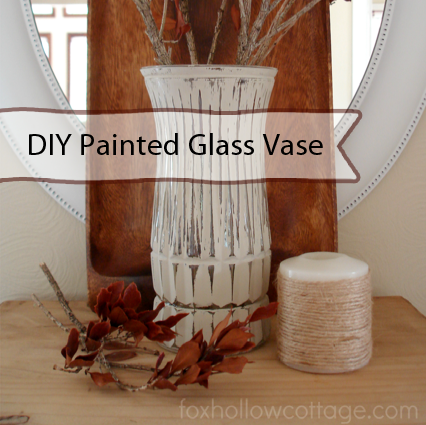
Give a warm welcome to today’s guest poster, Shannon! Thanks for being here today to share this great, quick fall decor painted vase project.
Fall Washi Tape Sign
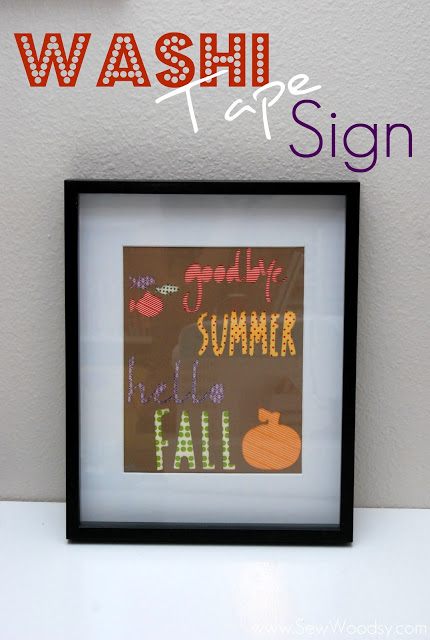
Today is Day 1 of a week of guest posts here at SBLC. Starting the show is Katie, from Sew Woodsy. This creative friend knows a thing or two about decorating with washi tape. Today she is sharing an adorable fall sign, with a washi tape underlay. I can’t wait to try this project. Take it away, Katie! Thanks for sharing with us.
Hi everyone! I’m Katie from Sew Woodsy. My husband Jon (dubbed Mr. Woodsy on our blog) and I document our journey of homeownership one tutorial at a time. Sew Woodsy is a place where we share our love for renovating and decorating on a budget.
Thank you Johnnie, for inviting me to guest post for you today!
I don’t know about you, but I’ve fallen head over heals for washi tape this past year. I can’t get enough of this paper tape! I’ve been a cricut user for the past 3 years now and have fallen in love with the Cricut Mini and Cricut Craft Room. I upgraded to a larger machine for my birthday back in April, and just this month started playing around with it. Gah–why did I wait so long? It is amazing. This project utilizes the Cricut and Cricut Craft Room; however, if you have another die-cut machine I’m sure it will work just fine.
Supplies:
Cricut
Cricut Craft Room
Computer
(1) 8×10 sheet of recycled card stock
(1) 8×10 sheet of card stock
variety of washi tape
scissors
spatula
double-sided tape
frame

First step, design your cut-out for your sign. I wanted to make a sign essentially saying goodbye to summer and greeting fall! This is what my creation looked like in Cricut Craft Room. I used the Designer’s Calendar script font for both “goodbye” and “hello”. I used Designer’s Calendar basic font for “summer” and “fall”. I found shadow of the pumpkin in Designer’s Calendar and grabbed the fish from Life is a Beach cartridge. I scaled my cut-out so that it would fit perfectly on one 8×10 sheet of card stock.
Once your cut-out is designed, it is time to cut it out using your Cricut.
This is what it looked like while it was being cut out.
Using a spatula, carefully peel the card stock off the mat.
This is what it looked like once it was pulled off the mat. I decided to keep the letters since you never know when you might be able to use the letters!
Next up, time to grab your washi tape and a piece of card stock that you’ll adhere all that washi tape, too.
I lined up the two pieces of card stock and light traced around the bottom layer. This will act as a guide when I begin to apply the washi tape to the piece of paper.
I started at the top with the fish.
All three fish are complete. It might not look like much, but once you put the top layer over the tape it will look fantastic!

After completing the fish I realized I should probably erase the pencil marks as I go. Some of the tapes can be transparent and the last thing I wan to see is pencil markings.
Added the red and white striped to the “goodbye”.
Next up, add another layer of washi tape to the bottom card stock. This will be for the word “summer”.
You’ll notice that the yellow and red polka dot tape started to go into the “L’s” from “hello”.
Time to do intricate cutting so that the yellow and red polka dot tape doesn’t show through.
Add a few rows of purple patterned washi tape!
On to another layer…
Last up the pumpkin!
This is what my sheet looked like after I was done. If the top layer wasn’t over it you would think someone was just having fun with washi tape.
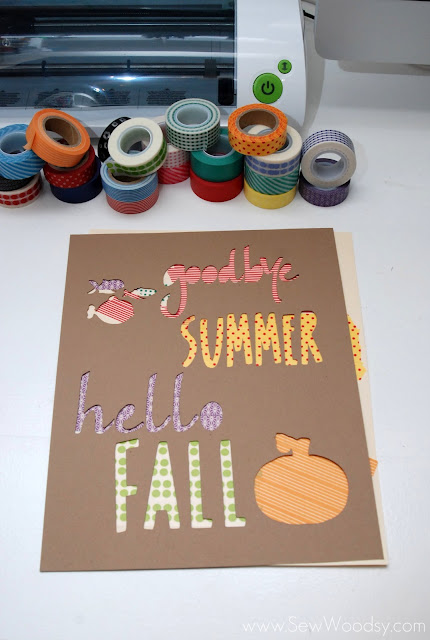
Double check to make sure everything lines up.
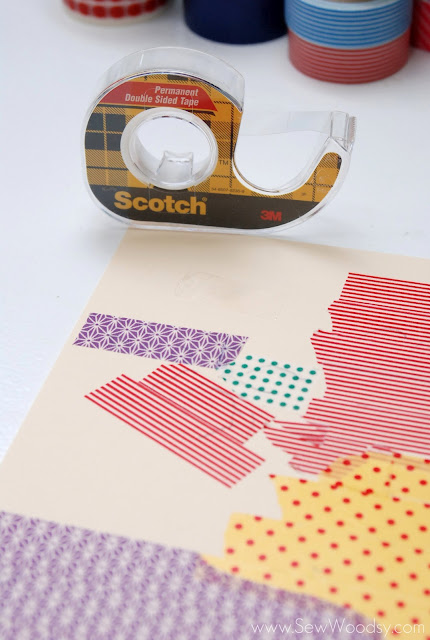
I then placed a few pieces of double sided tape on to the blank areas of the bottom card stock. This will help keep the two pieces of card stock together.
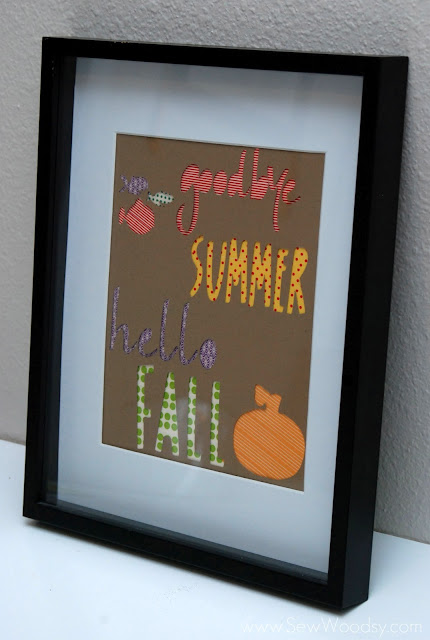
Place your washi tape sign in a frame, display, and enjoy!
I hope you enjoyed our tutorial and visit us over at Sew Woodsy. Don’t forget you can always follow us on Facebook, Twitter, and Pinterest! Thanks again Johnnie, for having me over!

