Deco Art Glass Paint; Upcycle Wine Bottles

#decoartglasspaint Cut Wine Bottle Address Lanters by savedbylovecreations.com

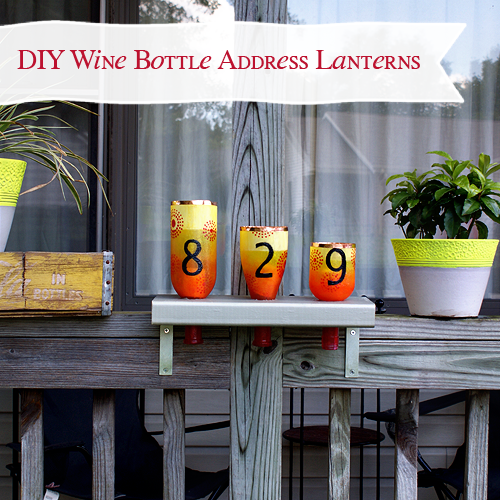
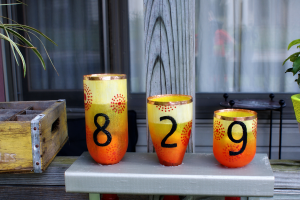
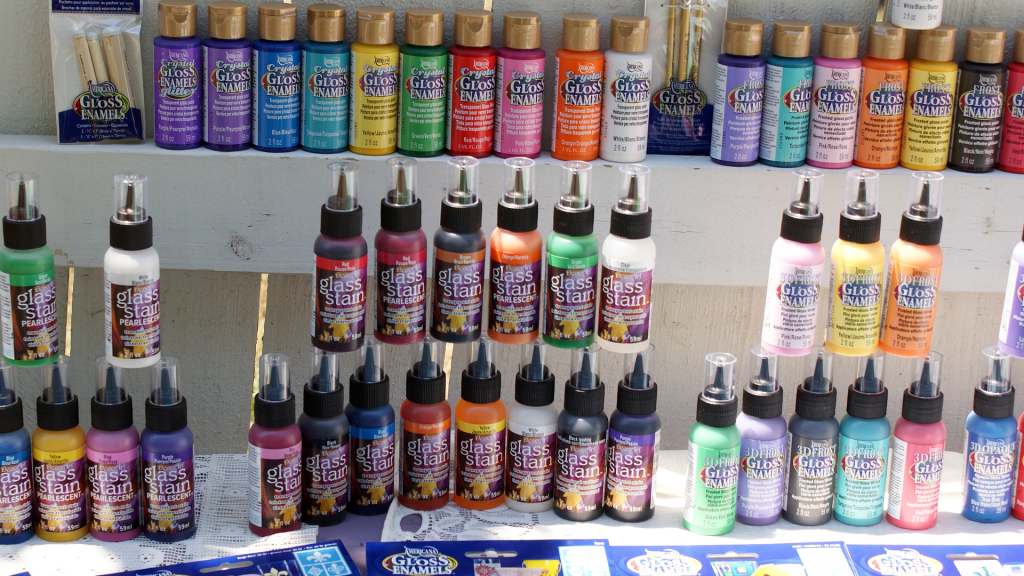
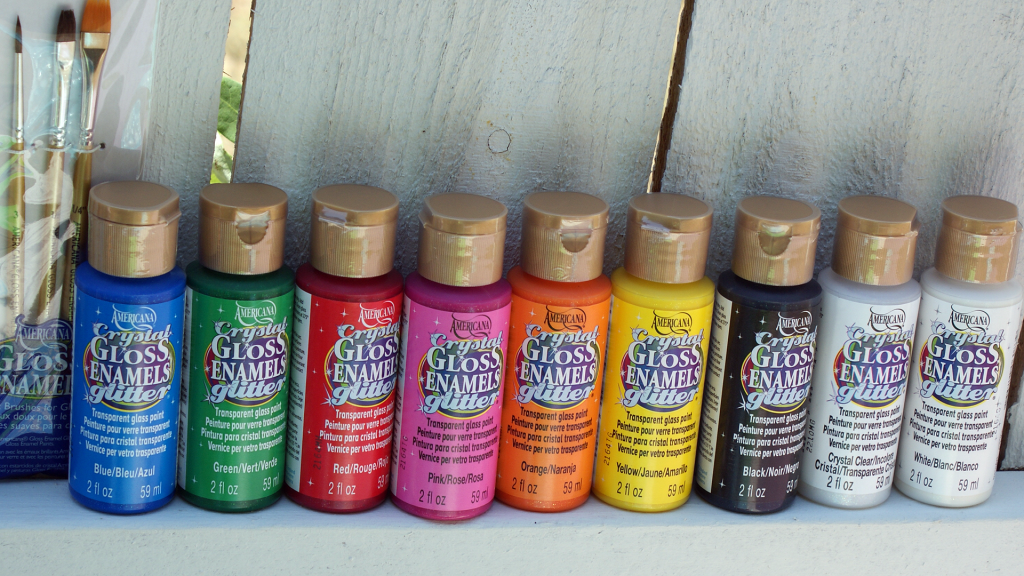
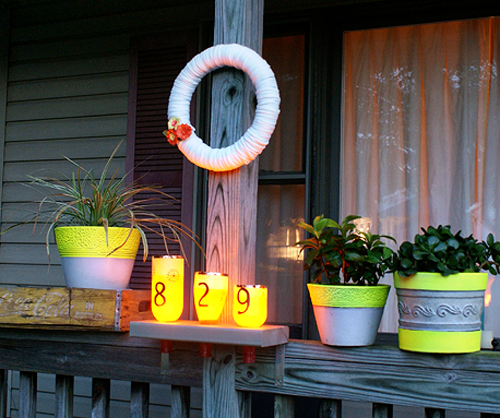
Remember the Deco Art glass paint I showed you not long ago?  Well today is the project reveal.  I focused on the glitter paint, and decided to use the opportunity to bring some warm colors to my porch for fall.  You will see how I used the sparkle filled colors and stencils to create wine bottle address lanterns.  This project does not require experience, but patience is helpful.  You will be cutting wine bottles, and painting several light layers of gloss enamel glitter.  There is some waiting involved, so plan on doing a little each day over several days.  The result is well worth the wait.

Cutting the Bottles

 First step is to cut the wine bottles.  This is accomplished with yarn and acetone in a quick, simple process I showed you in this video:

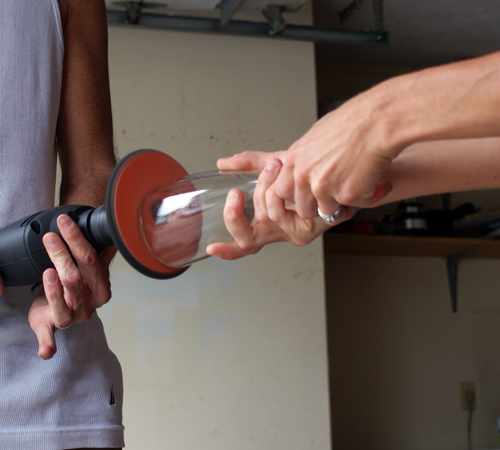
I cut mine at 3 different heights to have a tiered display.    We are working only with the upper piece of bottle in this tutorial, but the lower part makes a great dish, glass or candle holder.  To get the edges smooth, dear husband and I teamed up and used the sander drill attachment with low grit sand paper:

Before you being painting, clean the bottle well.  Use warm, soapy water, pat dry with lent free cloth, then clean entire surface with alcohol.  If you skip this step, oils in fingerprints remain and prevent your paint from grabbing onto the slick surface.  Keep the alcohol nearby to correct any mistakes.

Painting the Glass

NOTES:  I was going for an ombre red-yellow from bottle opening to cut edge.  The effect was created with several layers of Gloss enamel glitter, applied lightly with a cosmetic sponge.  This was after a big, streaky craft fail that I found myself in from applying too heavily with a brush.  The good news is that you can wipe mistakes away easily with damp sponge if paint hasn’t dried.  Even if it has dried some, you should be able to scrape it off if you do so before the 4 days of curing.  Also keep in mind that if it looks a little streaky, this could diminish significantly with overnight drying.

You will see in the photos, I added a segment of gloss enamel frost to the top of my red to yellow gradient for a contrast with the glittery awesomeness.  Always let paint dry between each step.  Put your finger in the mouth of the bottle to avoid touching outside and leaving fingerprints.

#decoartglass painted wine bottle lanter tutorial at savedbylovecreations.com #upcycle #repurpose #recycledcrafts

*NOTE:  When stenciling, work on one side of the glass and let that dry before moving around the glass.  It is super frustrating to mess up your stenciled design, which is  easy to do while positioning stencil/painting in another area.

Cure time is 4 days for these paints.  After that time, you can bake per instructions if the piece needs to be dishwasher safe.  Not the case here.  I built my shelf (see photos) and had my sparkly new address lantern display up 24 hours later.

Making the Shelf/Holder

Deco Art Glass Paint

So, what do you think?  I had a blast with these paints.  My project centered on the glitter finish, but I have been all over the stain and the frost paints, and love them.  There are some stunning projects by my creative cohorts.  See the list below for more inspiration.  You will be tempted to jump in your car and drive to the nearest Michaels Store, where you will find it near the glass products.

**I wrote this post as a part of a paid campaign with DecoArt. All opinions are my own.


100+ Ways to Decorate Your Place for Cheap

100+ Ways to decorate dorm rooms, or any room, creatively on a budget from savedbylovecreations.com #crafts #decorating #DIYAs a college student, I was always decorating my place with nice art and accessories that I could have made for way less than the purchase price. That was back when I thought only science mattered, and creativity was for those who didn’t know that. Can you imagine? Ask me how many of those expensive pieces I still have? Don’t let it happen to you. Why spend your precious resources on items you will move from place to place, lose or damage?  There are tons of ways to create amazing room designs with handmade, budget friendly home decor projects. Many of them use materials you will see in recycle bins everywhere. Go to your local recycling center and ask if you can raid their goods.  They may look at you funny, but probably won’t object.

Recycling Bin Craft Supplies

Stop the insanity. Save your cash and your planet. Impress your friends with decor you made by hand, from junk. Here are over 100 ways to do so!


Washi Tape Neon Flower Wreath DIY

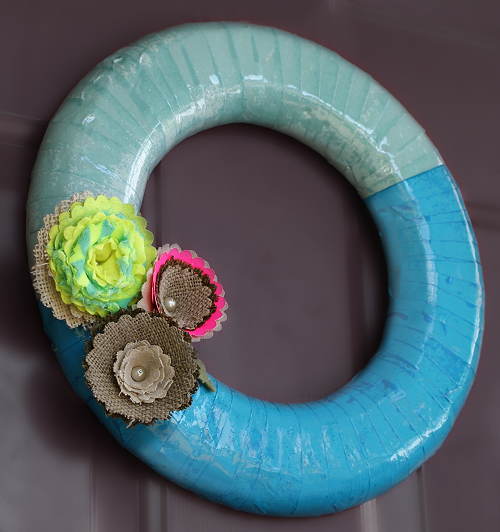
Neon Fabric Flower Washi Tape Wreath Tutorial at savedbylovecreations.com

Washi tape + flowers die cut from burlap, a neon t-shirt, neon posterboard and socks… now that is one super trendy wreath!  I found a pack of neon washi tape rolls at Target and snatched them up right away.  This project is super easy and cheap.  I love it on my front door, especially with the neon planters.  So cute.  Grab some Goodwill t-shirts and do what I did.

Supplies:

Washi tape

Beacon Fabri-Tac glue

Pearlized ball pins (optional)

Mod Podge Super Hi-Shine

Die cut or hand cut flowers from burlap and old t-shirts

Sizzix 3-D Flower Wrapped Die

Sizzix 3D Wrapped Flower Layers Die

Tutorial:

To see how I put the die cut layers together to form the finished 3-D flower, see my quick video:

50+ Toilet Paper Tube Projects to Make

50+ Things to Make from Toilet Paper rolls at savedbylovecreations.com #crafts #DIY #papercrafts

This is another one of those “You seriously made that from empty toilet paper rolls?” kind of round-ups.  All of the metal filigree projects blow my mind.  You will also find plenty of holiday decor ideas, from bats and mummies to Christmas tree stars.  There is even jewelry.  If you are anything like me, you will be amazed and inspired by this list.  Enjoy!


Cuttlebug Die Cut Daisy T-shirt Wreath

How to make Cricut Paper Daisies Embellishments; Video Tutorial from Saved By Love Creations

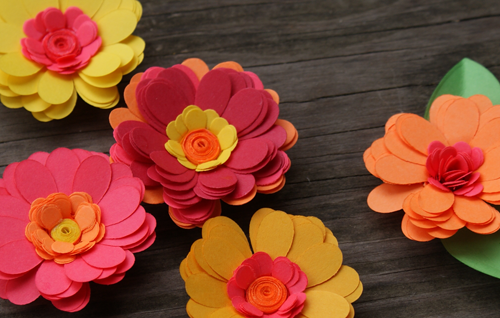
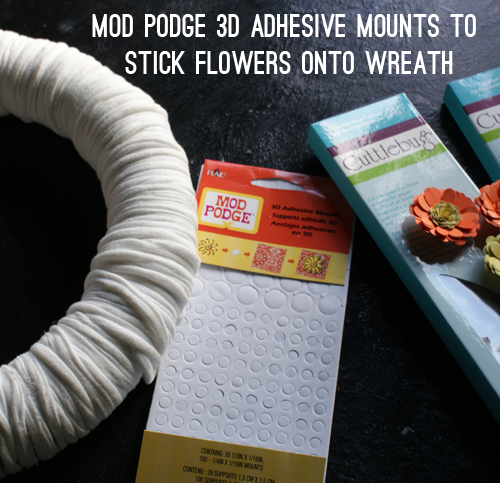
Make these fun paper daisies to adorn cards, wreaths, and more with a  Cricut Cuttlebug Daisy Die kit and a Sizzix Tim Holtz Vagabond.  These flowers are made from AstroBrights paper, warm variety.  The wreath is made by wrapping strips of old T-shirt around a wreath form.   Click to see the original “T-shirt Wreath Tutorial“. I used Mod Podge 3D adhesive mounts to stick the flowers to the wreath.  This video shows the making of the flowers.  Enjoy!

How to make Cricut Paper Daisies Embellishments; Video Tutorial from savedbylovecreations.com

VIDEO TUTORIAL:

50+ Ways to Repurpose Shutters

50 ways to upcycle old shutters from savedbylovecreations.comIt is 50+ round-up time again.  Don’t you know by now that I love repurposed projects, eco-friendly decor, pretty much anything upcycled?  That is why I am bringing you a ton of ideas for reusing shutters to bring unique, inexpensive flair to your decor.  Oh how I want to make side tables and fun displays from old shutters.  I just so happened to score a sweet wooden pair last weekend for $5.


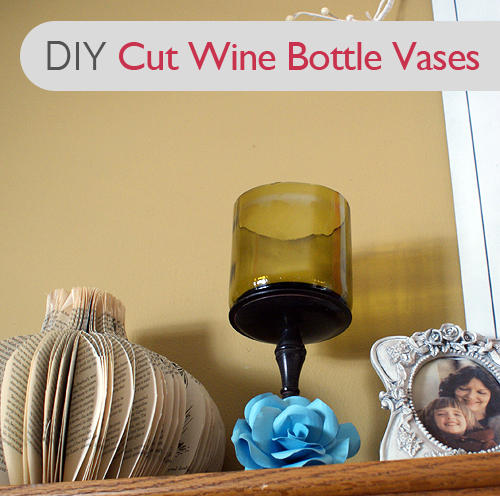
Video Tutorial: Make Cut Wine Bottle Vases

Cut wine bottles and make adorable Vases/jars/candle holders.  Video DIY at savedbylovereations.com

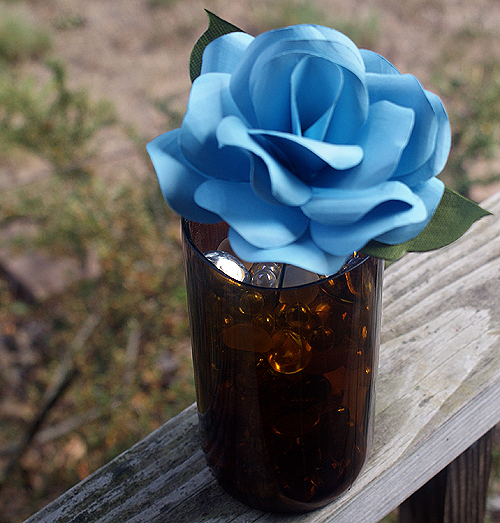
Need a beautiful, quick gift that is free to make?  This recycled wine bottle craft is just the thing.  It is super fun, you will see in the video.  It only takes a few supplies and a minute to make.  Stick a paper rose in there (see this paper rose tutorial) and you have a lovely centerpiece or house warming gift.  I was completely intimidated by this project.  I can’t believe how easy it is.  Gather up some empty wine bottles and lets go!

PLEASE be careful and wear goggles and gloves.  This project is very easy, but involves fire and glass.  The edges after cutting were dull enough that my fingers were fine after running them along the rim, but I did decide to sand with 120 grit sand paper before giving as gifts.

Cut wine bottles and make adorable Vases/jars/candle holders.  Video DIY at savedbylovereations.com


Cut wine bottles and make adorable Vases/jars/candle holders.  Video DIY at savedbylovereations.com

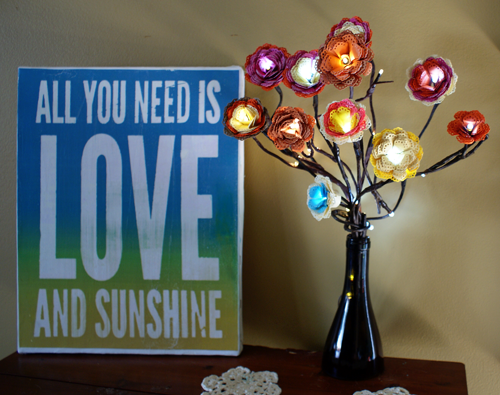
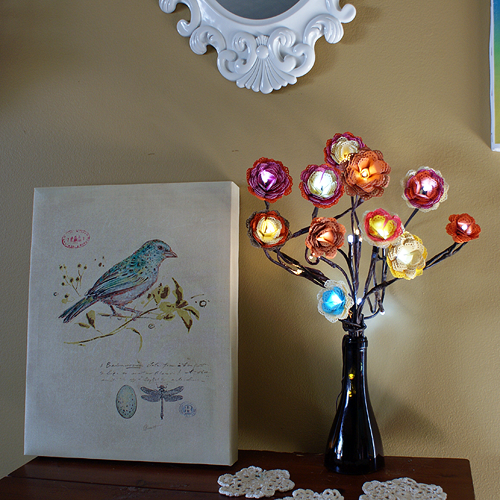
EK Tools Doily Petal Lighted Flower Bouquet

EK Tools paper punched flower lighted bouquet at savedbylovecreations.com

If there is anything I love more than paper flowers, it may be lights.  That is why this paper flower lighted bouquet I made using the doily dimensional flower punch from EK tools is so exciting to me!  This project is super easy, and perfect for wedding or other party decor.  If you are like me, and love party decor all the time, just accessorize you home with these all year round!

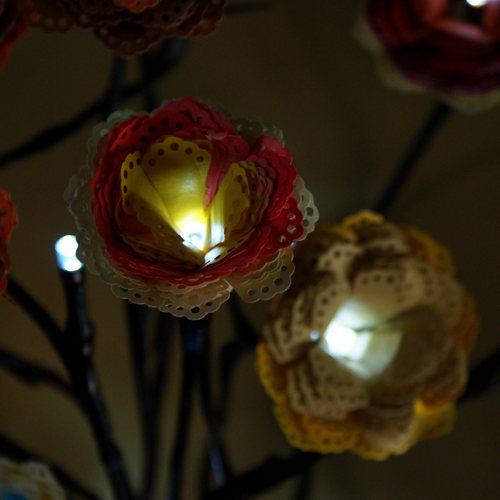
EK tools dimensional flower lighted bouquet at savedbylovecreations.com

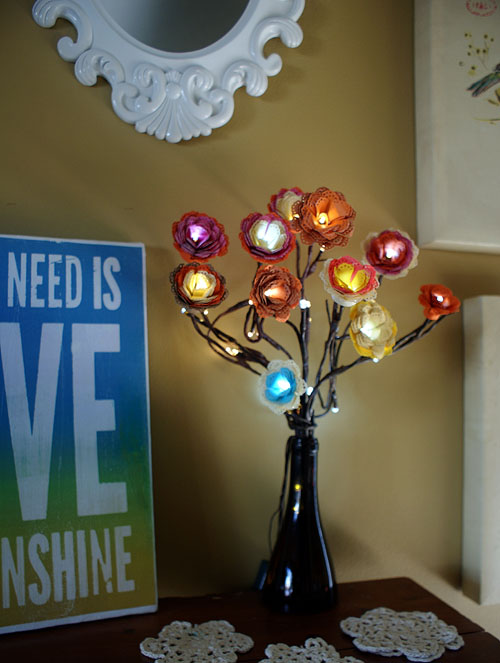
EK Tools Dimensional Doily Petal Flower Lighted Bouquet at savedbylovecreations.com

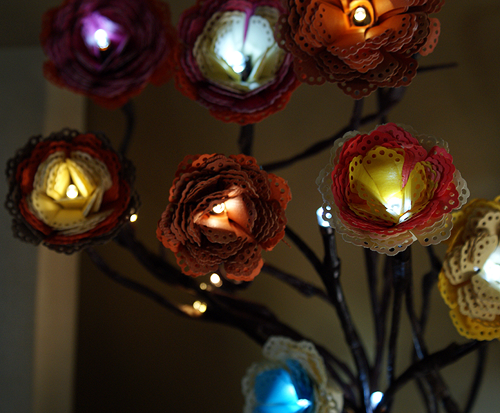
To make the flowers, watch this video I showed you in my lighted flower strings post.  Instead of the EK tools carnation punch, you will use the Ek tools  doily petal punch.  The rest of the flower process is the same.  Then just pick up a lighted LED branch and put your flowers on there but sticking the light through the hole in the center of the flower.

EK tools dimensional flower lighted bouquet at savedbylovecreations.com
What do you think?  What are your ideas for these beautiful EK tools dimensional flowers?

50+ DIY Lights, Lanterns & Luminaries

50+ DIY Luminaries

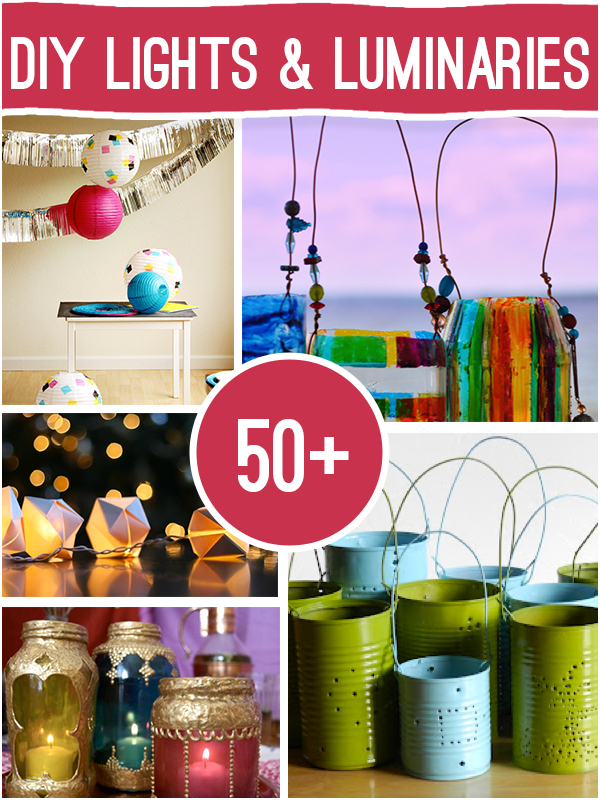
This week’s 50+ brings you inspiration for DIY illumination of all kinds.  From lanterns, to string lights to interesting lamps, decorative lighting is such a powerful way to create ambiance for whatever the occasion.  I hope you enjoy these ideas, and are moved to light up your world.

[pinit]

0ver 50 DIY Lights and Luminaries to Make @savedbyloves

[pinit]

DIY Moroccan Luminaries

Painted Glass Jars

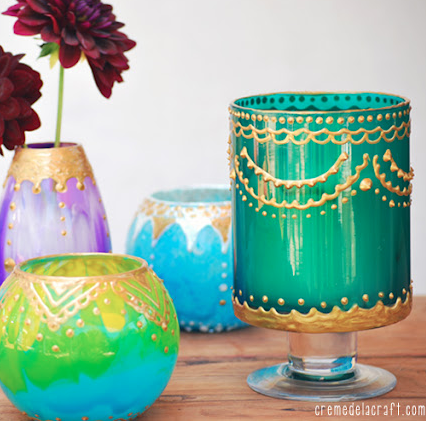
At Cremedelacraft, learn to make these cheap, gorgeous, Moroccan style candle holders.  They look like something I would drool over at Pier One.  All you need to create your own is some glass containers and paint.  I am all over this project.

Privacy Policy