Craft Room Organization

Craft Room Organization

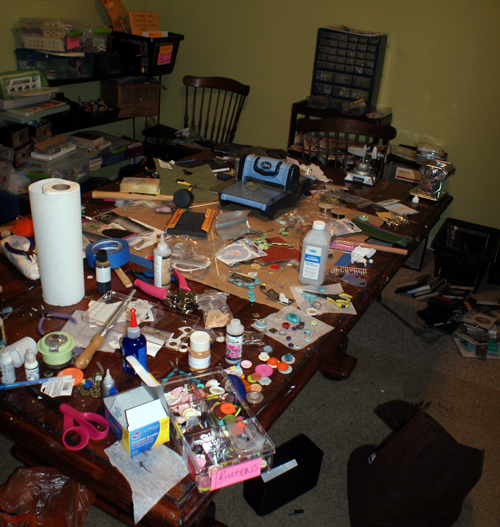
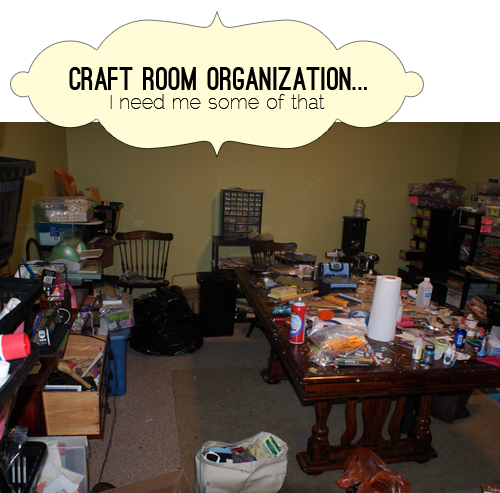
I have never been one for organizing.  Not once.  It wasn’t a big deal when I first started crafting, but over the last few years, my supplies have accumulated.  It is hard to walk into this room and feel inspired and creative.  I honestly don’t even know what all is in there, much less where to find it.  Admittedly, I know of several supplies I have just gone out and bought again after futile searching.

Craft room organization

That is why I have spent the last 2 days in craft room overhaul mode.  I am still in the middle of it, I am exhaused, my spraypaint finger hurts, and I would much rather be creating.  That said, I can tell I am going to be so glad I finally tackled this daunting task.  Stay tuned for the reveal, and some organizing tips and tricks to keep you sane and help make the most or your creative time and space.

Old Window turned Jewlery Display

Old Window Crafts

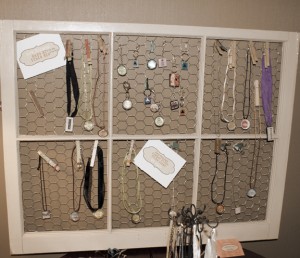
Need to display your jewelry in an economic, yet affordable way?!  Necessity + creativity + old window + chicken wire + staple gun = a nifty display with giant functionality.

Supplies:

  • Old window
  • Chicken wire (available at hardware store – $5.99 for a big ol’ roll)
  • Sand paper (medium grit)
  • Spray paint in color of your choice for window frame
  • Staple Gun
  • Clothes pins decorated with scrapbook paper

Instructions:

old window art

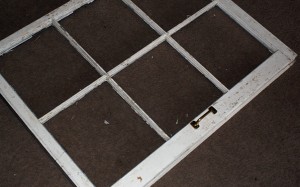
  • I am blessed to have friends that save things like old windows for me, knowing I will put them to use somehow in a process usually involving spray paint and power tools!  This is a window from one of those friends.  Cost… $0.  Saweeeet!  I removed the hardware, knocked out the glass with a hammer (be extremely careful – I am not responsible for any lacerations that result from following these instructions)!  I must say, I quite enjoyed that part.  Sometimes one just needs to shatter glass.  Try it before you judge me!
  • Sand with medium grit sand paper (I used 150) and wipe away debris with damp rag.  I didn’t go crazy on this part.  I wanted the surface to look old and crackled after spray painting it, so if you are going for new and pristine, you probably want to put some more time into stripping off the old paint.
  • Using Krylon Fusion, I spray painted the window frame in a cream color.  This stuff is just the right paint for me.  It sticks to anything, and requires no primer.  It is marketed specifically for plastic.  I use it all the time on everything.
  • Cut chicken wire to fit window, and staple gun it to the back of your window.  Like magic, a perfect spot for your wares, bank account unharmed!

I would love to hear the creative ways you display your pieces.


Pottery Barn Organizer Knock-Off

Pottery Barn Wall Organizer


This is my debut Pottery Barn knock off project.  The inspiration for the project actually came from Starbucks Via instant coffee cartons.  What?? Yeah.  They look like this…

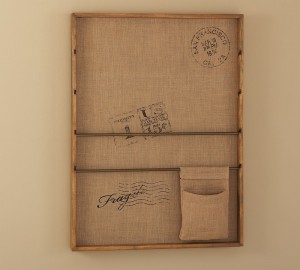
Starbucks Via Iced CoffeeMight I just say that I am 100% addicted to these drinks, but anyway – I was looking at the empty carton and thought surely I could make something cute out of the little shape.  I was initially thinking I would make a faux metal wall pocket and stick some adorable paper flowers in there.  I began searching images for wall pockets when I came across this Pottery Barn piece for $149.

Pottery Barn Wall Organizer

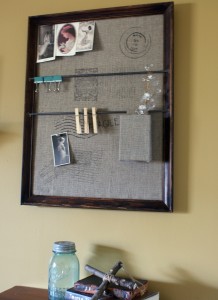
I knew I could make this with supplies I had on hand, and I would still get to use my empty Starbucks Via box.  Check out the step by step and make your own Pottery Barn knock-off wall organizer.  I spent a total of $1.26 on dowel rods, and probably about $10 if you include the garage sale picture frame and bulletin board I used.  The project took undert 2 hours from conception to completion.

Supplies:

  • Old bulletin board
  • Picture frame (mine is 18×24 inch
  • Burlap cut to fit frame and enough to make pouch
  • Super 77 or other mounting adhesive
  • Empty carton (Starbucks Via box works well
  • Dowel rods
  • Drill
  • Chrome or other metallic spray paint
  • Stencils (I  cut mine with Cricut)
  • Black Paint marker or permanent marker like Sharpie
  • Rubber stamp with handwriting (optional)

Instructions:

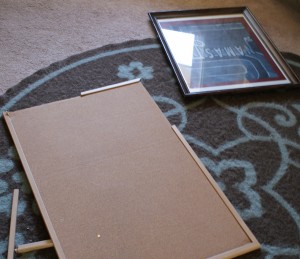
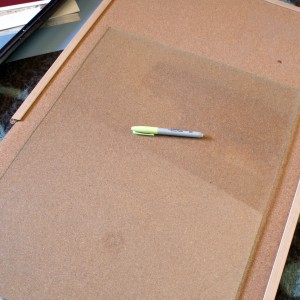
  • Cut bulletin board to fit frame.  I outlined the glass that was in the frame to use as a guide to cut the bulletin board to fit.  I cut on the inside of the outline, taking into consideration the thickness of the burlap that I would be folding over the edges of the bulletin board later.

Pottery Barn Wall Decor

Pottery Barn Knock-off

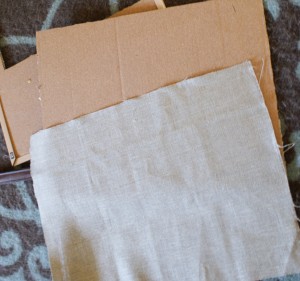
  • Cut burlap to fit with 1/2 inch overlap on all sides.

Pottery Barn DIY

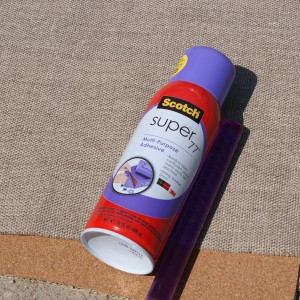
  • Spray Super 77 onto cork side of bulletin board, covering it completely,  and immediately place the burlap on top, smoothing it down with your hand.

Pottery Barn Wall Organizer

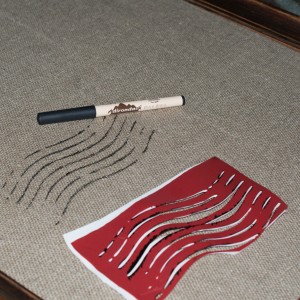
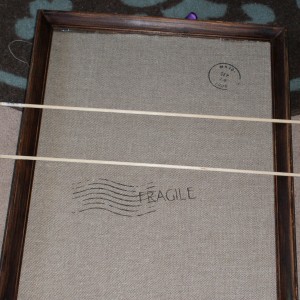
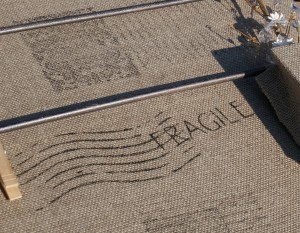
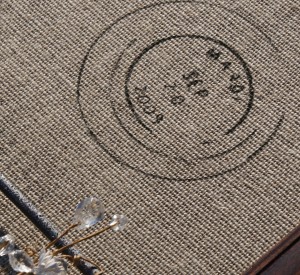
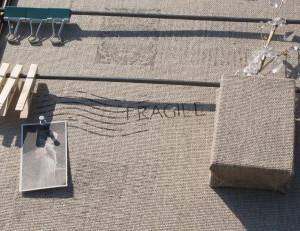
  •  Now place your stencils on the burlap and stencil away.  I used vinyl stencils I cut with Cricut, which I love because the vinyl stays in place, even on burlap.  I used a paint marker to fill in the stencil openings.   I also used a rubber stamp and black ink pad to add old handwriting for the vintage postcard feel.

Pottery Barn Wall Organizer


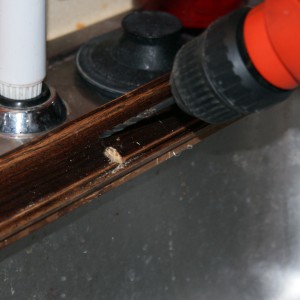
  • Drill small holed in frame for dowel rods to sit in as shown.


Pottery Barn TutorialPottery Barn Decor


  • Cut your dowel rods to fit using a utility knife.  Shave the ends to taper them like a pencil if need be to fit into the holes you drilled.  Spray paint them your desired color.  I used a chrome effect spray paint that I had on hand.
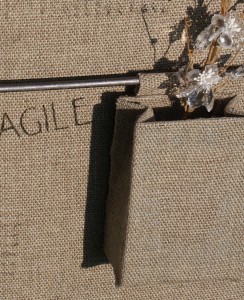
  • Pottery Barn Bulletin BoardTo make the pouch, spray your empty carton with Super 77 and adhere burlap you have cut to fit.  For the loop to attach the pouch to the dowel rod, fold over a rectangle scrap of burlap and spray the touching edges, then spray and adhere it to the back of the pouch.  That is it!!

Pottery Barn Wall Organizer

Burlap stenciling

Pottery Barn Burlap Decor

Pottery Barn Wall Organizer

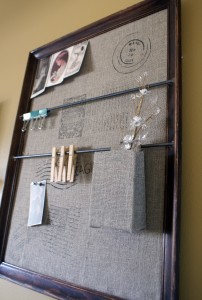
Grab some antique images, flowers, clothespins and dress up your new organizer.  What do you think?

Craft Storage Solutions

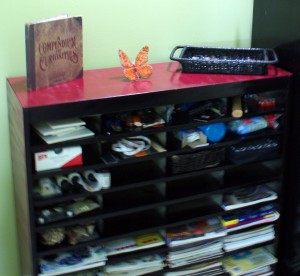
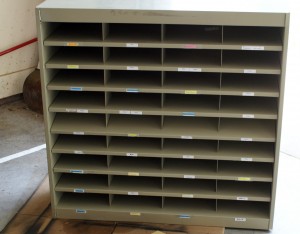
Craft Room Storage MakeoverMy entire craft room is filled with storage contraptions I have picked up here and there, and prettied up, of course.  I think this most recent acquisition and makeover is my favorite of all.  At my town’s yearly, gigantic and awesome community sale I spied this mail cube used in offices.  I instantly thought, craft storage… sweet! She was only $5!  Not the purdiest, but that has never stopped me.  Home with me she came…

Old Cabinet MakeoverI scrubbed and scrubbed some more, removing tape name labels galore.  Whatever establishment utilized this must have had a high turnover because, much to my dismay, many of the labels had labels under them with a different name and more tape.  I used adhesive remover to get the little globs left after the tape and paper were removed.  Once I got her all cleaned up, I just spraypainted the front with Krylon Fusion Black, and the sides and top with Krylon Fusion Red.  I love this stuff cause it goes on anything and you don’t need primer.

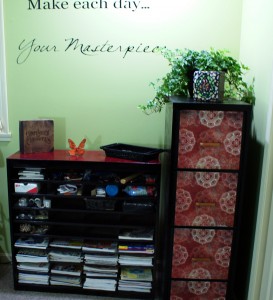
Once she dried, I moved her into her new home and filled her with some of my stash.  Matches nicely with the file cabinet I redid, here.  No need to buy expensive storage!

Craft Room Storage

Privacy Policy