
Here is what I worked on yesterday, and the reason there was no clay post…
 I turned these photos to oil paintings in photoshop. These two love the camera! Clay post coming soon…
Custom Photos To Oil Painting!
by
Custom Vision Board Project for College Football Player Hoping to Go Pro
by
 Yeah, I know. There is nothing about clay in this, but it is what I did in lieu of a clay project, since my client wanted it soon. I had fun with it. She sent me some pictures and I turned them into this newspaper collage.
The idea behind a vision board, for those of you who are in the dark, is you fill it with things you would like to see come to fruition in your life. When you surround yourself with images of where, who, what you aspire to be, your circumstances change to match those hopes and desires.
There are endless ways to make them. Many I have seen use poster board with cut out magazine images or headlines. The first one I made for myself had a photoshopped picture of me crossing the finish line at the Boston Marathon. Hey, I didn’t say how long it took for the things to materialize. I still have time for that 🙂
The concept has been popularized since the release of “The Secret” about the law of attraction.
Here is a great step by step to get your creative juices flowing in the area of your very own vision board. There is great power in positivity!
Polymer Clay Day 57: Clay to Wall Art, Oh Yeah…
by
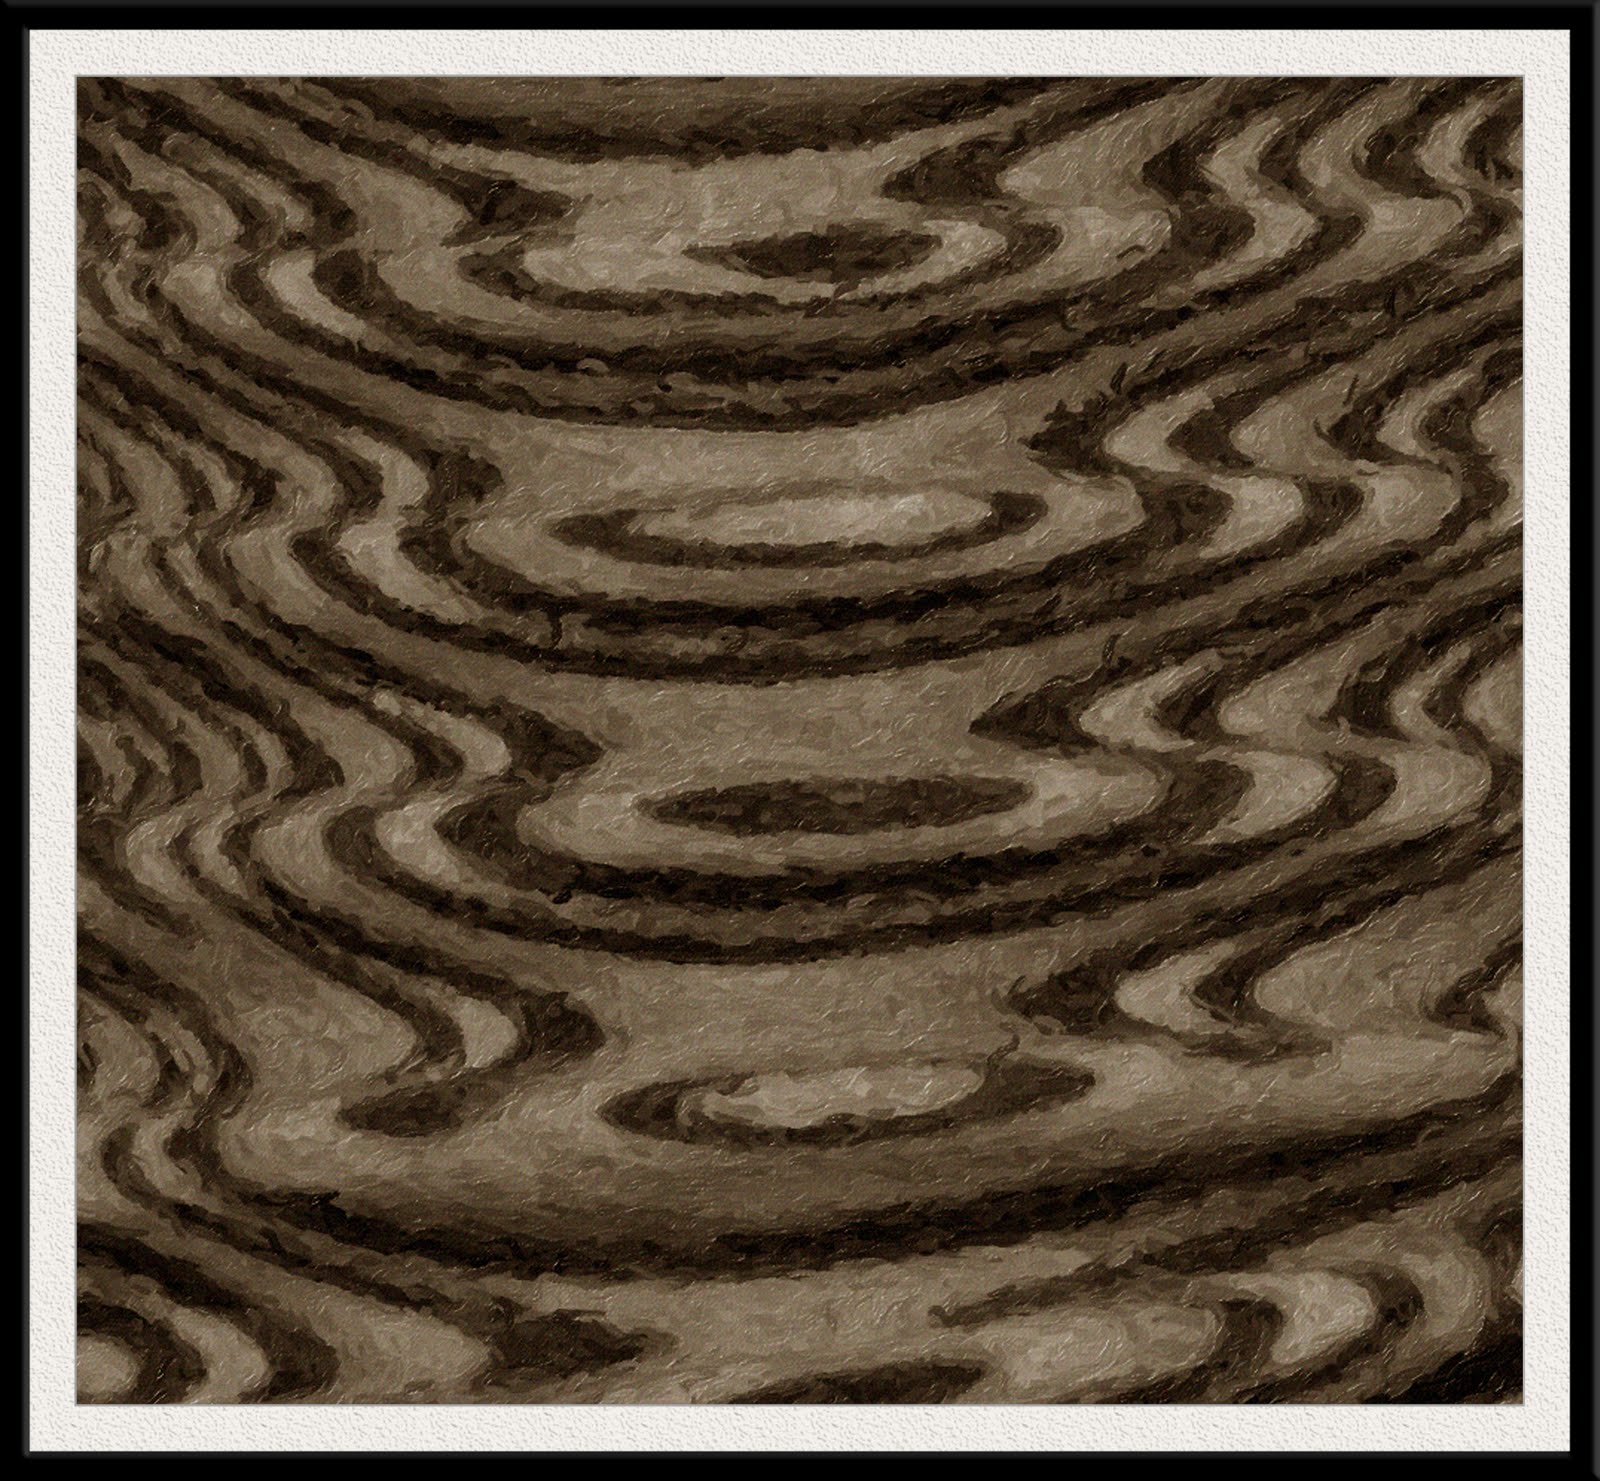 And here it is… I have combined claying and graphic art. Happy happy happy! Here is the original clay photo from this tutorial…

Art Inspired By How AWESOME God is… And my process shared!
by

This is a piece I did after the realization of Christ’s love for me, with all of its implications, reached my heart. I don’t know how to explain it. I later learned it was all about the Holy Spirit doing it’s thing, opening my eyes. If it has happened to you, you know what I am talking about. A moment of grace and love so amazing that your life is never the same.
What can I offer in return for this? Nothing. But I will vigilantly give what I have, to the best of my lil’ human ability. To God be the glory!
Here is the original sketch done in pencil, which I scanned into my computer.

Simple, I know. I carry a notebook and pencil everywhere, and when I get inspired, I put it to paper. Sometimes, I find the outcome something I want to play with in the all powerful photoshop.
Just a glimpse into how it works. Thanks for looking. Be love!
Custom Photo to Art – Child Portrait
by
 A graphic novel portrait from a photo. For more examples of this type of work, visit my art site custom photo gallery here.
The transformation is done in photoshop. Anything is possible there. Adobe rocks.
More Pet Portraits From Photographs in Photoshop…
by

 Another project for a client. Just wanted to post cuz I have been blog neglectful. I have a good reason. New CRICUT machine. It owns me right now. I am making all kinds of stuff. A plethora of God Boxes, book marks, cards for a convention in March. Pics and tutorials to come…
Pet Portrait From Photo
by


Another custom pet portrait from photo. This is my beagle mix, Ripley. He brings me endless joy. For more examples of pet portraits, visit my art print site by clicking here!
Pet Pop Art and Watercolor From Photo
by

Original photo provided by client


1. Graphic Novel Style 2. Antique Watercolor Portrait
These are so fun for me to do. Photoshop and its amazing filters make anything possible. My favorite part is how realistic and lovely they are, while being affordable. Check out my art print site (click here) for more examples and pricing.
Be Love…
Create Signature in Photoshop, Then Add it to the End of Your Blogger Posts…
by
See mine? It follows every post – not just the ones published subsequent to the addition of the code.
Ok, first make your signature. I did mine in photoshop. Here is how…


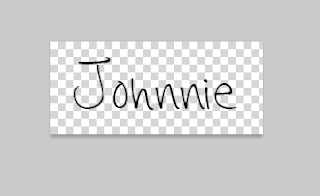
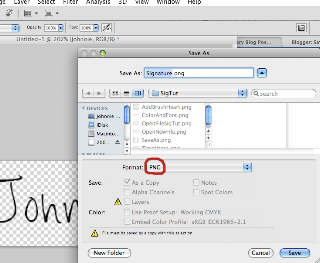

1. Open a new file. I made mine 220px by 96px (trial and error – it fits best after my posts). Make sure you choose “transparent” in the background contents tab as below.
2. Choose the Text tool (keyboard short cut T) and pick your favorite font. I used “Hannah’s Messy Handwriting”, which I downloaded here at dafont.com. Pick your font color and size, and type your name…
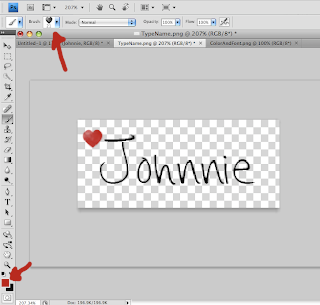
3. I added a heart using a heart brush that I made (that is for a later tutorial)…
Choose the brush tool (keyboard shortcut ‘b’), pick a foreground color and brush that you like and paint design of your choice…
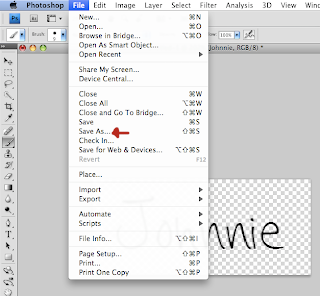
4. Save file and upload to image hosting website (I use Photobucket)…
Save File as .png, so that transparency will be maintained and the signature file will not come with a background that may vary from your post background color.
Now put code for your image into your Blogger HTML template…
Go to your blogger dashboard and click ‘layout’, then ‘edit HTML’, then
check the expand widget box as follows…
Find the line:


Photo to Art – Grunge Cartoon and Oil Paint
by


Here is what I worked on today. Awesome high school senior picture (first pic) was provided. I created an grungy cartoon (2nd image) and an oil painting (final pic). Kinda difficult to see the detail. Click for larger views.
Other than that, still on track for Bible in 90 Days. Still revamping my blog site. Bring on the html…
