
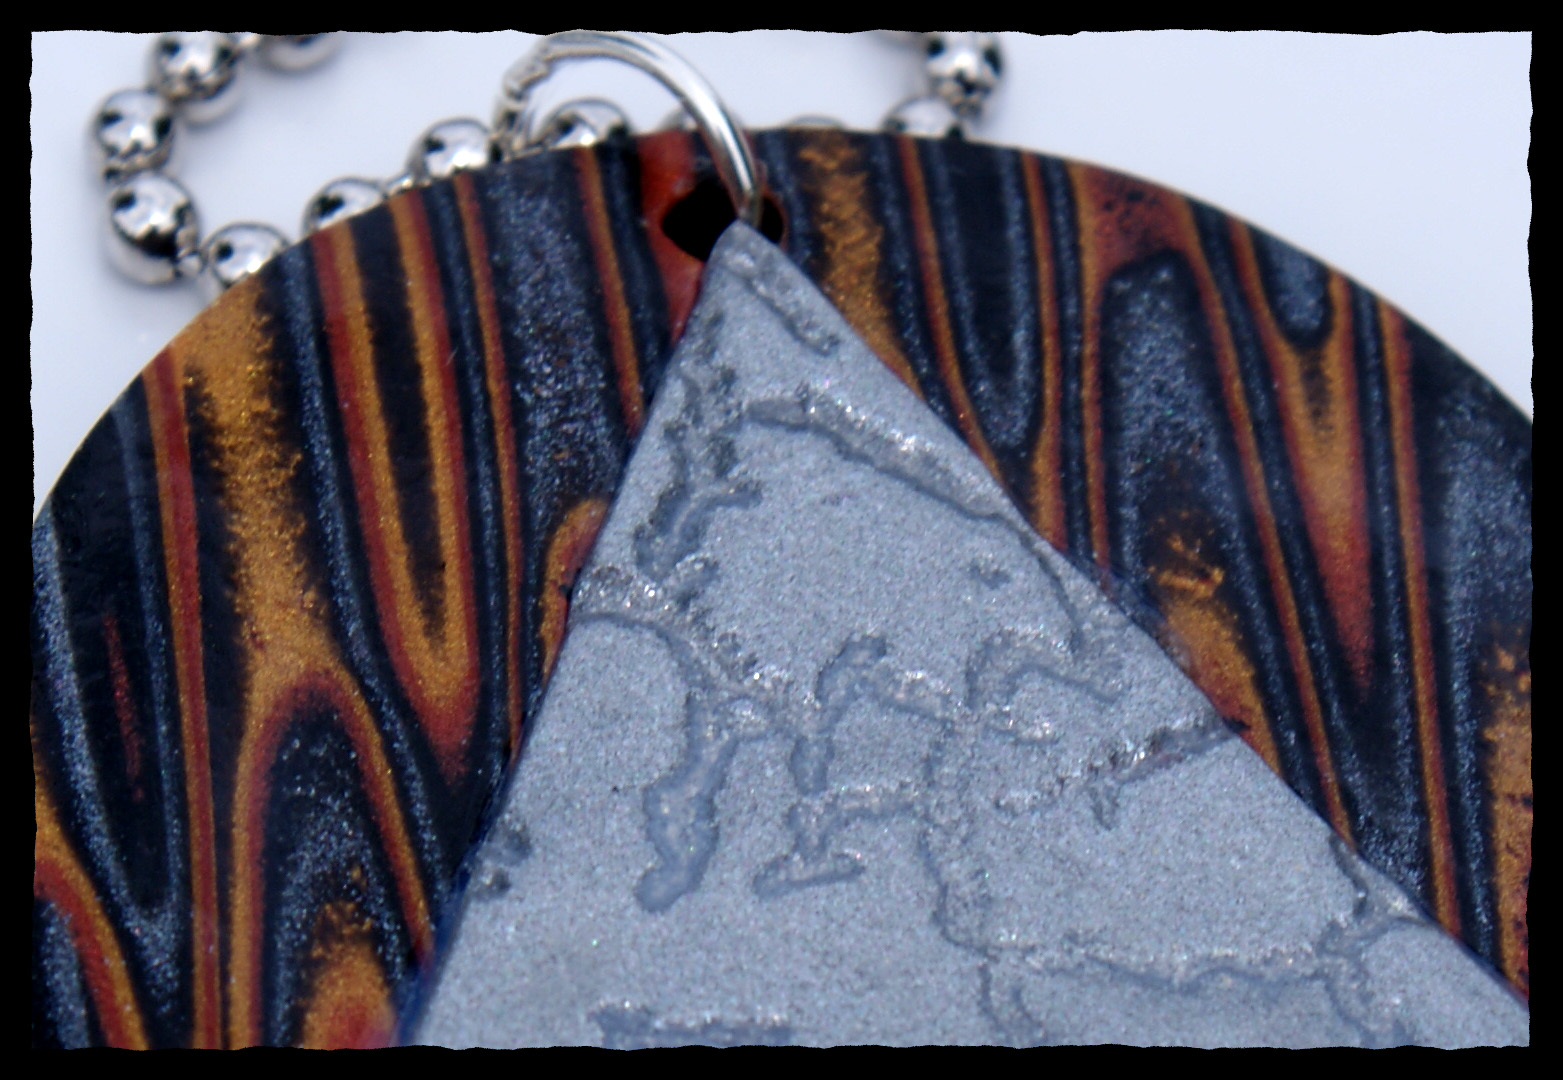
 Finished product you will have if you follow this tutorial.
 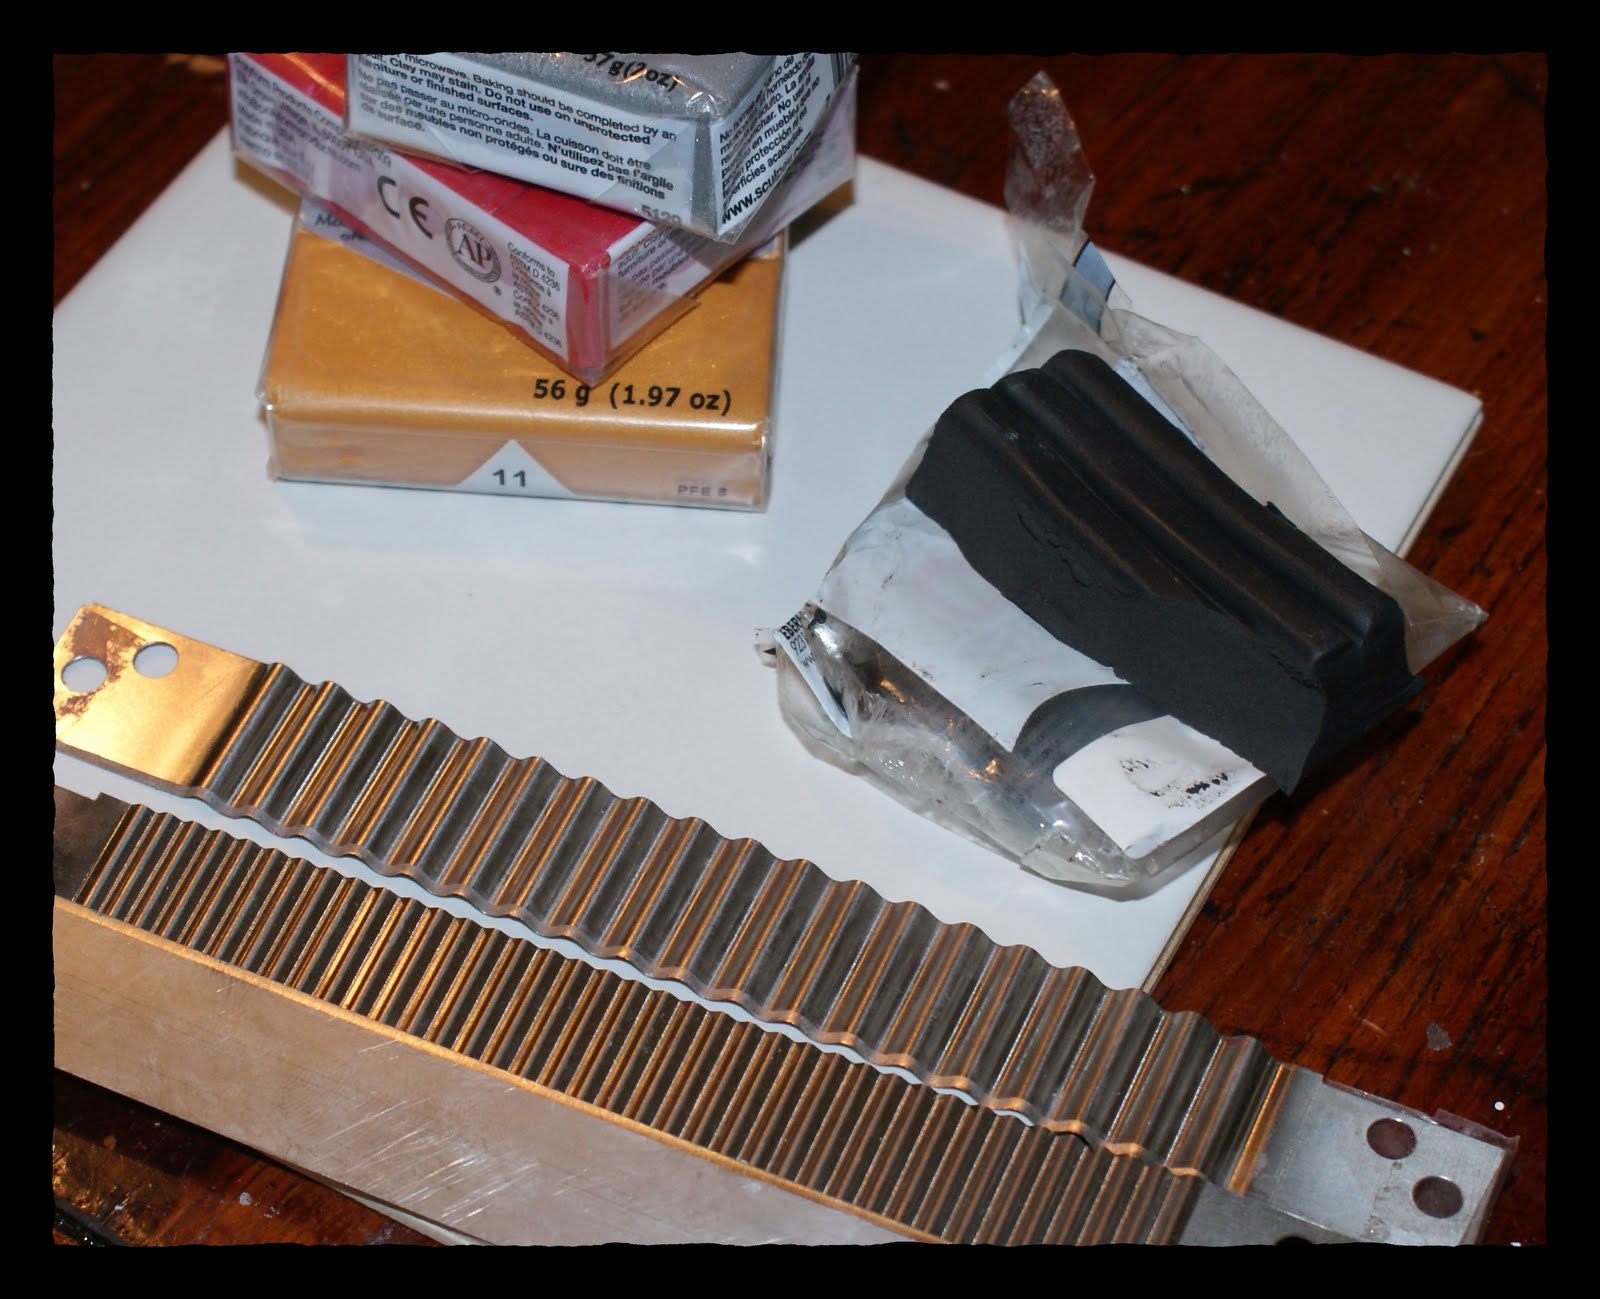 Here is what you will need: Whatever colors of clay you like. They need to contrast well. I used fimo soft in black, copper, gold and silver. A straight tissue blade, a curvy blade as pictured above, varathane or future floor finish, armor all (releasing agent so your clay doesn’t stick to your cookie cutter), oven (I use toaster oven with a thermometer cause baking your clay at the correct temperature is super important), baby wipes for cleaning your surface and your blades between using different colors of clay (to avoid contamination), ceramic tiles which are used as the work surface and can be put in the oven for baking the clay, pasta machine for rolling clay sheets, acrylic roller or brayer. I think that is it.
 I cut two bars off of my clay from the package and condition it (roll it in my hands in a log until bending the log in half doesn’t cause it to crumble or crack). This mixes the ingredients in the clay and warms it up so that it is uniform. I finish the conditioning in the pasta machine, then roll out my sheets at a thin setting (5 on my pasta machine, which has 1 as the thickest, and 9 as the thinnest setting. I use a square template I made from cardstock to cut one 4 inch square of each color, except black – 2 squares of black.
 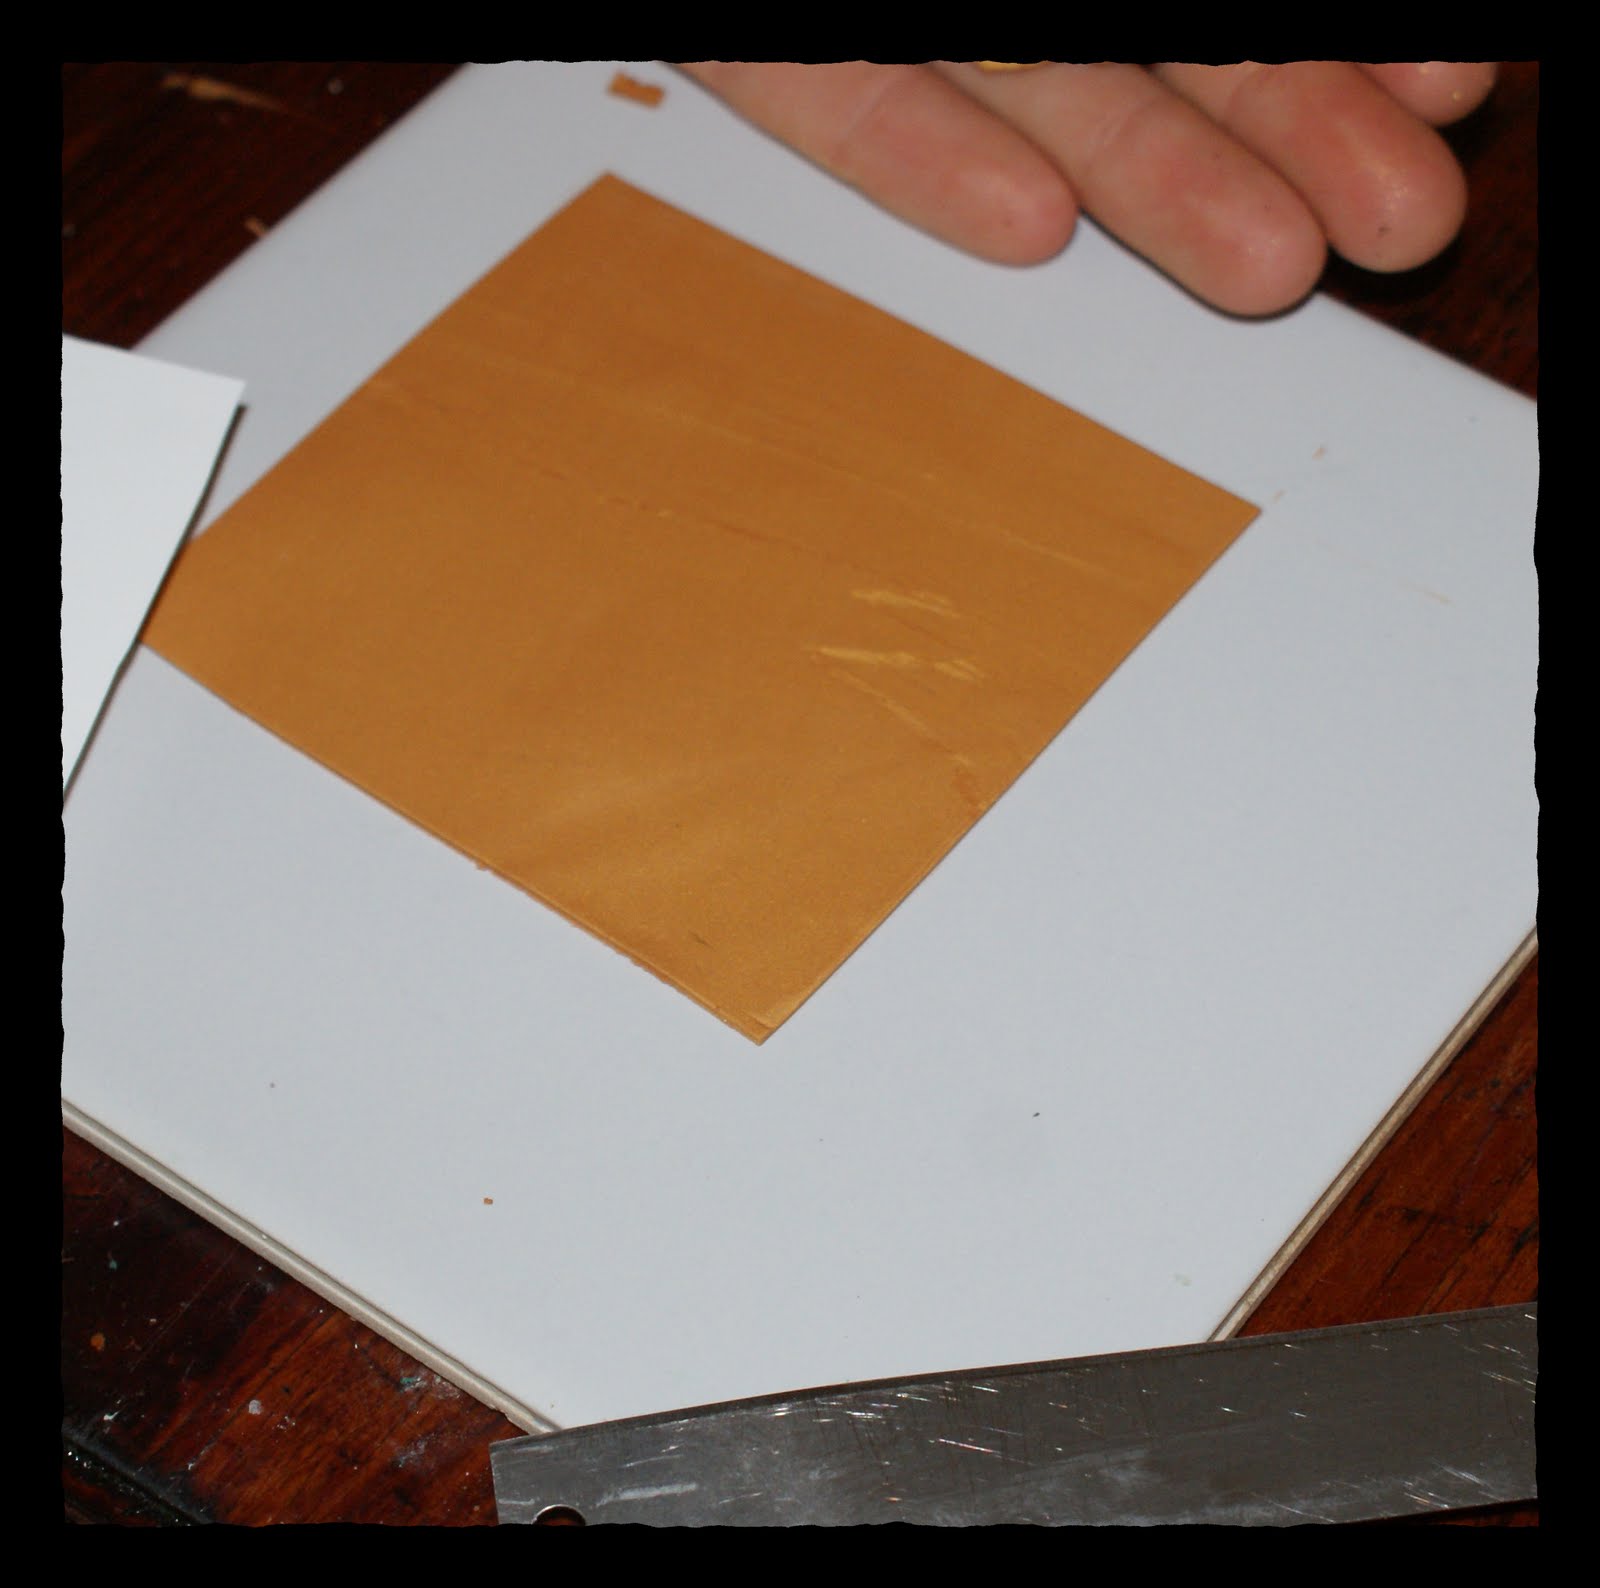 Make your squares as above for each color and set aside.
 I wear gloves because fingerprints in my finished products drive me bonkers. Begin by stacking your silver sheet (or whatever color you use) on top of the black, starting at one edge and slowly going across to the other edge.

 Roll with your brayer or acrylic roller, and use a blade or craft knife to puncture any air bubbles.
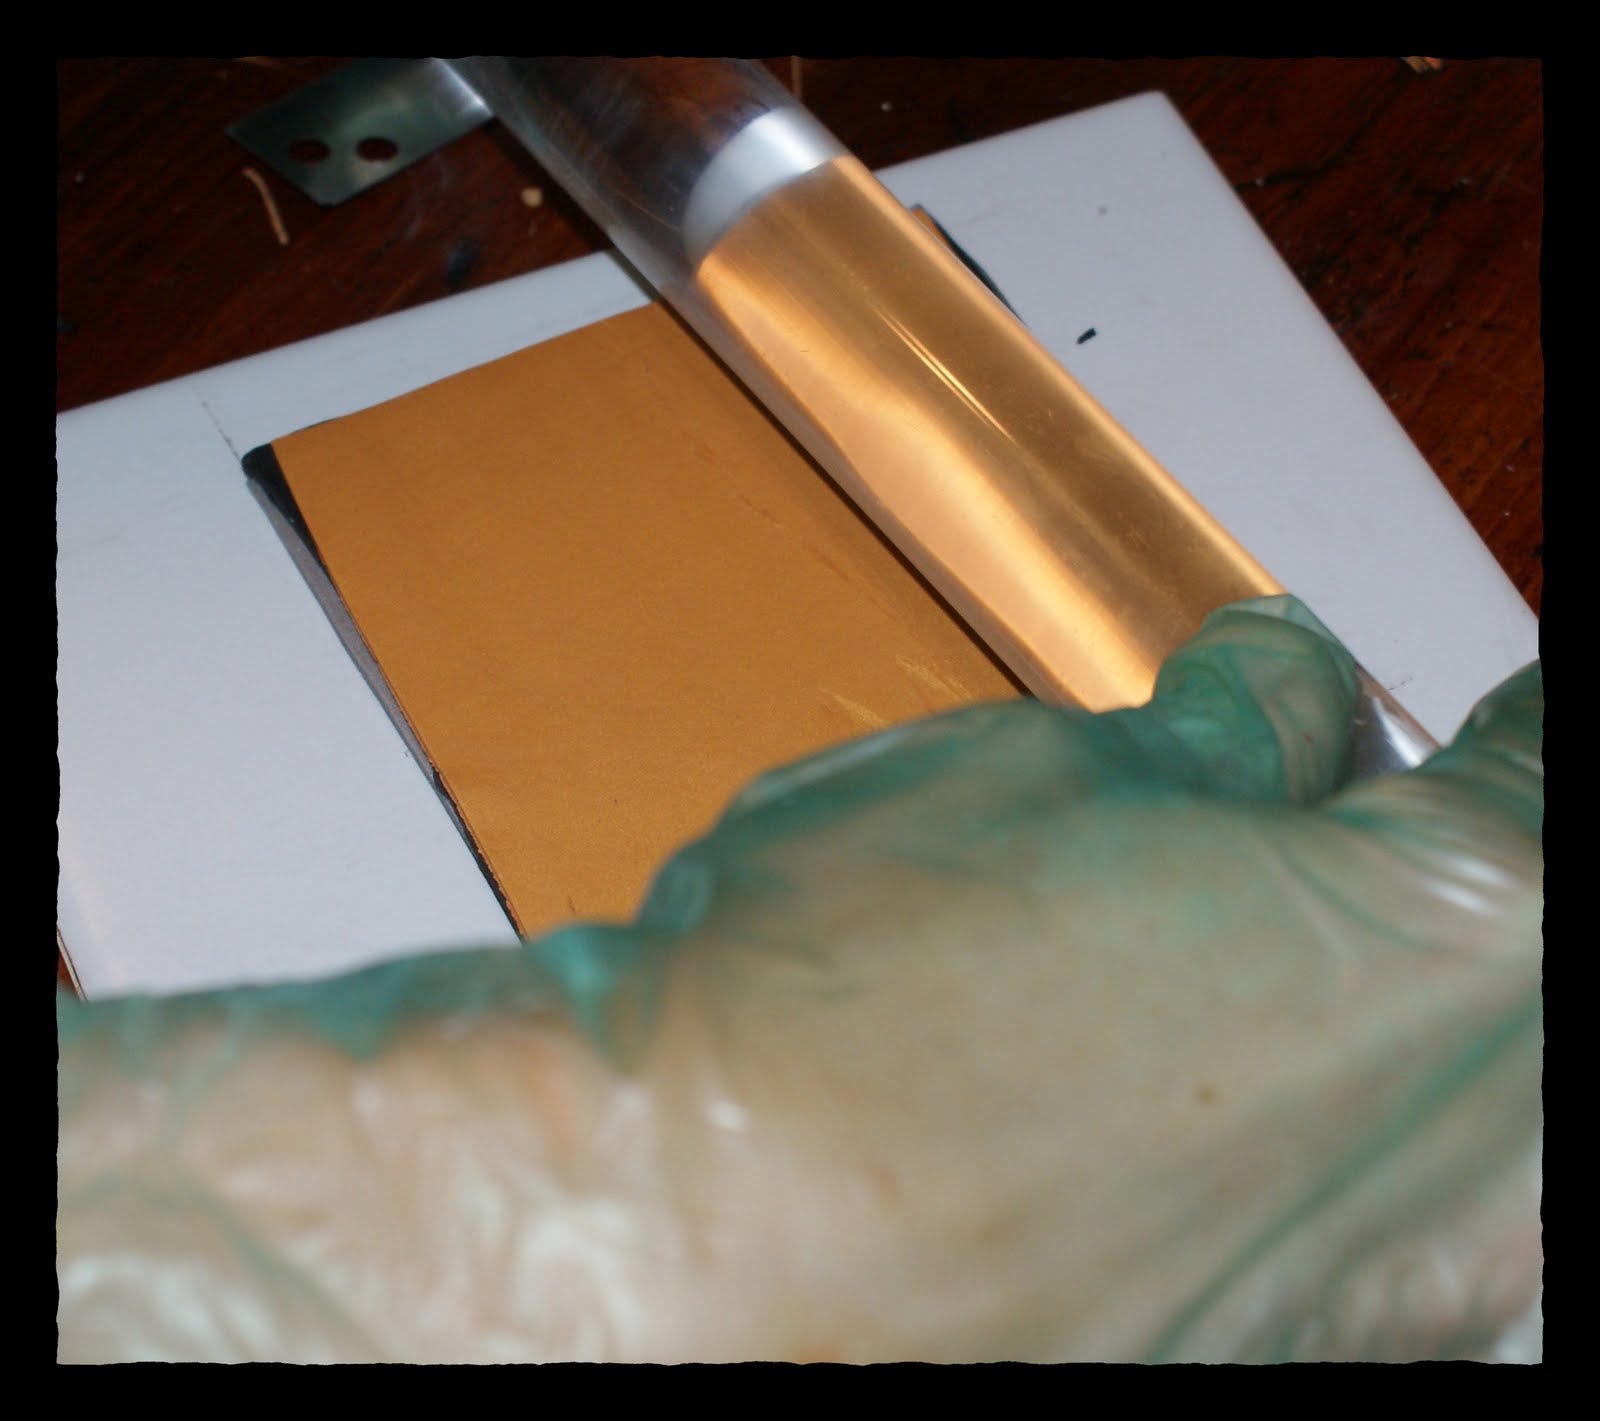 Next I placed my other black sheet on top of the silver, then the gold, then the copper, smoothing with the acrylic brayer and puncturing any air bubbles, then re-smoothing with the brayer.
 Cut the stack in half, and place one half on top of the other, keeping the colors in the same order, as below…
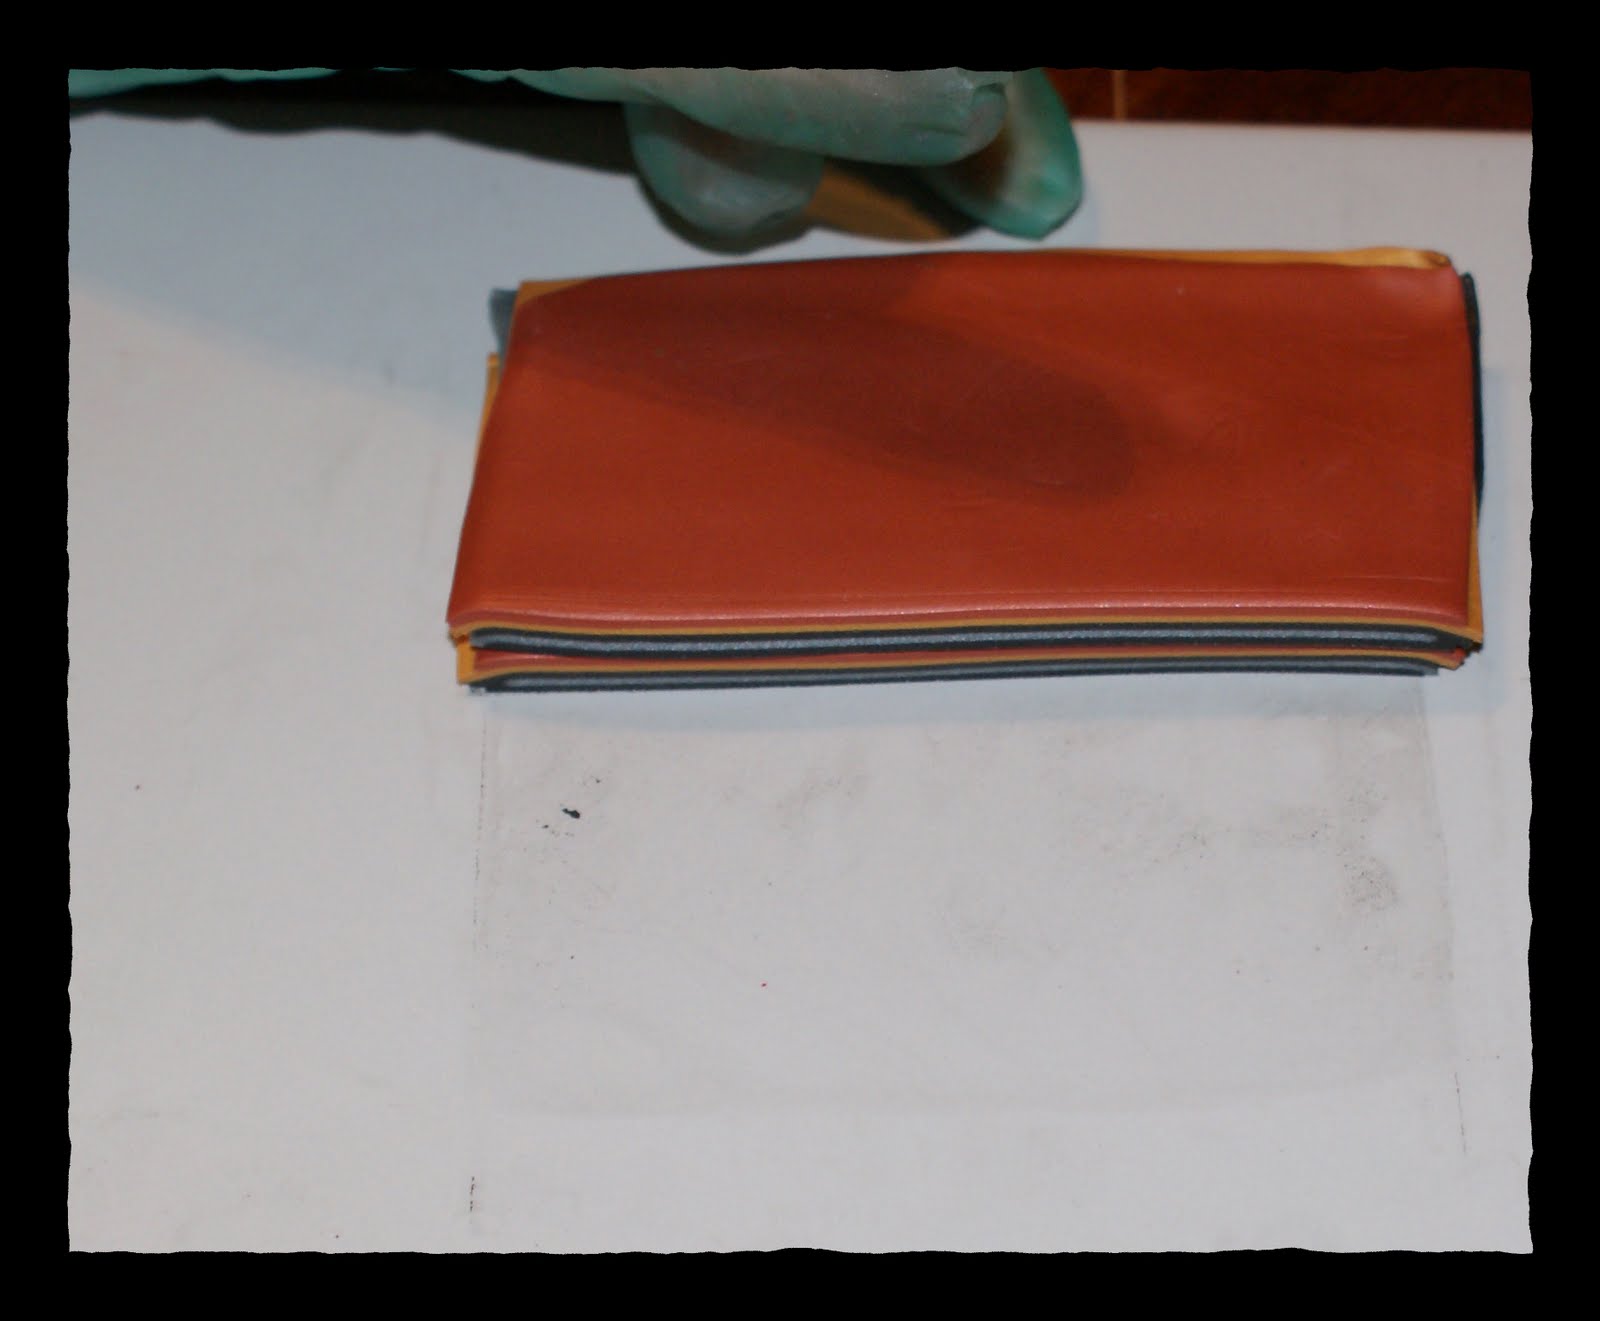 Now roll with roller until stack is half as thick. This doesn’t have to be perfect, as differences in pressure only make the final design more interesting. Cut in half and stack again.
Roll to half thickness, cut in half and s tack. Now you have your block and are ready to cut slices to use for beads, pendants, whatever.
  Before slicing with your curvy blade, let your block cool (the clay is warm after all the conditioning and handling, and will smear when cut warm. I put mine in the fridge on my ceramic tile for an hour before cutting. Turn the block on its side as pictured and slice thinly, but thick enough that you have a complete square (the blade shouldn’t come through on the front side of your slice.

 The above pic is my slice after run it through my pasta machine at a setting of three. Doing this creates a cool distortion. Now I will make a simple circle triangle pendant using my mokume gane slice…
 I rolled out a black sheet on setting 3, cut it in half and stack the two halves.
  I place my mokume gane slice on top of the black. Next, spray your cookie cutter with Armor All so that the clay doesn’t stick to it.
 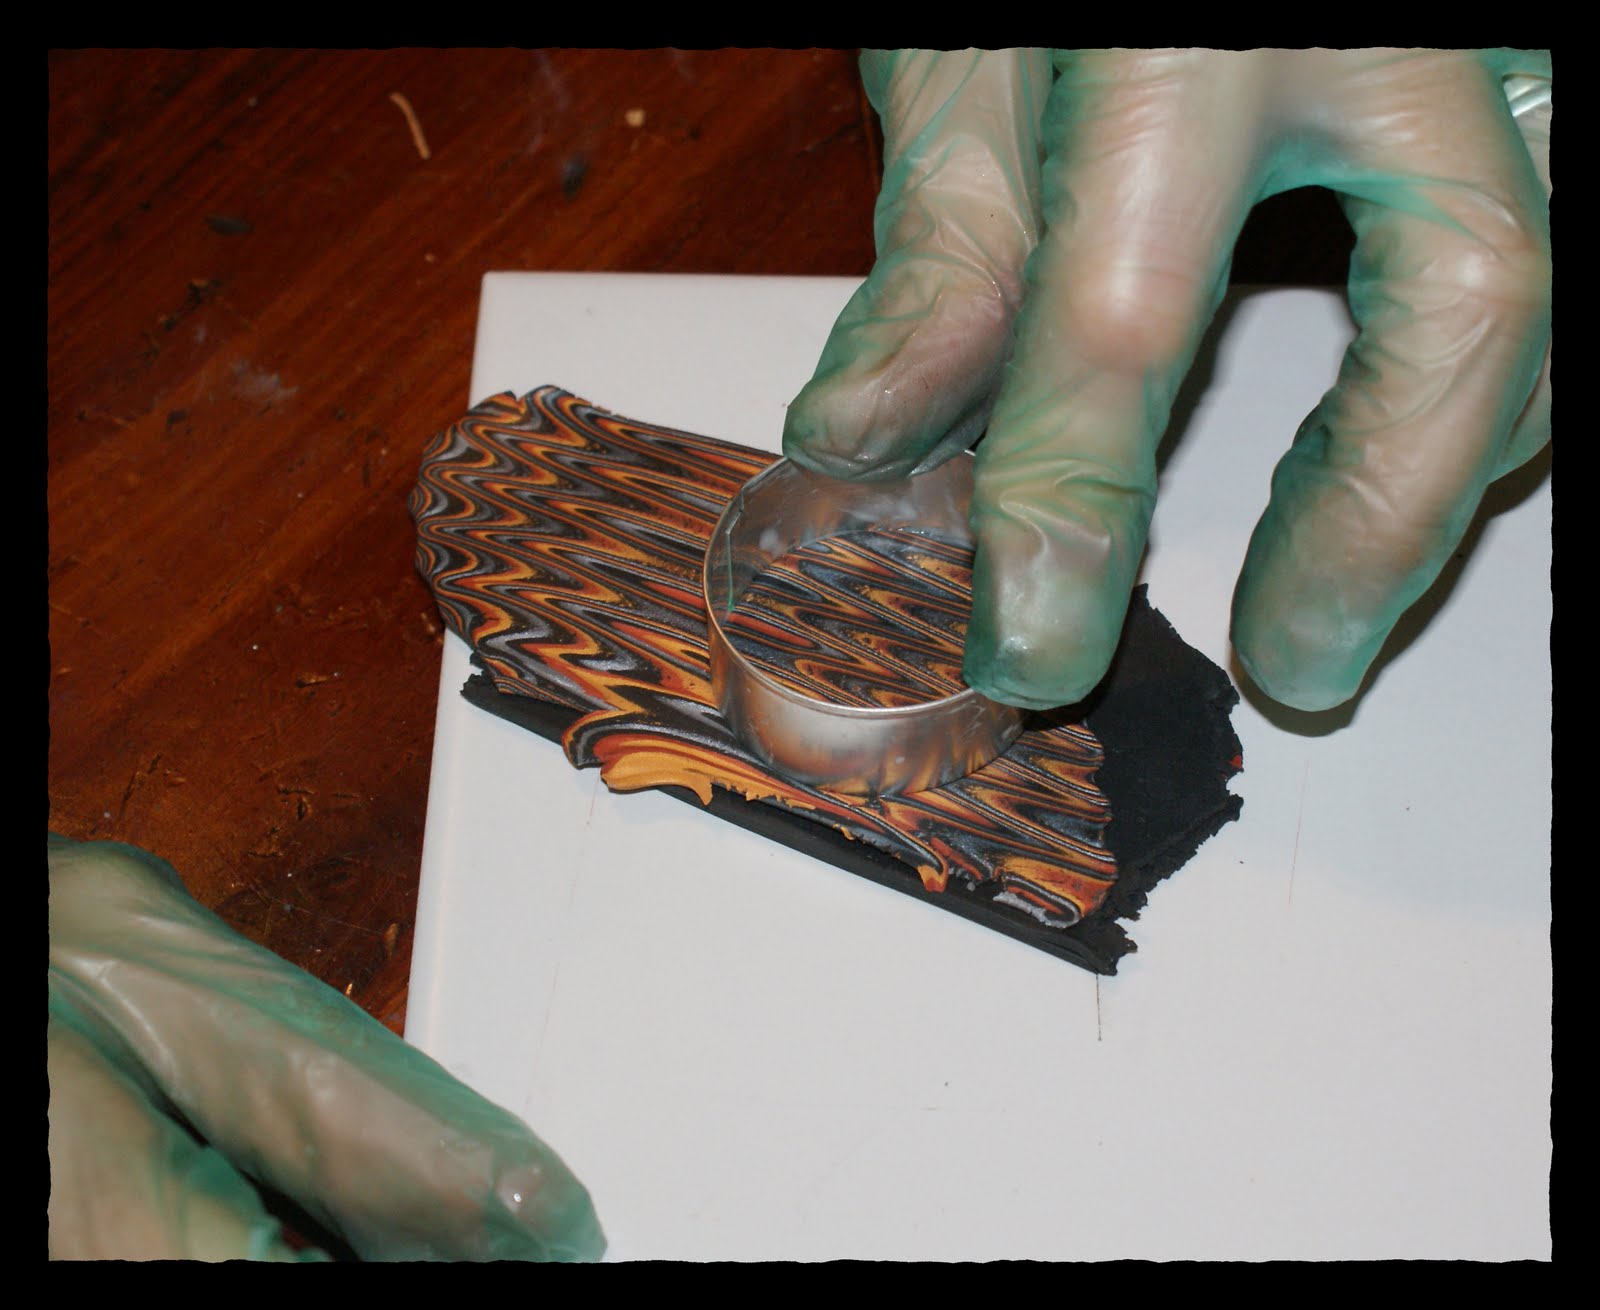 Then, cut out a circle, and lift the clay around it off, leaving the circle on the ceramic tile.
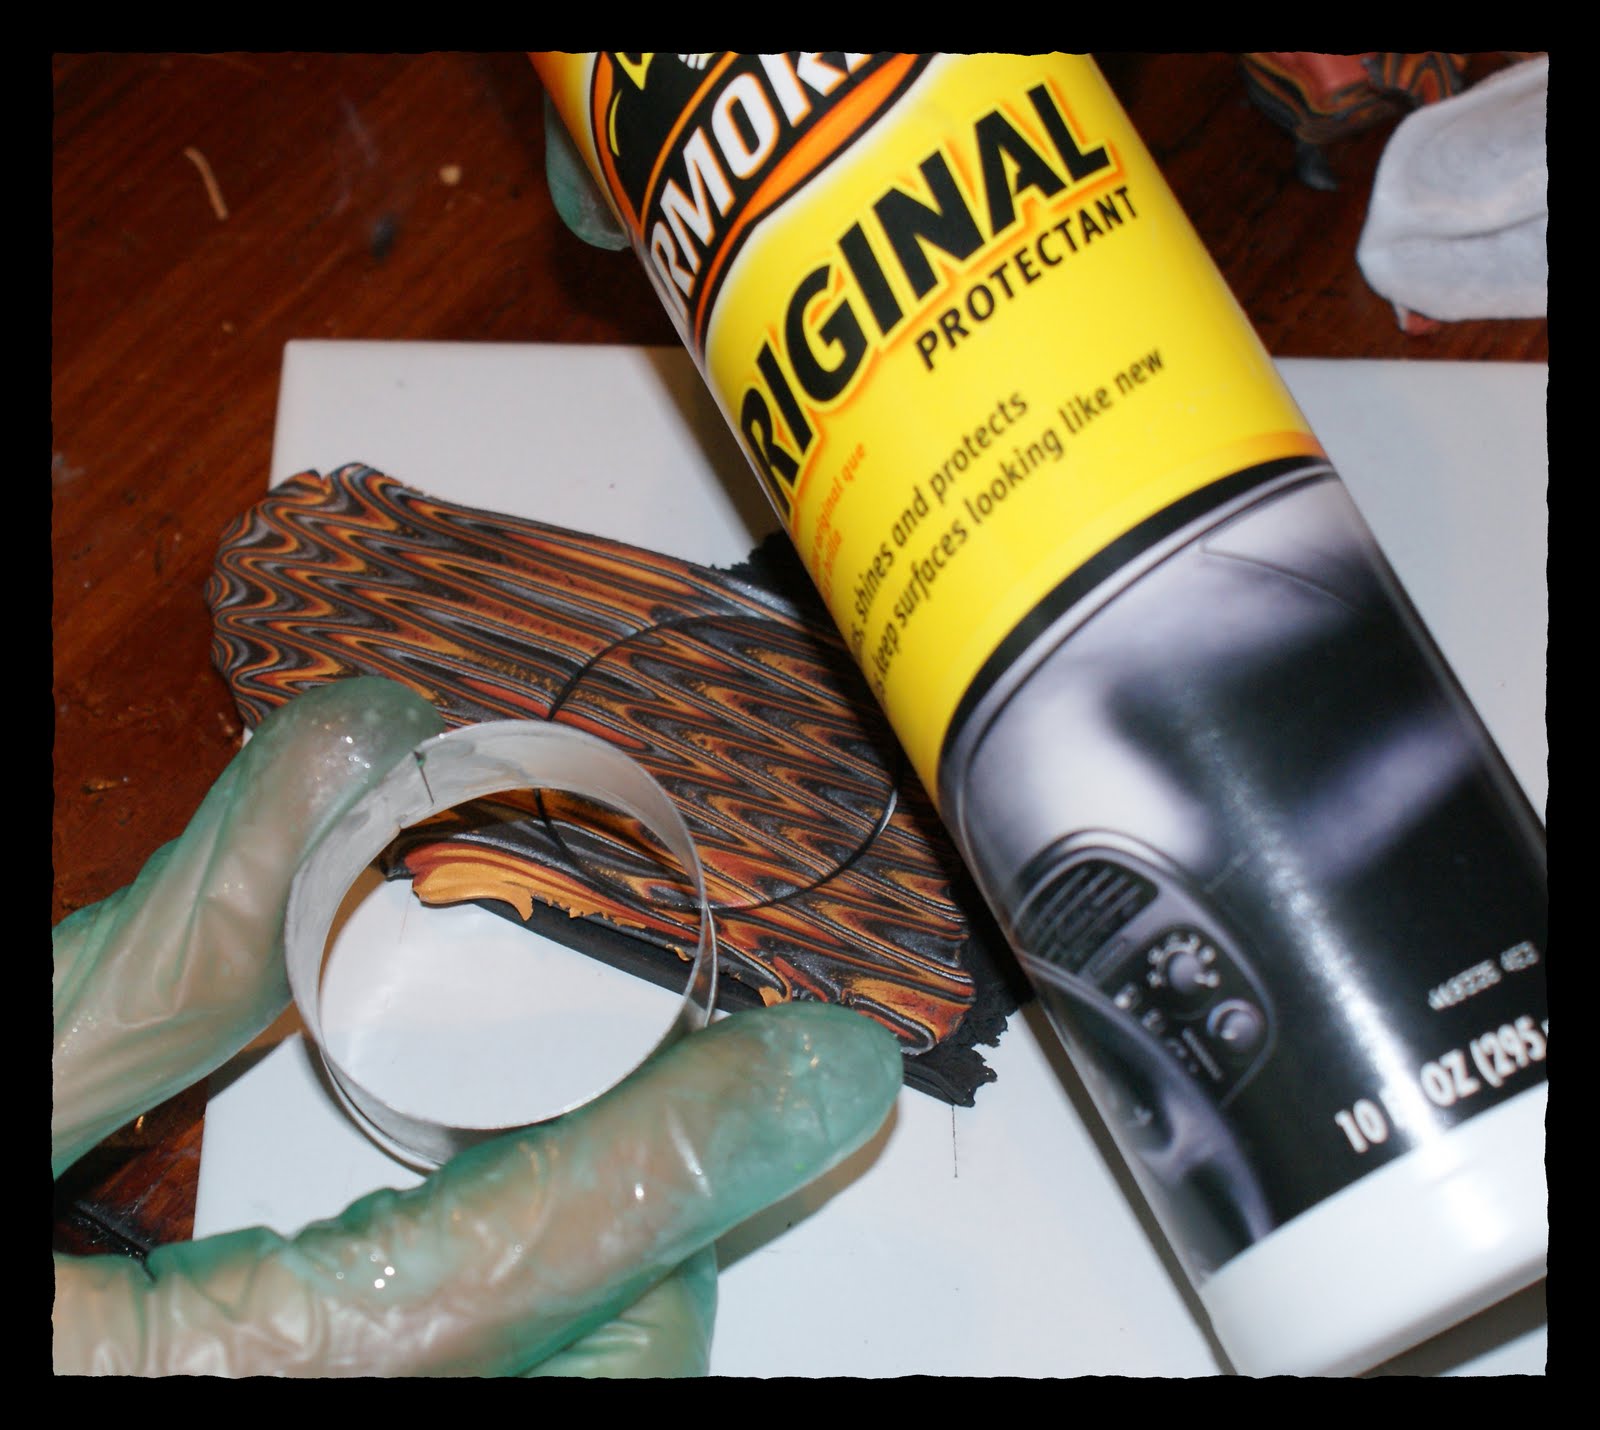 Using my needle tool, I poke a hole where I will place the jump ring to put the pendant on a chain. You can use a coffee stirrer or tooth pick for this as well.
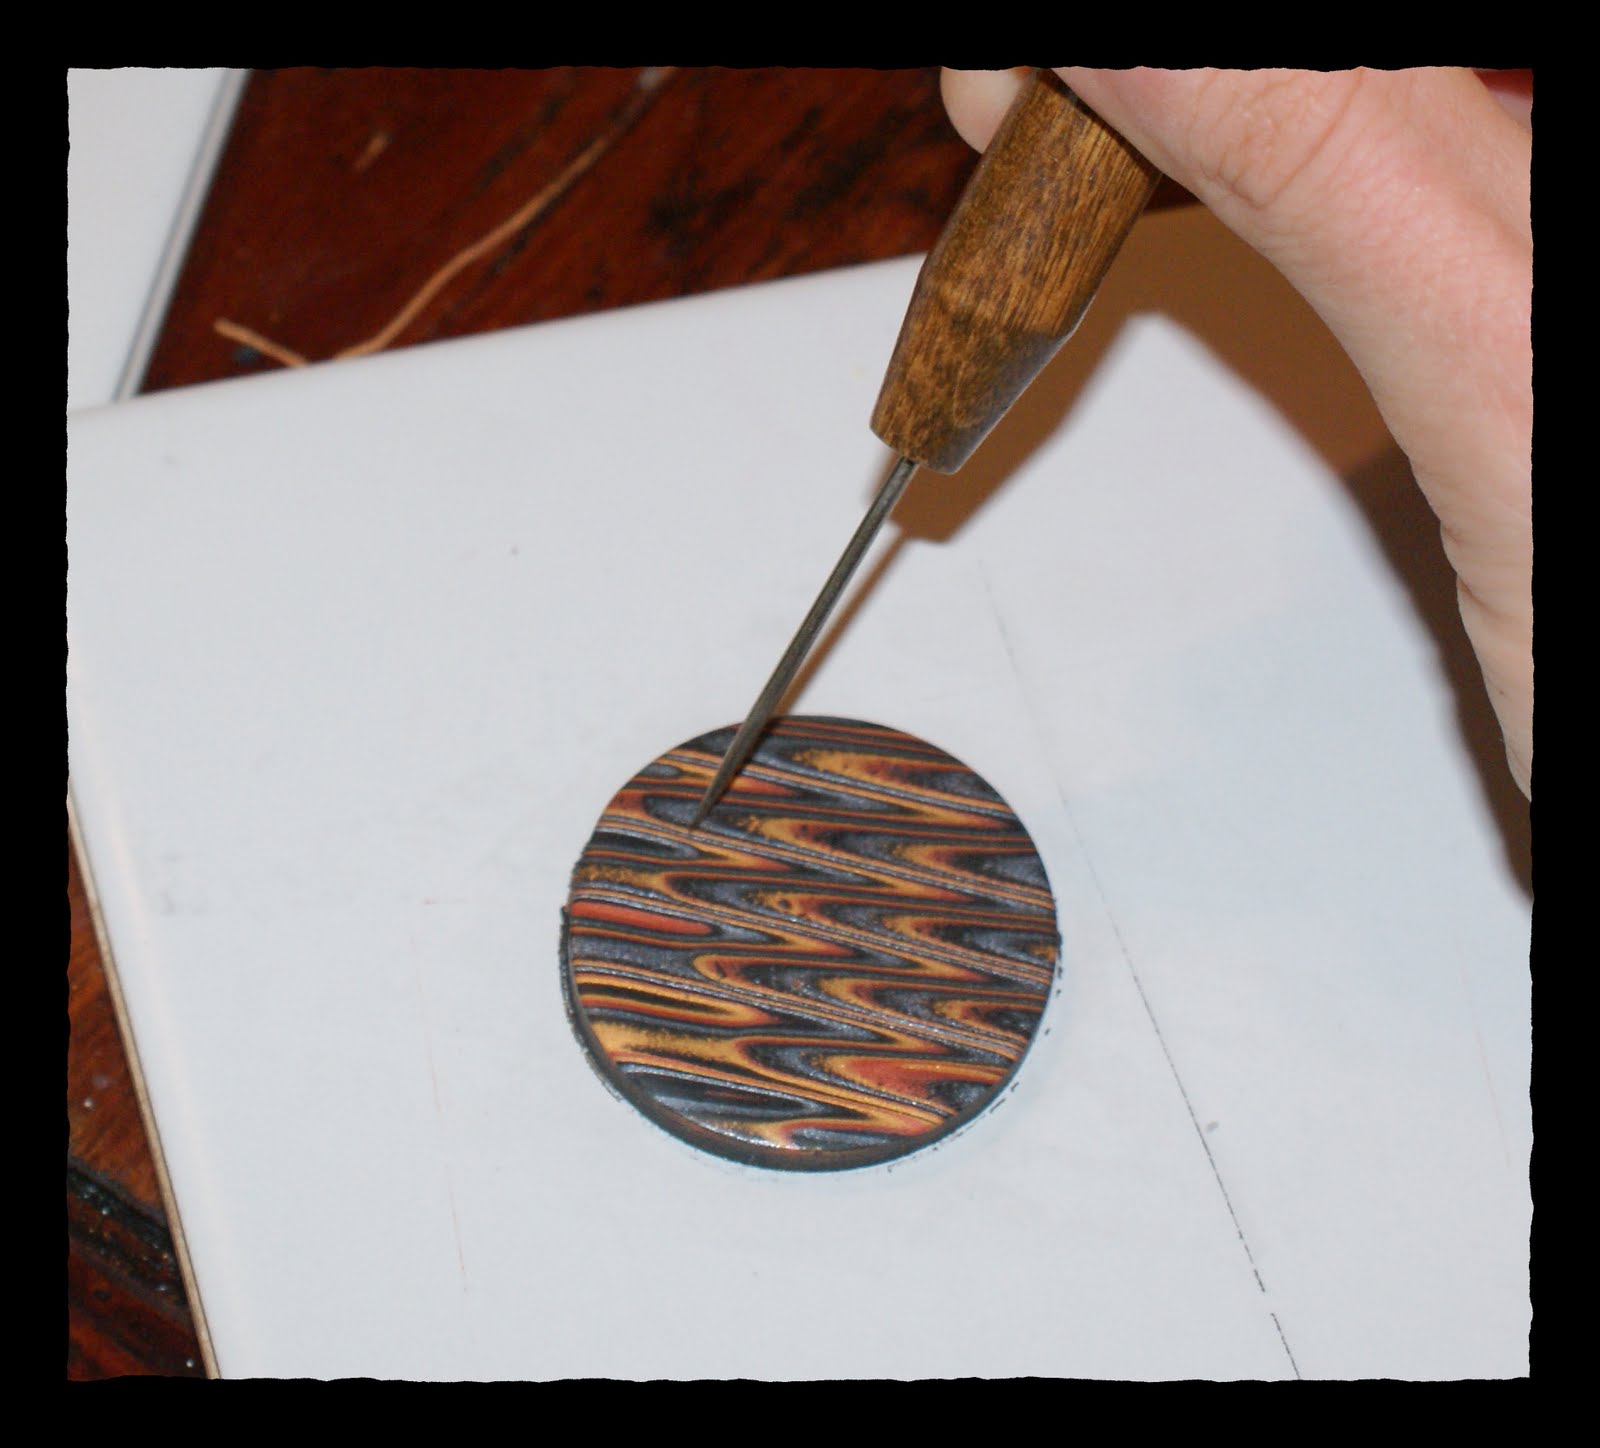 Now place the piece in the oven and bake per clay instructions. I baked this at 275 degrees for 20 minutes. Remove from oven and let piece cool for 5 minutes before handling. I sand my piece with 400 grit, then 800 grit wet to dry sand paper (which you can find in the automotive section at wal mart or wherever). This gets rid of little imperfections. After this, I buff the piece on denim by rubbing it quickly back and forth for 2 minutes or so. This makes it all shiny, in theory 🙂
 I cut a triangle out of a small silver sheet of clay rolled on a 6 setting, and made impression for texture with a rubber texture sheet. I baked this for 15 min at 275, then used Lisa Pavelka polymer clay glue (small amount is sufficient) to glue it to my circle medallion. I could have put the raw triangle on the raw circle and baked them together. This would have eliminated the need for glue since raw clay sticks to raw clay. The downside is that lifting the thin triangle sheet off of the tile while it is still raw will stretch and distort it. No good. Baking it on the sheet allows me to wait until it is cured to lift it off of the tile, thereby not stretching it. Good.
 Once the triangle is glued on, I finish my piece by spraying it with rustoleum varathane spray. You have to be careful what finish you use, as many will react with the clay, even months down the road, making it gooey and ruining your piece. Sprays are generally not recommended, but the varathane pictured has been tested out to one year, with no bad reactions with the clay. I personally like the spray option because there are no brush strokes, but Future Floor Finish (which I found at home depot) is quite popular among polymer clay artists. You will find what works for you. The rustoleum varathane gives a beautiful shine. I am partial to it.
 Add a jump ring to your pendant and throw it on your favorite chain. That is it. I would love your feedback. I am just getting into posting tutorials.