Digital Art Tutorial & Letter Fun

Screen Shot 2013-02-15 at 3.35.32 PM

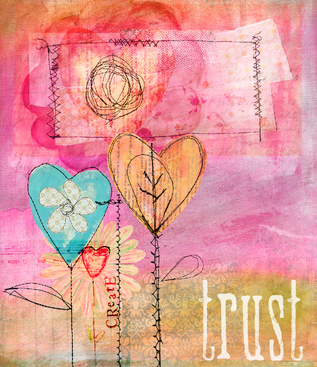
I am knee deep in hand lettering classes as part of my 2013 resolution.   My hand hurts from practicing, so I took a break from inspiration and thought I would share with you this fun digital art journal tutorial from Nancie Rowe Janitz.  She has several tutorials that will teach you to make some amazing pieces by scanning in backgrounds, photos, doodles and whatever you can think of to incorporate into your digital art.  Sometimes messy is fun, other times you just want to play in a way that doesn’t involve a ton of supplies and cleanup!  If I am unsure of where to go with a mixed media piece, I often scan in my background to play with text and elements to figure out a layout that I then do by hand.

hand lettering, doodlingHere is a doodle I did with the lettering workshop Letter Lab with Lori Vliegen.  It is a great class and I am looking forward to developing my own handwritten alphabet.

art journal page, doodling, mixed media

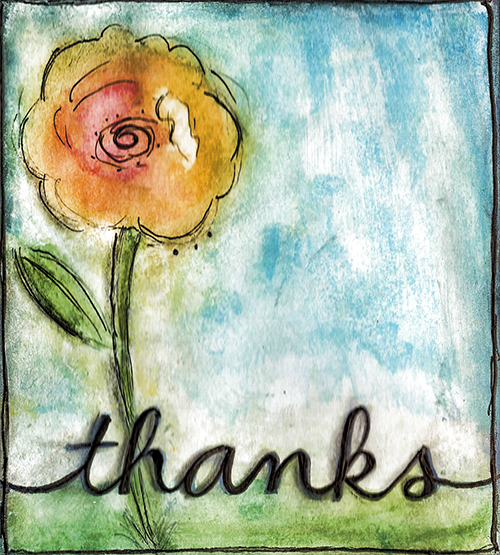
This was part of a journal page I learned from techniques in Lori’s class.  It is water color on mixed media paper, Pitt pen and graphite pencil.  I scanned it and applied the Topaz Affects Grunge filter in Photoshop.

Thanks for stopping by, and I hope you are inspired to create!

Make Vibrant Artwork in A Snap (+ Love Printable)

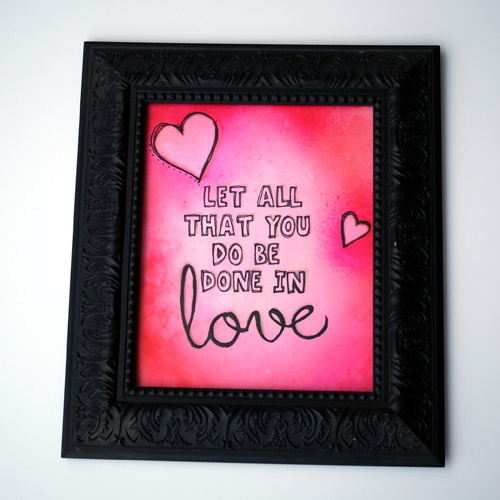
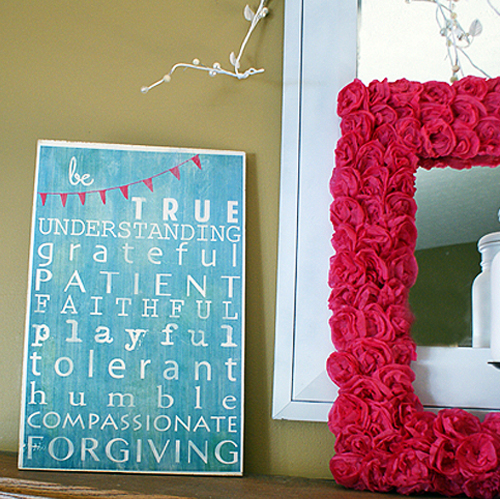
Corinthians 16:14 Dylusions ink background art print by @savedbyloves

[pinit]

This post was originally shared at Fox Hollow Cottage.

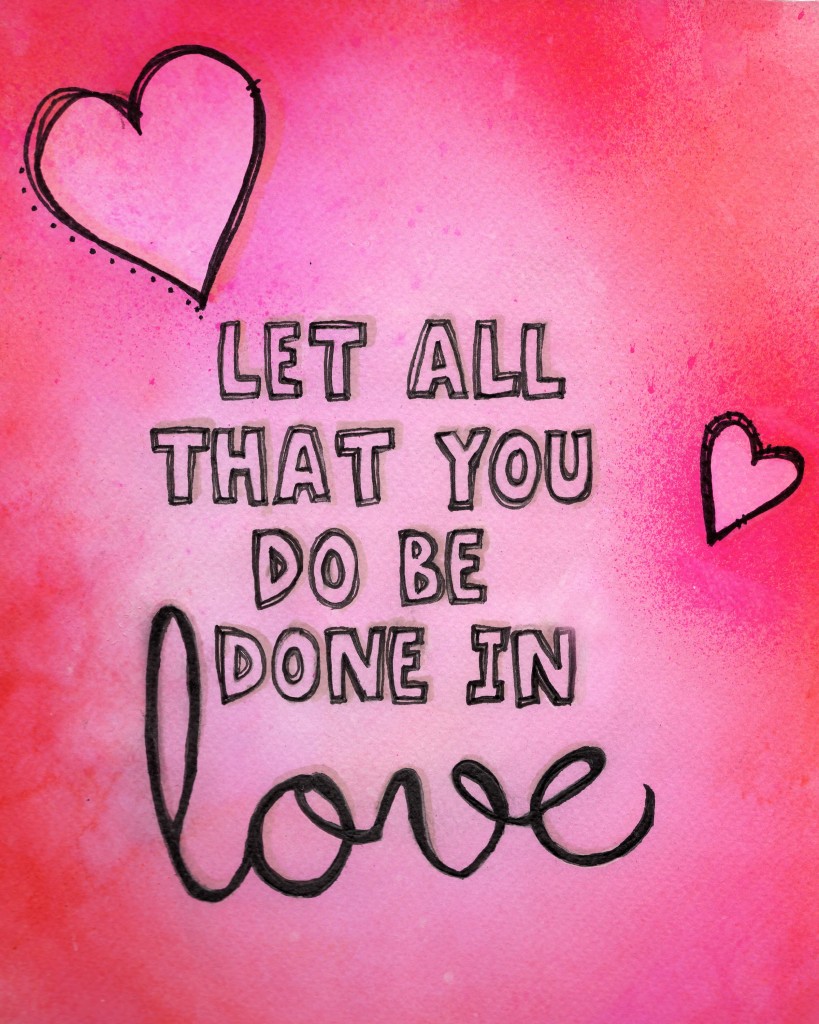
 I have been playing with Dylusions spray inks lately, and am in love.  Why?  Because you can create gorgeous art with the spray of a bottle.  Using a background I created in about 1 minute with this dye, I made you a Corinthians love verse printable to download and frame.  Want to make your own? Scroll down for the video and get creating.


Free Love Verse Printable by @savedbyloves #Dylusions #Valentine'sDay


Right click the image to pull up the full res 8×10, download and print!

Maybe you wish it were a different color, or had a specific saying.  That is why I am going to show you how to create your own vibrant, watercolor background using spray inks, and how to get your custom text/designs on there.

SUPPLIES:

Dylusions spray ink (Bubble Gum pink and Post Box red used here)

Watercolor paper

Water spritzer

Paper towels

Stencils of your choice (I used hearts to go with my love theme)

Hair dryer or heat tool

Transfer paper, design to transfer, and pencil (or just pencil if you want to freehand your design)

Micron artist pen in black or other permanent black pen (size 03 used here)

Here is a quick video showing you the simple process:

If you scan the background, the editing possibilities are unending.  Use it as the base for subway art with my DIY subway art tutorial.

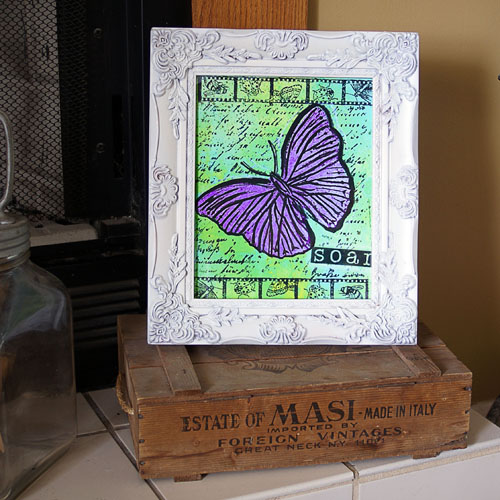
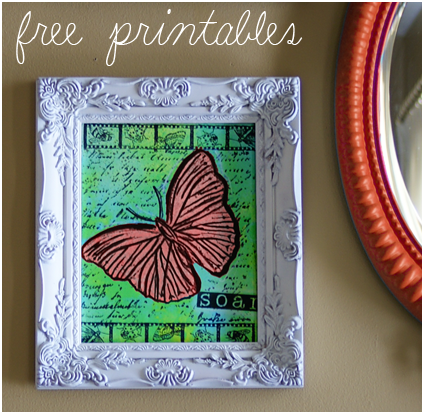
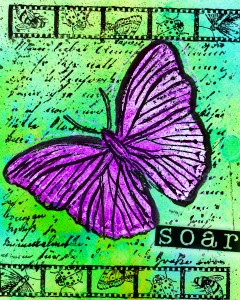
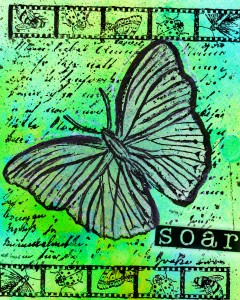
Change the hues, add text and images, digital scrapbooking, even use it as your blog background.  Here is an example of a Dylusions background that I hand stamped, scanned, and altered the color of the butterfly:

ButterflyNormal

Digital scrapbooking, dylusions ink background, art journaling

Signature

Printables & High Res Watercolor Background

[pinit]

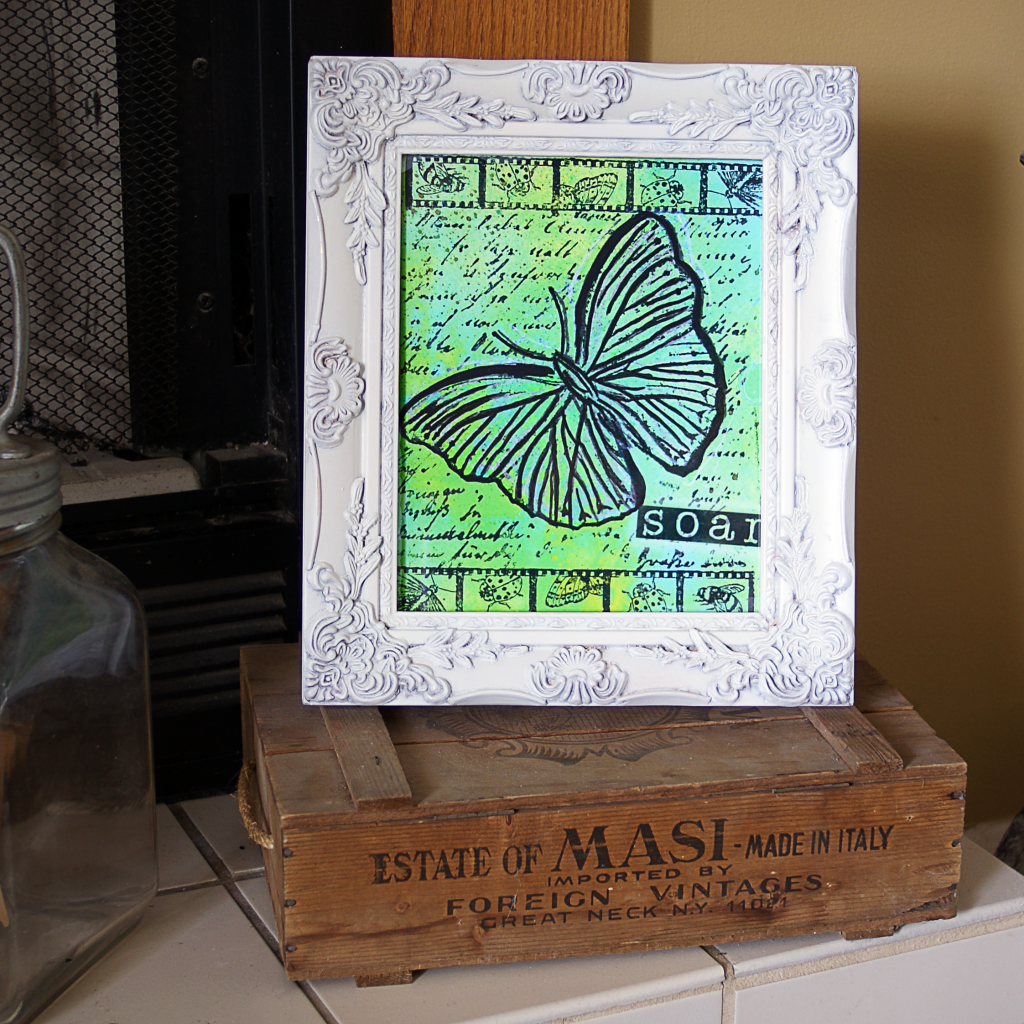
Free butterfly watercolor printable, digital stamp, Dylusions ink, from @savedbyloves

Free butterfly watercolor printable, digital stamp, Dylusions ink, from @savedbyloves

Digital scrapbooking, dylusions ink background, art journaling

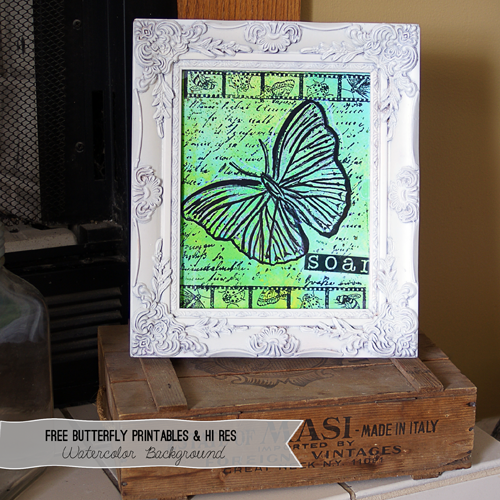
I have been a busy girl, playing with spray inks, stamps and my new printer (which I scored over the holiday for a steal)!  As a result, here are a couple of free printables for you to enjoy!  This is a watercolor paper sprayed with Dylusions for the background, stamped with inkadinkado Insect Amalgam cling stamp, and touched up with white gel pin and black Pitt pen for depth.

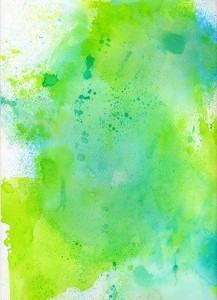
Just right click the link under the thumbnails to pull up the full res file and save it to your computer or print.  I also included just a watercolor background for you to play with in Photoshop.

***UPDATE:  After much research on printers for mixed media art, I landed on the Epson Artisan 837, and am loving it!  Gorgeous scans, prints, wireless, vibrant, perfect so far.


EPSON MFP image

HERE


Free butterfly watercolor printable, digital stamp, Dylusions ink, from @savedbyloves

HERE


Photoshop watercolor background texture

HERE


Alter these any way you want.  Please do not sell or redistribute as your own, but instead, direct people here for the files!


Make Little Polaroid Magnets

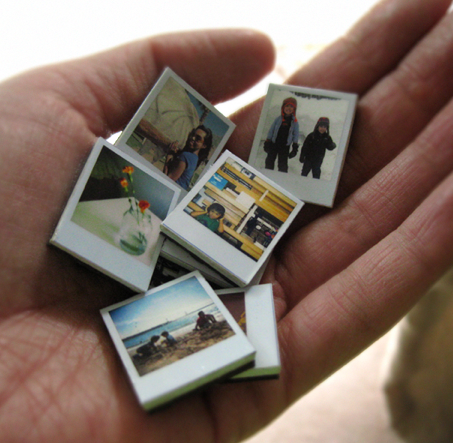
Make polaroid photo magnets for great #handmadeGifts #ChristmasGifts by Ambrosia Girl, featured @savedbyloves

[pinit]

One of the most meaningful gifts to give are photo creations.  With the abundance of user friendly photo editors out there, you don’t have to be a Photoshop pro to create cool effects on your images these days.  Make theme into a keychain, put them on a mug, or create these see mini polaroid magnets with Ambrosia Girl’s DIY.  I would love to open a gift and find these little guys inside, full of the people and memories I hold dear.

Autumn Pop Art Printables

[pinit]#Printable #Fall Decor by @savedbyloves #DIY #crafts#Printable #Fall Decor by @savedbyloves #DIY #crafts

[pinit]

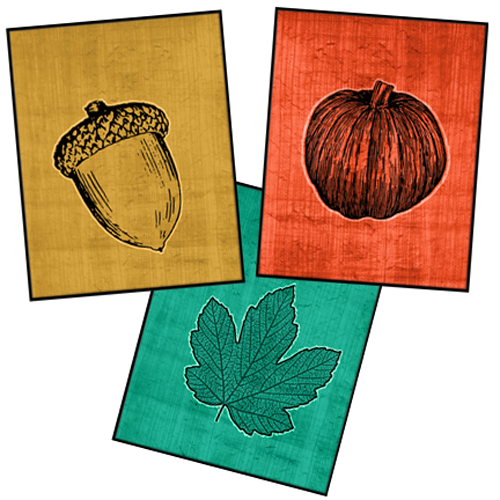
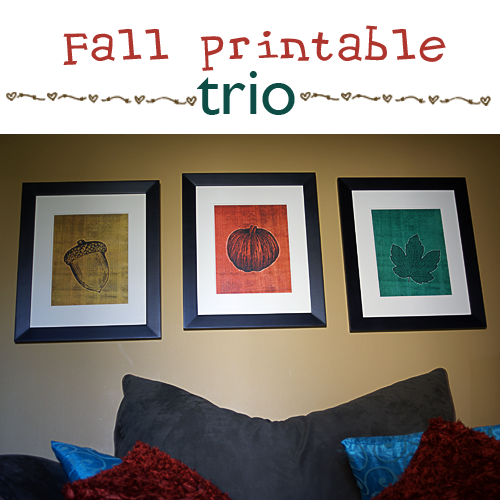
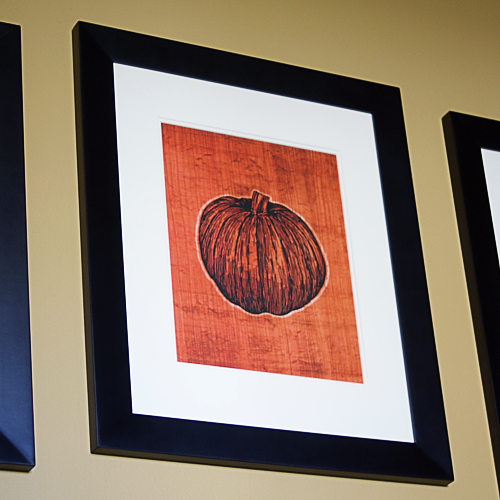
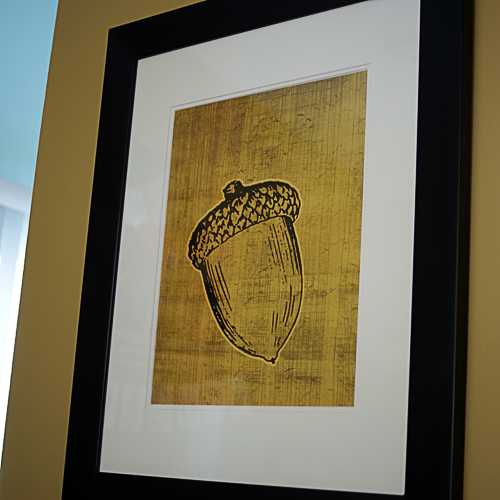
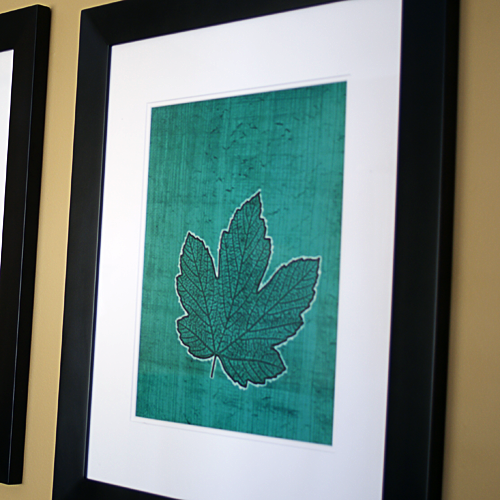
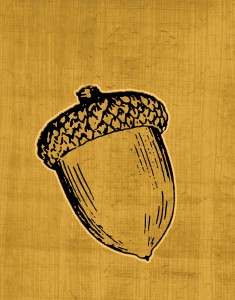
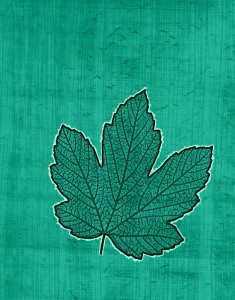
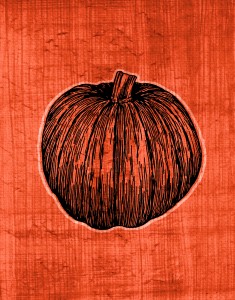
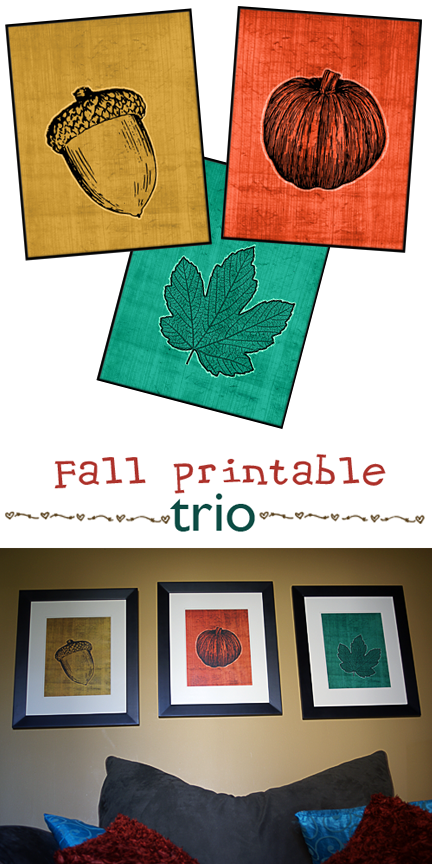
It was time for me to update my wall with some fall art.  If you have been around here for awhile, you know I switch out these 3 11×14 frames to match the seasons, and provide you with free printables when I do so.   I made these fall themed prints in Photoshop, using the background layers from the Z Gallerie trio shared previously.

#Printable #Fall Decor by @savedbyloves #DIY #crafts

#Printable #Fall Decor by @savedbyloves #DIY #crafts

#Printable #Fall Decor by @savedbyloves #DIY #crafts

DOWNLOADS:

Click the thumbnail to bring up the full resolution file and print at home or send to your printer service.

AcornPopArt

LeafPopArt

PumpkinPopArt

#Printable #Fall Decor by @savedbyloves #DIY #crafts

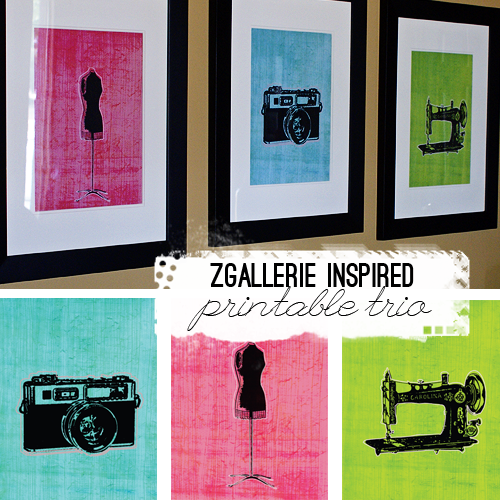
Creative Space Printable Trio

Yesterday at Printable Decor, I share these Z Gallerie inspired prints I created in Photoshop.  They are available for you to download and print, size 11×14.  Add some color to your creative space with this free printable trio.

Whimsical Bunting Subway Art Printable

Target knock off subway art with printable and display DIY from Printable Decor

Today at Printable Decor, I shared this Target knock off subway art printable and the display DIY.  The Target original cost $24.99.  Go see how I created the finished piece for under $2!  Submit a printable while you are there, and be sure to follow along on FB and Twitter for daily freebie prints to decorate your surroundings without emptying your wallet.

Instagram Photo to Uprinting Rolled Canvas

Instagram to Canvas

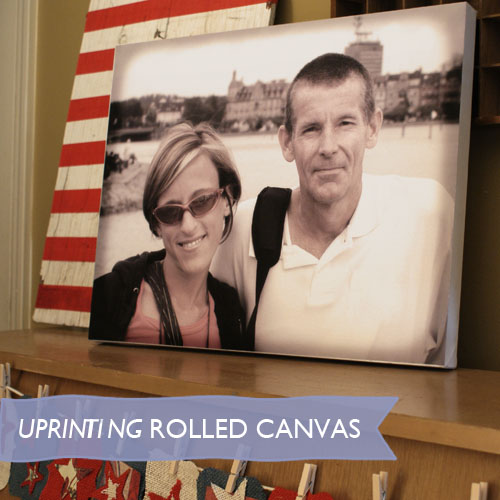
Do you wish you could have your Instagram filtered photos on a big canvas to display, with0ut spending big bucks?  UPrinting canvas prints are the way to go.  You apply a free Instagram Photoshop action to your photo, upload it to the UPrinting site to get a rolled canvas print for half the cost of a stretched canvas print, and mount it on a garage sale or thrift store painting with Mod Podge!
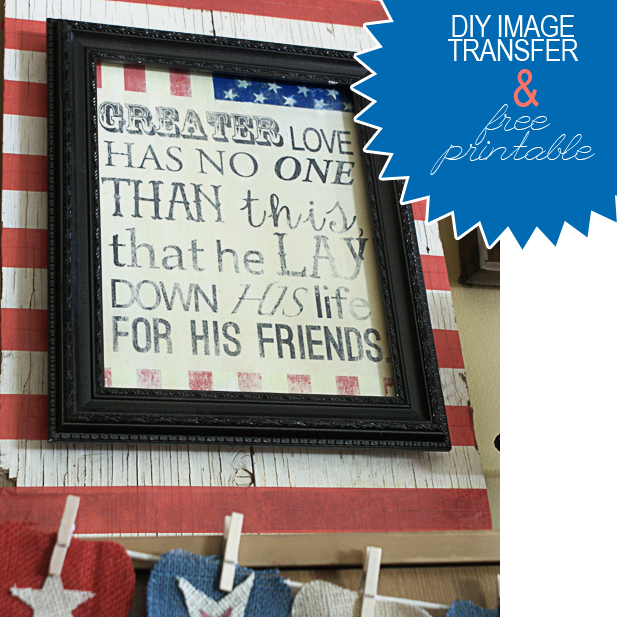
Here is how I did it:

Download and install Daniel Box’s free instagram Photoshop Actions

Instagram Canvas Print

Photo to Canvas Print

How great is this?!  When I got my rolled canvas print, I was absolutely amazed with the quality.   The canvas is thick and tough, the print just like the file I uploaded.   The user interface and ordering process at UPrinting.com are super user friendly and hassle free.   At such reasonable price, I will be ordering  more.
Join me in following UPrinting on Facebook, Twitter, and Pinterest.

Disclosure:  I received product and payment for this post.  All opinions expressed in this post are honest and mine.  I believe in everything I promote.  My readers are first.

See what others are doing with these great rolled canvas prints:


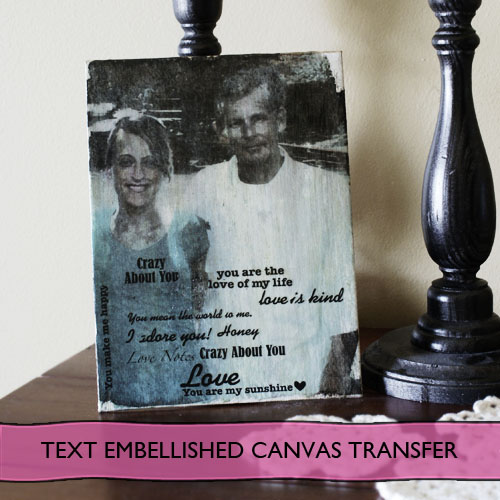
Mod Podge Transfer Instagram Photos to Canvas & Text Embellish

Mod Podge Transfer

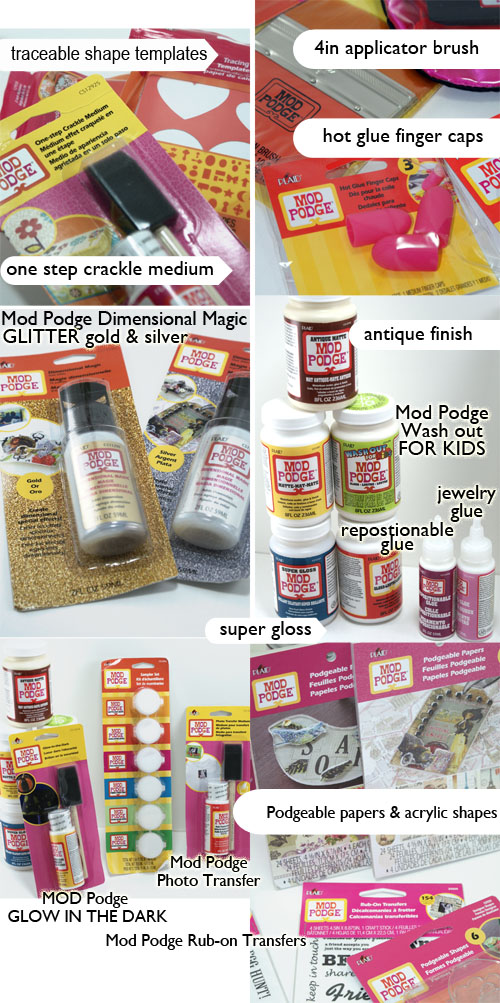
I have been busting at the crafty seams to tell you about this new product line from Mod Podge by Plaid Crafts.  It includes Podgeable collage papers, Podgeable Shapes, a bunch of new Mod Podge formulations, finish sprays and tools!  I could not believe when I opened the box and saw all of the shiny new supplies:

Mod Podge Product Line

Mod Podge Products By Plaid


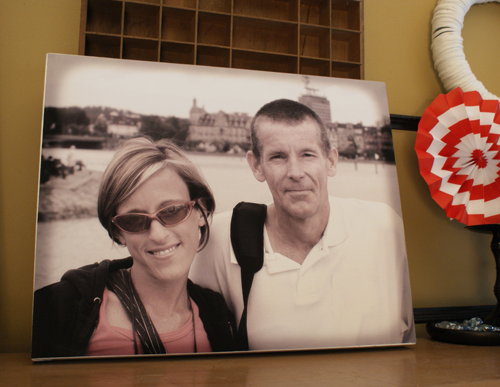
I have used many of the products since getting the package in the mail and will show you a round up at the end of this post.  Today’s project uses the same image transfer to canvas I showed you last week, using Mod Podge Glossy for the transfer and Mod Podge Antique for the finish coat, with a couple of tweaks –   I used Photoshop to create an Instagram effect on the photo before printing it for the transfer.  After the photo transfer, I used Mod Podge Rub-On transfers to embellish the final canvas with text.

You will need:

  • Your photo printed on laser jet
  • Mod Podge Glossy Finish
  • Mod Podge Antique Finish
  • Mod Podge Rub on transfers
  • Foam brush or other paint brush
  • Canvas to fit your print (the print used here is 11×14)
  • Bowl of water
  • Dry towel
  • Mod Podge brayer or squeegee
  • Mod Podge Silicone mat, or other non stick work surface

Follow the instructions I showed you previously, using your photo.  I used these free Photoshop actions by Daniel Box to edit my photos with Instagram effects in PS before having them laser printed at my local Office Depot.

Instructions:

  • Cut Photo to fit canvas, and coat canvas and photo with generous layer of glossy Mod Podge.
  • Flip image (print side down) over onto canvas, making sure to center it where you want it before placing, and smooth out any air bubbles with Mod Podge brayer, squeegee or with your hand from the center out.

Transfer instagram photo to canvas

Let that dry for a minimum of 2 hours.  I let mine dry overnight.

Mod Podge Image Transfer

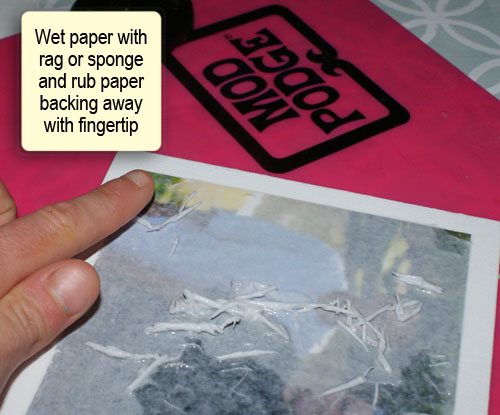
  • You will may need to re-wet with a mister or sponge brush and continue rubbing away paper backing until you are satisfied with the image.  It doesn’t need to be perfect.  You are going for a vintage feel, and you are going to use Mod Podge Antique and rub-ons on top,  so a distressed look is ok.  Just try not to remove too much of your image when you are rubbing away the back.
  • Once you are happy with your image, Coat with Mod Podge Antique, as many coats as you need to get the antiqued effect you desire.  Let dry 30 min between each coat. I applied my the text after the first coat of Mod Podge Antique, then coated twice more to lessen the contrast between the rub-on transfers and the image.  Apply Mod Podge rub on transfers per package instructions.

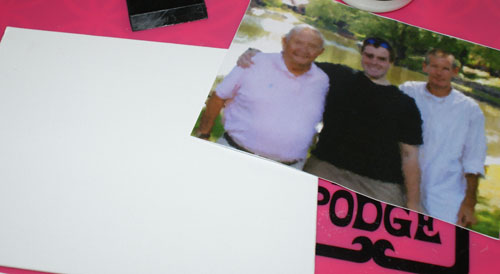
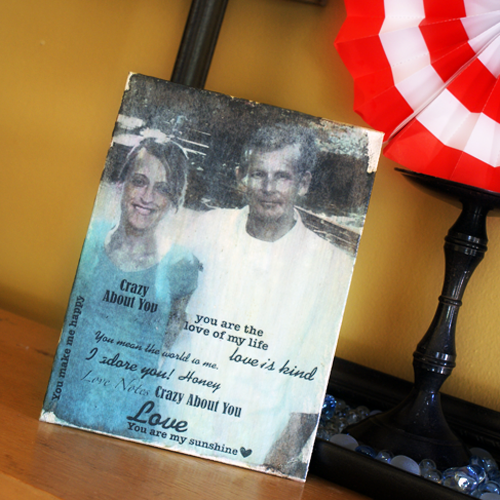
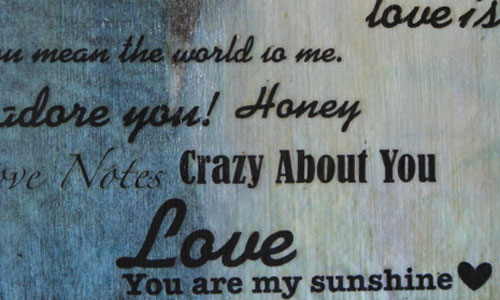
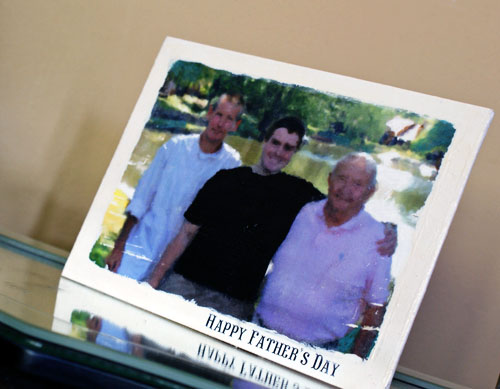
These are fantastic.  They come in phrases for family, love, seasons, holiday, and pretty much anything you can think of.  I used the love theme for the image of my husband and I.  The Father’s Day theme was perfect for the picture of my husband with his father and son.  Application was easy with the included craft stick.

Mod Podge Image Transfer

Mod Podge Image Transfer

Mod Podge Image Transfer

  • Here you can see the image for the Father’s Day Gift I used is slightly smaller than the canvas, giving a white border in my finished piece.  I wanted that look, and I brushed around the edges with white acrylic paint.

Here are all of the projects I have done with the new Mod Podge line, and which product I used in each (click images to go to full photo tutorials):

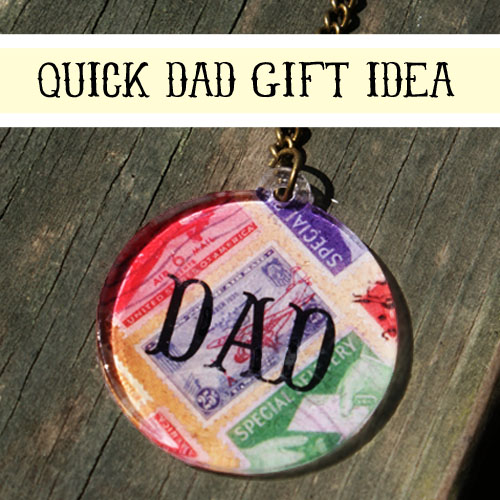
Mod Podge Dad Keychain Using Podgeable Paper and Shapes

PODGEABLE PAPERS AND ACRYLIC SHAPES

MOD PODGE DIMENSIONAL MAGIC

MOD PODGE RUB-ON TRANSFERS

MOD PODGE GLOSS

MOD PODGE GLOSSY

MOD PODGE ANTIQUE

MOD PODGE TRACEABLE SHAPE TEMPLATES

MOD PODGE GLOSSY

MOD PODGE ANTIQUE

MOD PODGE PEARLIZED ACRYLIC SEALER

I am so excited about this line.  Everything I have used has been wonderful.  It is no secret I love me some scrapbook paper jewelry, and the Podgeable Papers are scaled to fit those clear acrylic Podgeable Shapes perfectly.  I have big plans there.  My favorite new product is the Mod Podge Antique.  I love the effect, and that it is produced by a product that also seals. These products are now available at your Michael’s Craft Stores.

If you want to learn step by step how to use all of these different formulations, and be inspired by over 40 how to photo tutorials, make sure you check out Mod Podge Rocks, the book  It is a steal on Amazon.  I have it, love it, refer to it often, and reviewed it here.

Mod Podge Rocks, the book

Join me in keeping up with the exciting products and projects using them by following Plaid Crafts:

Plaid Crafts on Pinterest: http://pinterest.com/plaidcrafts
Plaid on Facebook: http://www.facebook.com/InspiredByPlaid
Plaid on Twitter: http://twitter.com/plaidcrafts/

Disclosure:  I received product and payment for this post.  All opinions expressed in this post are honest and mine.

Check out these amazing projects using this rockin’ line of Mod Podge products!


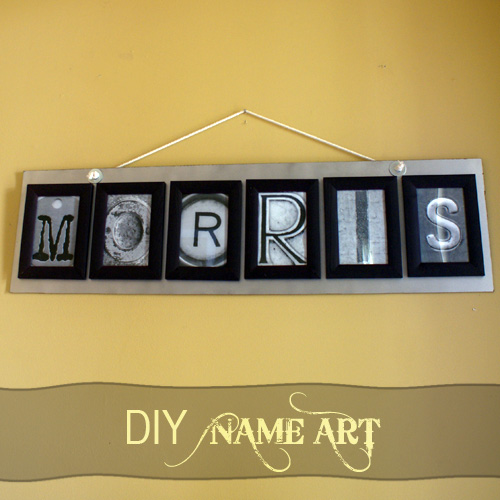
DIY Name Art Under $10

DIY Name Art

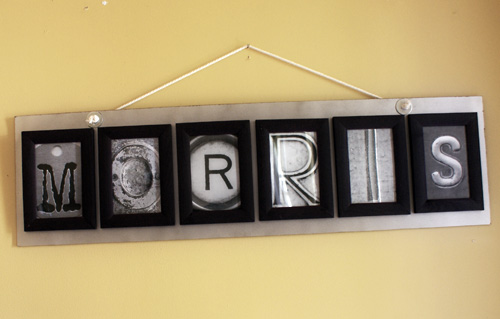
I was asked to make wall art incorporating the name Morris, and I remembered a photo letter art project from around Christmas time by Shanty 2 Chic.  Here is my version, inspired by the lovely tutorial from Whitney!  I made it using a piece of hardboard left over from another project, 6 Dollar Tree frames, some spray paint, E6000, 2 washers and a rope for the hanging mechanism.  The photo letters are available for free on Flickr (thanks Whitney).

Letter Photo Art

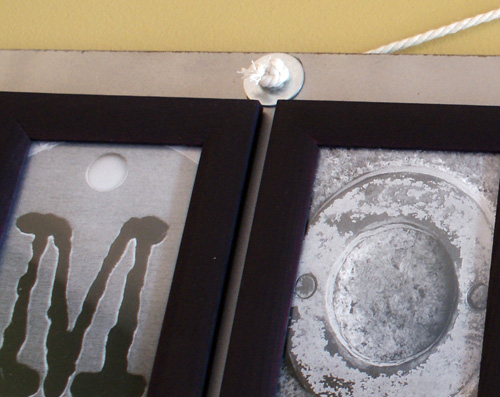
To finish, I drilled 2 holes on top, glued washers over them and ran canvas rope through for the hanging mechanism.  I am digging the industrial look of the final piece.  This is the first time I have ever used the Krylon Stainless Steel spray paint… love it.

Letter Photo Art

Letter Photo Art

Privacy Policy