Paper Christmas Tree Earrings

Paper Christmas Tree Earrings


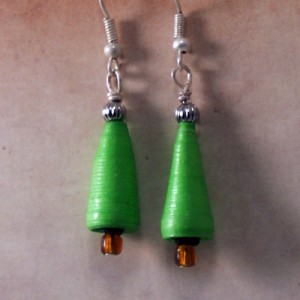
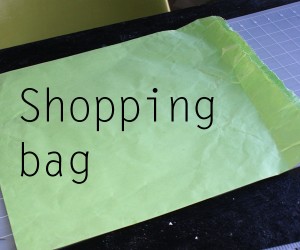
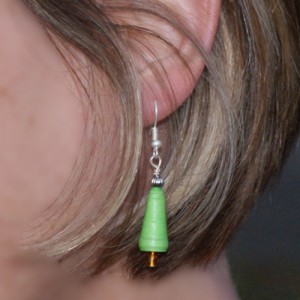
Today I will detail how I made these Christmas tree earrings using a shopping bag.  Yep, a shopping bag.  These are the perfect Christmas gift for someone on your list, or accessory to wear for your next holiday get together.

Paper Christmas Tree Earrings

Supplies:

  • Paper
  • Toothpick
  • Straight edge
  • Glue stick
  • Mod podge or other sealant
  • Jewelry findings to back earrings
  • Round nose and flat nose pliers
  • Wire cutters
  • Beads of your choice to accent your tree
  • Craft Knife

Instructions:

Making Paper Beads

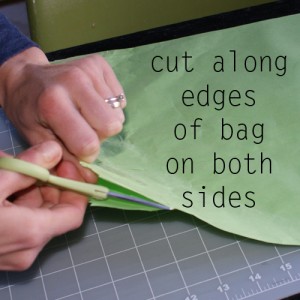
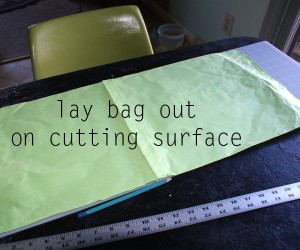
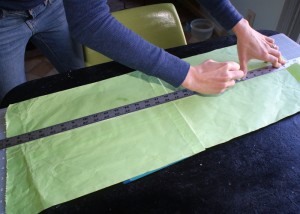
  • Cut the 2 side edges of the shopping bag to lay it out so that you have a single layer, long piece of paper.  To form the shape needed for the earrings, your strip of paper needs to be at least 24 inches long.  Here it is 31.5 inches.  You can glue together 2 magazine pages at the edges to get a long enough piece, or use giftwrap.

Making Paper Beads

Making Paper Beads

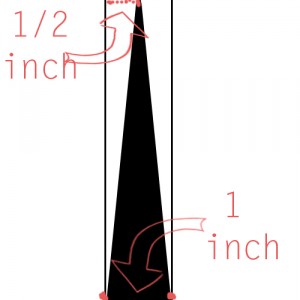
  • On your cutting surface, mark the 3 points of your triangle; the base I used was one inch, and the point should be half way between the base points at the opposite end.

Making Paper Beads

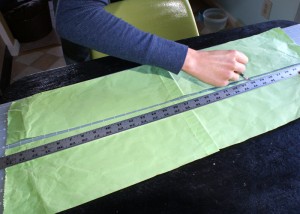
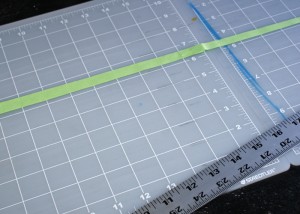
  • If you make lines on your paper, they will show up in the bead, so I like to line up my straight edge (bought this at Wal Mart awhile back for $5 in tools), and cut with my craft knife.

Making Paper Beads

Making Paper Beads

  • Here is my long, skinny triangle:

Making Paper Beads

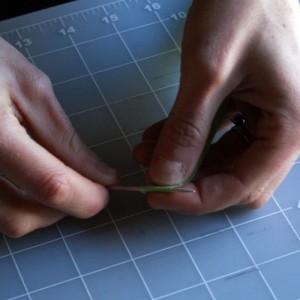
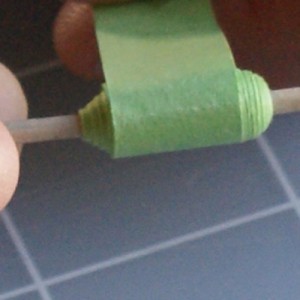
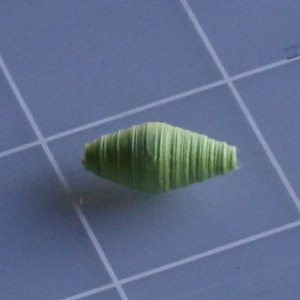
  • Starting at the base of the triangle, begin rolling the paper around a toothpick.

How to make paper beads

Making Paper Beads

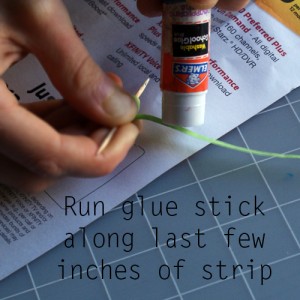
  • When you get to the last few inches of the triangle, run your glue stick along it and continue rolling, adhering the tip to keep the bead in place.

Making Paper Beads

Making Paper Beads

  • Carefully slide the bead off of the toothpick

How to make paper beads

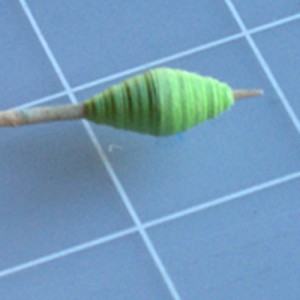
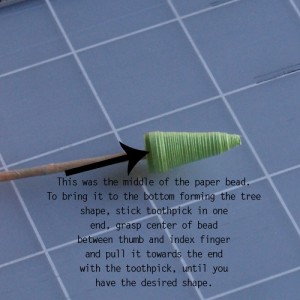
  • With your thumb and index finger, grab the bead at the center and put the toothpick at one end.  Pull the middle of the bead towards the toothpick to form the cone (tree) shape.

How to make paper beads

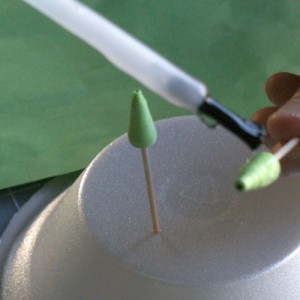
  • Seal the bead while it is still on the toothpick.  I used Martha Stewart’s decoupage sealant here.  Mod podge, diamond glaze, or polycrylic are other good choices.  Some people use clear nail polish with good effect.  Stick the toothpick into styrofoam to dry. Apply at least 2 coats of sealant, 3 is ideal.  After the last coat, remember to remove the bead from the tree from the toothpick after about a half hour or so. Leaving it on too long can cause it to stick to the wood, which is just not cool.

How to make paper beads

How to make paper beads

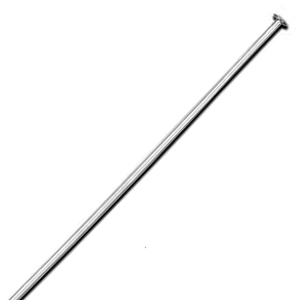
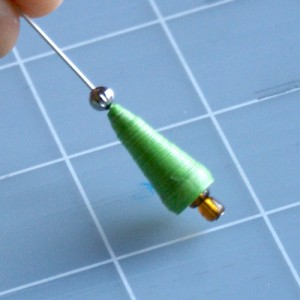
  • Place your beads on the headpin, starting at the bottom of the tree, so that the end bead is against the flat disk of the headpin.

headpin

How to make paper beads

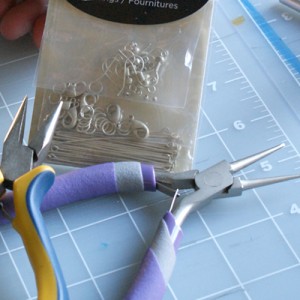
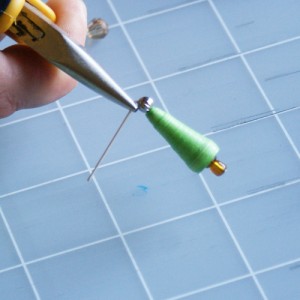
  • Using your needle nose pliers, bend the wire to a 90° angle, as close to the top bead as you can get

How to make paper beads

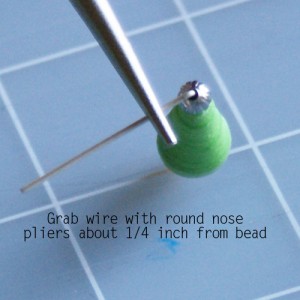
  • Grab the wire at about 1/4 inch from the bead as shown:

How to make paper beads

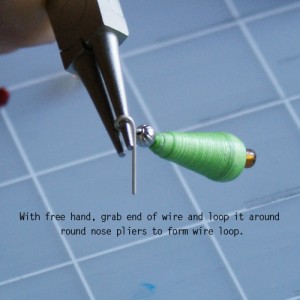
  • Using your free hand grab the end of the wire and wrap it around the round nose pliers to form a loop as shown:

How to make paper beads

  • Wrap wire around a couple of times then cut off excess with wire cutter.  Attach to earring findings and that is it!

How to make paper beads

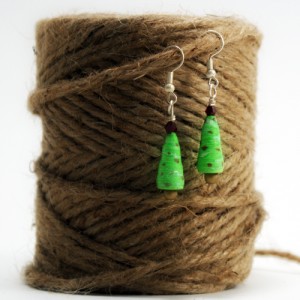
Here is a pair I made from the shopping bag and embellished with red and silver fingernail polish before sealing.

Paper Bead Earrings

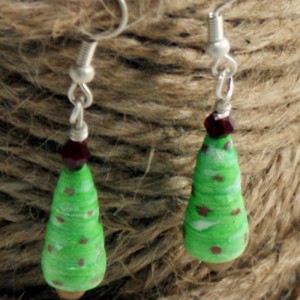
Here is a pair made with giftwrap.  I love how the red and green stripes.
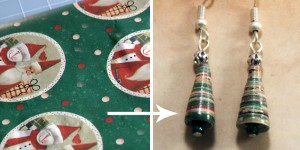
How to make paper beadsI hope you enjoy making your own.  Warning: making paper beads is quite addictive.  For more paper bead jewelry, polymer clay, recycled paper projects, and all kinds of other crafty DIY, visit my tutorials page or connect with SBLC on facebook.

Rolled Paper Bead Necklace

Paper Beads

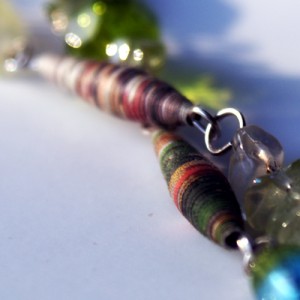
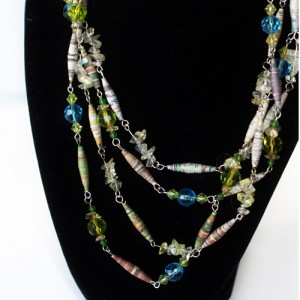
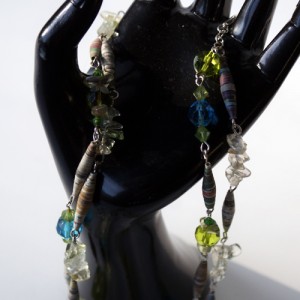
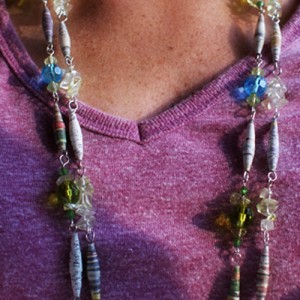
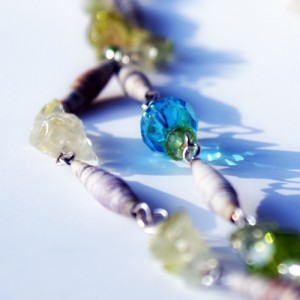
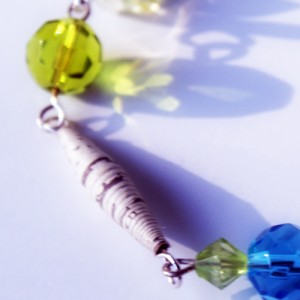
Are you planning your handmade gift lists?  Today’s project is a lovely penny saving piece of unique jewelry, made from paper beads, wire, and glass beads.  This piece is a two stranded necklace that can be casual or dressy.  The general concept can be applied to bracelets, earrings, eyeglass holders, bookmarks and more.

Supplies:

  • Paper beads (see this post for instructions)
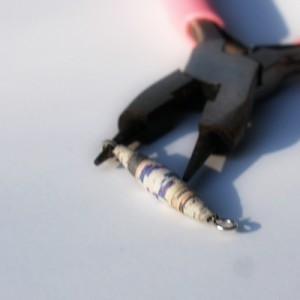
  • Round nose pliers, wire cutters
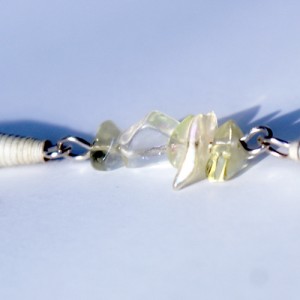
  • glass beads (I used crystals and rock beads)
  • Closure Mechanism
  • Small chain length (to connect beaded strands to closure)

necklace from paper beads

Instructions:

  • Make loop on one end of 2 inch wire segment, add beads in desired order, then loop other end using round nose pliers.

necklace from paper beads

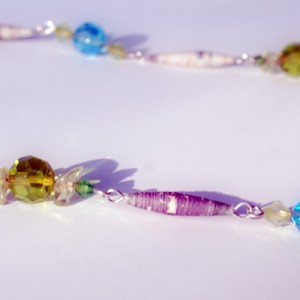
  • Make as many of them as you need to get the desired length of your chain, and connect them, loop end to loop end.

paper beaded necklace

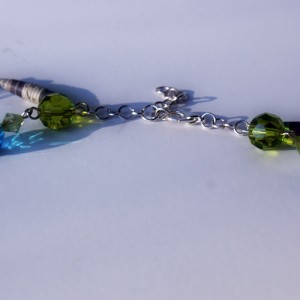
  • For a double stranded piece, connect both strands to a small segment of chain (or jump rings), then connect that to your clasp.  See pictures to better understand!

necklace from paper beads

necklace from paper beads

make paper beads

necklace from paper beads

make paper beads

make paper beads

Paper Embellished Clay Pendants

Polymer Clay Pendant Tutorial

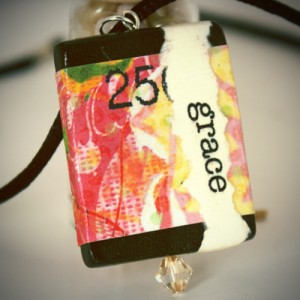
These beautiful paper adorned clay pendants are simple to make, and easily customizable for special keepsakes.  Whip up several in an afternoon and use up your paper scraps and stray beads in the process.  Follow my step by step tutorial, adding you own twists!


Supplies:

  • Black Polymer Clay
  • Pasta machine or acrylic roller
  • Clay blade
  • Scrap decorative paper
  • Wire (I used 22 gauge silver)
  • Needle nose pliers
  • Mod Podge (I used glossy)
  • Size 6 seed beads for wire wrapping over surface of pendant
  • Larger crystal or bead for bottom of pendant

Instructions:

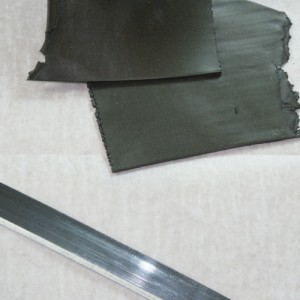
  • Condition your clay and roll at a thickness of 2 (1 being thickest) in your pasta machine.  Cut sheet in half and place one half on top of the other.  This creates a thicker sheet, which I like for the pendant beads.  It makes a pretty pendant at this thickness, and is easy to pierce with a needle to create hole for looped wire hanging mechanism later on.

Polymer Clay Pendant Tutorial

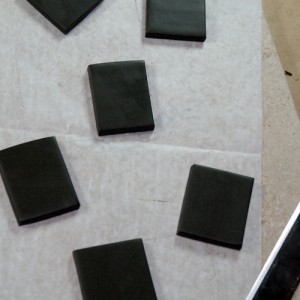
  • Cut rectangles out of your double stacked clay sheet.
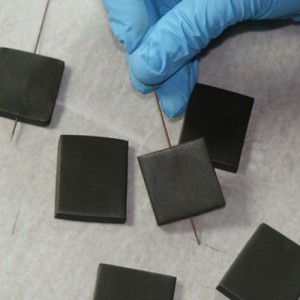
  • Polymer Clay Pendant TutorialPierce each pendant from top to bottom along the length of the pendant.  I use these long needles that came with my bead baking tray.  I have seen them sold separate in the clay section at Michael’s and other craft stores.  Be careful piercing the raw clay.  You can get fingerprints and other nicks in the clay, but imperfections are not to big of an issue with this project since the majority of the piece will be paper covered.
  • Polymer Clay Pendant TutorialBake per package; usually 275° for 25 min.
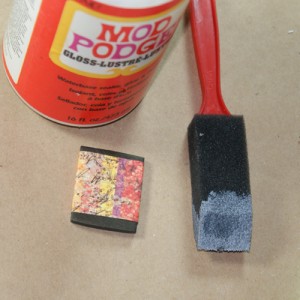
  • After baking and letting cool, you can wrap with paper strips.  I paint the back of the paper surface with mod podge using a foam brush.  Wrap the adhesive coated paper around pendant, smoothing out any wrinkles with fingers.

Polymer Clay Pendant Tutorial

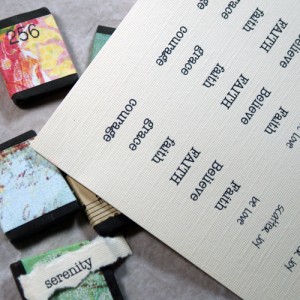
  • Print out a sheet of typed words to run along the length of the pendant.  Rip the word from the page if you like the torn edge look, or cut for a clean edge.  Adhere with Mod Podge.  Let dry.

Wire wrapped polymer clay pendant

  • To finish decorating your pendant, wrap a piece of small gauge silver wire around, adding a seed bead every other wrap.  I added three to mine.  Put wire through where your needle hole was made and loop the top end.  Place a bead or crystal at the bottom end, bending the leftover wire to keep the bead in place.  You could also solder the end or use and eye pin to hold the bead in place.

Polymer Clay Pendant Tutorial

Polymer Clay Pendant Tutorial


Flat Peyote Stitch Bracelets With Instructions

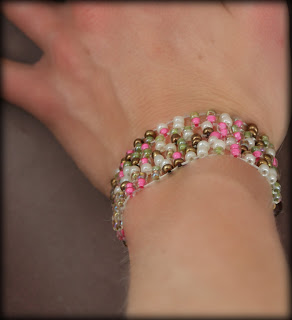
PinksPeyote2dropBracelet1
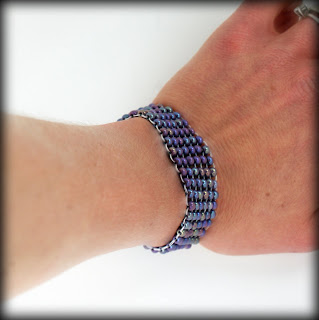
PurplePeyote2
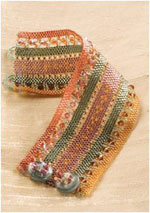
The purple bracelet is the first one I ever made.  This is such an easy stitch to learn.  Both projects are done using size 6 e beads.  The purple one is strung on fireline and the multicolored on Nymo beading thread.  It is done with a 2 drop peyote technique, whereas the purple is regular even count peyote stitch.
Instructions for both:

I used bigger beads than those shown in these videos, cause I am a newbie at this, and they are easier to see.  I also must say that I prefer the fireline over the nymo.  It gives more hold and tension, so the beads stayed where they were put.  I like that.  For clasp on both bracelets, I used a button on one side with a seed bead loop on the other to fasten.  There are lots of other options for finishing your bracelet.  I found this cool article with 4 finishing techniques, at Beading Daily (LOOOVE this site).

Bead Addict After First Try; Some Polymer Clay Pendant Tips

Seriously.  It is absurd.  All I do is bead.  And today, I discovered some exciting patterns (FREE) that incorporate crochet (to which I am a long time addicted) and bead stringing.  Do you know how cool that is?!?!

Once I can stop beading long enough to take some photos, you will see what I have been working on.  Below are some things I plan to tackle ideally today, but I know things will end up taking longer than I anticipate.  Craft ADD.  It is real.

I found all of these here, under the free patterns link on Interweave’s Beading Daily  website.  I googled “How to finish peyote stitch bracelet” and stumble upon this gold mine of everything beading.  There are literally hundreds of free beading patterns.  Here a just a few I must try…

Beaded Crochet Rope Bracelets

Polymer Clay Pendant “Chirp”

I am particularly excited about the polymer clay pendant, since during my “100 Days of Polymer Clay”, I made a truckload of pendants.  Unfortunately I didn’t make a hole for passing string through (I usually just use Aanraku pendant bails to attach my pendants, or a jumpring).  However, a cool thing about clay is that you can re-bake it repeatedly.  So I can make a small rectangle from raw clay and glue it to the back of an already made pendant, leaving a “hump” in the center for the string to pass through.  Then I can bake the already baked pendant with the raw clay “bail” glued on back.  Don’t forget to use bake-able polymer clay adhesive when attaching raw to baked clay.  Raw to raw polymer clay requires no glue.
Beautiful peyote stitch bracelet

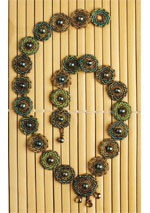
Peyote stitch Pearl Centered Circle Necklace

I am hopping here…

BWS tips button
Photobucket


Beginner Bead Stringing Resources and Free Projects

I am finding that there are many forms of beadwork.  When I look at my pile of supplies, I kinda go blank and am not sure where to start.  I am using my bottle cap pendants and scrabble tiles as focal points, which helps me decide on a color scheme, but from there, the techniques and design options are endless.  I have been scouring the web for tips and tutorials.  Here are some things that have grabbed my attention:

*  Witty Living; There are tons of free beading patterns for everything from bracelets to rings to prom jewelry.  I book marked this cute little rainbow necklace and earring set.  It is perfect to showcase one of my pendants as the focal point.
Find the link, here

beaded necklaces american cane glass
Here is another simple piece, good for showcasing a pendant:
beaded necklace project cheery heart
I love this wire wrap project, a technique that I have am excited to dive into:
wire wrap beaded necklace
*Jewelry Making Resource  Tons of free patterns/tutorials divided into Beginner/Intermediate/Advanced.  Some of the patterns are available only to subscribers, but subscription is free.
Here is a gorgeous and simple crystal bracelet, great for a Mother’s Day gift!
How to Make Bracelets
pcc-leigh-c225.jpg
I am thrilled to combine what I learned during 100 Days of Polymer Clay (here) with bead stringing and wire wrapping!!!  I can’t believe I haven’t done this sooner.  Ok, yeah I can.  There are soooo many things I want to try!  That is what I love about this blog world.  Countless inspiring women and ideas.  Makes this ADD crafter’s brain go wild.  

*Beading Gem has a great Steampunk Tutorial Roundup, here.  I wouldn’t be being true to self if I didn’t mention steampunk!  Check out this beautiful gear necklace…

steampunk+necklace+tutorial+1.JPG.jpg
I hope this inspires you to go grab some wire and beads.  It is a super inexpensive way to get your creative fix!

Fun With Stringing Beads

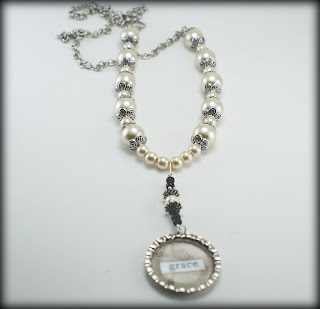
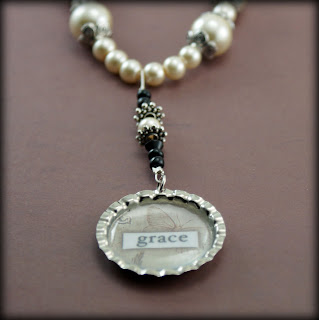
I finally quit talking about it, and busted out supplies to string beads.  Not too shocking that I am addicted.  Sooooo fun and far less intimidating than I had imagined.  I love how the timeless pearls showcase the repurposed bottle cap pendant.

Here are a few other pieces that emerged from today’s play…

Privacy Policy