Archives for August 2011

Easy Clay Image Transfer

polymer clay image transfer

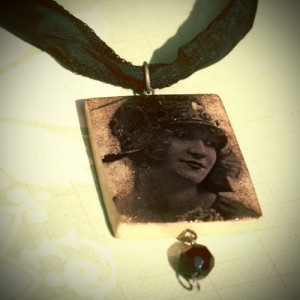
Of all the image transfer techniques out there, this simple method is my favorite for it’s ease and effectiveness.  Make your own beautiful keepsake pendants, charms, ornaments, home decor and more in just a few steps anyone can follow.  You don’t need to be a clay expert for this process.  Grab your favorite images, clay and a water mister, and you are ready to get going with this tutorial.

Supplies:

  • Polymer clay in a light enough color to make your transfer visible.  I used premo ecru color for an antiqued look.  I have used white and pearlescent in the past for different looks.
  • Laser jet images of your choice.  I have no idea where I got this image.  Probably Graphics Fairy if I had to guess!
  • Glaze or other sealer/finisher
  • Mister bottle with water
  • Jewelry findings of your choice to finish

Instructions:

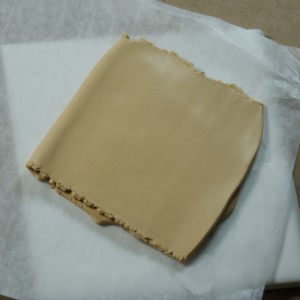
  • Condition your clay and lay out a sheet bigger than the finshed piece you want.  I rolled this in my pasta machine at a thickness of 2, then folded it over to double the thickness.

Polymer Clay Pendant Tutorial

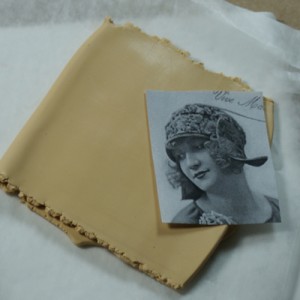
  • Cut out your image and lay it face down on the surface of your clay.  Burnish the image onto the clay carefully by running your finger across the back of the paper to remove any air between the image and the surface of the clay.

Polymer Clay Image Transfer Tutorial

Polymer Clay Pendant Tutorial

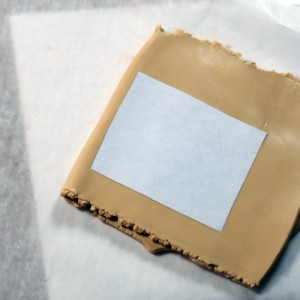
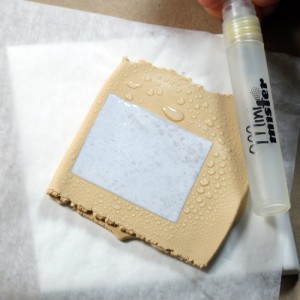
  • Spray the back of the image with the mister, making sure you wet the entire surface of the image.  Let this sit for a few minutes.


Polymer Clay Pendant Tutorial

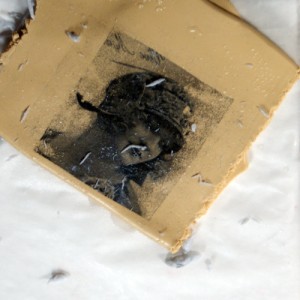
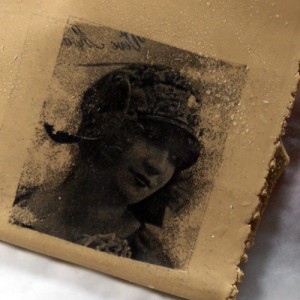
  • With your finger, gently rub off the paper backing.  You don’t want to apply pressure in this step as you can damage your image.  The motion of your finger moving back and forth parallel to the plane of the clay will pull the paper off in clumps.  Keep doing this until you are satisfied with the quality of the image.  You can spray more water on there if you need to.  It won’t hurt the image.
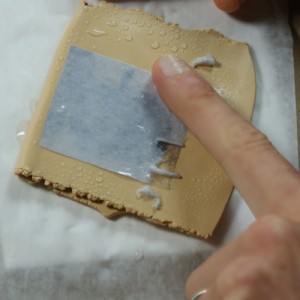
  • Polymer Clay Pendant Tutorial


  • Cut your clay piece into the desired shape with a sharp clay blade.
Polymer Clay Pendant Tutorial

Polymer Clay Pendant Tutorial

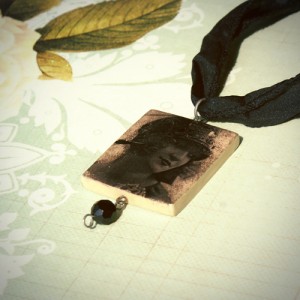
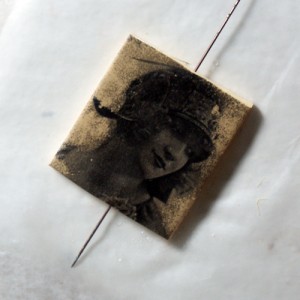
  • Polymer Clay Pendant TutorialI stick a bead pin in the soft clay before baking so I can put a wire hanging mechanism in later.  Some people drill a hole after baking, or use a glue on pendant bail.  The problem with poking a needle through raw clay is you can distort it, but with practice you will be able to do this without damage.
  • Bake your clay per package instructions.  Remove from oven and let cool before applying glaze or finish.  That’s all there is to it!

Polymer Clay Transfer Tutorial

Polymer Clay Pendant Tutorial

Thrifty Thursday Week 34

*SBLC was down last week for about 48 hours.  Seemed like 2 weeks.  I wasn’t sure what the issue was, so I am beyond grateful that I didn’t lose my blog altogether.  It went down minutes after I posted week 34 of Thrifty Thursday, so I am re-posting.


Hi all! Glad you are here for week 34 of Thrifty Thursday. Thanks so much for stopping by and sharing. Once again, I had a hard time choosing just two projects to feature.  Lets keep it up!
Look around and join the fun. The idea is to link to your frugal post, whether it be a DIY, recipe, tip, coupon… if you like it, link it. If you don’t have a thrifty post to link to, feel welcome to join the hop anyway, and link to your main blog.
Other stuff:
* Please follow Saved By Love Creations, your host!
*Grab my “Thrifty Thursday” button above and throw it on your lovely site. Let’s grow this!
*I will choose 2 participants to feature the following Thursday, Please drop by and follow the features!  Their links are in the post where their projects are featured.
*Follow the blogs that inspire, and please return the gesture by following those who follow you. Leave a comment when you follow so that the blogger will know you are a new follower.
*Leave me a comment and let me know you were here. I love hearing from you.
*Scatter joy, and frugal tips.
*Have fun.
*Stop by and say hello to Nikki and link up to her thrifty party too…

Weekly featured projects:

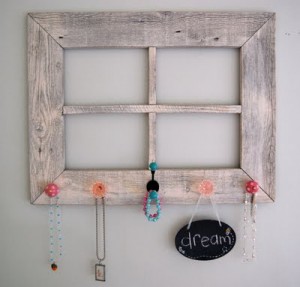
This window over at Once Upon a Craft Time  is such a cute girl’s room piece.  It is fun to see what people create from these frames.  I like how it is used as a bulletin board.  And the window was only $5!

Old Window Revamp

I am digging this bright, summery tissue paper wreath by Nikki at Thrifty Decorating.  The colors and flowers are splendid.  Anytime you incorporate a pizza box into your decor and make it work like this, you win 🙂


Time to mingle…

BookcaseTurned Jewelry Display

Bookcase Revamp

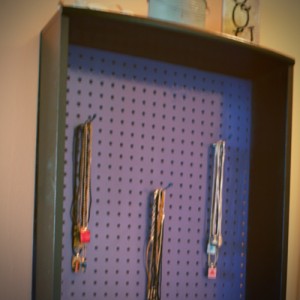
A recent craft show taught me that I need step up my jewelry display means.  In this project, I took an old bookcase I picked up at a garage sale for $5 and some pegboard I nabbed from someone’s trash, combining them to make a display case.  All it took was a little spray paint, and my trusty jigsaw ($4 garage sale find) – Yay power tools!  Follow along and watch it unfold.

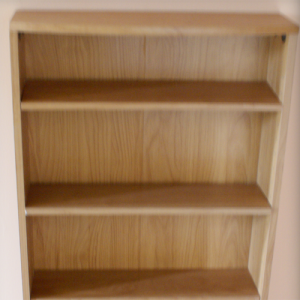
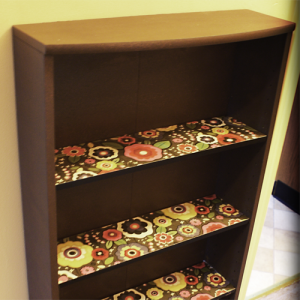
You guys remember this post, where I revamped a bookcase?  Here are the before and after…

Book shelf revamp

Book shelf revamp

Not that I didn’t love the funky, groovy, flower shelf look, but it really kinda stood out amongst my decor.  I had been wanting to do something with it for awhile.  It occurred to me that the piece of peg board I harvested from someone’s curbside trash would make the perfect backing for this case, once I painted it, of course.

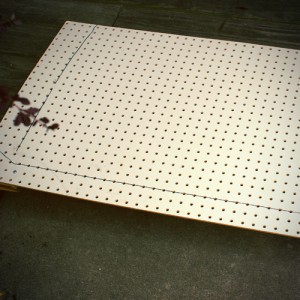
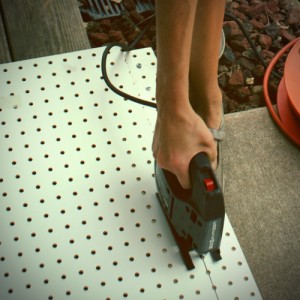
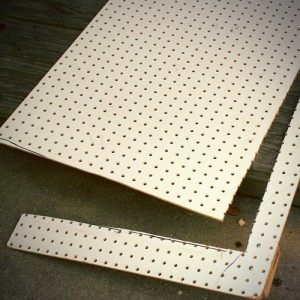
I traced the bookcase backing outline onto the pegboard, then cut it with my jigsaw!  I cut on the inside of the lines, to ensure my peg board would not stick out from the back of the case.

Book shelf makeover

Book shelf revamp

Book shelf revamp

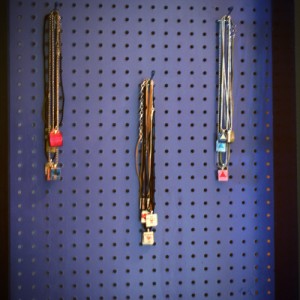
Next, I removed the plywood backing from the book case.  After spray painting the book case and pegboard (black and “periwinkle”, respectively) with Krylon Fusion and allowing that to dry, I nailed the pegboard in place.  I sealed with 2 coats of Minwax Polycrylic and that is it.   Who says you can’t revamp a revamp!

Jewelry Display Ideas


SBLC Featured at Knock Off Decor

If you missed SBLC featured at Knock Off Decor on Friday, check it out
Privacy Policy