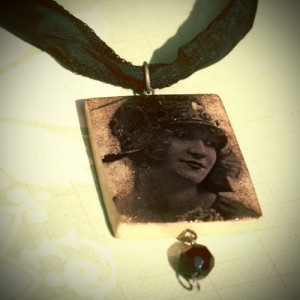
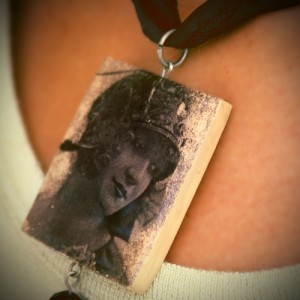
Of all the image transfer techniques out there, this simple method is my favorite for it’s ease and effectiveness. Make your own beautiful keepsake pendants, charms, ornaments, home decor and more in just a few steps anyone can follow. You don’t need to be a clay expert for this process. Grab your favorite images, clay and a water mister, and you are ready to get going with this tutorial.
Supplies:
- Polymer clay in a light enough color to make your transfer visible. I used premo ecru color for an antiqued look. I have used white and pearlescent in the past for different looks.
- Laser jet images of your choice. I have no idea where I got this image. Probably Graphics Fairy if I had to guess!
- Glaze or other sealer/finisher
- Mister bottle with water
- Jewelry findings of your choice to finish
Instructions:
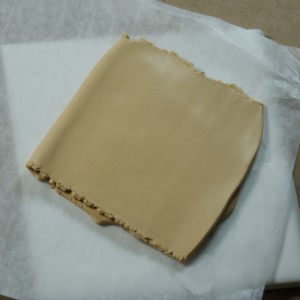
- Condition your clay and lay out a sheet bigger than the finshed piece you want. I rolled this in my pasta machine at a thickness of 2, then folded it over to double the thickness.
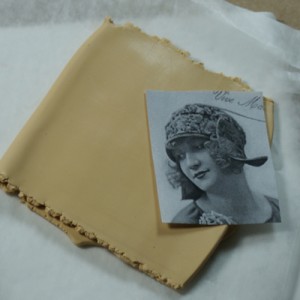
- Cut out your image and lay it face down on the surface of your clay. Burnish the image onto the clay carefully by running your finger across the back of the paper to remove any air between the image and the surface of the clay.
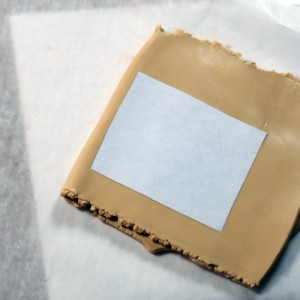
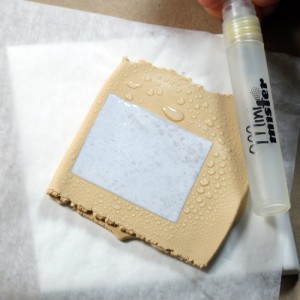
- Spray the back of the image with the mister, making sure you wet the entire surface of the image. Let this sit for a few minutes.
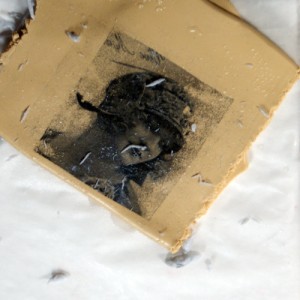
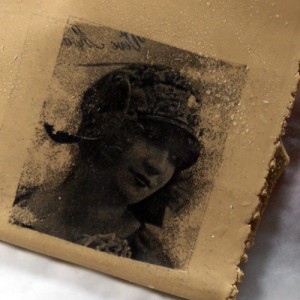
- With your finger, gently rub off the paper backing. You don’t want to apply pressure in this step as you can damage your image. The motion of your finger moving back and forth parallel to the plane of the clay will pull the paper off in clumps. Keep doing this until you are satisfied with the quality of the image. You can spray more water on there if you need to. It won’t hurt the image.
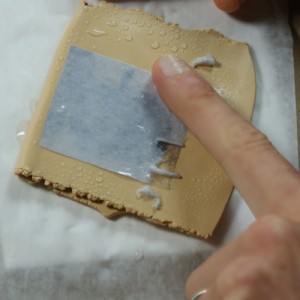
- Cut your clay piece into the desired shape with a sharp clay blade.
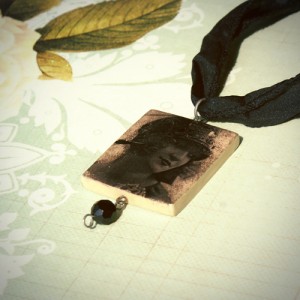
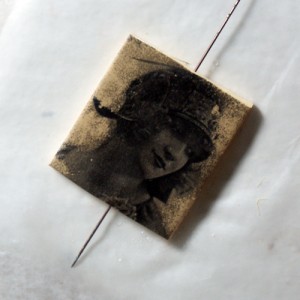 I stick a bead pin in the soft clay before baking so I can put a wire hanging mechanism in later. Some people drill a hole after baking, or use a glue on pendant bail. The problem with poking a needle through raw clay is you can distort it, but with practice you will be able to do this without damage.
- Bake your clay per package instructions. Remove from oven and let cool before applying glaze or finish. That’s all there is to it!

